.png)
Authored by: Support.com Tech Pro Team
Setting up a Chromebook is a straightforward process. Chromebooks are known for their simplicity, and you'll be up and running in no time. Here's a comprehensive step-by-step guide for the basic setup of a Chromebook:
Unbox your Chromebook and ensure that all accessories are included (charger, user manual, etc.).
Inspect the Chromebook for any physical damage or defects.
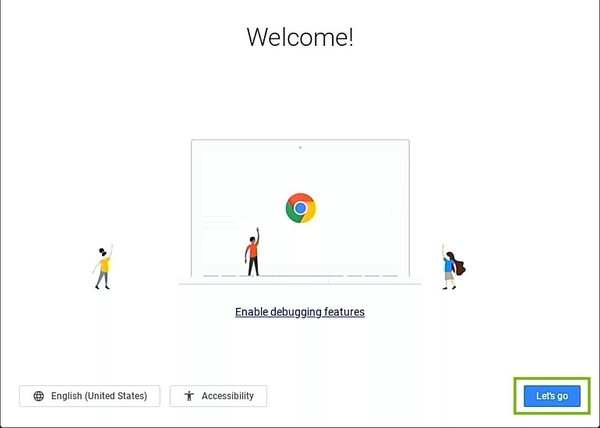
Open the Chromebook and press the power button, typically located on the top-right corner of the keyboard.
Choose your preferred language and keyboard layout from the initial setup screen.
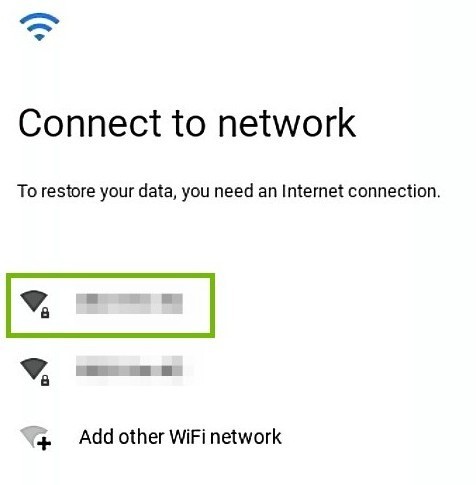
Click on your Wi-Fi network from the list of available networks.
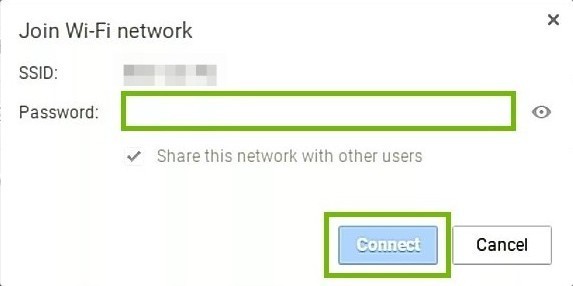
Enter the Wi-Fi password if required.
Click "Connect."
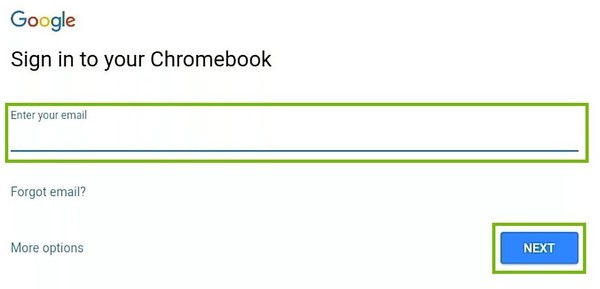
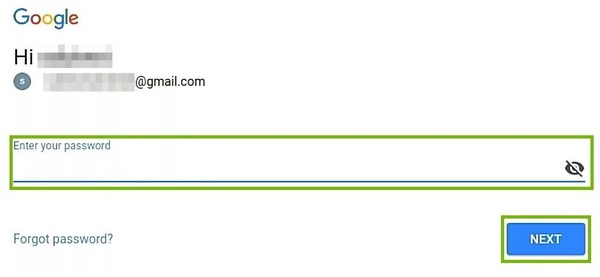
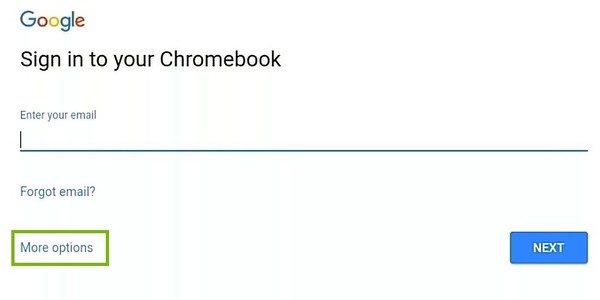
If you already have a Google account (Gmail), enter your email address and password.
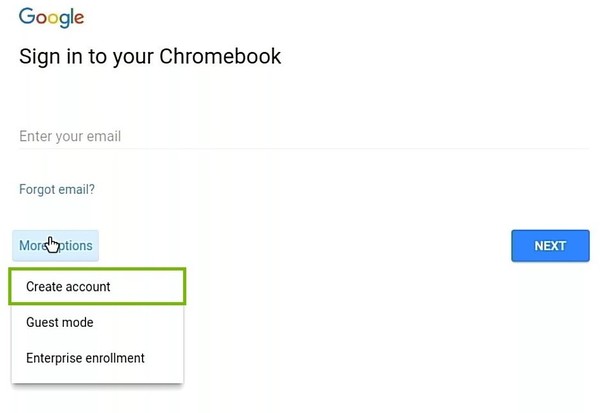
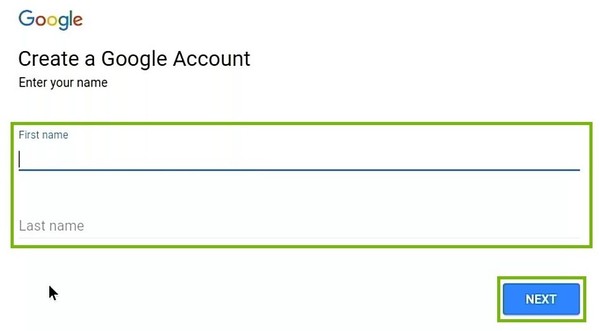
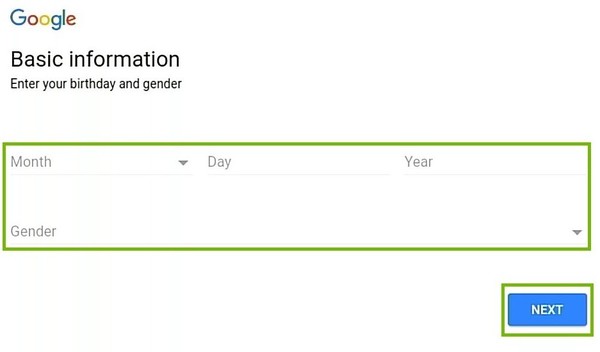
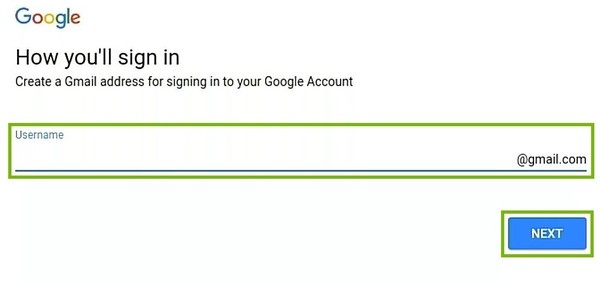
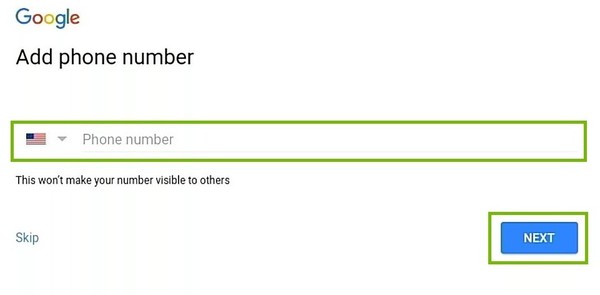
If you don't have a Google account, click "Create account" and follow the on-screen instructions to create one.
If prompted, enable or disable settings such as syncing your bookmarks, history, and extensions across devices. This helps keep your browsing experience consistent.
Review and accept the Google Terms of Service and Privacy Policy.
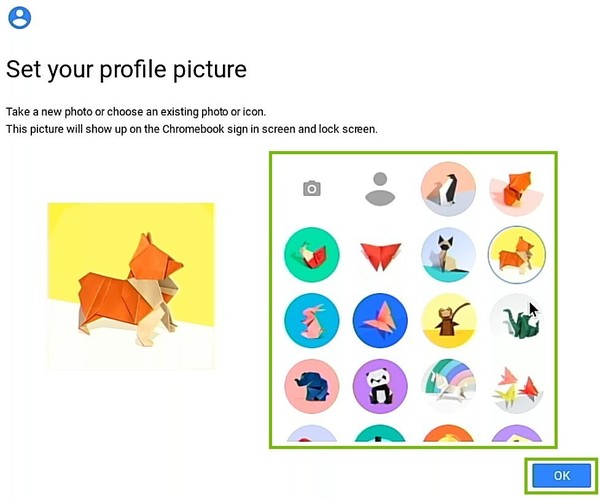
Customize your Chromebook by choosing a profile picture. You can skip this step if you prefer.
Follow the on-screen instructions if you want to set up Google Assistant. This step is optional.
Customize your privacy settings, including location tracking and usage statistics sharing, according to your preferences.
Chrome OS updates automatically in the background. Ensure your Chromebook is connected to Wi-Fi and plugged in to allow updates to complete.
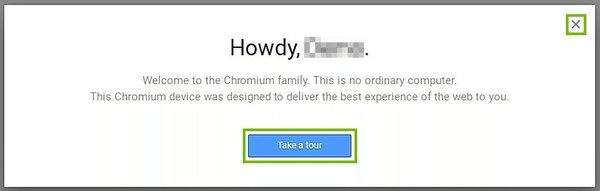
Once the setup is complete, you'll land on your Chromebook's desktop.
On the bottom shelf (taskbar), you'll find the launcher icon (typically a circle) and various apps.
Open the Chrome Web Store from the launcher to find and install web apps and extensions.
You can also use Android apps if your Chromebook supports them.
Click on your profile picture in the lower-right corner of the shelf.
Access system settings to customize your Chromebook further, including Wi-Fi, display settings, and more.
Right-click on the desktop and choose "Set wallpaper" to personalize your desktop background.
Click the "Files" app on the shelf to access your local and Google Drive files.
When you're finished using your Chromebook, click on your profile picture in the lower-right corner of the shelf and select "Sign out."
To power off your Chromebook, click the "Shut down" button from the login screen or press and hold the power button.
If you encounter issues or need assistance, Chromebooks have a built-in help center with useful resources and troubleshooting guides.
Your Chromebook is now set up and ready to use for web browsing, productivity, entertainment, and more. Chrome OS is designed for simplicity and speed, making it an excellent choice for various computing needs. Enjoy your new Chromebook!
If you are still having trouble, refer to the Step-By-Step Guide below, or Contact Support.Com for Personalized Assistance.
This will guide you through the basic setup of your Chromebook.


Support.com is committed to your privacy
We do not share or sell your data to third parties. We do use cookies and other third-party technologies to improve our site and services. The California Consumer Privacy Act (CCPA) gives you the ability to opt out of the use of cookies, third-party technologies and/or the future sale of your data. Do not sell my personal information.

Support.com is committed to your privacy
Read our Privacy Policy for a clear explanation of how we collect, use, disclose and store your information
