Basic Setup for Your GoPro HERO5 Session Camera

Authored by: Support.com Tech Pro Team

1. Introduction: GoPro HERO5 Session: Basic Setup

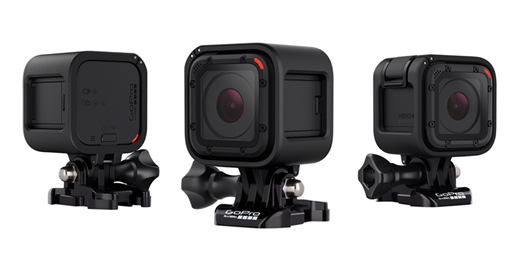
Setting up your GoPro Session Camera is quick and easy. This guide will take you through the process of getting your new GoPro Session camera setup and ready to start recording for you.

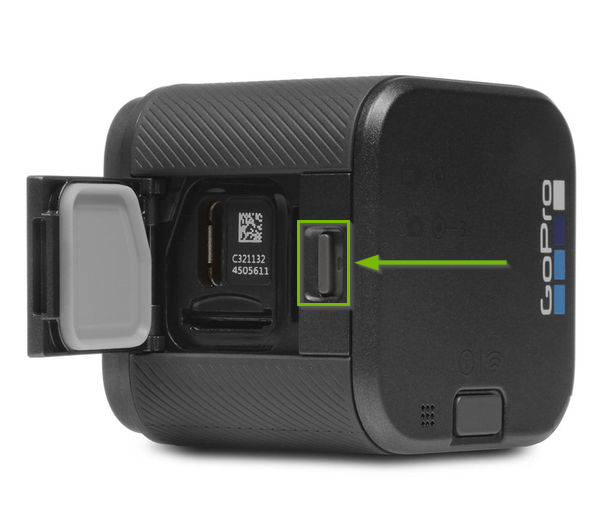
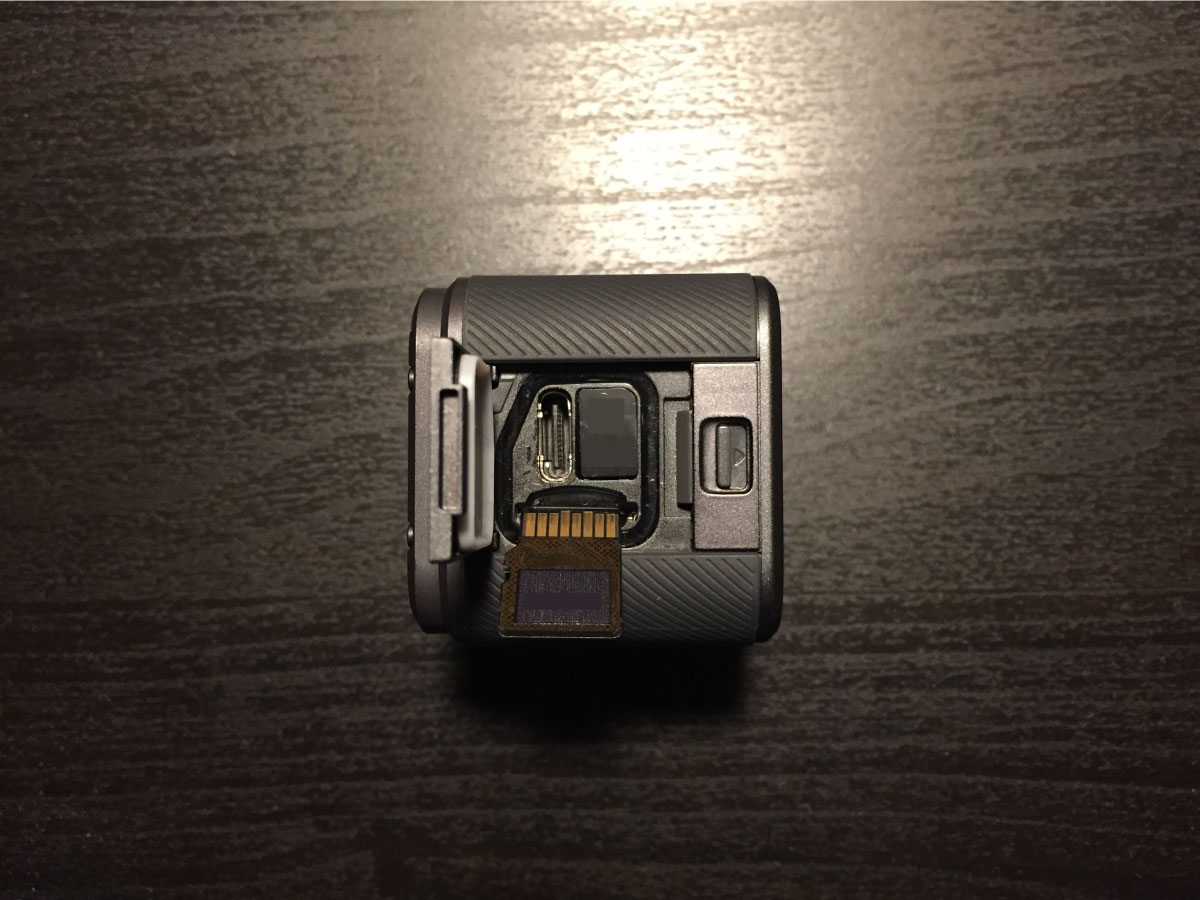
Be sure you have all of the contents contained within the packaging of your new GoPro Session camera, as the documentation and supplied USB cable will be needed during this setup process.

GoPro Hero5 Camera.

2. GoPro Session: Insert Storage

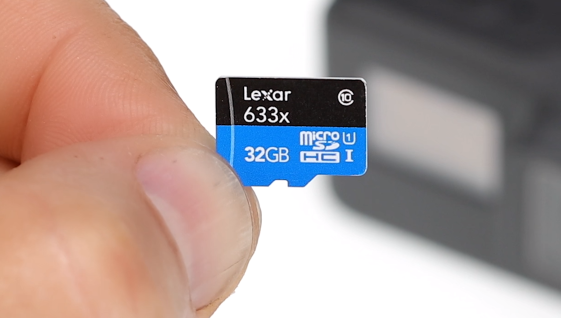
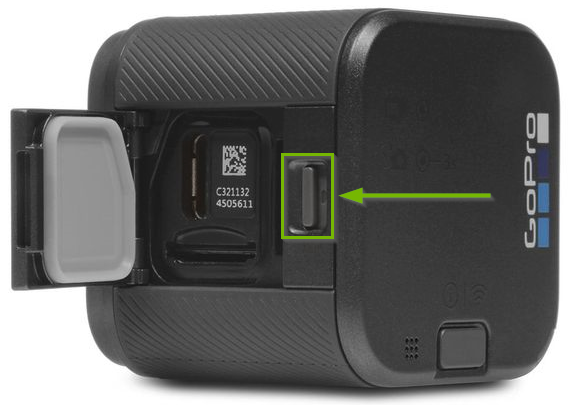
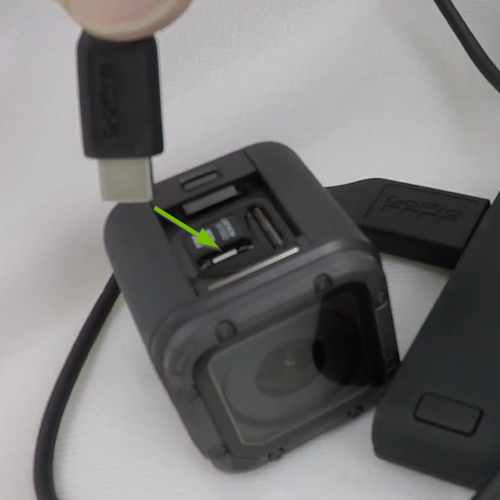
Your GoPro Session camera will not come packaged with a microSD card for storage - these are sold separately. GoPro recommends getting a microSD card with a class 10/U3 rating for optimal compatibility & performance.

  1. Remove your microSD card from its packaging to be inserted into your GoPro Session device.
A microSD card held by fingertips.
  1. Press the release button on the side-access panel of your GoPro Session. This will release the door so it can be opened.
GoPro Session camera with side access panel location highlighted.
  1. Insert your microSD card into the memory card slot on your GoPro Session as pictured. When successfully inserted, you should feel a spring-loaded click that signifies the card has been properly seated.
microSD card being inserted into a GoPro.

3. GoPro Session: Charge Battery

  1. Press the release button on the side-access panel of your GoPro Session. This will release the door so it can be opened.
Side access panel on GoPro Session.
  1. Locate the supplied USB-Type C cable that came with your GoPro Session.
USB Type C cable.
  1. Plug one end into the GoPro's USB slot.
USB cable being plugged into GoPro USB slot.
  1. Plug the other end into a USB charge block or an available USB port on your computer.
A USB charge block with USB-C port highlighted.

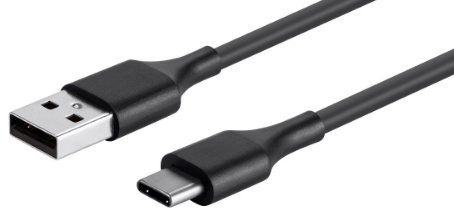
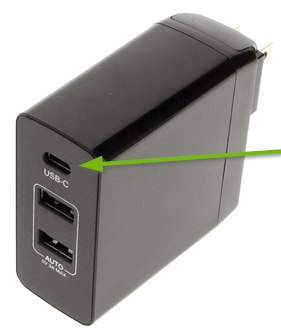
GoPro recommends a USB wall charger that outputs 5V and 2A for the GoPro Session. Chargers can be purchased from the GoPro store. Alternatively, you can use a computer USB port. Cameras will take longer to charge via computer USB port.

4. GoPro Session: Power On & Initial Setup

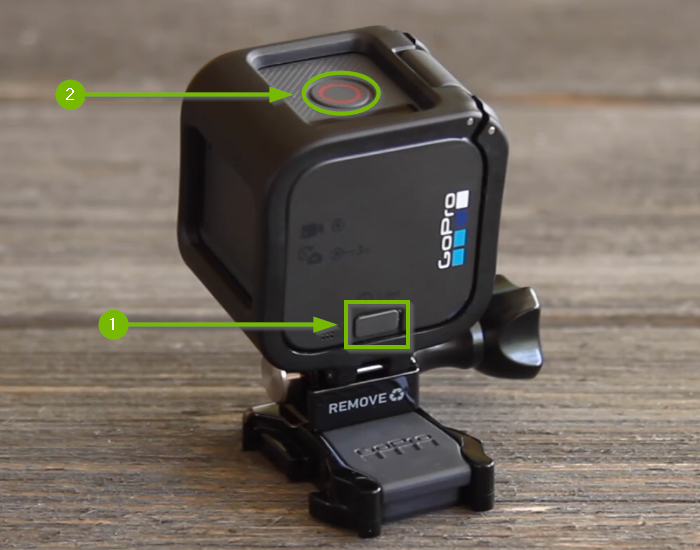
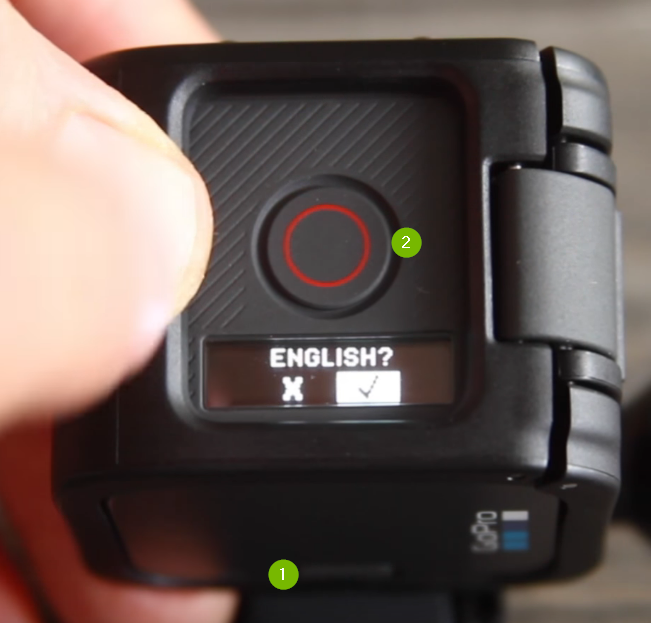
On your GoPro Session device, there are two interface buttons:

GoPro Session camera with Menu button highlighted on top and Shutter button highlighted on the side.


  • The Menu button (1).
  • And the Shutter button (2).

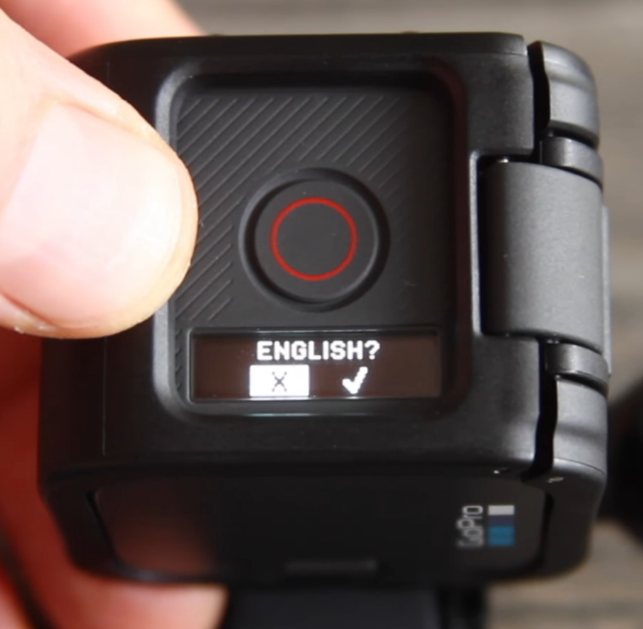
To begin initial setup of your GoPro Session:

  1. Power on your GoPro Session by briefly pressing and holding the Menu button (1).
  2. Once powered up, the screen on your GoPro session will present you with a language selection.
GoPro screen with English language selected.
  1. By default, your GoPro Session will begin with English selected. Press the Menu button (1) to highlight the check mark. Then press the Shutter button (2) to select.
GoPro menu with English checkmarked.
  1. A confirmation screen will then appear. By default, the will be selected.
GoPro language confirmation box.
  1. Press the Menu button (1) to change to the check mark. Then press the Shutter button (2) to confirm your selection.
GoPro camera menu with English selected. Shutter button highlighed above and Menu button highlighted below.
  1. Your GoPro has completed initial setup and will display the overall status screen. It is now ready to be paired with your mobile device's GoPro App.
GoPro's overall status screen.

5. Go To: Install the App for Your GoPro HERO5 Session Camera

Show Me HowClicking this button will open a new guide that will provide you with steps to resolve your issue.

6. Go To: Pair Bluetooth Devices to Your GoPro HERO5 Session Camera

Show Me HowClicking this button will open a new guide that will provide you with steps to resolve your issue.