.png)
Authored by: Support.com Tech Pro Team
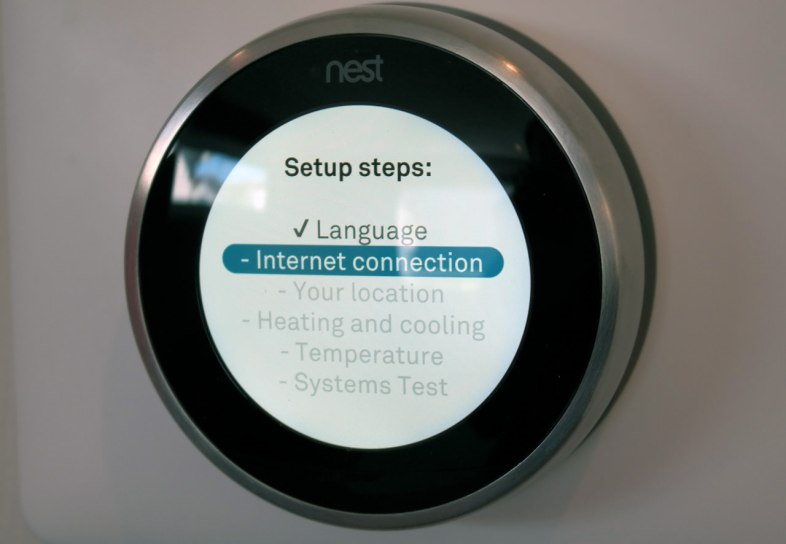
If you've just installed or you've factory reset your Nest Thermostat you'll need to complete the setup. Your thermostat will ask you basic questions about your location and heating/cooling system.
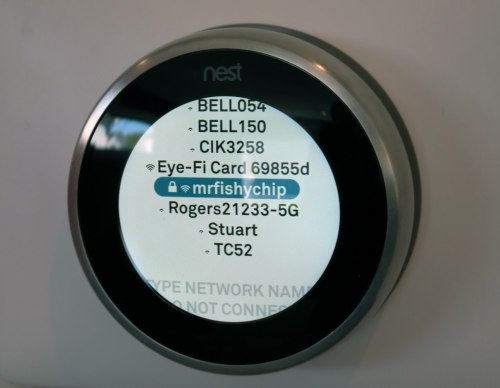
In order to connect to a wireless network, you must have the required credentials. These are:
Most wireless routers/gateways have a label with the default credentials. If the credentials aren't there, look in the devices documentation.
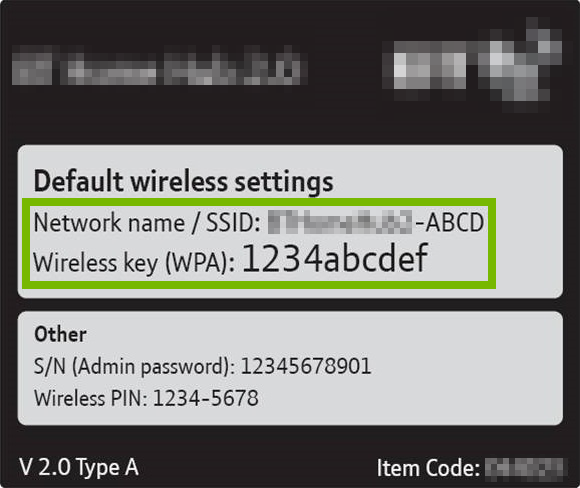
If your Internet Service Provider (ISP) installed the wireless router or gateway, they might have left you a setup sheet which may have the credentials.
Before we begin, let's take a moment to understand how to interact with the user interface of a Nest thermostat.
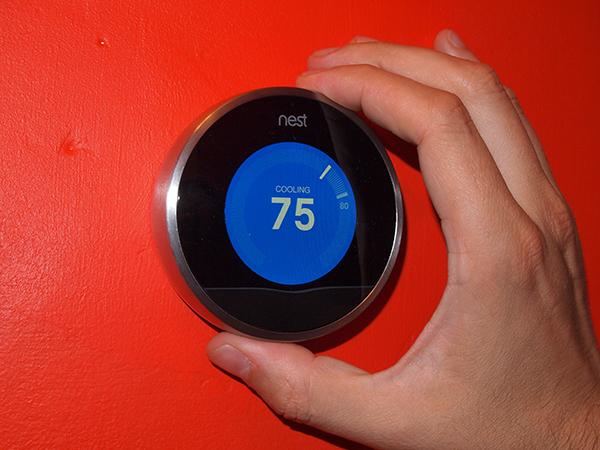
The thermostat gets its power from the wiring in the wall that connects it to the home's heating/cooling system. If it is wired correctly and the circuit it is connected to is live, the device should be powered up and waiting on the initial setup.
The default language should be set to English but the first step will be to select a language.
Press on language, turn the ring to the desired language and then press on the desired language to select.

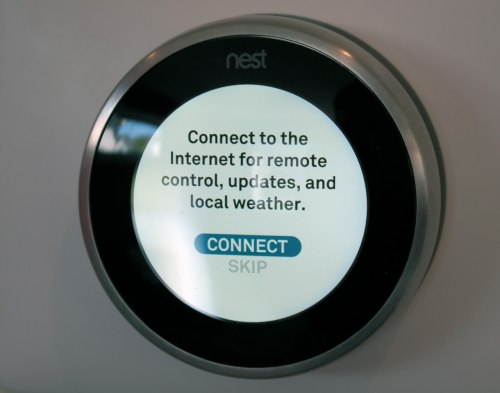
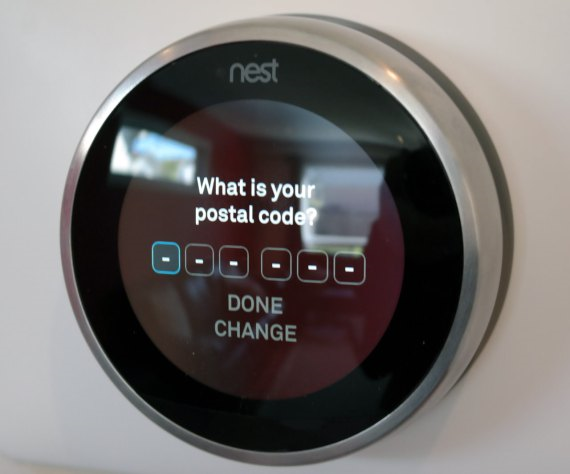
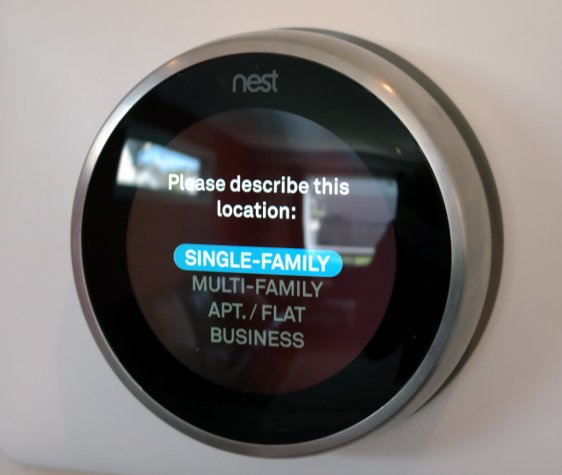
Next you will need to specify a location. Press Continue.
Now the thermostat will ask you about some basic information regarding your heating and cooling system.
We recommend you have this system installed professionally, so many of these questions will be answered by the installer. If questions have not been answered or you installed the Nest Smart Thermostat yourself please follow the on screen instructions and fill out the information as accurately as possible.
Next the thermostat will run a quick test to ensure the system is working correctly.
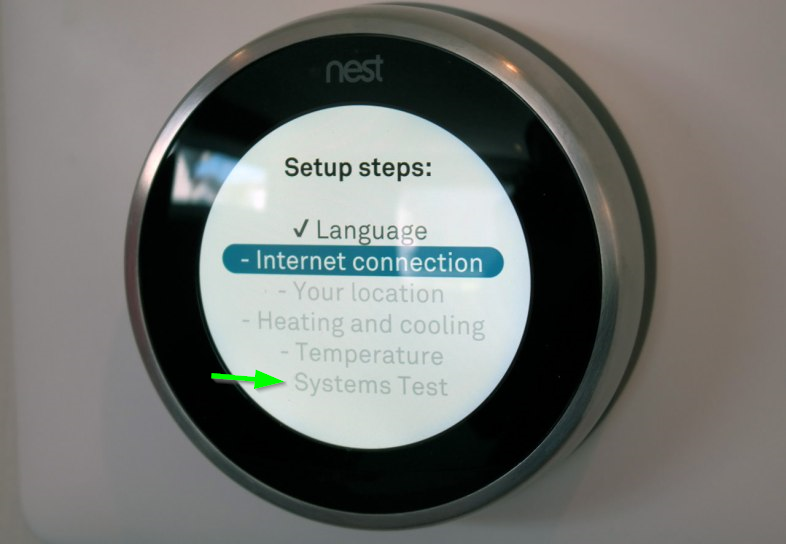
You will be prompted with a screen that gives you some systems to test, such as: heating, cooling, fan. The options will vary depending on your heating and cooling system.
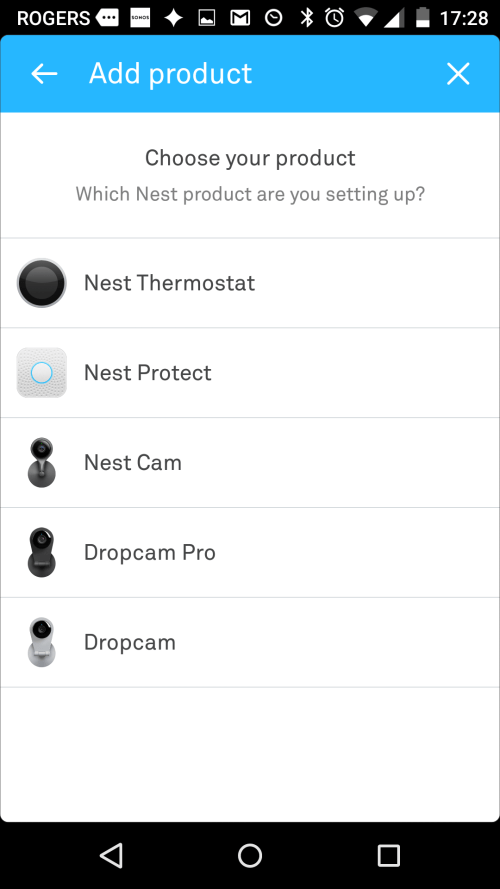
Now that the thermostat is configured we need to add it to your account using the Nest app.
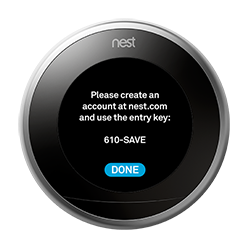
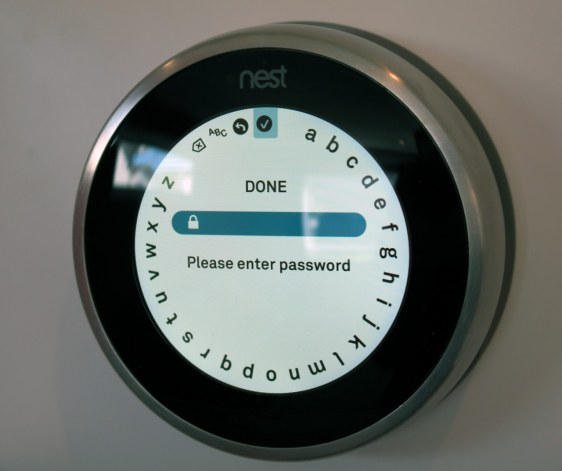
That's it, once the key has been entered you can begin using your thermostat and the app!
We recommend having the thermostat installed by a professional.
Please feel free to return to this guide for the "soft setup" once the thermostat has been physically installed and wired.

Support.com is committed to your privacy
We do not share or sell your data to third parties. We do use cookies and other third-party technologies to improve our site and services. The California Consumer Privacy Act (CCPA) gives you the ability to opt out of the use of cookies, third-party technologies and/or the future sale of your data. Do not sell my personal information.

Support.com is committed to your privacy
Read our Privacy Policy for a clear explanation of how we collect, use, disclose and store your information
