1. Introduction: Ring Camera: Floodlight Cam Basic Setup
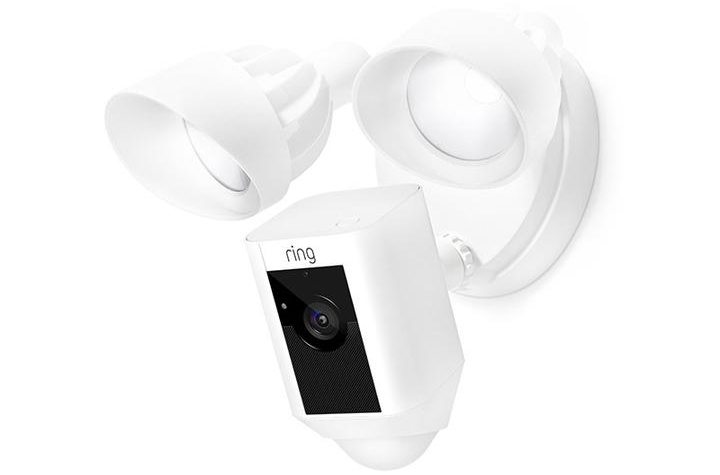
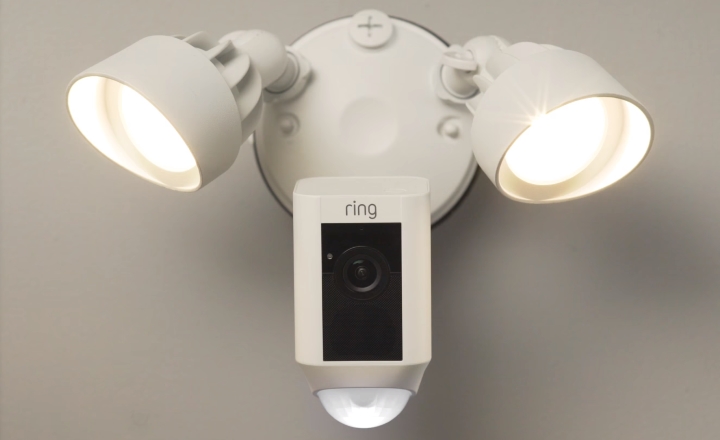
The Ring Floodlight Cam is a motion-activated security camera with built-in floodlights, a siren alarm and two-way audio, so you can see, hear and speak to anyone on your property from anywhere. It easily replaces existing wired floodlights and connects to standard junction boxes. This guide will go over the basic setup steps to help you get started with your Ring camera.
2. Ring Camera: Proper Positioning
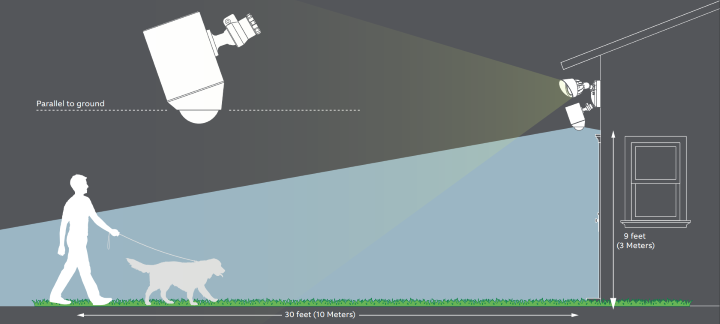
The camera needs to be mounted 9 feet off the ground, with the motion detector parallel to the ground for an optimal position to detect human-sized objects at up to 30 feet.
3. Ring: Mount Floodlight Cam
Before you start, please be aware of the following:
Installing Floodlight Cams involves working with high voltage electricity.
If you are not comfortable with the installation process, contact a licensed electrician.
Be sure to comply with your local building and wiring codes.
Turn off the power to the floodlight circuit at the breaker box. Make sure you know which breaker is connected to it.
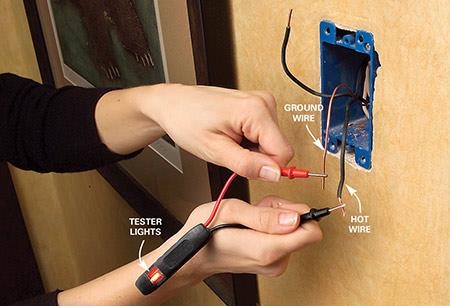
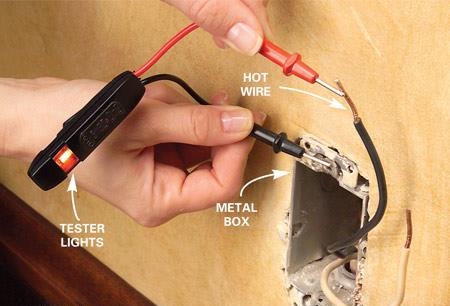
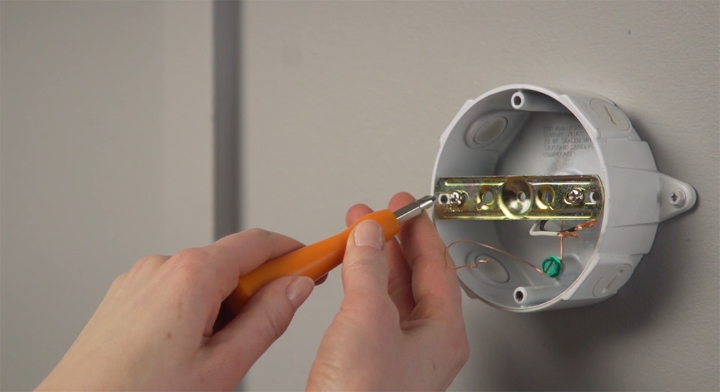
To make sure the power was turned off, use a circuit tester to check the wires for electricity. If the junction box is made of metal, test it as well. Consult your testers documentation on how to properly use the device.
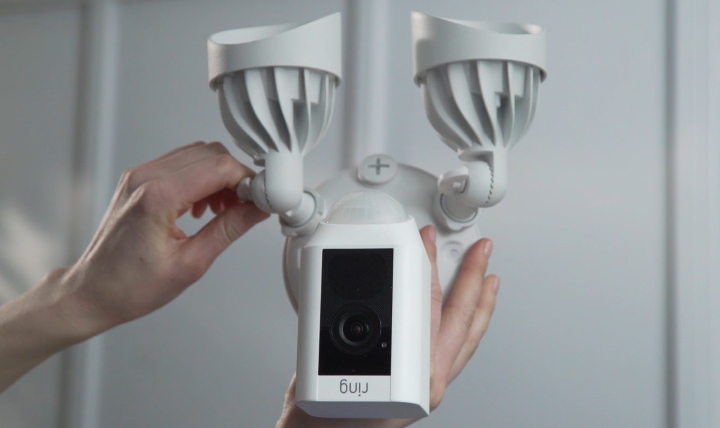
Loosen the knobs on the light fixtures to rotate them out of the way and allow access to the mounting screws. Rotate the camera 180 degrees since Floodlight Cam ships with the camera upside down on the fixture.
With power off at the breaker, remove your existing floodlight from the junction box it’s attached to and disconnect the wires. If there is a bracket attached to your junction box, remove that as well.
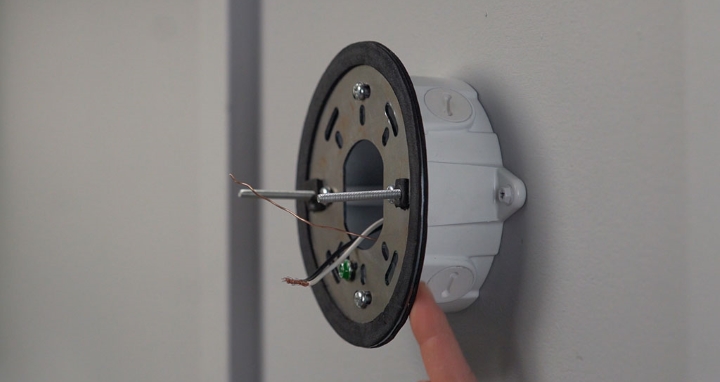
Install the mounting bracket on the junction box with the two posts level with the ground. Pull the wires through the middle of the bracket and attach the bracket to your junction box using at least two screws.
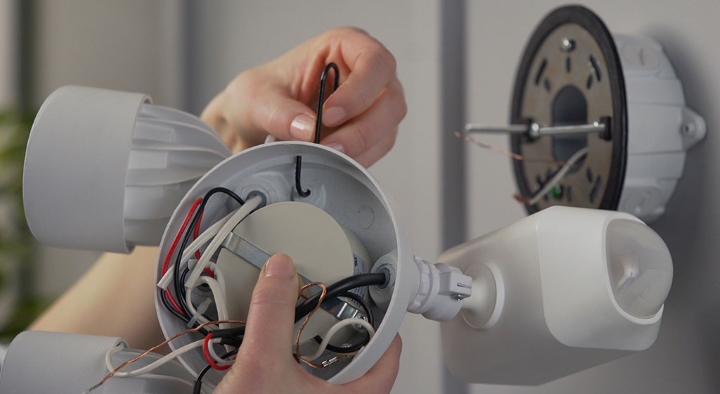
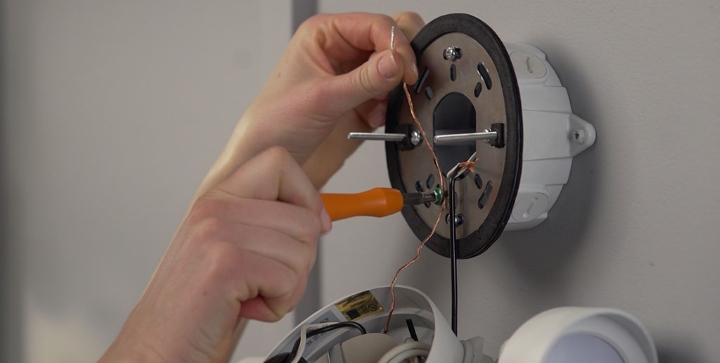
Use the provided hook to hang the camera from the bracket while connecting the wires. Hook one end of the hook into one of the mounting holes on the camera and the other end into one of the holes in the bracket.
Connect the copper ground wire from the camera, to the green ground screw on the bracket and the existing ground wire inside the junction box. Use a supplied wire nut to join the wires.
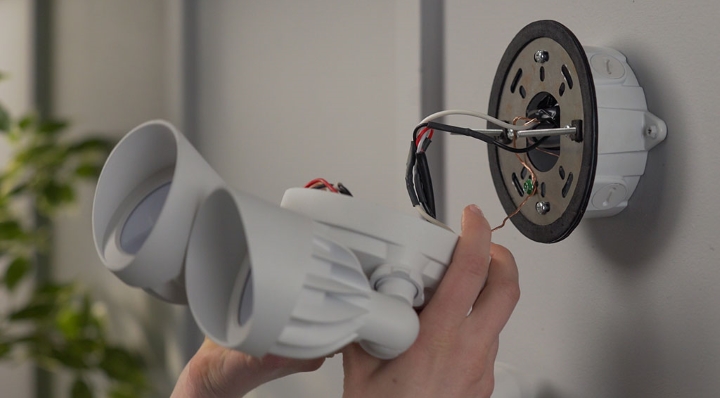
Using a wire nut, connect the white neutral wire from the camera to the neutral wire coming out of the junction box. Then using another wire nut, connect the black hot wire from the camera to the hot wire coming out of the junction box. The coloring of the wires inside the junction box may be the same. If it's not, make sure you know which wire is the neutral and which one is the hot.
Unhook the camera and push all the wires through the large opening in the middle of the bracket. Align the mounting posts with the holes on camera and press together.
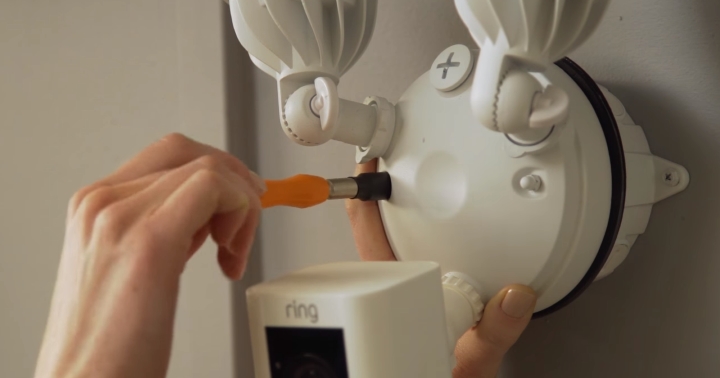
Secure the screw cap nuts with the provided orange screwdriver handle.
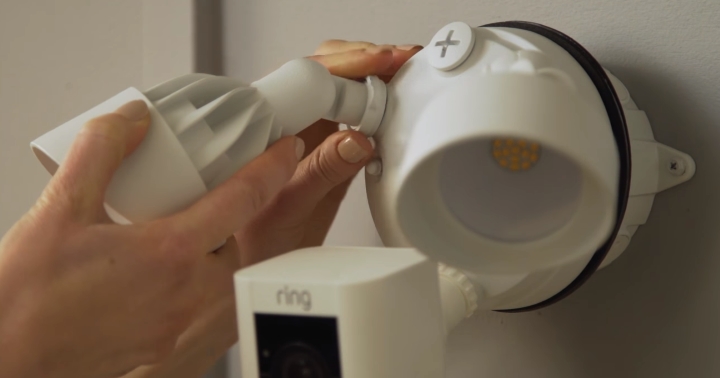
Loosen the light adjustment knobs and lock collars to set the lights at the desired angle.
Restore the power at the breaker box.
After restoring power, the lights will turn on and camera will begin speaking to you to let you know it’s in setup mode.
4. Mobile: Android or iOS
For the next steps, we need to determine what type of mobile device you have.
5. Ring: Install Android App
Launch the Play Store on your smartphone.
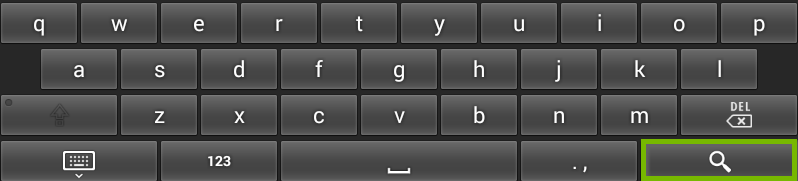
Search for "Ring" using the search box located at the top.
Touch the magnifying glass on the on-screen keyboard to search.
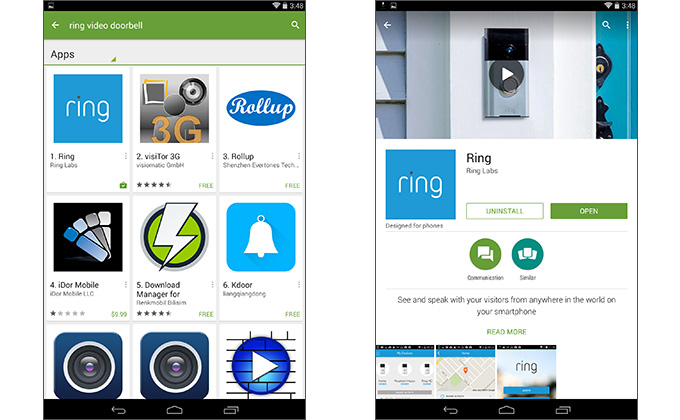
On the Ring App install page, tap INSTALL.
Review the install prompt that pops up. Once done, touch ACCEPT.
Wait for the download to finish. Once done, touch OPEN.
6. Ring App: Add Device
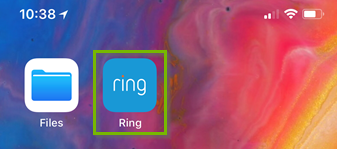
From your device's main screen, open the Ring app.
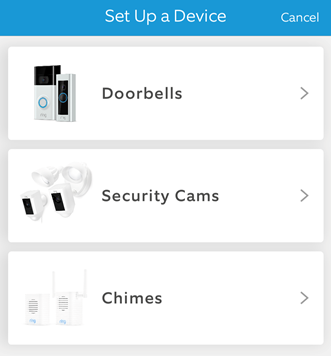
Select Set up a Ring device.
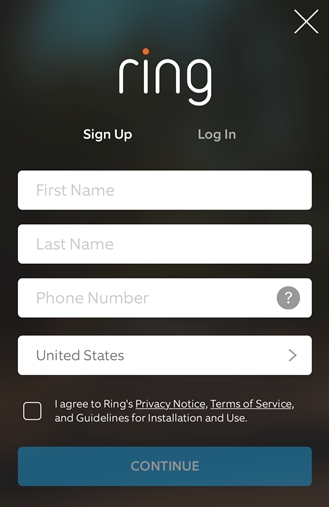
You will be prompted to sign up for a Ring account, or log in to an existing account.
Once logged in, you will be presented with a list of Ring devices. Select the device you'll be adding.
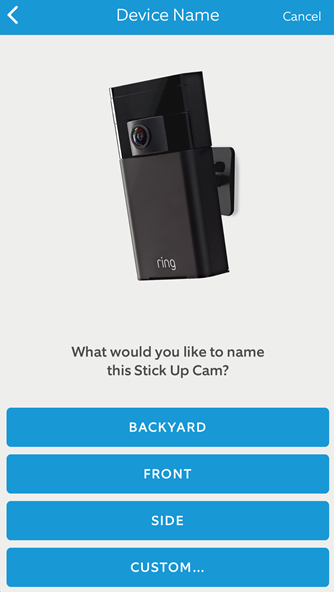
Once you have selected your device, you will be prompted to name that device.
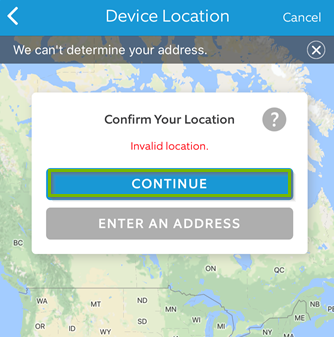
The Ring app will attempt to apply a geographic location to your device based on your Ring account's information and mobile device's GPS. Select Continue to proceed.
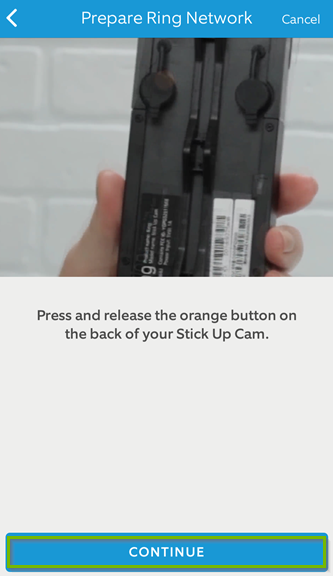
The app will instruct you on what to do with your Ring device to continue setup. Select Continue to proceed.
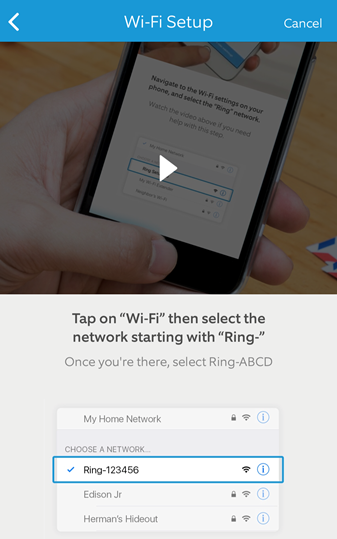
The app will now ask that you exit it briefly to connect your mobile device to the Wi-Fi network your Ring device is broadcasting. The app will display a helpful video that will instruct you on how to complete this on your mobile device.
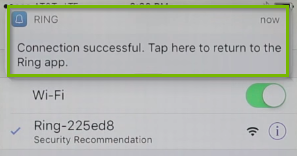
Once you're connected to the Ring's Wi-Fi network, the Ring app will recognize this and alert you. Tap the alert to be brought back into the Ring app to continue the setup process.
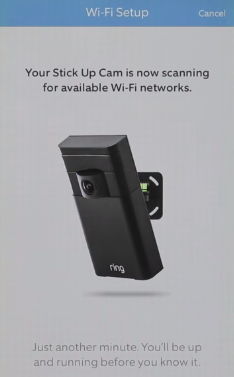
The Ring app will then begin searching for Wi-Fi networks around you.
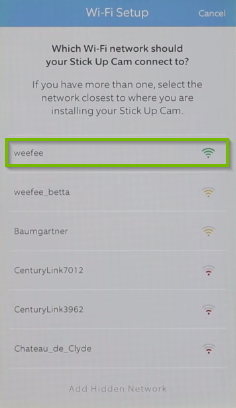
Select your Wi-Fi network from the list of available networks.
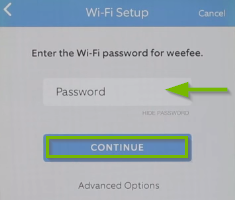
When prompted, type in your Wi-Fi network's password (if necessary), and select Continue.
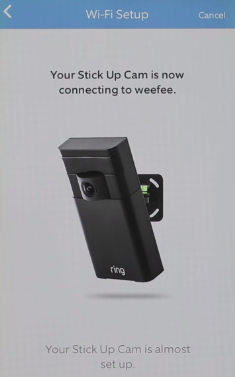
Your Ring device will begin connecting to your Wi-Fi network.
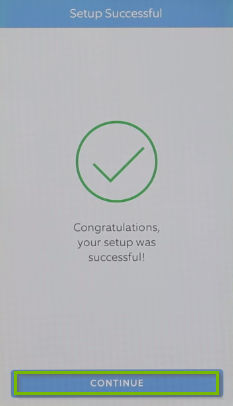
Congratulations! Your Ring camera is now setup and ready to use. Select Continue to complete setup.
.png)