.png)
Authored by: Support.com Tech Pro Team
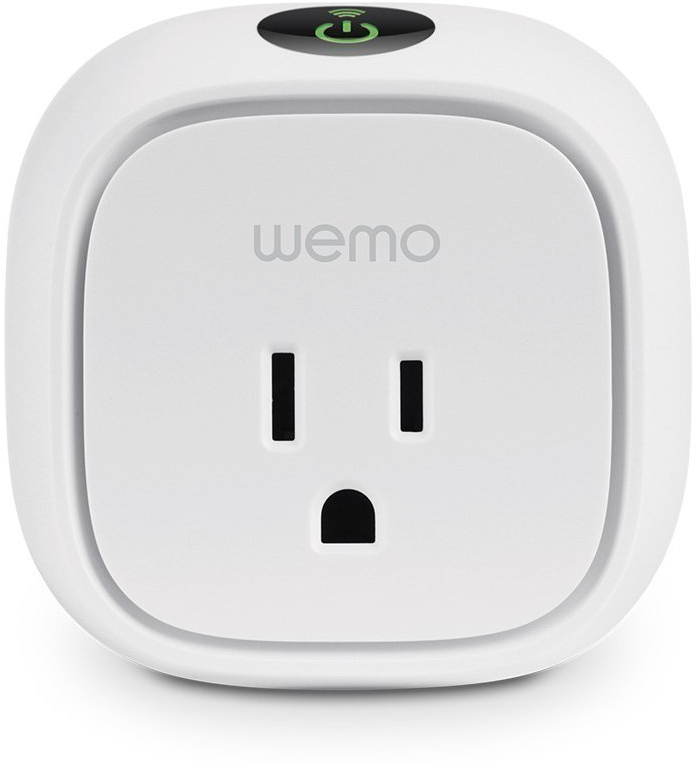
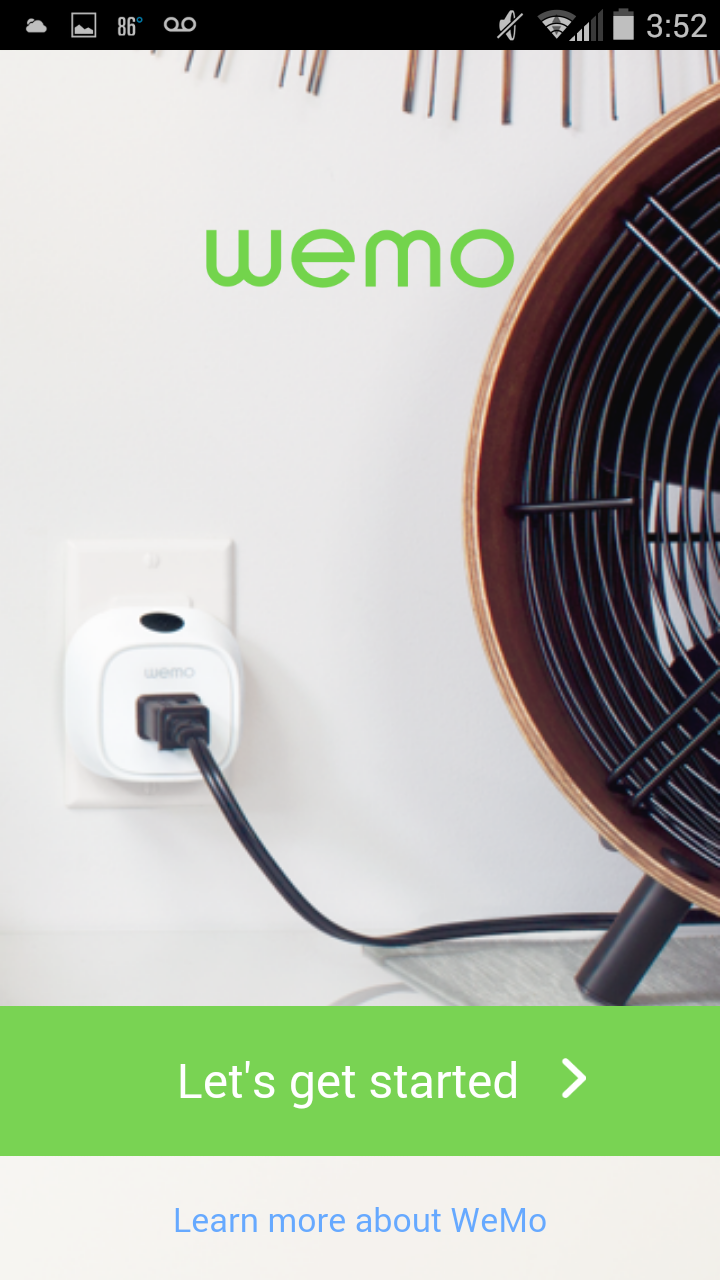
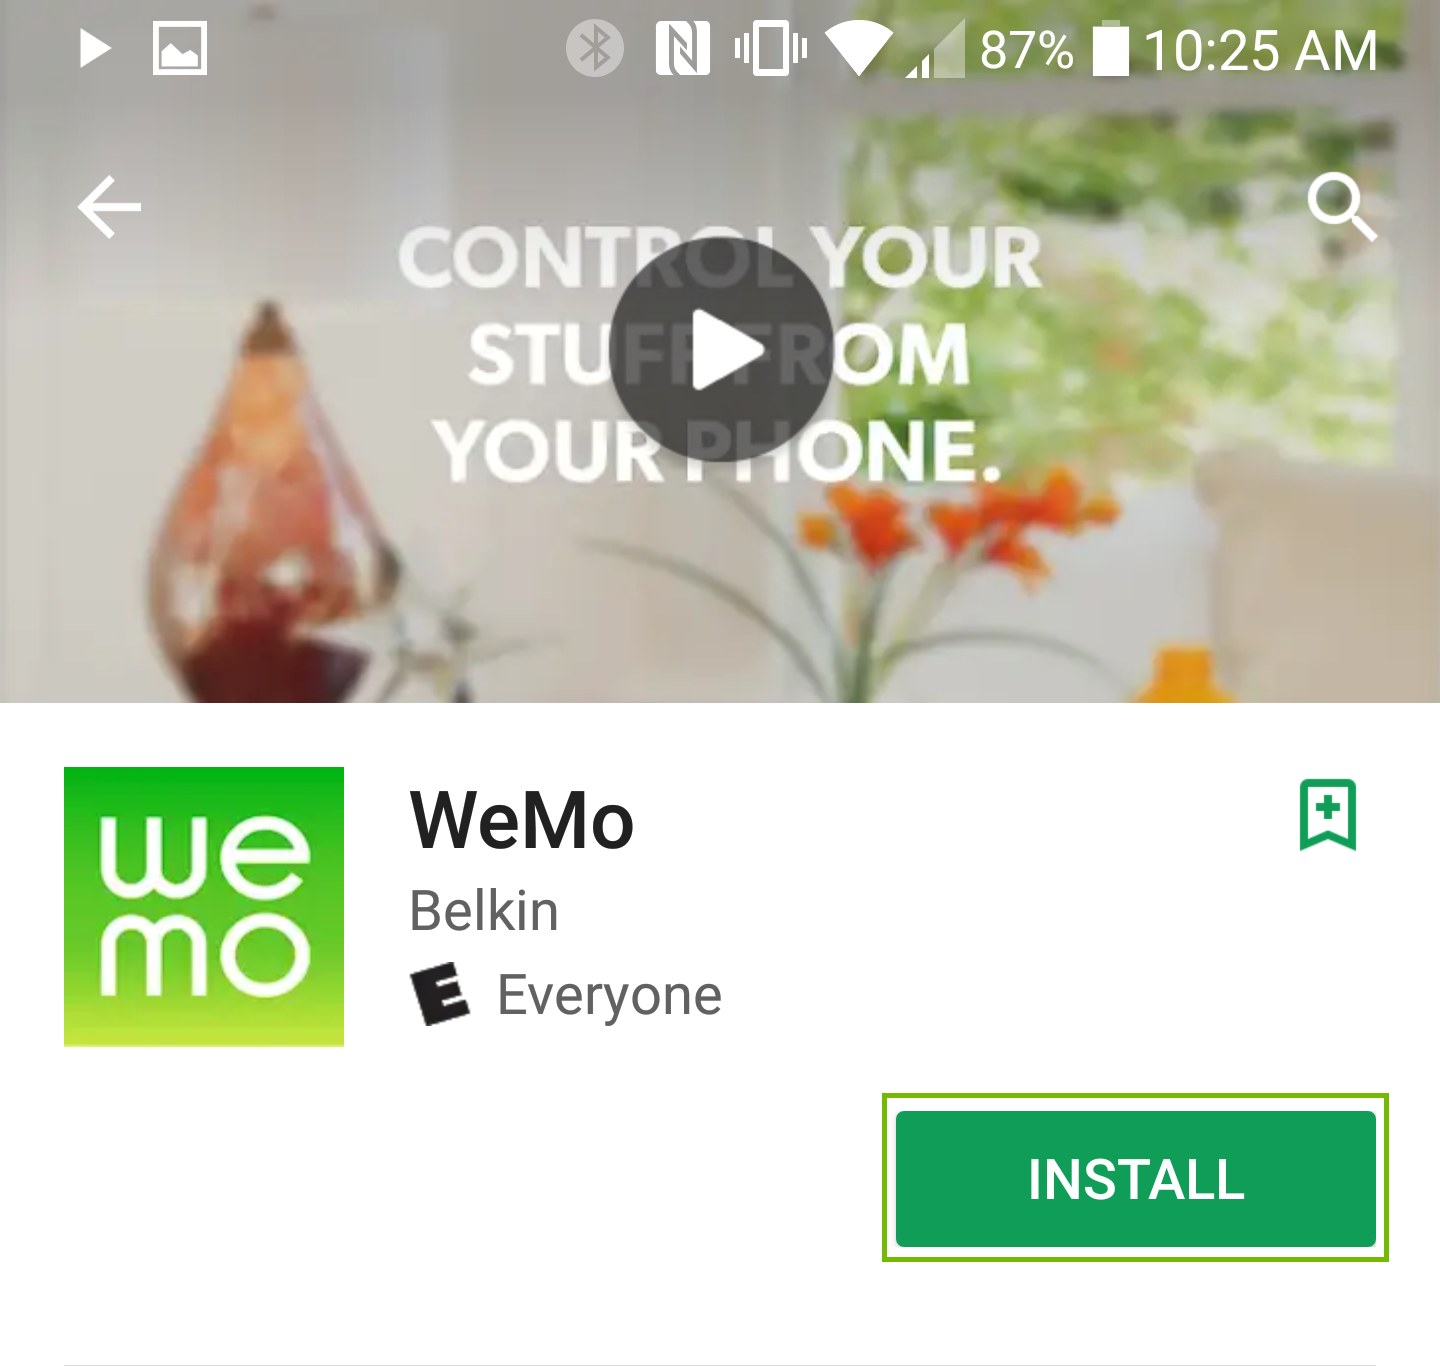
With the Wemo Insight Wi-Fi Smart Plug, you can monitor energy consumption right from your phone or tablet. This Smart Plug provides real-time reports on how much energy your devices are consuming. Use the Smart Plug to monitor how much a space heater is costing you, or how much energy a particular room consumes.
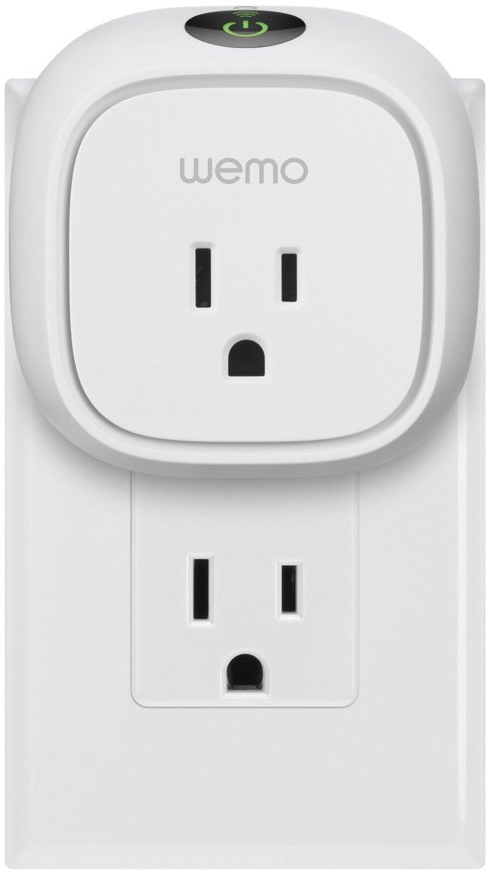
Plug the WeMo switch into an available wall outlet.


The network password for your normal home Wi-Fi connection has not been forgotten. Once setup, your phone will automatically reconnect to the proper network.


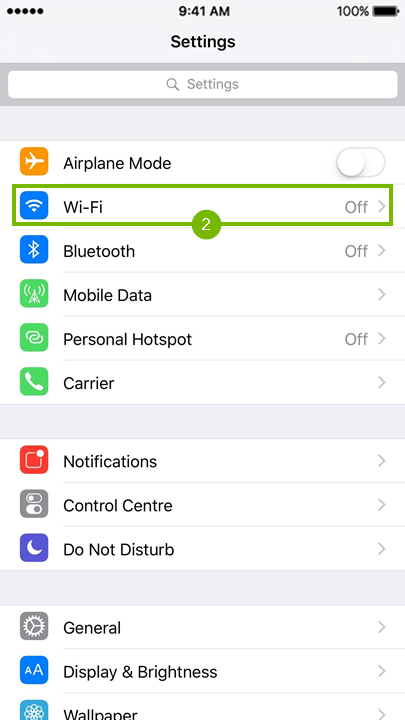
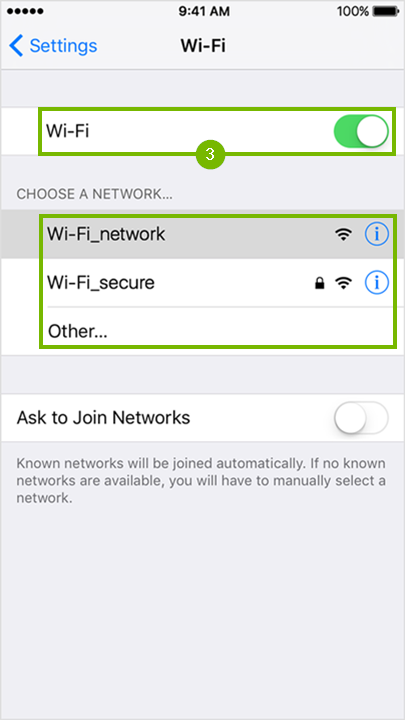
In order to setup your Wemo Light Switch, you must first connect to the special network provided by the switch for setup.

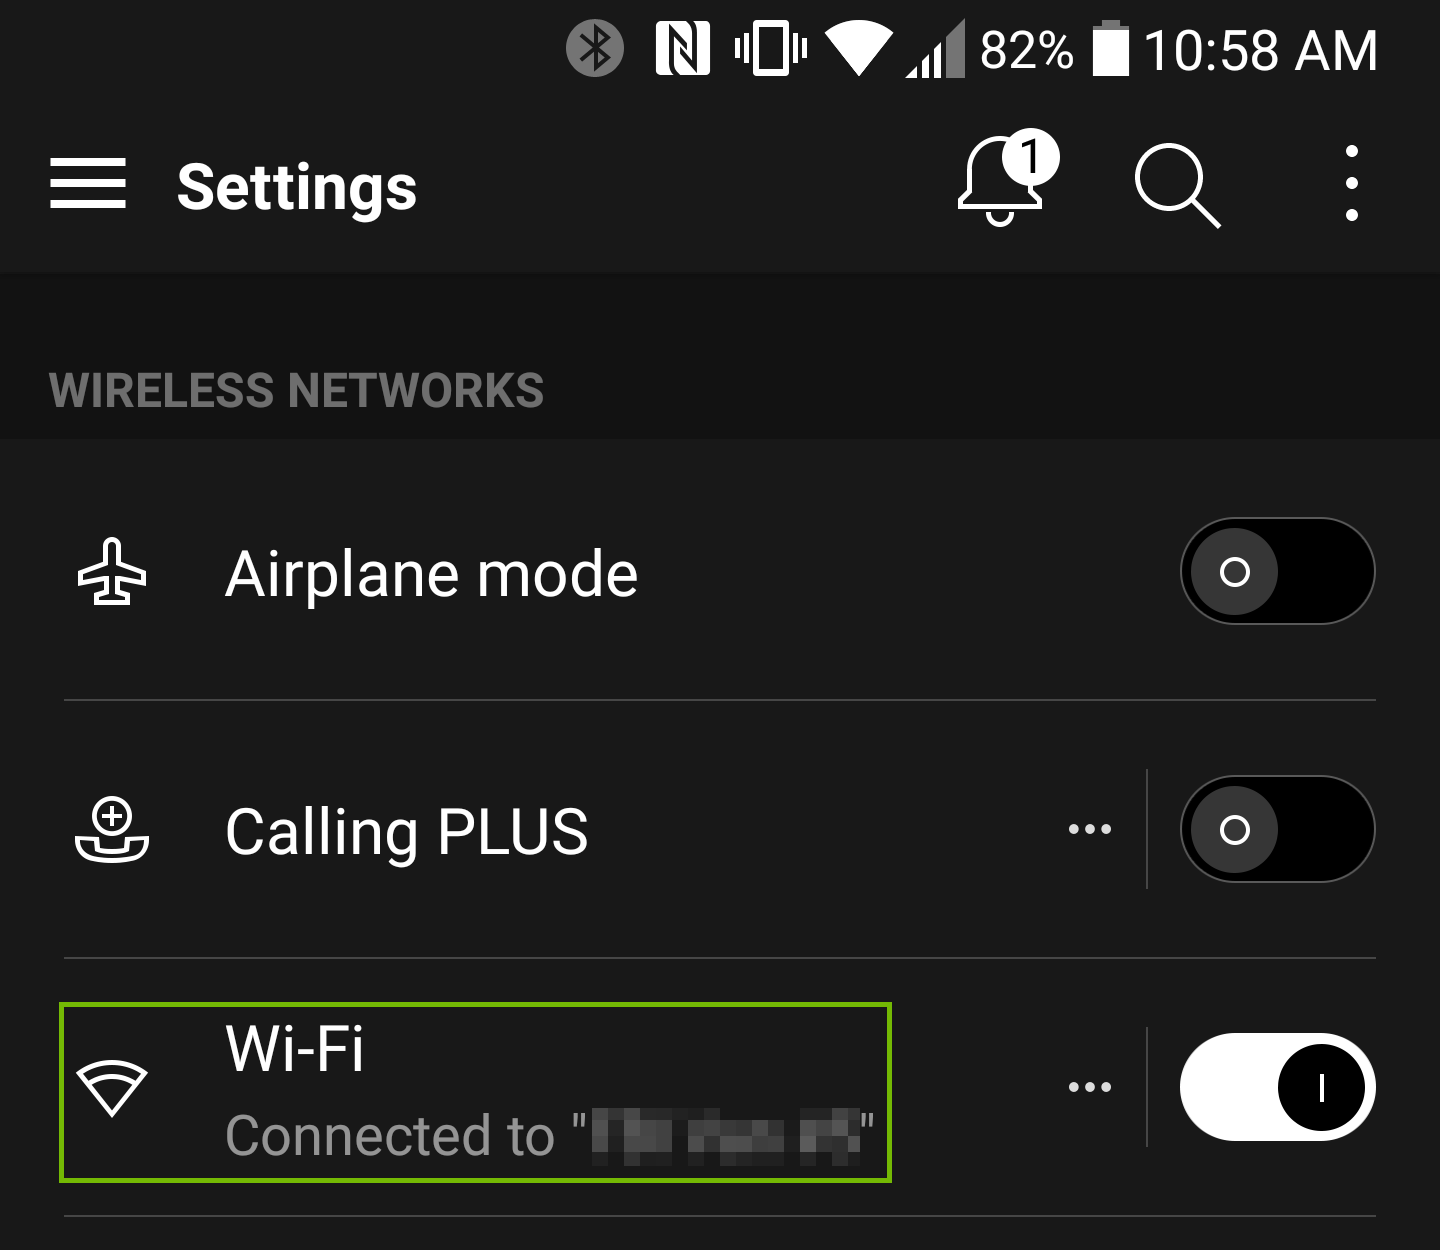

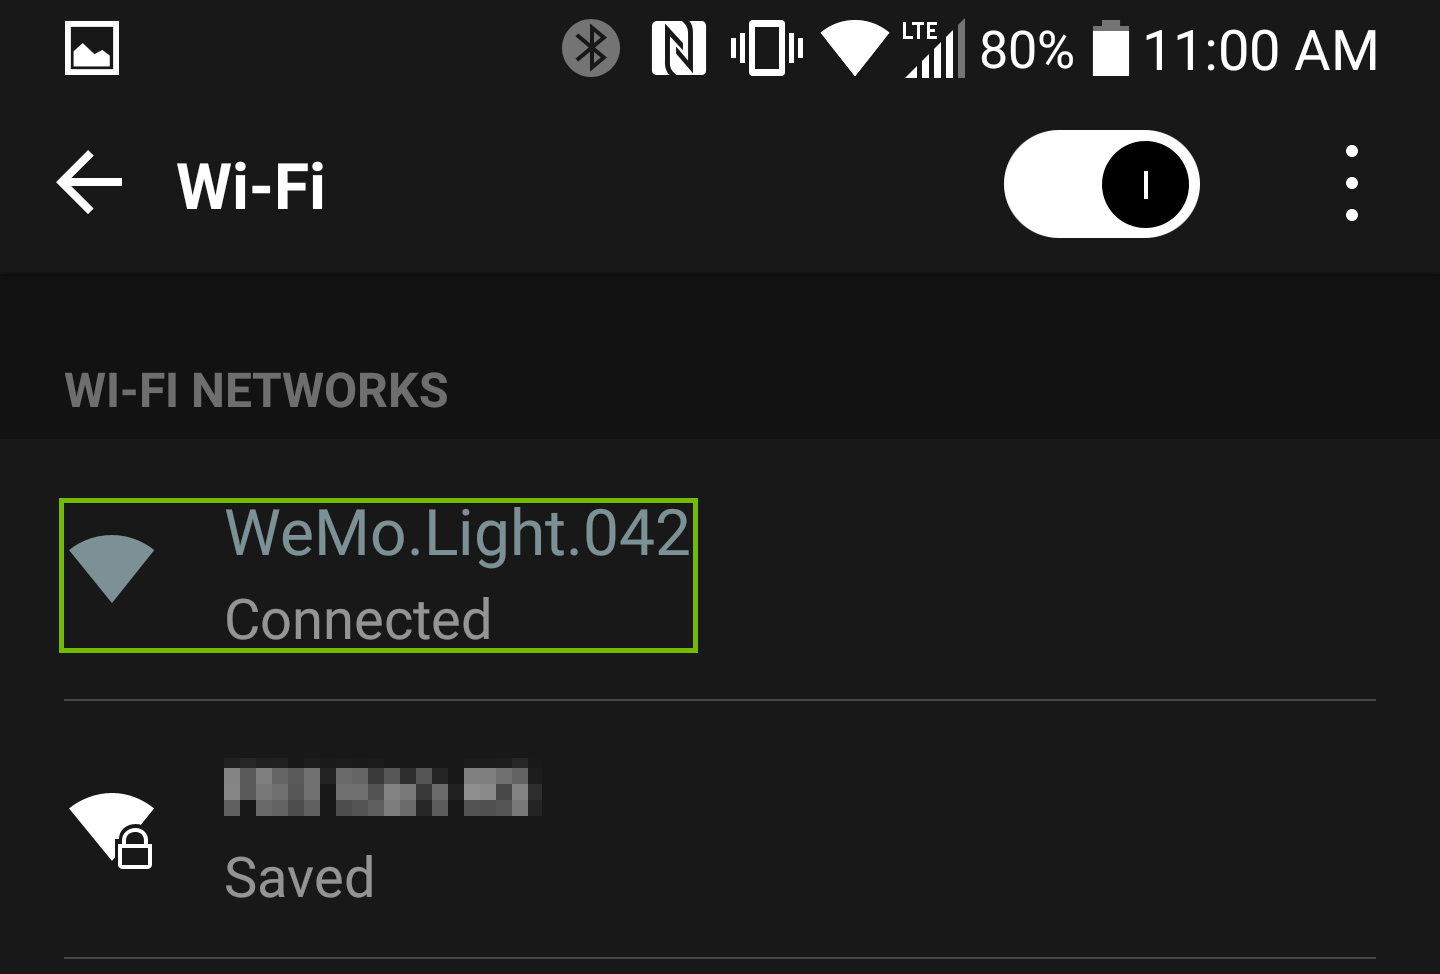
The network password for your normal home Wi-Fi connection has not been forgotten. Once setup, your phone will automatically reconnect to the proper network.
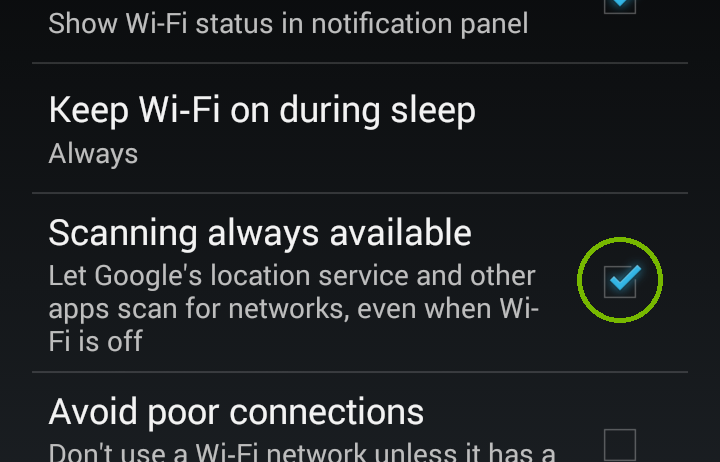
The Android Wi-Fi feature "Scanning always Available" is incompatible with Wemo Setup. Please disable these features temporarily before starting the setup process.
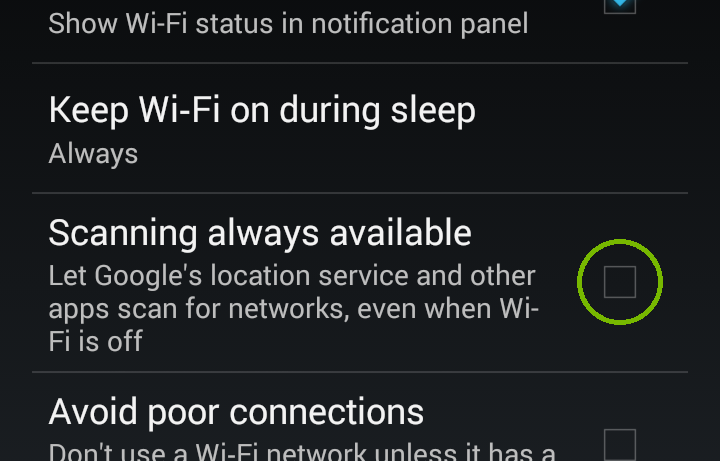
The Android Wi-Fi feature "Scanning always Available" is incompatible with Wemo Setup. Now that setup is complete, we will enable these features.

Support.com is committed to your privacy
We do not share or sell your data to third parties. We do use cookies and other third-party technologies to improve our site and services. The California Consumer Privacy Act (CCPA) gives you the ability to opt out of the use of cookies, third-party technologies and/or the future sale of your data. Do not sell my personal information.

Support.com is committed to your privacy
Read our Privacy Policy for a clear explanation of how we collect, use, disclose and store your information
