Connect Your Nest Smart Thermostat to Wi-Fi

Authored by: Support.com Tech Pro Team

1. Wi-Fi Network: Credentials

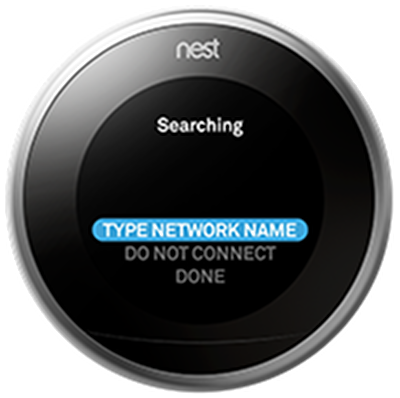
In order to connect to a wireless network, you must have the required credentials. These are:

  • Wireless Network Name (SSID)
  • Wireless Network Key (Password)

Finding Network Credentials

Most wireless routers/gateways have a label with the default credentials. If the credentials aren't there, look in the devices documentation.

Default Wi-Fi credentials highlighted on router/gateway sticker.

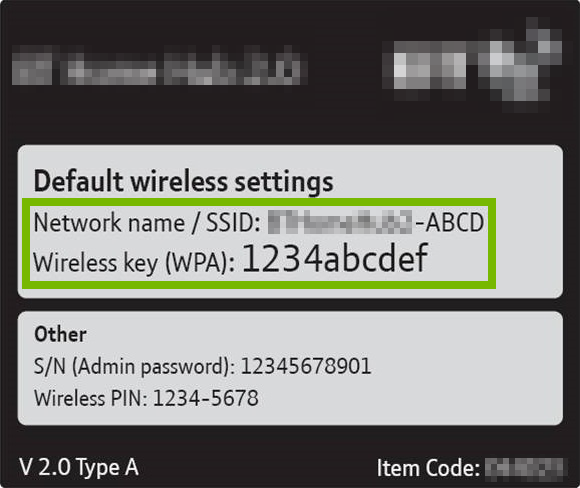
If your Internet Service Provider (ISP) installed the wireless router or gateway, they might have left you a setup sheet which may have the credentials.

2. Nest Smart Thermostat: Connect to Wi-Fi

  1. Press your Thermostat’s ring to open the Quick View menu.
Nest thermostat displaying the quick view menu.


  1. Select the Settings icon.
Nest thermostat highlighting the settings icon.


  1. Choose Network.
Nest thermostat settings menu highlighting the network option.


  1. Your thermostat will take a moment to scan for available networks.
Nest thermostat searching for Wi-Fi networks.


  1. Choose your home Wi-Fi network from the list.
Nest thermostat highlighting a particular Wi-Fi network.


  1. Enter your password if prompted.
Nest thermostat prompting the user to enter the Wi-Fi network password.


  1. Congratulations! You should now be connected to your wireless network.
Nest thermostat successfully connected to a Wi-Fi network.


3. Nest Smart Thermostat: Install and Configure the Nest App

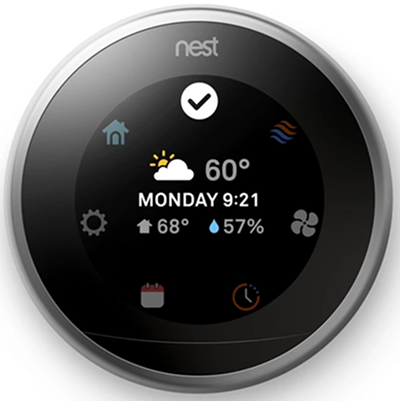
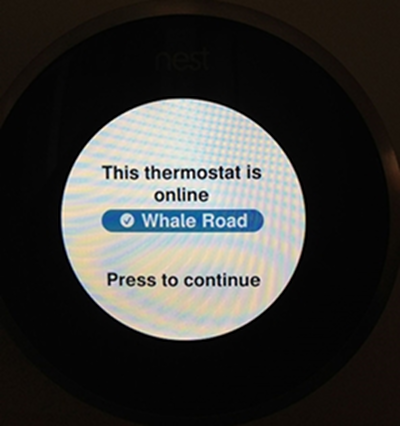
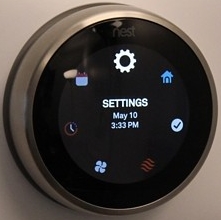
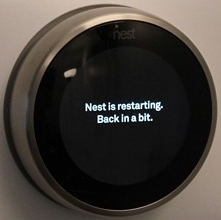
Now that the thermostat is configured we need to add it to your account using the Nest app.

  1. If you don't already have it installed, install the Nest app from the Apple App Store or Google Play.
  2. Launch the app and create an account. If you already have an account, sign into it.
Nest app login screen.
  1. Once you're signed in, tap Add.
  2. Then choose Nest Thermostat.
Nest thermostat highlighting the get entry key option.


  1. Enter the Key Code. To get the Key Code go to your thermostat and:
  2. Press the ring to get to the menu.
  3. Select Settings and press.
  4. Select Nest Account and press.
  5. Then press Get Entry Key.
  6. It will then display the key you will need to enter into the app.
Nest app setup screen prompting the user to enter the Nest entry key.

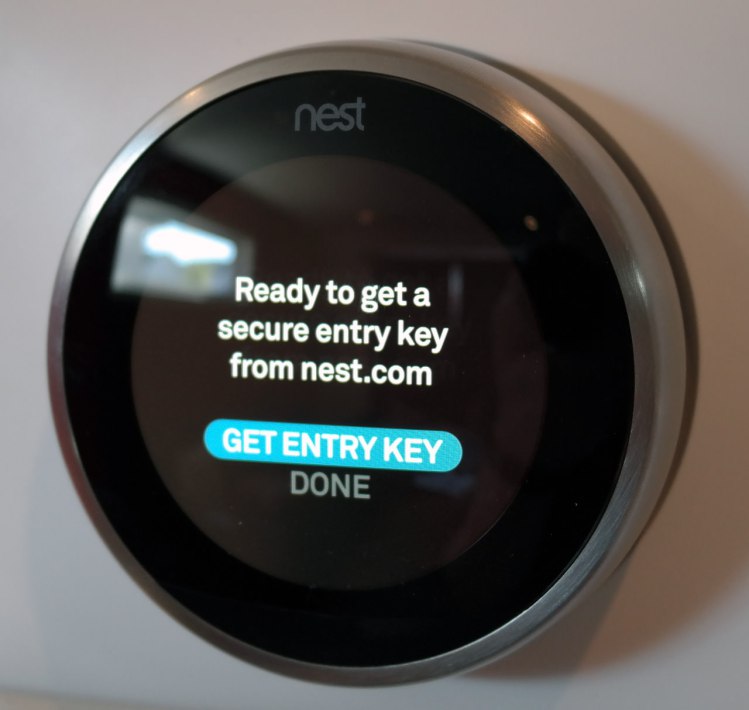
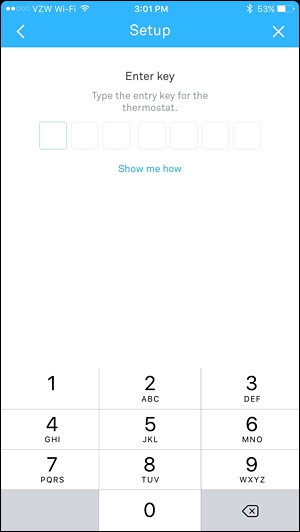
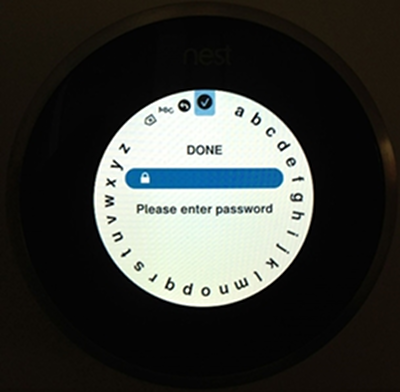
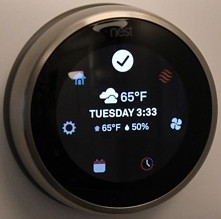
That's it, once the key has been entered you can begin using your thermostat and the app!

4. Check Other Devices

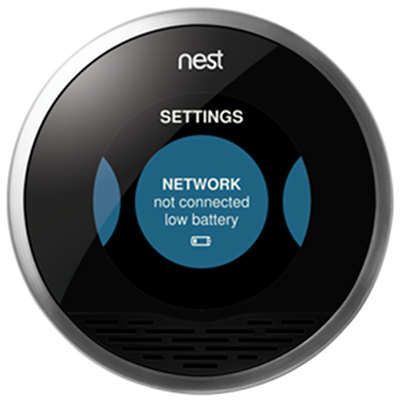
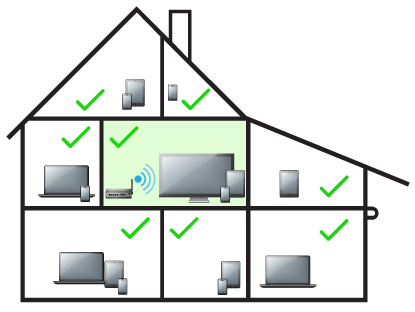
To help troubleshoot the problem we should check if other devices can connect to the wireless network.

5. Check Environment

If other wireless devices are connected to the network and functioning properly, chances are the router is OK. It's possible there is an environmental issue. Do you have a portable wireless device (Smart Phone, Tablet, Laptop, etc.) that you can put in the same area to test and see if that device's wireless connection still functions as intended in that location?

6. Nest Smart Thermostat: Restart

  1. Bring up the Quick Menu by clicking on the Nest Thermostat unit itself.
Nest thermostat displaying the quick menu.

  1.  
  2. Turn the ring to Settings and press to select.
Nest thermostat quick menu ring highlighting the settings icon.

  1.  
  2. Turn the ring to the right until you find Reset. Push on the Nest Thermostat to select it.
Nest thermostat settings menu highlighting the reset icon.

  1.  
  2. Select Restart.
Nest thermostat reset menu highlighting the restart option.

  1.  
  2. Turn the ring to the right until the dial reaches the other side.
Nest thermostat reset prompting the user to turn the dial to confirm their choice.

  1.  
  2. Push on the unit to select OK.
Nest thermostat dial has been turned and is prompting the user to select OK.

  1.  
  2. Your Nest Thermostat will now restart. The process should only take a couple of minutes. When it’s finished restarting, the thermostat will automatically begin heating or cooling your house again, and all of your settings will still be intact.
Nest thermostat performing a restart operation.

7. Nest Smart Thermostat: Connect to Wi-Fi

  1. Press your Thermostat’s ring to open the Quick View menu.
Nest thermostat displaying the quick view menu.


  1. Select the Settings icon.
Nest thermostat highlighting the settings icon.


  1. Choose Network.
Nest thermostat settings menu highlighting the network option.


  1. Your thermostat will take a moment to scan for available networks.
Nest thermostat searching for Wi-Fi networks.


  1. Choose your home Wi-Fi network from the list.
Nest thermostat highlighting a particular Wi-Fi network.


  1. Enter your password if prompted.
Nest thermostat prompting the user to enter the Wi-Fi network password.


  1. Congratulations! You should now be connected to your wireless network.
Nest thermostat successfully connected to a Wi-Fi network.


8. Nest Smart Thermostat: Factory Reset

  1. Press your thermostat ring to open the Quick View menu.
  2. Choose the Settings icon
Common settings icon.
  1. .
  2. Turn the ring to Reset and press to select.
  3. Turn the ring to All Settings and press to select.
Nest thermostat reset menu with the all settings option highlighted.


  1. Wait a few minutes to reset your Nest thermostat.
  2. At this point you may set it up again just like you did when you first installed it.

    Once the reset is done, you can add your thermostat back to your Nest Account.

9. What's next?

10. Networking: Range Check

The device needs to be within a reasonable range of the router in order to connect and have the best connection speeds.

  • In general, in most homes, you can be up to 30 feet from your router for a decent connection.
  • From 30' to 50' away, the speeds will be slower, and may drop occasionally, but it should be usable.
  • Greater than 50' away, and the signal will most likely be too weak to overcome interference. The speeds will be slow, and the connection may be sporadic.

The above numbers are approximates only. Optimal range may vary based on router make and model.

11. What's next?

12. Networking: Relocate Router Check

Your router may need to be relocated to a more centralized location in order to provide better coverage for all your devices.

Good Placement

A house, separated into rooms detailing how placing Wi-Fi in the center of a house will provide better coverage to reach all devices. Diagram.

Bad Placement

A house, separated into rooms detailing how placing Wi-Fi in the corner of the house can cause some devices to not have a Wi-Fi signal. Diagram.

13. Router Relocation

Since this appears to be a range issue that can be resolved by putting the router in closer proximity to the device's intended use area, we recommend moving the router to a more centralized location.

14. Range Extender

If wireless signal is not reaching your device, and relocating your router or the device itself to be in closer proximity is not possible or doesn't resolve the issue, a great way to boost wireless signal without replacing existing equipment is to acquire and install a range extender. Range extenders work with your existing wireless router as a type of wireless repeater used to expand the reach of wireless signal in your home.

15. What's next?

16. What's next?