Add a light to your Philips Hue smart lighting system.
Before We Begin:
Have the Hue app installed on your smartphone or tablet.
2. Install Lights
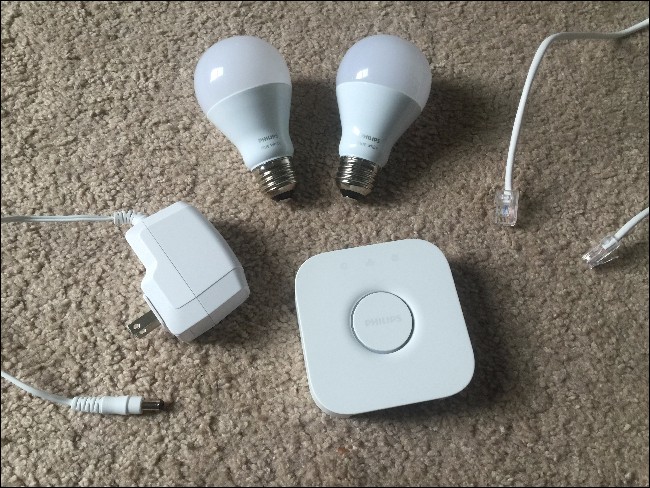
Unbox your Philips Hue lights. You'll get a Hue Bridge, a power adapter, an ethernet cable, and either two or three light bulbs, depending on which starter kit you bought. The Hue White and Color starter kit comes with three bulbs, while the Hue White starter kit comes with two bulbs.
For safety reasons, make sure the light fixtures you are going to be using are powered OFF before screwing in your new bulbs.
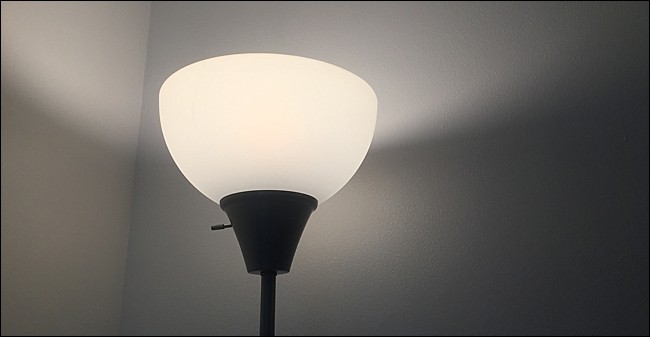
Screw in the Philips Hue light bulbs into the light fixtures that you want to control wirelessly. Once the bulbs have been physically installed, turn each light fixture ON. The Hue bulbs will automatically turn on, letting you know that they're both working properly and are ready to be paired to the Hue Bridge.
3. Pair Light
Pairing a new light is easy! You can have up to 50 lights in your Hue Home setup at once.
Make sure the light is turned off.
Screw in your new Hue light, or plug in your new Hue light.
Switch the power back on.
Open the Philips Hue App on your smartphone or tablet.
Tap Settings, then Light Setup.
Tap the plus icon in the bottom-right corner, to add a new light.
Tap search, to search for your new light.
Your new light will appear in the list at the top. Tap the light, and the light will blink to confirm the connection.
Tap the arrow to the right of your new light, and give it a name.
Tap Room Setup at the top.
Select the room your light is in.
Your light is now automatically included in any timers or scenes you have setup!
.png)