The Sonos Controller app lets you set up, manage and control all the Sonos products from a single central location. With it you manage and play the music suited to your taste instead of having to hop around individual apps to get your playlists.
This guide will walk you through adding music services (Spotify, Pandora, etc) to the Sonos Controller app on your phone or tablet, adding a music library to your computer, and managing your music queue.
Tools You'll Need:
A paperclip
iPhone charging cable
Access to a computer with iTunes installed
Any other non-consumable tools needed
Comment out tools section if no tools are necessary
-->
Supplies You'll Need:
Zip ties
Any other consumable supplies
Comment out supplies section if no supplies are necessary
-->
Before You Begin:
Sonos Setup You will need to have the Sonos App installed and your Sonos speaker setup first.
Adding music services on the Sonos system is similar across all devices. This guide will show you how to do it on smartphones and cover briefly the differences on how to do it on a computer as well.
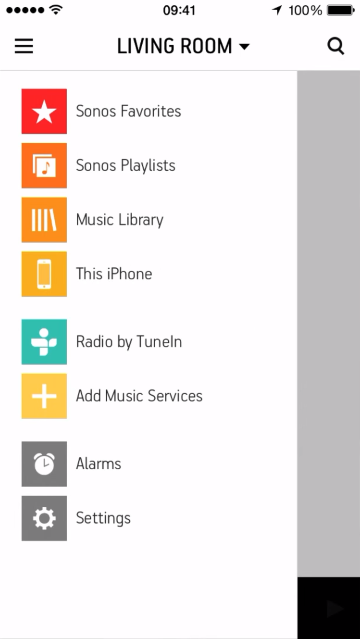
Open the Sonos Controller app.
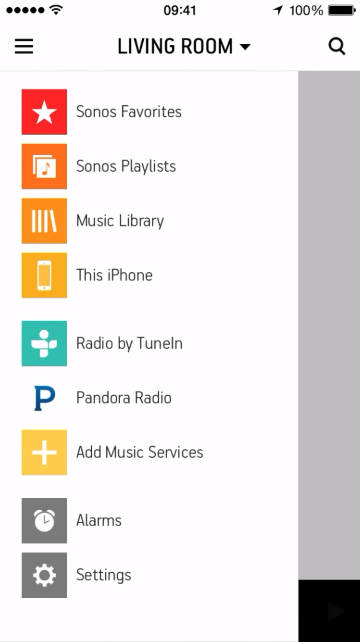
Open up the menu from the top left corner of the screen.
Select Add Music Services and you'll be brought to the services list.
Using the Sonos Controller app on a computer, you can find the same option in the source browser on the right side of the screen.
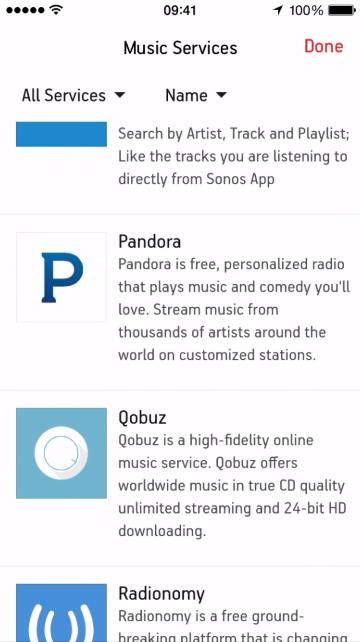
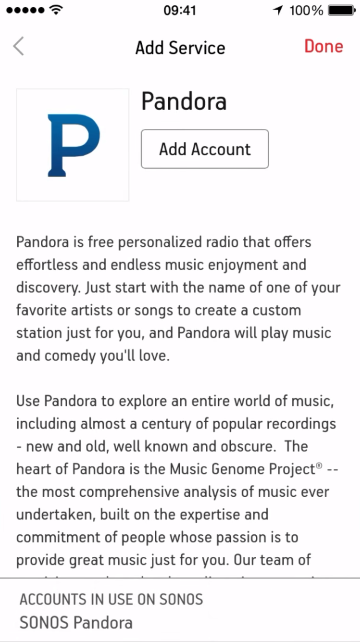
There are many streaming services available such as Pandora, Spotify, and Napster but not all are available on Sonos. Search for the music service you want to add and tap on it.
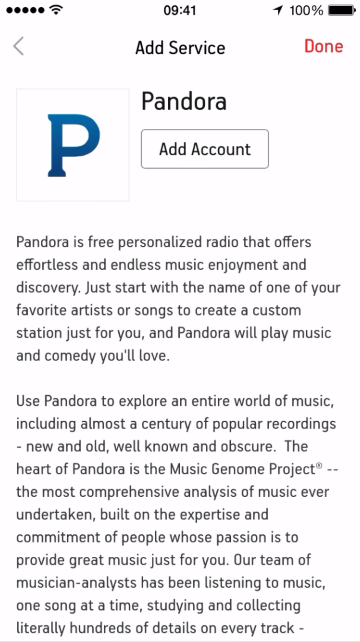
Tap on Add Account to give your Sonos account permission to access Pandora.
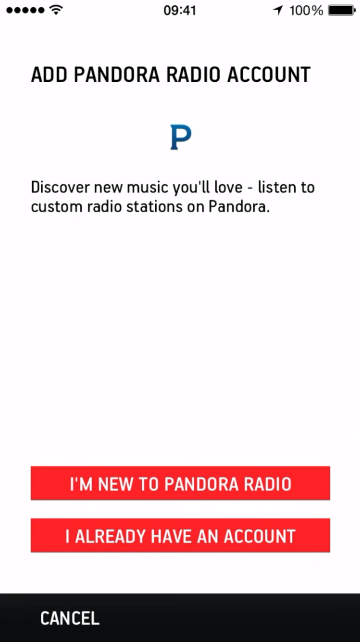
Create a new account for the music service or login with an existing one. You'll need an account to get access to the service.
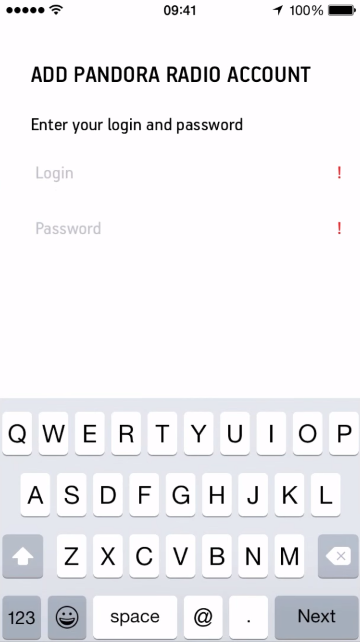
Login with your music service credentials.
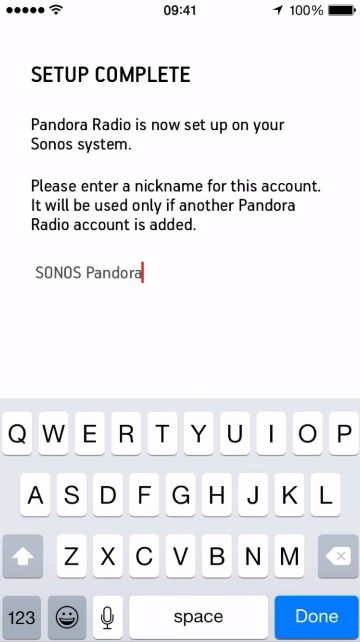
Once your account is verified you'll get to the setup completion screen. You'll need to set a nickname for this account.
Once set up you can add another account for the same music service if you have one or tap on Done.
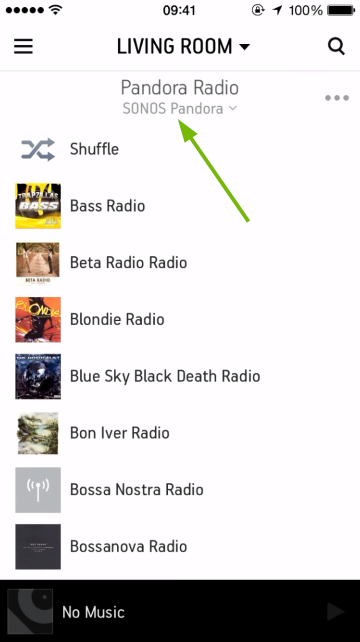
The music service will now show up in your Sonos Controller across all devices.
If you added another account you can select which one to use by tapping on the nickname you set earlier. Another way to add another account is by following the same steps from the beginning to add the same music service but with the other account.
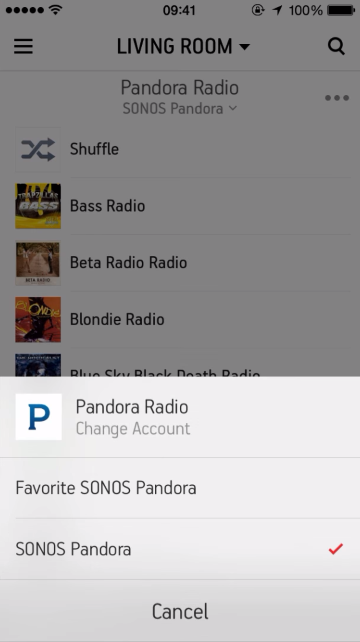
Select the account you want to use from the Change Account menu at the bottom.
3. Add Music to Library Using a Computer
To set up a music library you have to use a computer and it needs to be done on every computer that you want to include music from into the library. After that, you can manage the music library from any computer or any mobile device. Here's how to add music to the Music Library using the Sonos Controller app for computers. The Mac and Windows apps look similar with minor differences which will be pointed out along the way.
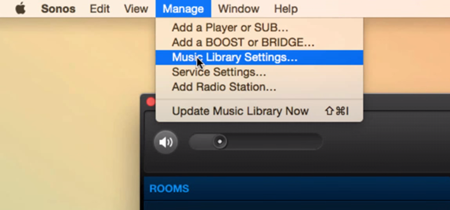
Click on Manage in the Apple menu and select Music Library Settings...
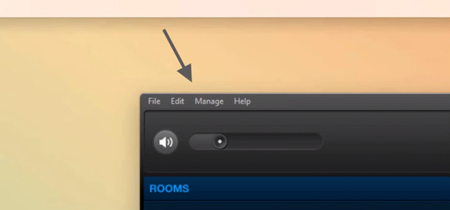
On a Windows PC you'd see the menu in the controller app itself.
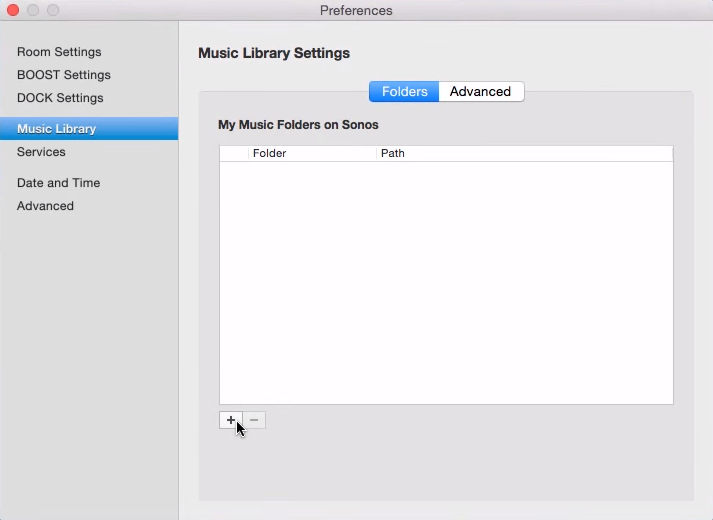
On the Preferences screen click on the + sign.
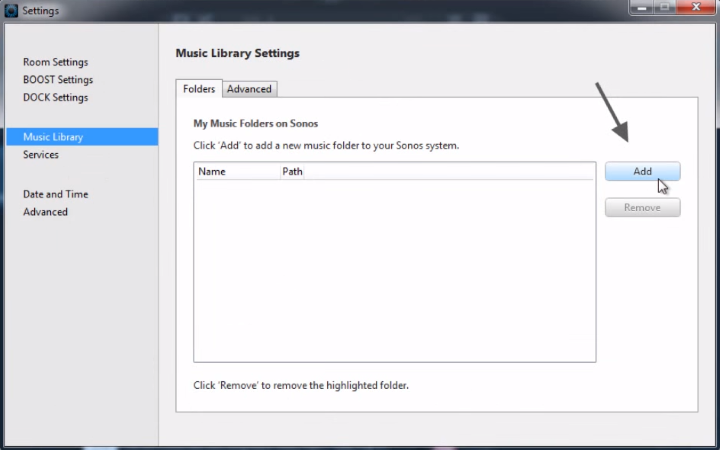
On a Windows PC you'd click on Add instead.
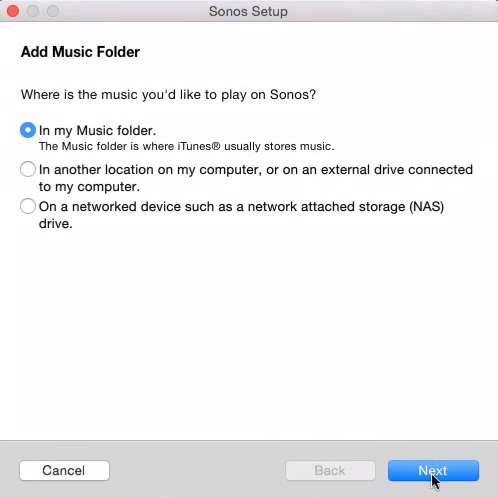
Select the location from where you'd like to add the music files from. If you're using iTunes or you're not sure, just select In my Music folder then click Next.
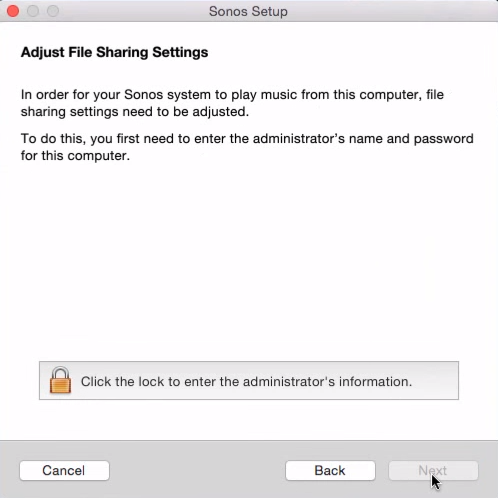
To adjust the file sharing settings click on the lock icon. On the new popup type in your administrator username and password then click OK.
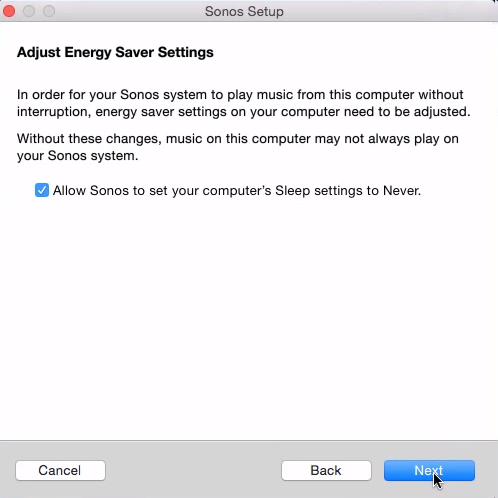
Choose whether you want to adjust energy saver settings so the computer doesn't go to sleep while playing music then press Next.
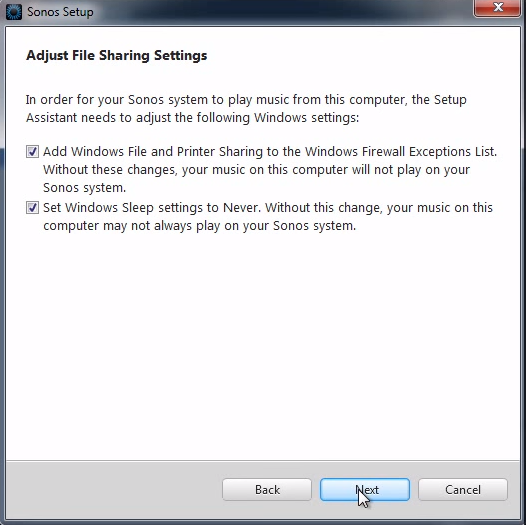
On a Windows PC the last two screens would be combined in one screen. If you get another popup asking for permission to make changes to the computer, click Yes.
The time needed to add the music to the library depends on how much music you're adding. Give it time to complete then click Done on the completion screen.
The newly added music folder will show up in the Music Library Settings.
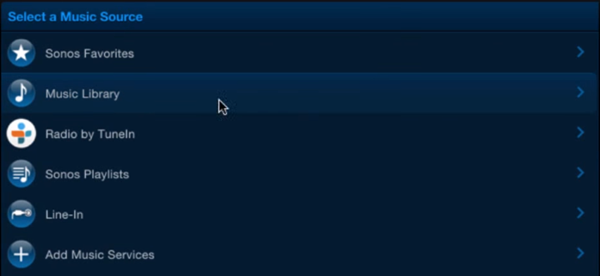
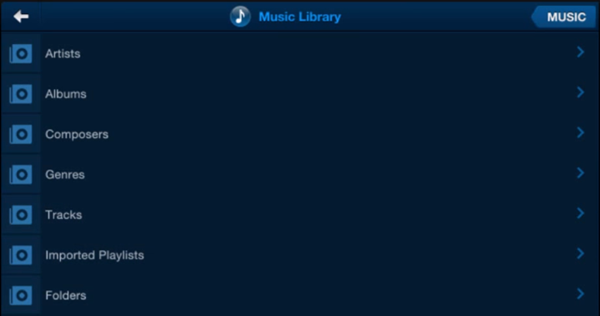
You'll be able to access the newly added music by going to the Music Library in the controller app in the source browser area.
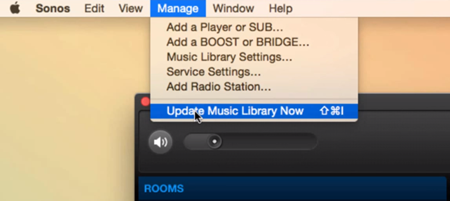
If you've added more music to your original music folder and want to listen to it right away in Sonos, you'll have to update the Music Library manually. In the menu click on Manage then select Update Music Library Now. You'll get a popup asking you to confirm whether you want to update. Just click Yes.
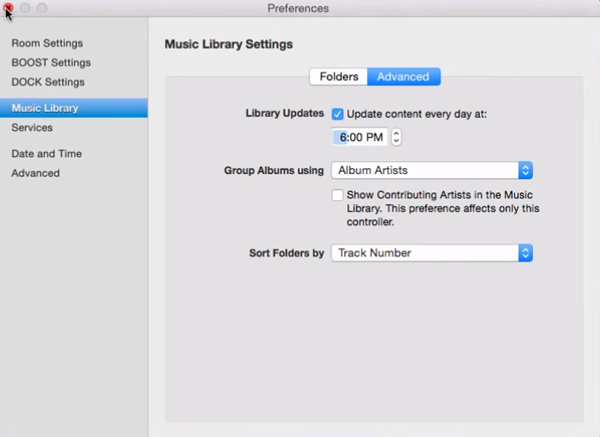
To have the library updated daily automatically go to the menu and click on Manage then select Music Library Settings.
Go to the Advanced tab, check the box next to Library Updates and set the time when you want the automatic updates to occur.
4. Manage a Music Queue
A queue is a list of songs that you want to listen to, which you can arrange the way you like. Think of it like a playlist, but less permanent. When you save a queue you turn it into a playlist. Managing the queue on the Sonos system is similar across all devices, whether you're using the app on a phone or tablet.
Create a Queue on a Tablet
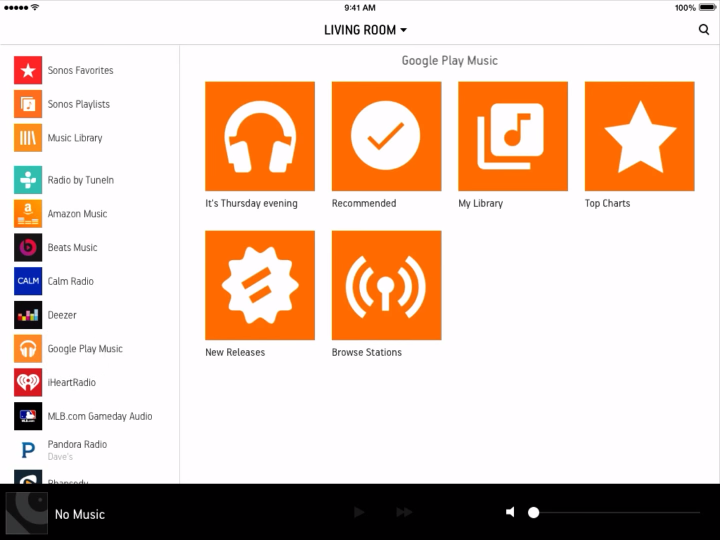
Select the music source, this may be your Music Library or a music service that allows you to pick the songs you want to listen to.
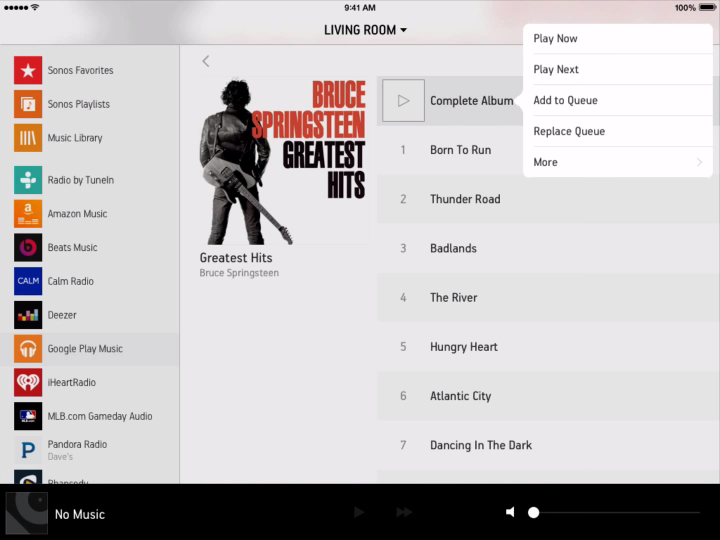
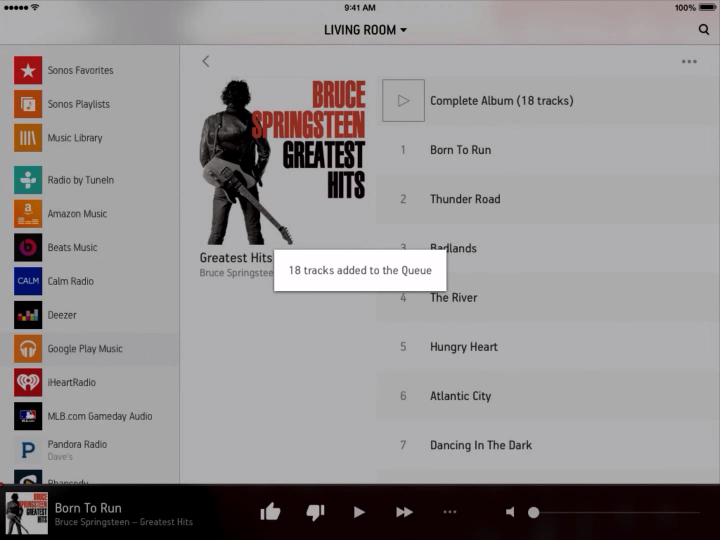
Select an individual song or the complete album then choose an option from the popup menu:
Play Now - Adds your selection to the queue after the current song and starts playing it.
Play Next - Adds your selection to the queue after the current song.
Add to Queue - Adds your selection to the end of the queue.
Replace Queue - Clears the queue and adds your selection to it.
You'll get a confirmation once your selection has been added to the queue. You can wait for it disappear or tap on it to go away.
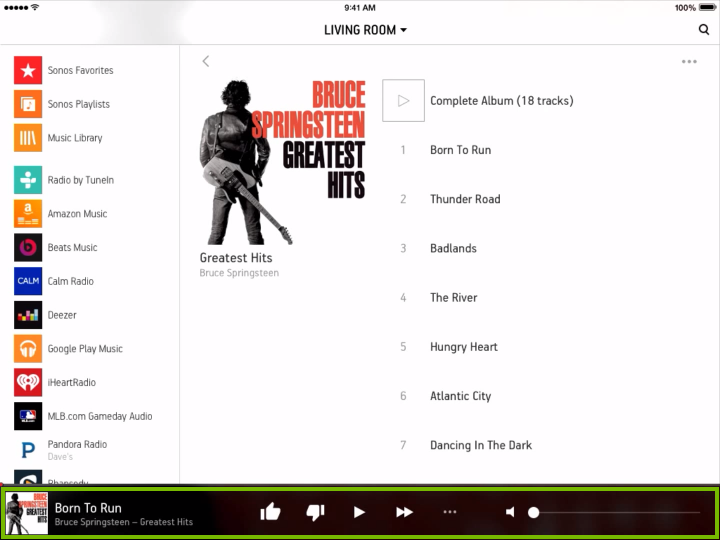
To bring up the queue you need to tap on an empty space on the Now Playing area at the bottom of the screen.
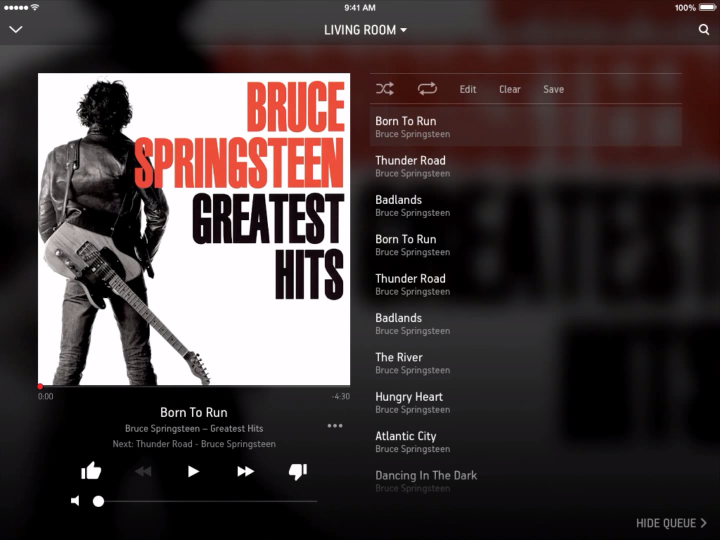
This will bring up the Now Playing and Queue screen.
On a Smart Phone
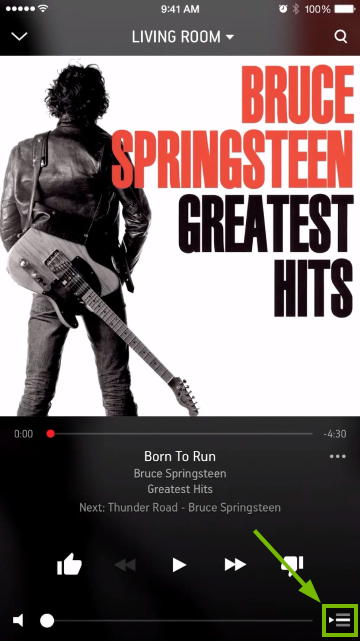
Similarly, on a smartphone you would have to tap the Now Playing area at the bottom of the screen.
On the Now Playing screen tap on the Queue button at the bottom right corner of the screen.
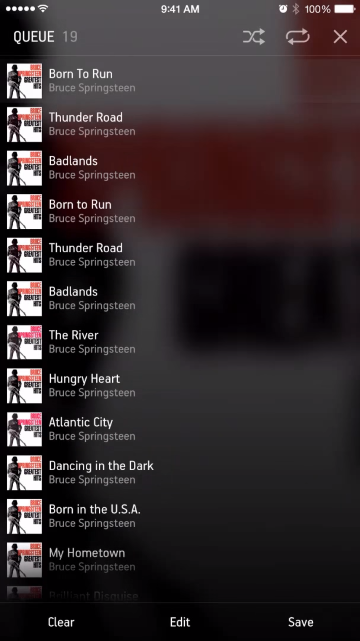
This will bring up your Queue screen.
Organize Your Queue
If you'd like your songs to play in a random order then tap on the Shuffle button. To re-shuffle, tap it again to deactivate it then tap it once again to reactivate it.
If you'd like your music to play continuously tap on the Repeat button which will start the queue over when it reaches its ends. If you tap it again it will show a number 1 in the middle of the button and loop the selected song.
If you'd like to reorganize the queue tap the on the Edit option.
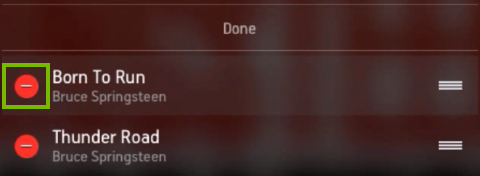
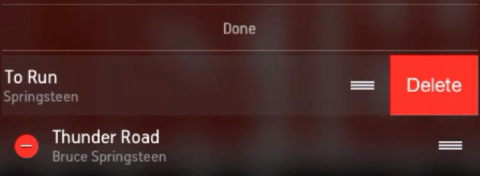
To remove a song tap on the minus symbol to the left of the songs name then tap Delete.
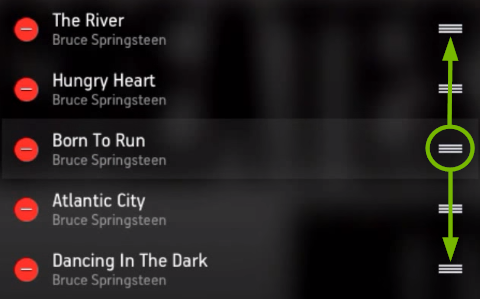
To change a songs position in the queue, tap and hold the three horizontal lines to the right of the songs name and move it up or down.
When you're finished editing the queue tap on Done.
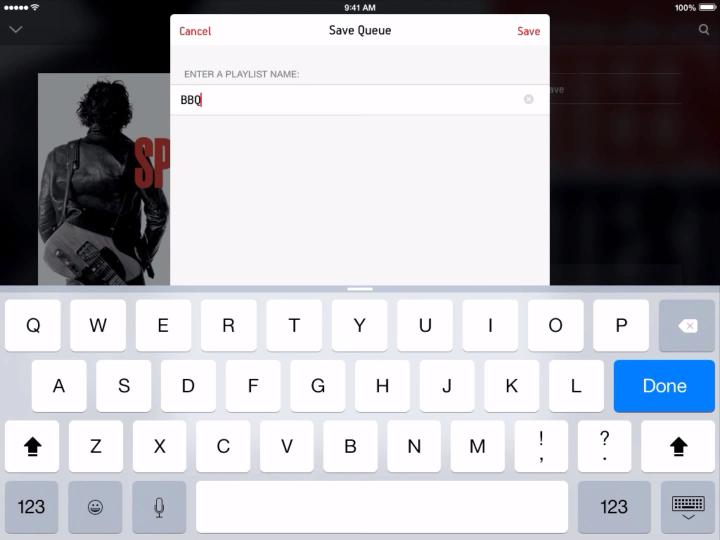
Save Your Queue to Turn it into a Playlist
If you'd like to listen to this queue in the future you can tap on the Save option, type in a name for the playlists name then tap on Done on the on screen keyboard and Save at the top.
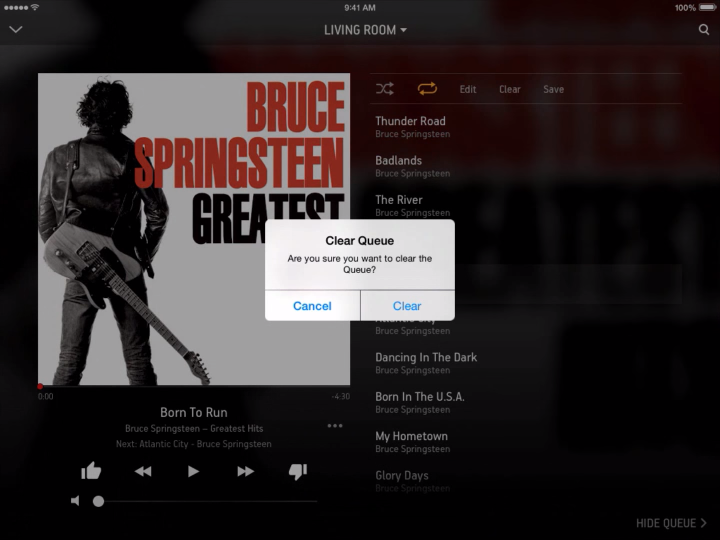
To remove everything from the queue tap on the Clear option then confirm your choice.
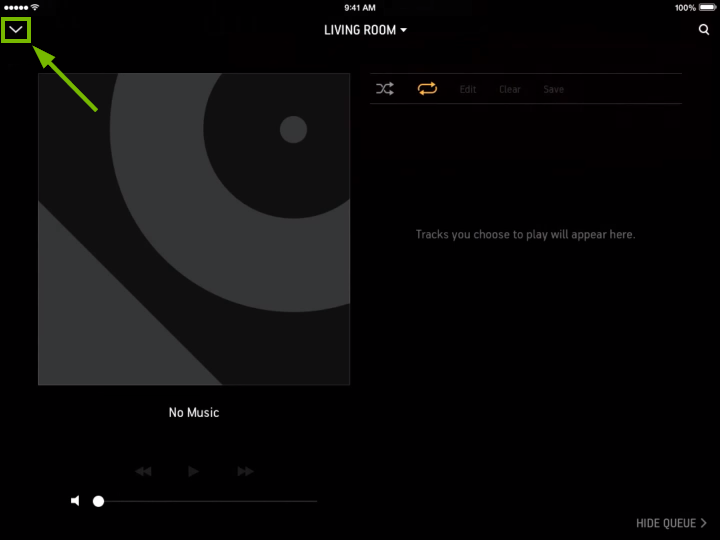
To return to the Sonos Controller main screen tap on the downward pointing arrow on the top left corner of the screen.
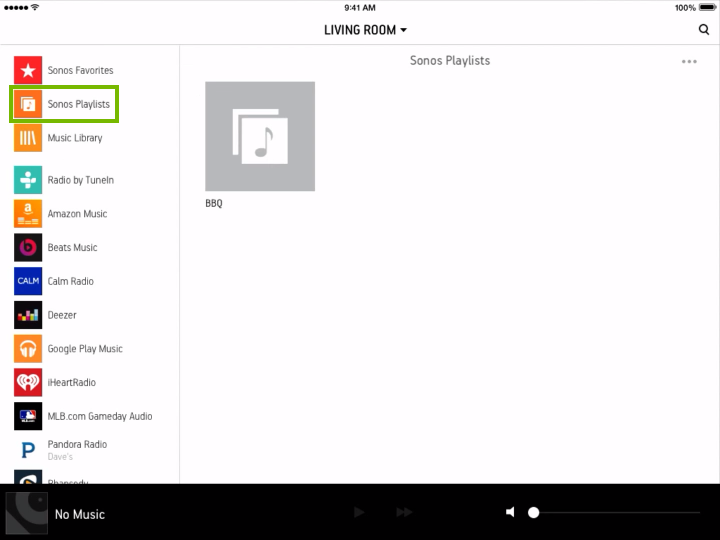
To play music from any of your saved playlists go to Sonos Playlists and add individual or all tracks the same way we showed up before.
.png)