.png)
Authored by: Support.com Tech Pro Team
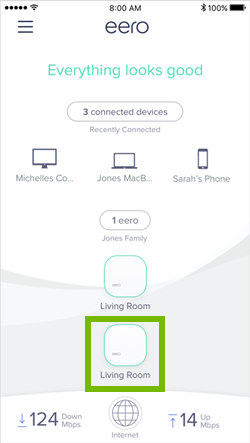
In this guide, you'll learn how to connect additional eero devices to your existing eero mesh network. Mesh networks are made to be expanded in this way to provide WiFi coverage throughout your home. We'll also go over how to remove an eero from your network. You may need to do this if you're troubleshooting an issue, or if you no longer need a particular eero in your home network.
Tools You'll Need:
Supplies You'll Need:
-->
Before You Begin:
You must have the eero app installed.
You must have an eero Pro set up to add an eero device.

While eero likes to refer to their devices as "eeros," there are actually two types of eero devices. The first is the eero Pro router. In order to create an eero mesh network in your home, you must start with an eero Pro router. The pro router creates your wireless network and acts as the foundation of your mesh network. The second type of eero device is the eero Beacon. The Beacon does not come with any Ethernet ports, and is meant to be used specifically as a means to extend WiFi coverage in your home. While the use case for each device is different, set up of these devices is largely similar thanks to the eero app.
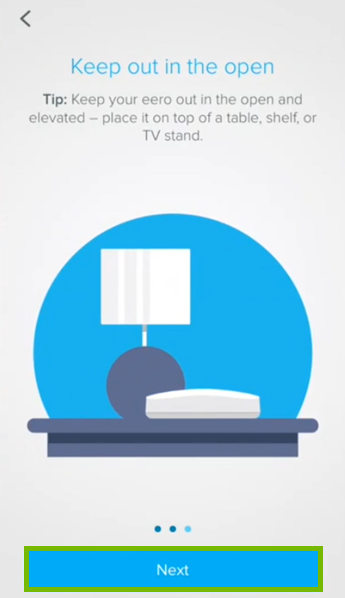
While your eero mesh network is made to be expandable, additional eero devices must be placed optimally so that it can extend the original wireless signal properly. Improper placement can lead to poor speeds, intermittent connectivity, or dropped connections altogether. Keep the following do's and don'ts in mind when choosing a location for your eero device:
Do

Don't

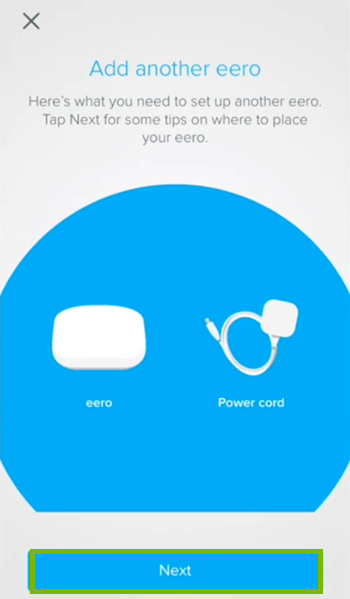
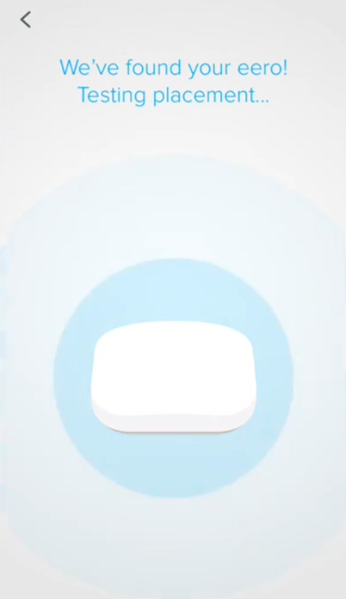
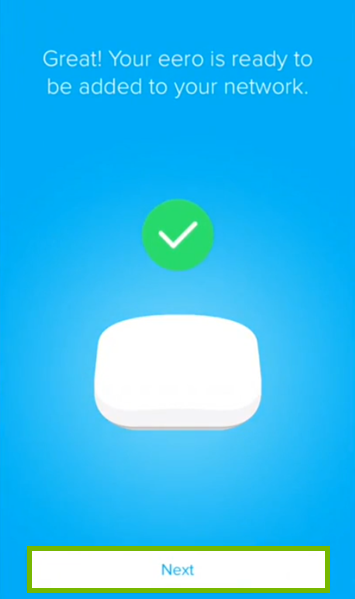
Once you've chosen what you feel is the best location for your new eero, plug it in.


Keep in mind that removing your main eero will also delete your entire eero network. Removing other eeros may reduce your coverage and cause connectivity issues.


Support.com is committed to your privacy
We do not share or sell your data to third parties. We do use cookies and other third-party technologies to improve our site and services. The California Consumer Privacy Act (CCPA) gives you the ability to opt out of the use of cookies, third-party technologies and/or the future sale of your data. Do not sell my personal information.

Support.com is committed to your privacy
Read our Privacy Policy for a clear explanation of how we collect, use, disclose and store your information
