.png)
Authored by: Support.com Tech Pro Team
Backing up your Mac is crucial to safeguard your data against accidental deletion, hardware failures, or other unforeseen disasters. This comprehensive guide will walk you through various methods and best practices for creating backups of your Mac's important files and system settings.
Learn why regular backups are essential for protecting your data and ensuring peace of mind.
Explore various backup methods based on your needs and preferences.
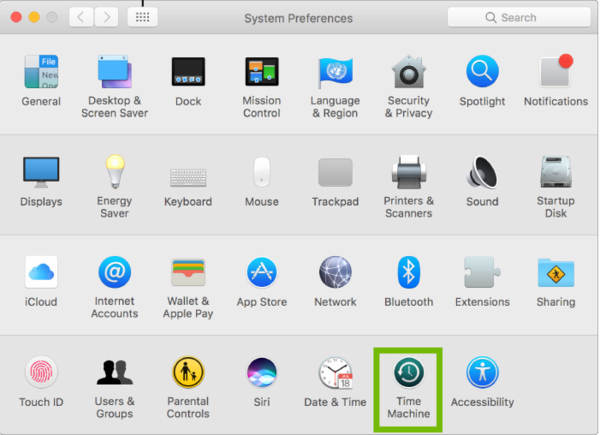
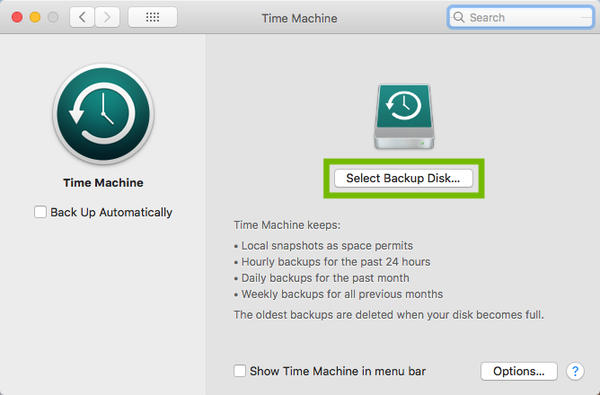
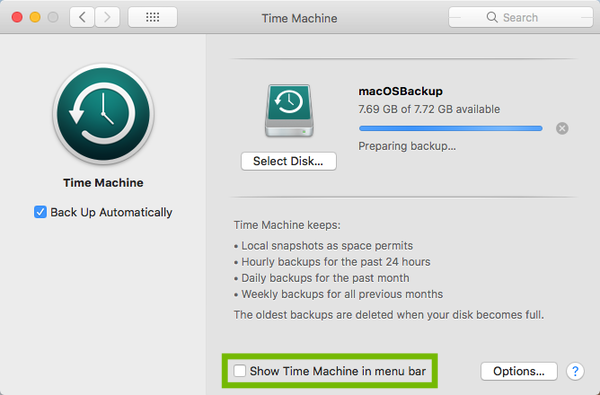
Set up Time Machine for automatic, incremental backups.
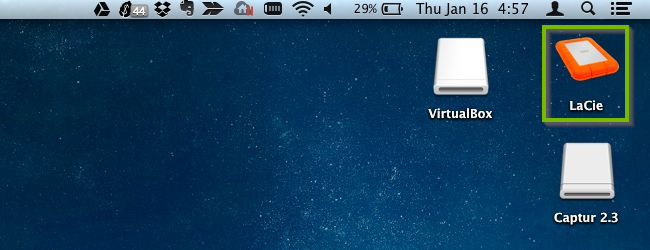
Connect an external hard drive and configure Time Machine.
Monitor and restore files using Time Machine.
Use iCloud to back up important files, documents, and settings.
Enable iCloud Backup in System Preferences > Apple ID > iCloud > iCloud Backup.
Manually copy important files and folders to an external drive or cloud storage.
Use drag-and-drop or file-syncing applications.
Explore third-party cloud backup services (e.g., Backblaze, Carbonite) for comprehensive data protection.
Create a bootable backup of your entire system using software like Carbon Copy Cloner or SuperDuper.
Ensure you can restore your Mac to a working state in case of system failure.
Understand how to manage backups, access specific files, and restore data.
Learn how to perform a complete system restore when needed.
Follow best practices for successful backups:
Regularly back up your data, ideally on a daily or weekly basis.
Keep multiple copies of backups, including off-site backups for added security.
Encrypt sensitive data to protect it from unauthorized access.
Test your backups periodically to ensure they are functional.
Update your backup strategy as your data needs change.
With this comprehensive guide, you should have a clear understanding of the importance of backups and the various methods available to protect your Mac's data. Choose a backup strategy that suits your needs and implement it consistently to ensure the safety and accessibility of your important files and settings.
If you are still having trouble, refer to the Step-By-Step Guide below, or Contact Support.Com for Personalized Assistance.
Making sure you have a recent backup of your computer is extremely important. Apple has made this fast and easy, thanks to Time Machine for your Mac.
This guide will walk you through setting up Time Machine on your Mac.
In order to perform a backup of your hard drive, you will need an external disk with enough space, plus a little extra, to store everything on your Mac currently.
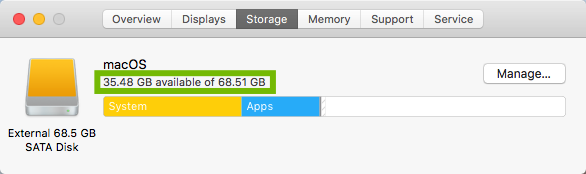
In this example, we'd need a disk with a minimum size of 40 GB.
It is recommended to get a disk at least twice as large, about 80 GB in this example, so Time Machine can make 'snapshot' backups, so you can roll-back to previous versions as needed.
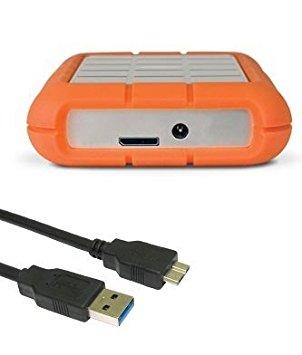


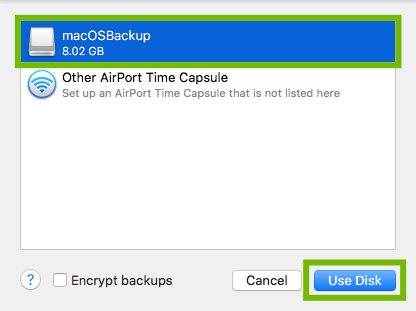
We will need an external disk to store the backup on.
Return to this guide when you have purchased an external hard drive.

Support.com is committed to your privacy
We do not share or sell your data to third parties. We do use cookies and other third-party technologies to improve our site and services. The California Consumer Privacy Act (CCPA) gives you the ability to opt out of the use of cookies, third-party technologies and/or the future sale of your data. Do not sell my personal information.

Support.com is committed to your privacy
Read our Privacy Policy for a clear explanation of how we collect, use, disclose and store your information
