.png)
Authored by: Support.com Tech Pro Team

Why backup your photos to the cloud?
There are three main reasons to backup your photos on the cloud:
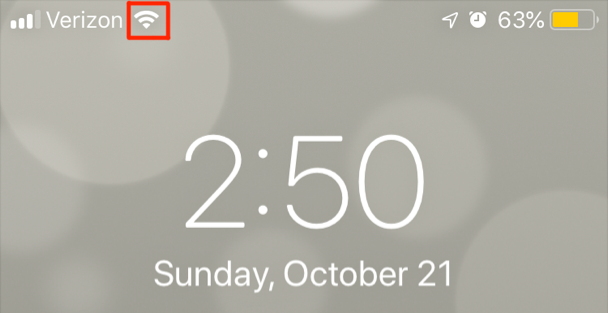
Backing up a large number of photos can require a lot of data. It is recommended that you are connected to Wi-Fi before starting the backup to minimize data usage. If you don’t see the Wi-Fi icon on the top left of your screen, use this guide to help you connect.
Once connected to Wi-Fi, follow the basic steps below depending for iPhone and Android respectively.
iPhone
iPhones use a service called iCloud to backup your photos. With iCloud, your photos will be safe no matter what happens to your iPhone and your photos will automatically stream to all your other Apple devices including your: Mac, iPad, and Apple TV. Even better, Apple gives you the first 5gb (that’s around 5,000 photos) completely free!
Let’s get started:


Android
Android phones use a service called Google Photos to backup your photos. With Google Photos, your photos will be safe no matter what happens to your phone and your photos will automatically stream to all your other devices. Even better, the service is 100% free!


Support.com is committed to your privacy
We do not share or sell your data to third parties. We do use cookies and other third-party technologies to improve our site and services. The California Consumer Privacy Act (CCPA) gives you the ability to opt out of the use of cookies, third-party technologies and/or the future sale of your data. Do not sell my personal information.

Support.com is committed to your privacy
Read our Privacy Policy for a clear explanation of how we collect, use, disclose and store your information
