.png)
Authored by: Support.com Tech Pro Team
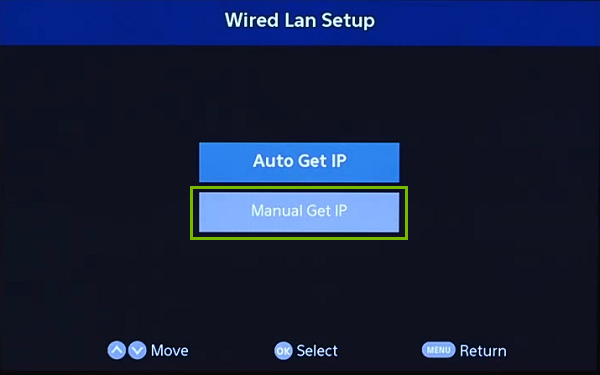
Your Element Smart TV has a simple, intuitive interface with built-in ability to stream content over the internet. There may come a time when you need change your TV's DNS server settings to increase the quality of the internet connection, or as part of a troubleshooting step. This guide will walk you through the process of making changes to your TV's DNS server settings.
Depending on the exact model of Element Smart TV you are working with, the exact wording within this guide may appear differently on your screen.

Support.com is committed to your privacy
We do not share or sell your data to third parties. We do use cookies and other third-party technologies to improve our site and services. The California Consumer Privacy Act (CCPA) gives you the ability to opt out of the use of cookies, third-party technologies and/or the future sale of your data. Do not sell my personal information.

Support.com is committed to your privacy
Read our Privacy Policy for a clear explanation of how we collect, use, disclose and store your information
