This guided path shows how to configure the DNS settings on your Xbox One.
Incorrectly configured network settings can negatively impact your console's performance. We recommend that only network specialists follow these steps, and only in cases where your network requires manual configuration to connect to the Internet.
What you need before you start:
Xbox One should be connected to the Internet.
2. Configure DNS
Change the DNS settings on your Xbox One by following these steps:
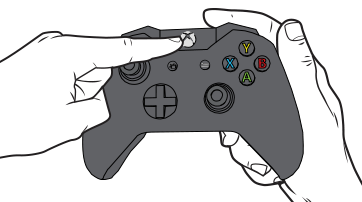
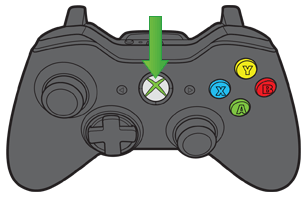
Press the Xbox button to open the guide.
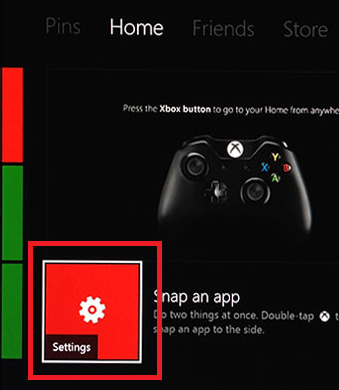
Select Settings.
Select All Settings.
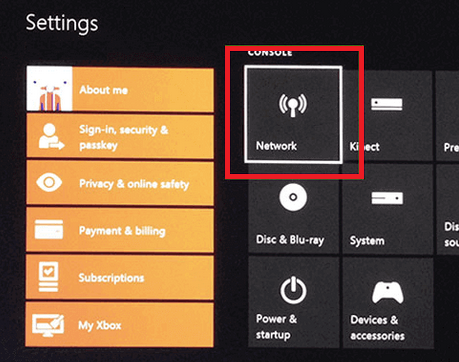
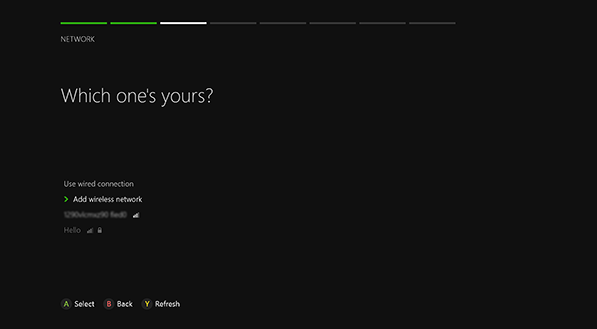
Select Network.
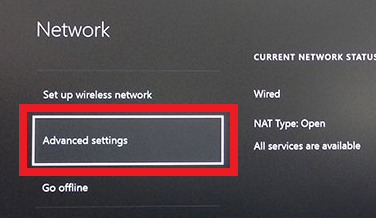
Select Advanced settings.
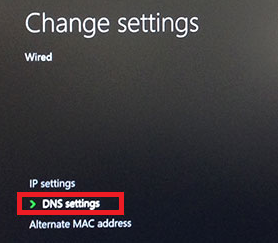
Select DNS settings.
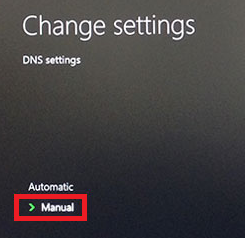
Select Manual.
Enter preferred Primary DNS, then select Enter.
Enter preferred Secondary DNS, then select Enter.
Press B on the controller to save.
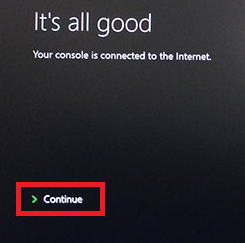
Verify if your console is connected to the Internet.
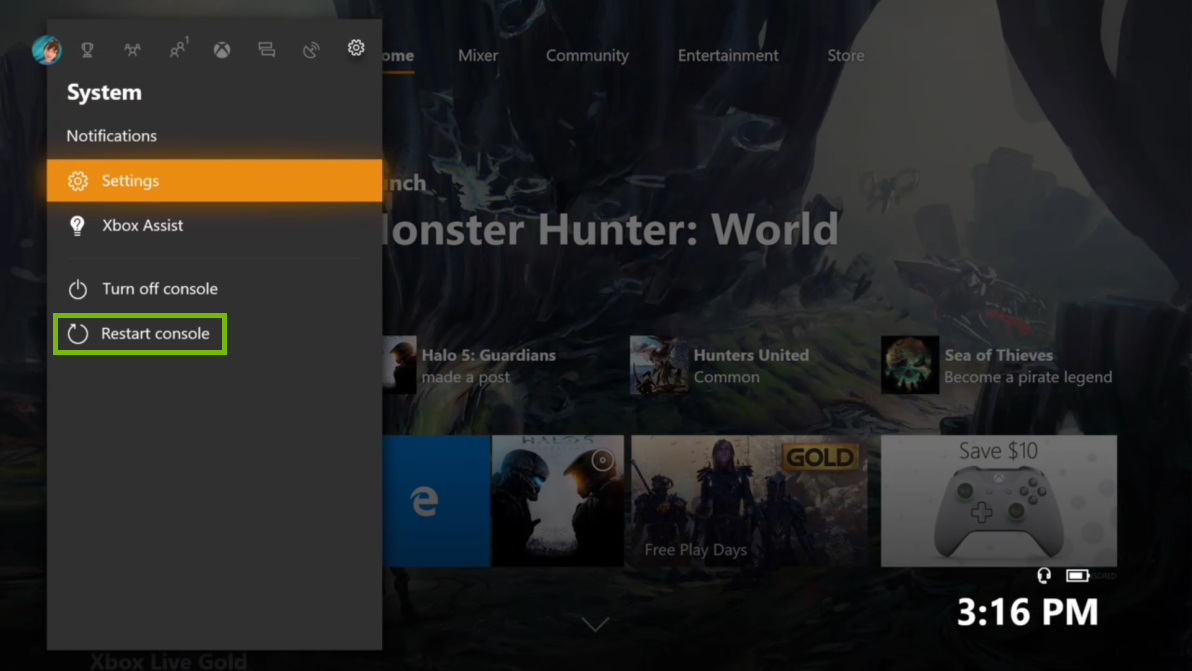
3. Restart
Method 1: Reboot with the controller:
Press the Xbox button to open the guide.
Select Restart console.
Select Yes to confirm.
If this doesn't work then go to method 2.
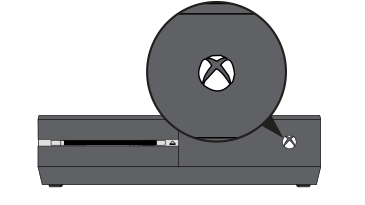
Method 2: Reboot from the console:
Hold the Xbox button on the front of the console for approximately 10 seconds.
The console will turn off.
Turn your console back on by pressing the Xbox button on the console or on your controller.
If this doesn't work then go to method 3.
Method 3: Hard reboot:
Hold the Xbox buttonon the front of the console for approximately 10 seconds.
The console will turn off.
Unplug the console's power cable.
Wait 10 seconds.
Plug the power cable back in.
Turn your console back on by pressing the Xbox button on the console or on your controller.
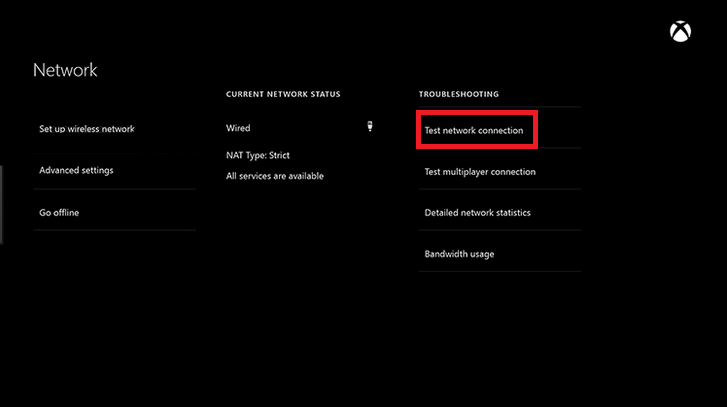
4. Network Connection Test
To run the Network Connection Test on your Xbox One
Press the Xbox button to open the guide.
Select Settings.
Select Network.
On the right side of the Network settings screen, select Test network connection.
5. Configure DNS
Change the DNS settings on your Xbox One by following these steps:
Press the Xbox button to open the guide.
Select Settings.
Select All Settings.
Select Network.
Select Advanced settings.
Select DNS settings.
Select Manual.
Enter preferred Primary DNS, then select Enter.
Enter preferred Secondary DNS, then select Enter.
Press B on the controller to save.
Verify if your console is connected to the Internet.
6. There's a hardware problem
If you receive a "There's a hardware problem" error, it means the network connection test has detected a problem with your console that requires a repair.
7. What's next?
8. We're not sure what's wrong
If you receive a "We're not sure what's wrong" message, it means the network connection test can't diagnose the issue that is preventing your console from connecting to Xbox Live.
9. Your console is banned
If you receive a "Your console is banned" message, it means you're trying to connect to Xbox Live using a console that has been banned for Terms of Use violations.
.png)