How to connect your Brother printer to Wi-Fi and what you can do if you've lost the Wi-Fi credentials or are seeing poor network performance.
2. Credentials
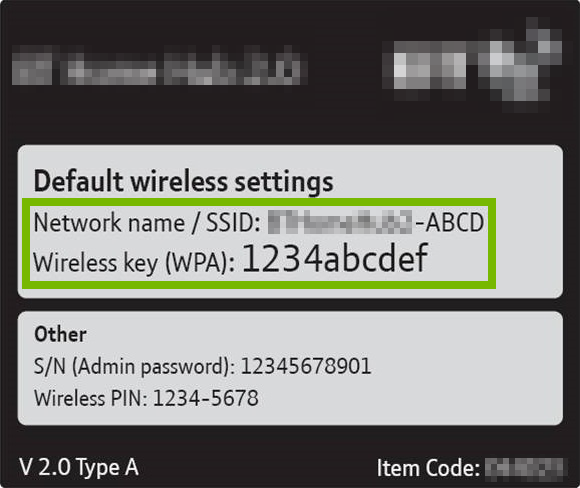
In order to connect to a wireless network, you must have the required credentials. These are:
Wireless Network Name (SSID)
Wireless Network Key (Password)
Finding Network Credentials
Most wireless routers/gateways have a label with the default credentials. If the credentials aren't there, look in the devices documentation.
If your Internet Service Provider (ISP) installed the wireless router or gateway, they might have left you a setup sheet which may have the credentials.
3. Determine Best Connection Method
There are two basic methods used for wireless printer connection setup:
Wireless Setup Wizard - You will need access to the printer's display screen.
USB Setup - Requires a PC or Mac and printer software.
4. Connect to Wi-Fi from Printer Screen
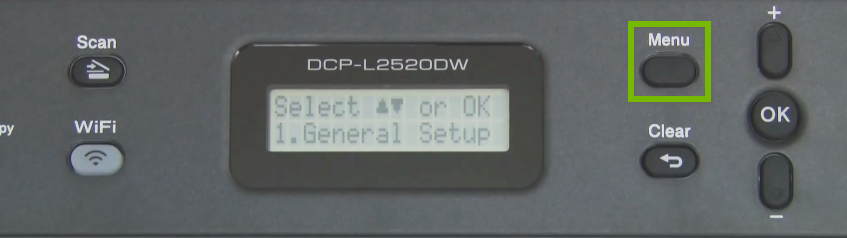
Press Menu on your printer's control panel.
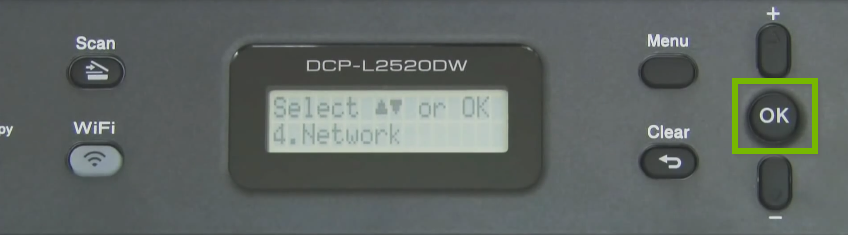
Press the Down (-) button until you reach the network menu.
Press OK.
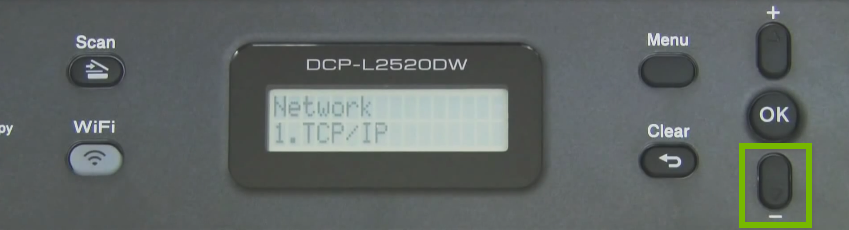
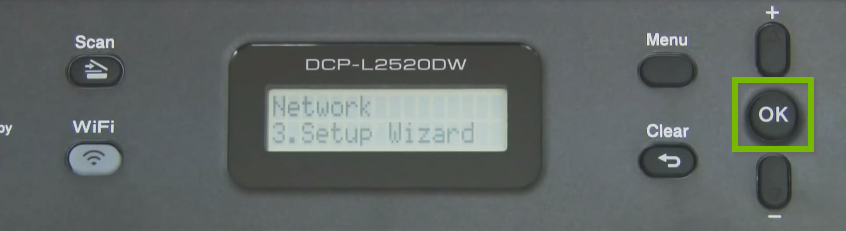
Press the Down (-) button until you reach Setup Wizard.
Press OK.
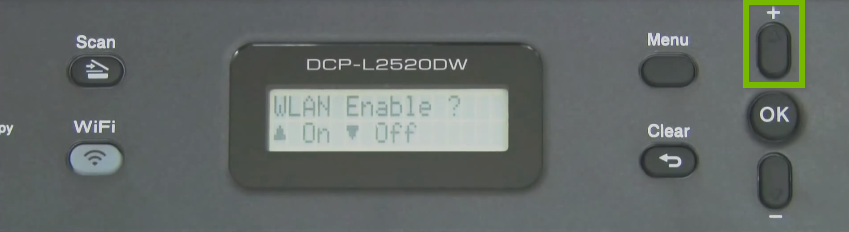
Press Up (+) on the following screen to enable wireless.
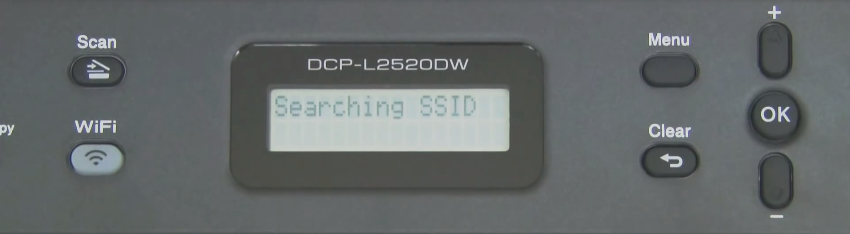
Your printer will begin searching for Wi-Fi networks.
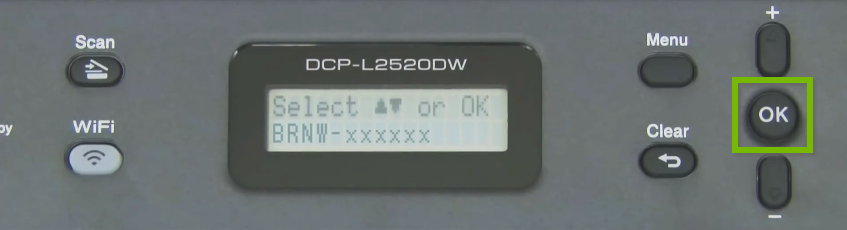
Use the Up or Down buttons to select your Wi-Fi network and then press OK.
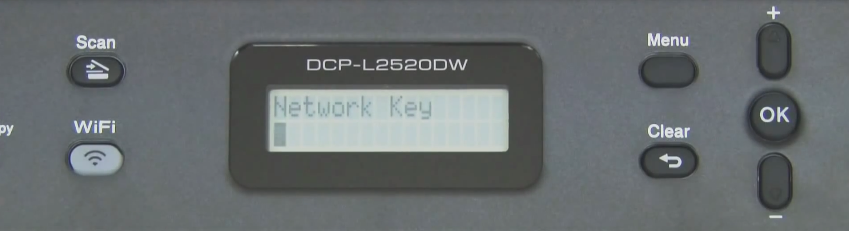
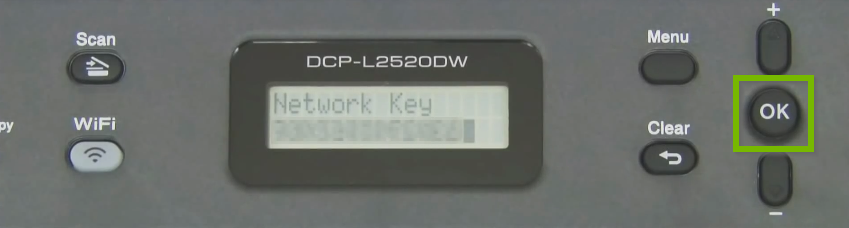
Using the Up or Down buttons, enter your Wi-Fi password.
Press OK when done.
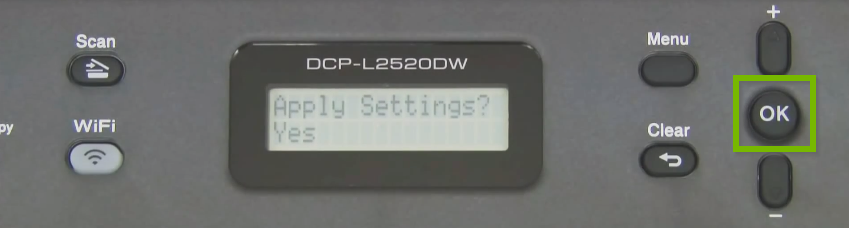
Press OK again to apply settings.
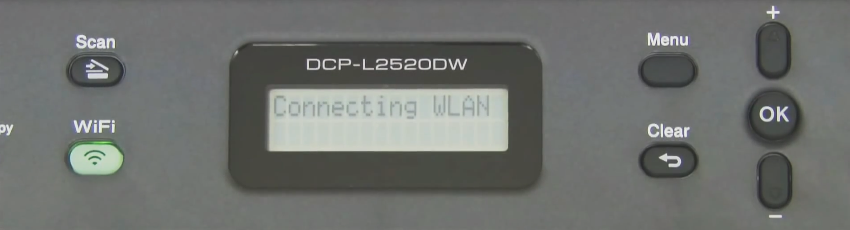
Your printer will begin connecting to the network. This may take a moment or two.
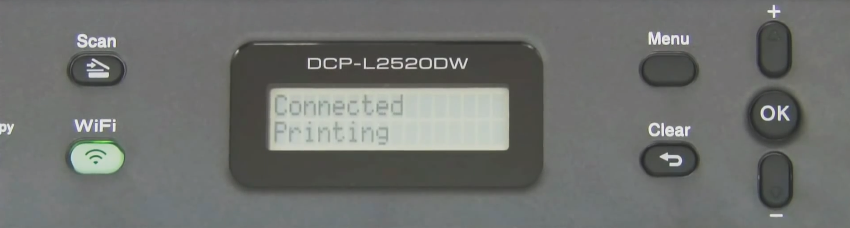
You will see a confirmation message letting you know the connection was successful.
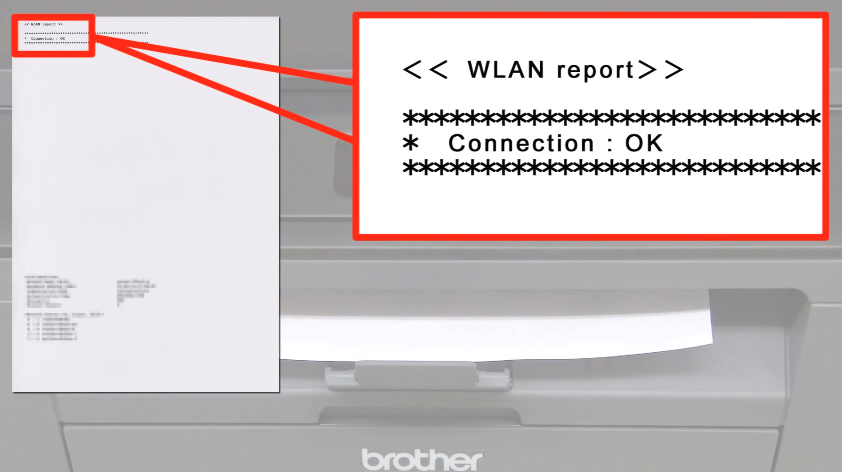
Your printer will begin printing a wireless connection report upon successful connection.
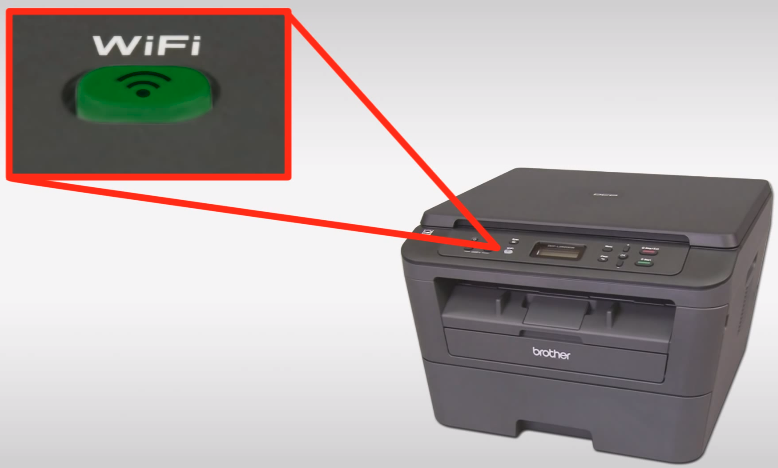
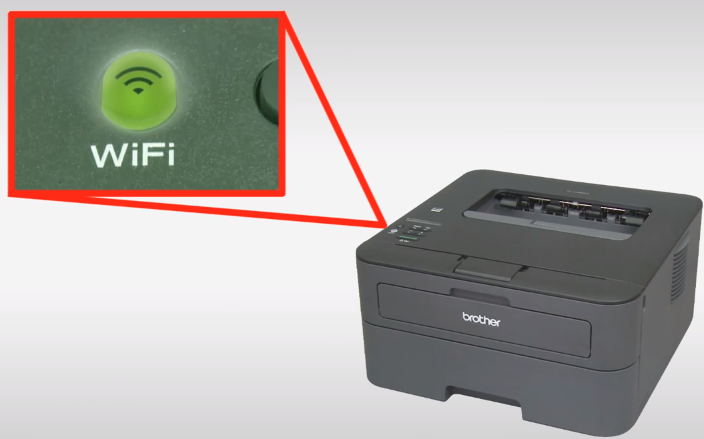
Your Wi-Fi light will remain lit when your printer is connected to your Wi-Fi network.
To help troubleshoot the problem we should check if other devices can connect to the wireless network.
7. Retry Network and Password
Retry the network using the confirmed wireless network name and password.
8. Incompatible Routers
At this time, Brother has not indicated that there are any compatibility issues with specific models of networking equipment on the market. To ensure that your specific networking equipment and all settings will work properly with your Brother printer, please reach out to the manufacturer directly for further assistance.
Some wireless routers broadcast a dual-band wireless signal and provide both 2.4GHz and 5GHz wireless networks. Your device may not see the 5GHz network, which is completely normal. Not all devices contain the antenna to communicate on the 5GHz band. Also, some routers broadcast guest networks that your device may not be able to connect to depending on your router's settings.
9. Escalate to PTE
If you are a PST, follow the Escalation Process to PTE.
10. Contact ISP or Router OEM for Credentials
Without the wireless network credentials you will not be able to connect to Wi-Fi.
Contact your ISP or the router manufacturer to obtain the information.
Check your router for a sticker containing the SSID and Password.
11. Download Software
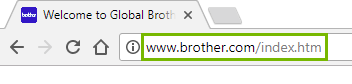
Using your computer's web browser, navigate to the Brother website.
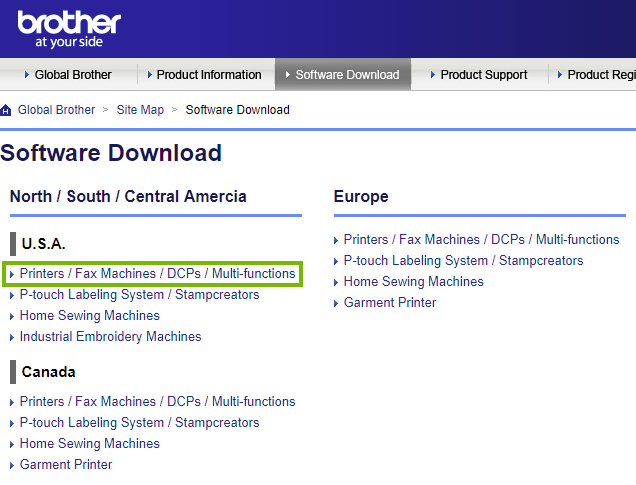
Click on Software Download.
Under the U.S.A. header, click on Printers / Fax Machines / DCPs / Multi-functions.
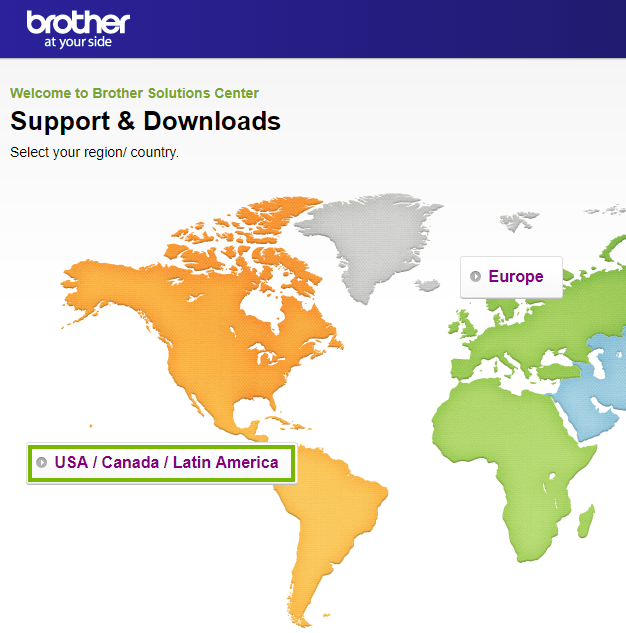
Click on USA / Canada / Latin America.
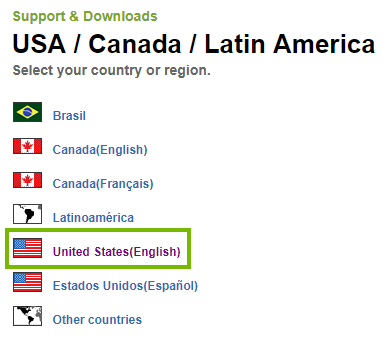
Click on United States(English).
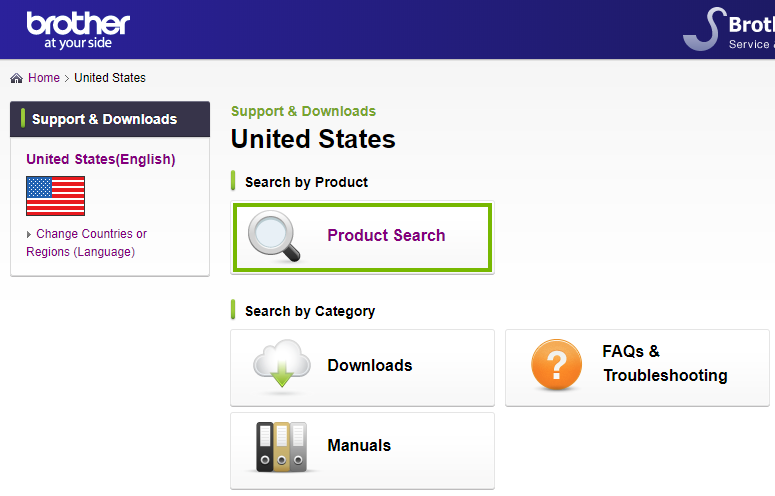
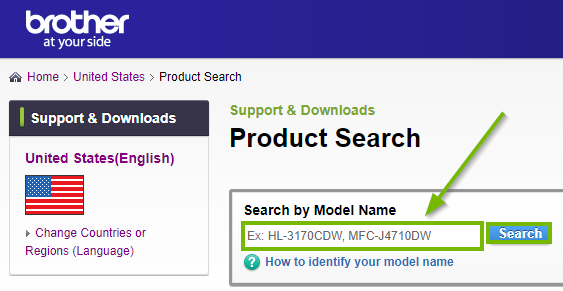
Click on Product Search.
Enter your printer's model number into the search box and click Search.
To find your printer's model number, check in these common locations on your Brother printer:
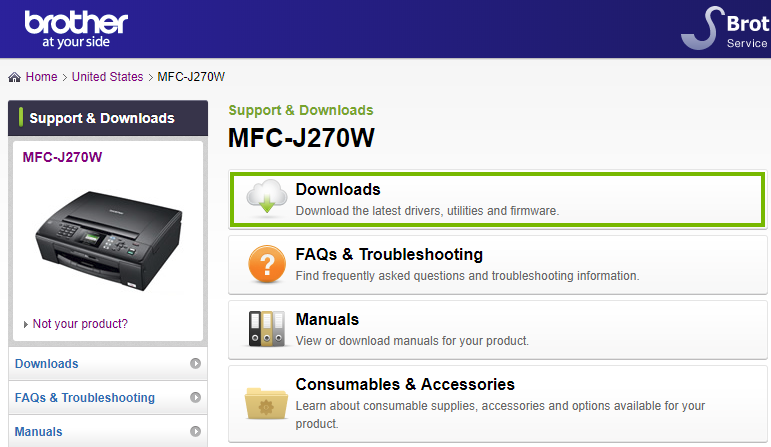
Once you have reached your printer's support page, click Downloads.
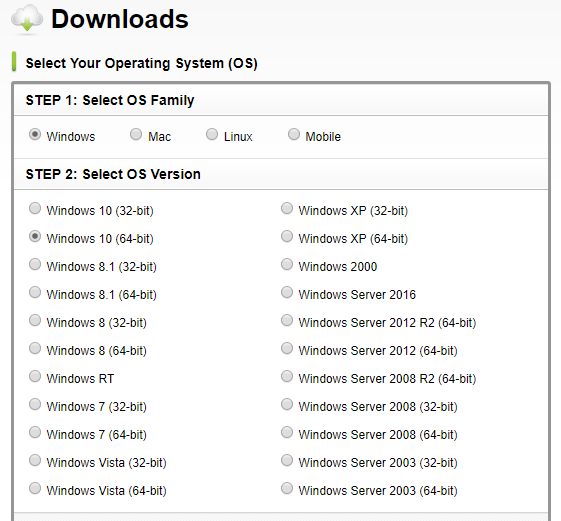
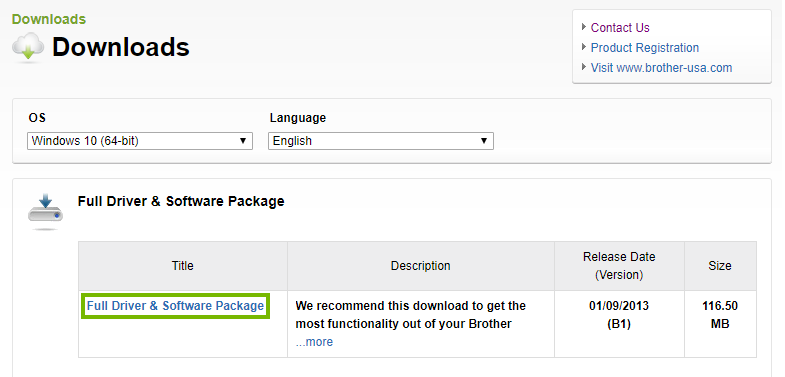
Select your computer's operating system.
On the list of available downloads, select Full Driver & Software Package.
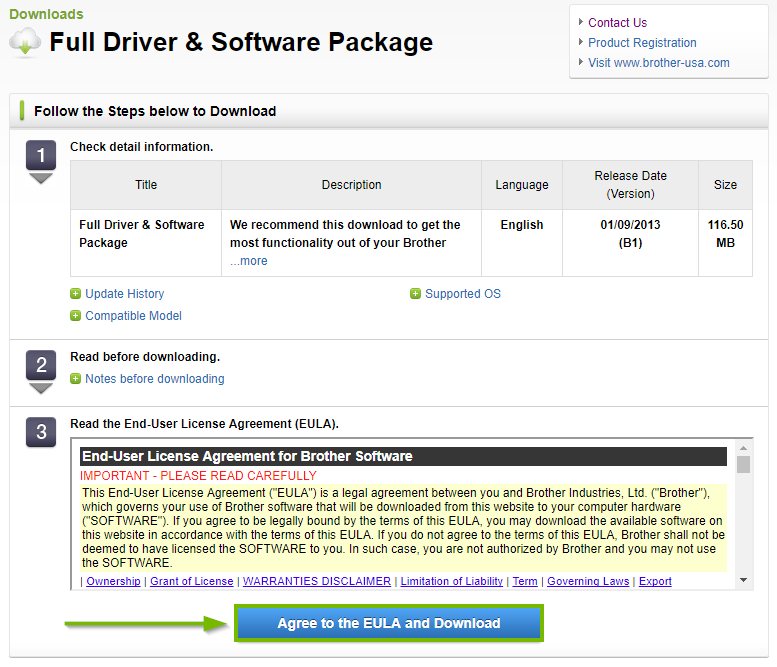
Click Agree to the EULA and Download.
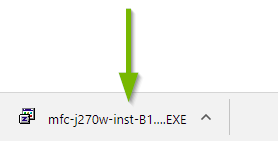
Your download should begin. Depending on what browser you've used, you may have to click Run or Save to continue, or simply click the file that's downloaded to launch the installer.
If the installation does not automatically begin, you may have to open the file manually.
Take note of the name of the file that was downloaded:
Windows - files typically download to your Downloads folder.
macOS - files typically download to the Downloads folder in the Dock.
Click on File Explorer from your taskbar.
Click the Downloads folder underneath Quick access in the left-hand column. Then, locate and double-click the installation file that downloaded.
The software installation should now begin.
12. Connect via Temporary USB
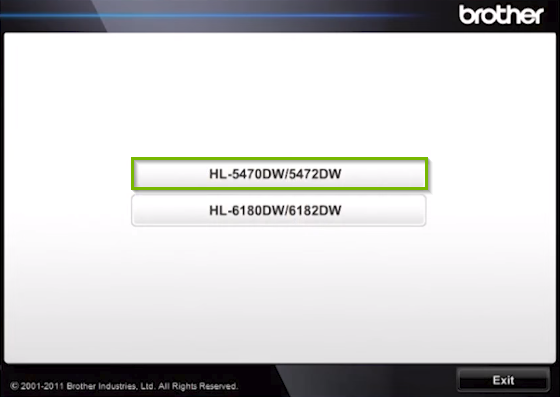
When the software installation has been launched, you may be presented with a model selection screen. Choose whichever model you are working with.
To find your printer's model number, check in these common locations on your Brother printer:
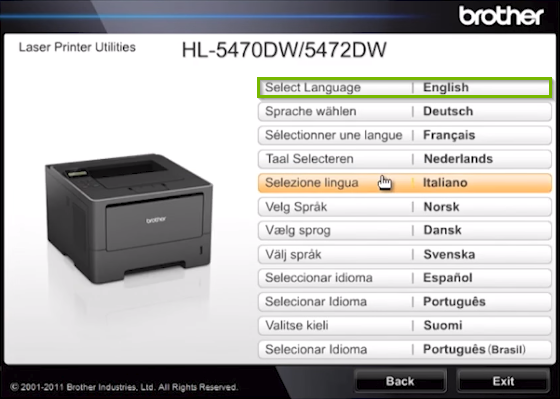
Select the appropriate language to proceed.
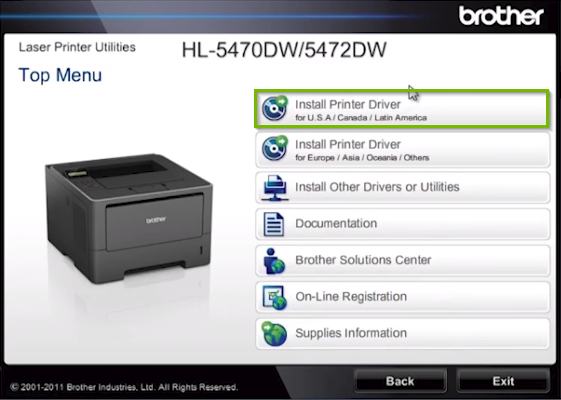
Select Install on the following screen to begin installation.
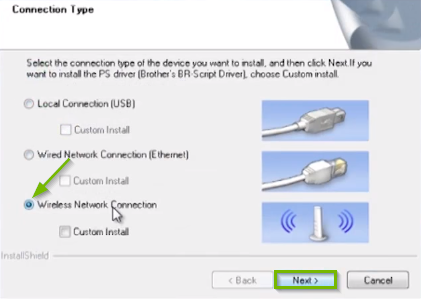
Select the Wireless Network Connection radio button. Then click Next.
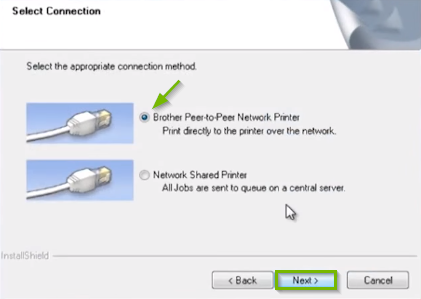
Make sure the Brother Peer-to-Peer Network Printer radio button is selected. Click Next to continue.
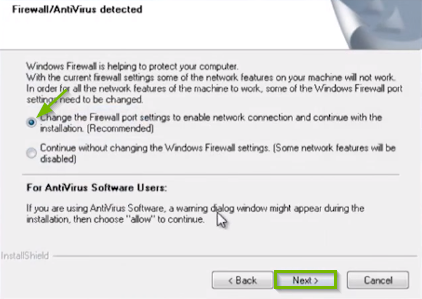
Ensure the recommended firewall radio button option is selected. Click Next to continue.
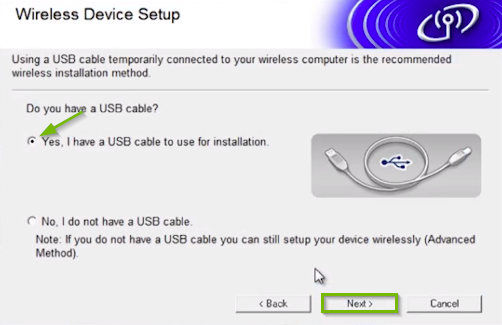
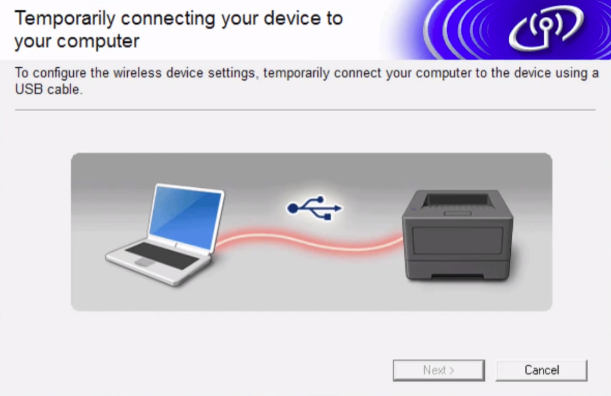
Ensure the radio button for using a USB cable is selected. Click Next to continue.
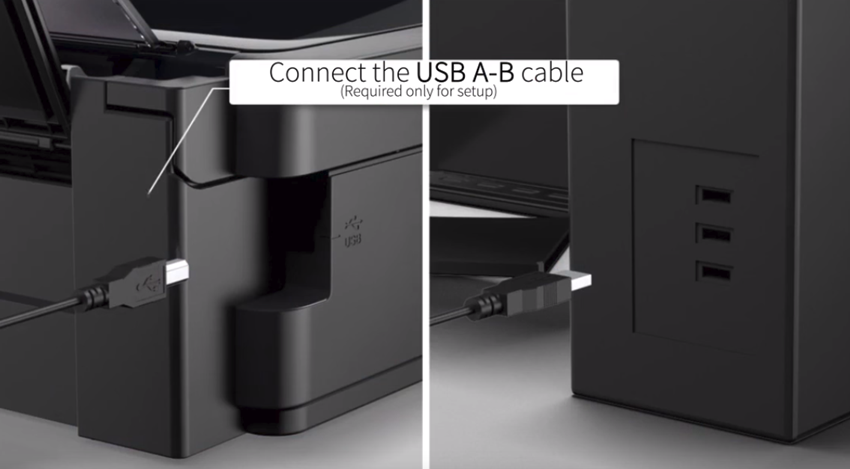
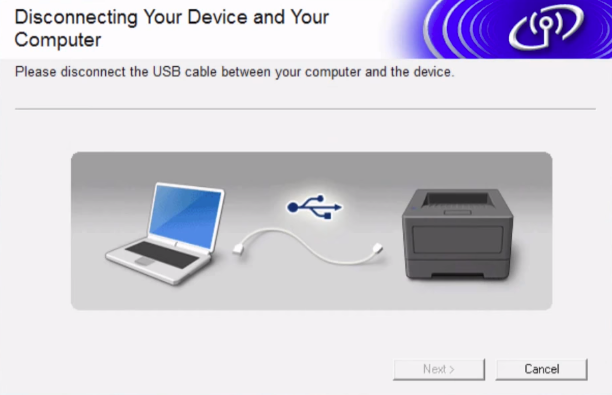
You are then prompted to connect your printer to your computer using a USB cable.
Connect the printer to your computer via USB cable now.
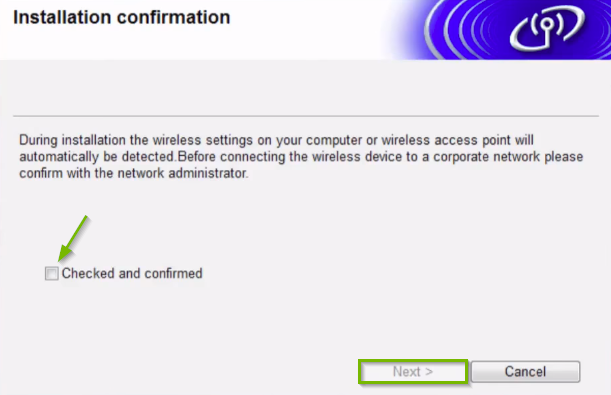
Once the printer has been connected via USB, it will search for networks and then prompt you to ensure you're connected to the same network your printer will be connected to. Click Checked and confirmed. Then click Next.
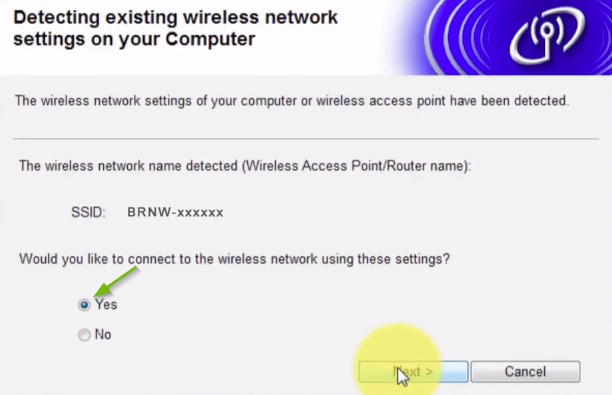
The software will detect the network settings it needs to use. If the software is able to detect what it needs, ensure the Yes radio button is selected. Then click Next.
If the software cannot detect your network information, it may ask you to select your Wi-Fi network and provide the associated password.
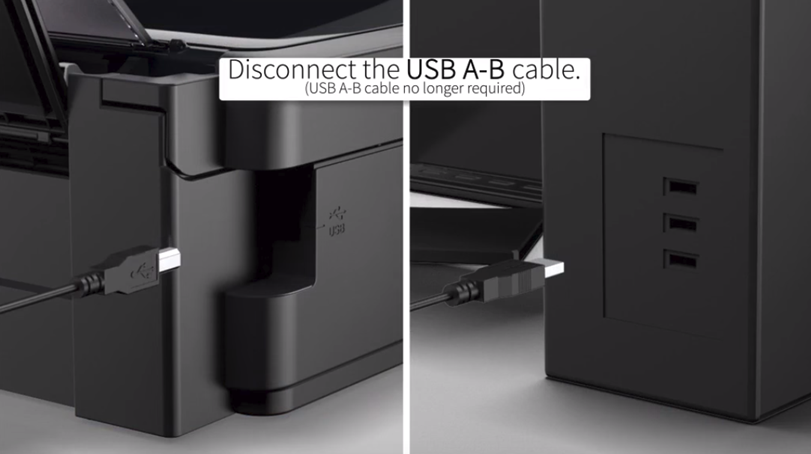
The software will submit all the network information to the printer. When complete, it will ask that you remove the USB cable from the printer and computer.
Now, disconnect the USB cable from the computer and printer.
The Wi-Fi light on the printer will now be lit and should remain lit to remind you that it is connected to your wireless network.
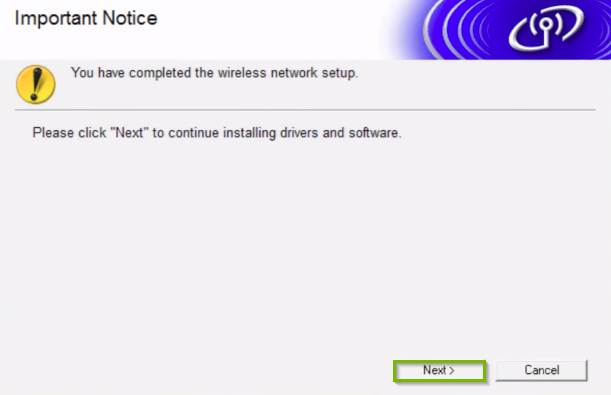
Congratulations! You have completed wireless connection of your printer. Click Next to allow the installation process to install the remainder of the software and finish up.
13. Escalate to PTE
If you are a PST, follow the Escalation Process to PTE.
Remove Hidden Spyware In Minutes For Free
Detect and remove spyware, keyloggers, tracking cookies, and other
threats that slow down your PC or steal your data.
65+ Million Downloads
Spyware scanner with AI-powered detection engine + database
.png)