.png)
Authored by: Support.com Tech Pro Team
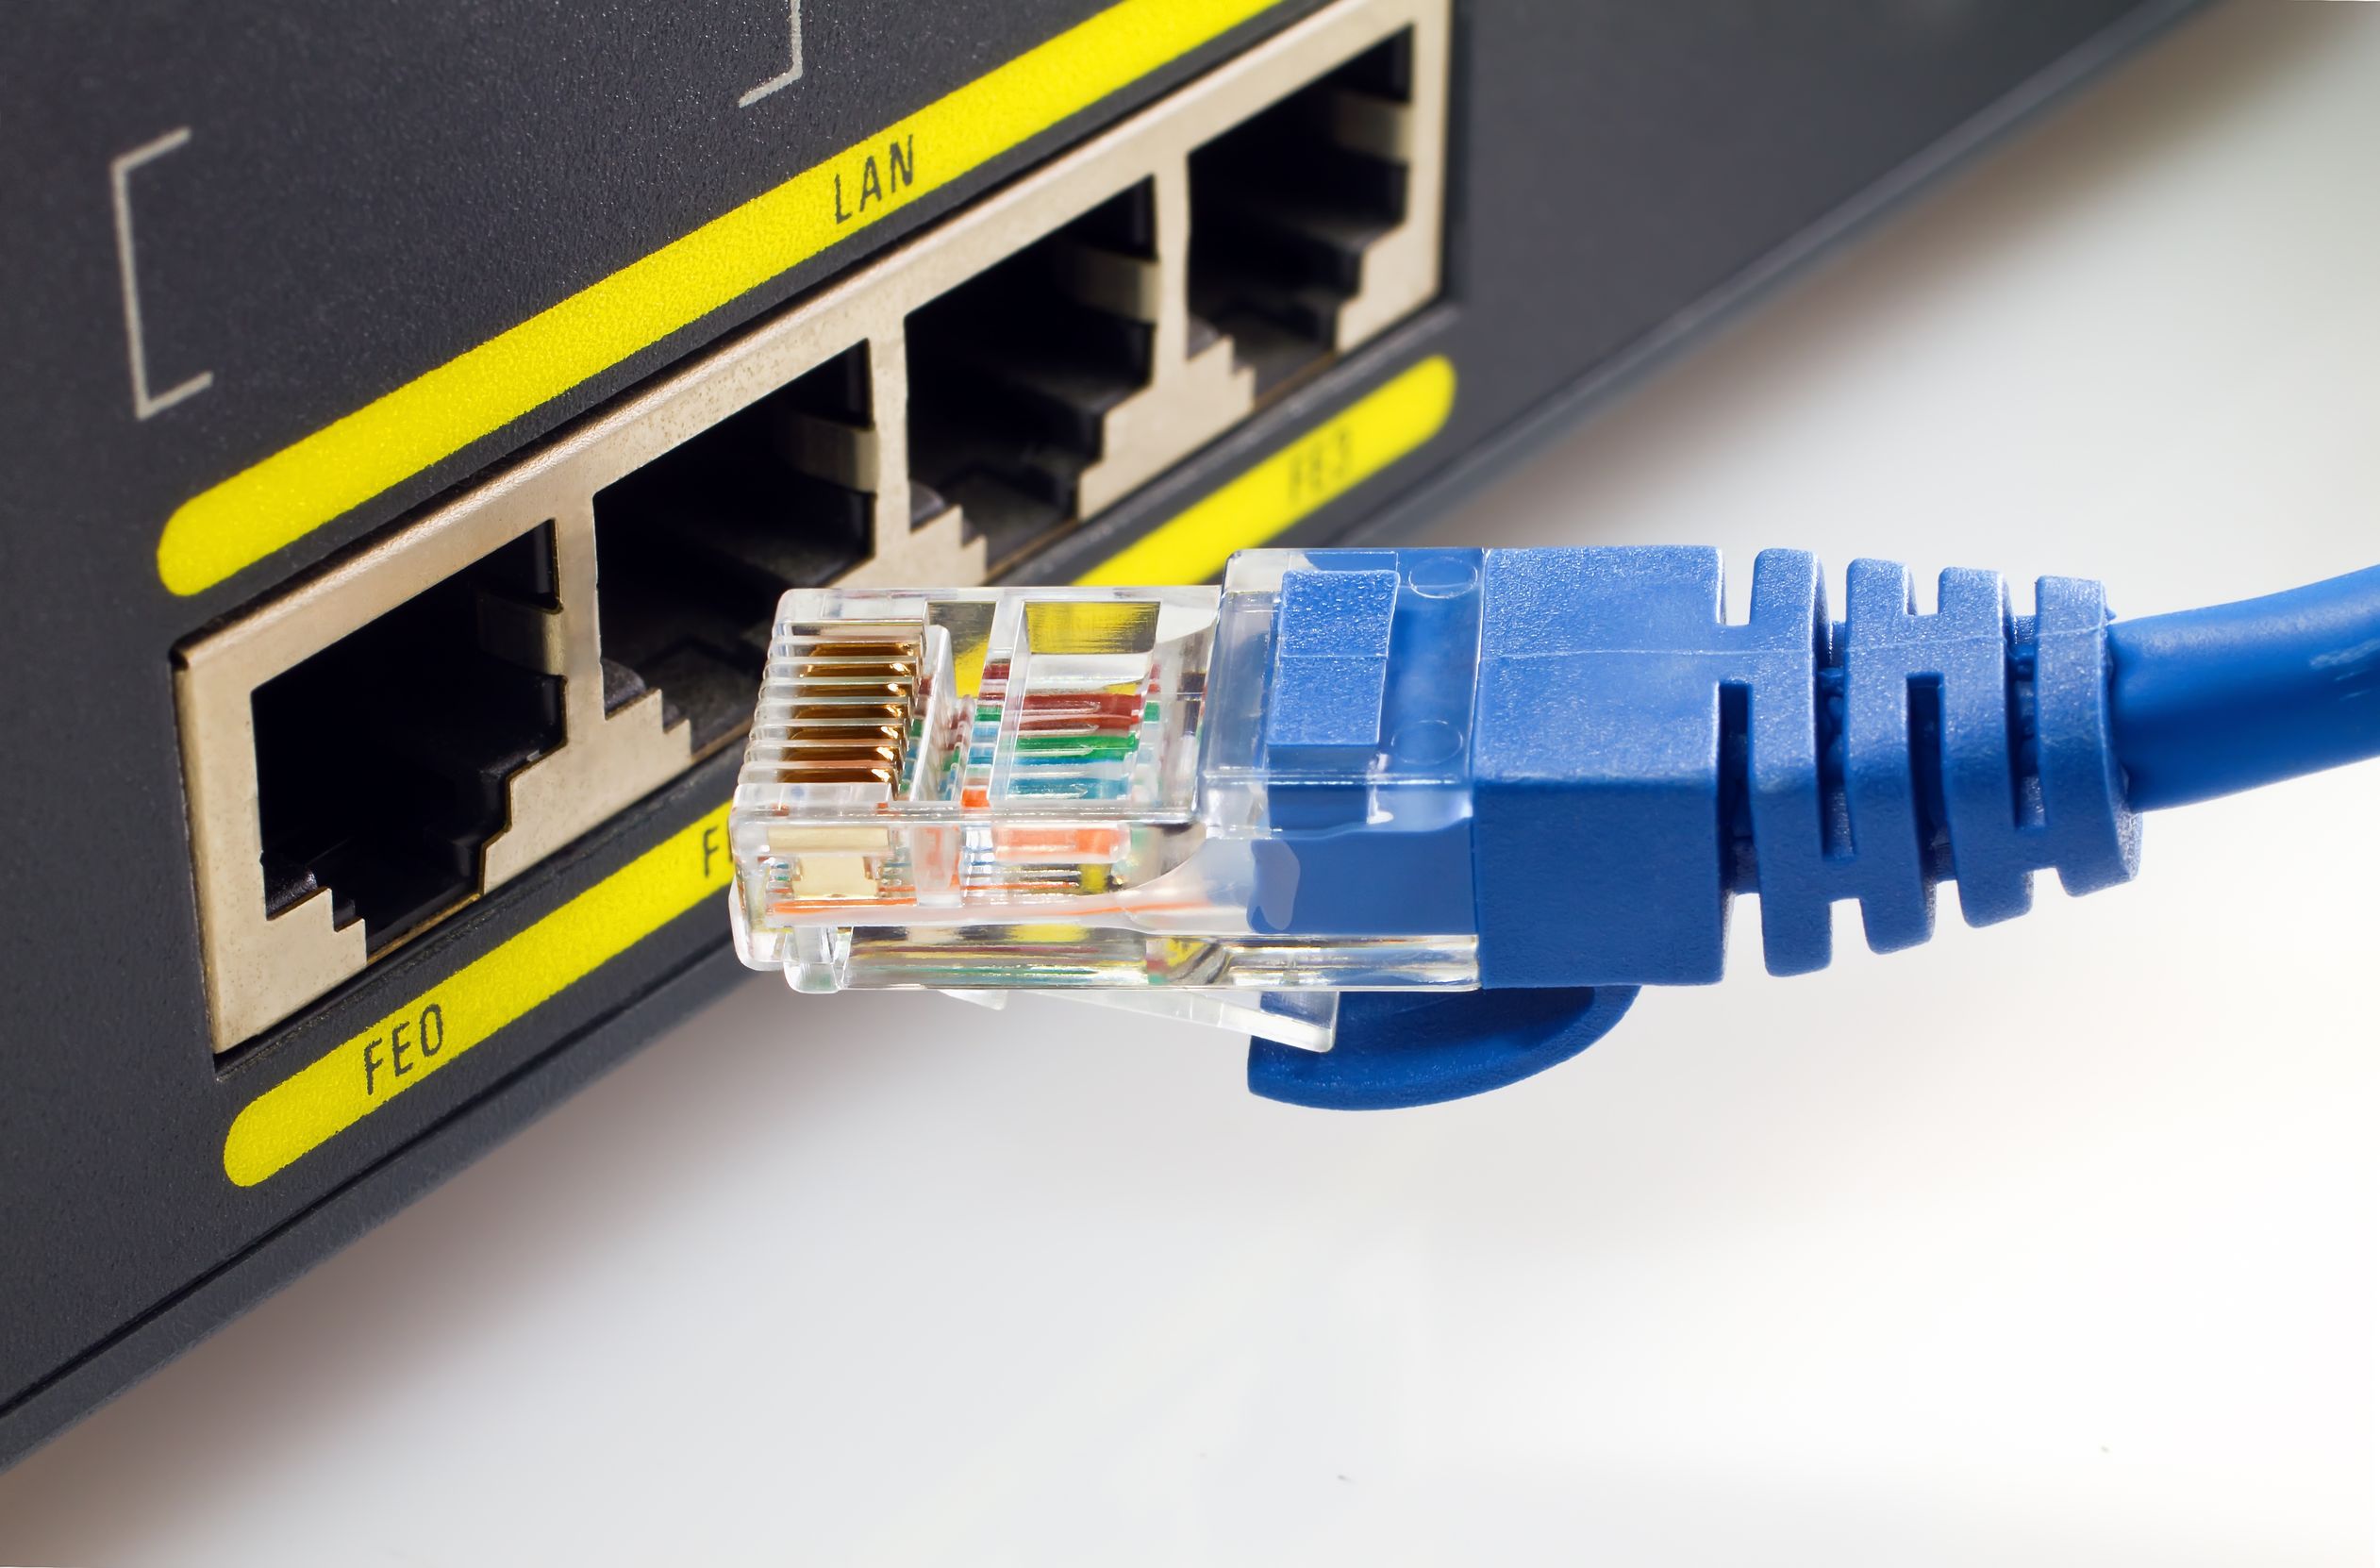
Connecting your printer to your router with an Ethernet cable allows you to print from virtually any device connected to the same router. This may save you space by reducing the number of printers you need, and a good amount of money on the ink cartridges they would go through. This guide will go over steps to get your printer connected to your router via Ethernet cable.
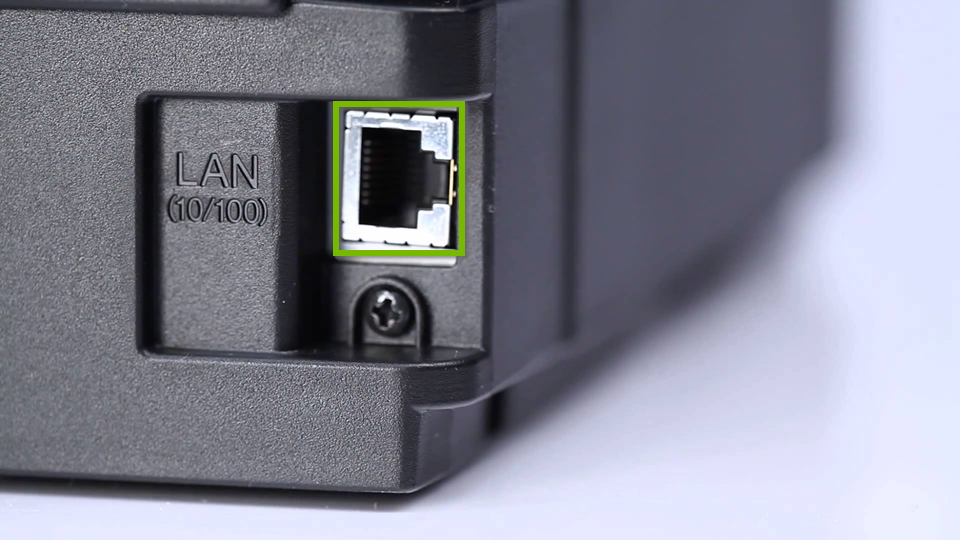
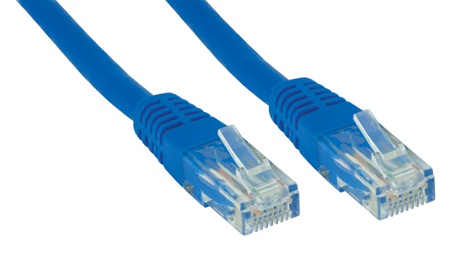
In order to complete these steps, you will need a router attached to your modem, an additional Ethernet cable available, and your printer must have an Ethernet port on the rear.


Support.com is committed to your privacy
We do not share or sell your data to third parties. We do use cookies and other third-party technologies to improve our site and services. The California Consumer Privacy Act (CCPA) gives you the ability to opt out of the use of cookies, third-party technologies and/or the future sale of your data. Do not sell my personal information.

Support.com is committed to your privacy
Read our Privacy Policy for a clear explanation of how we collect, use, disclose and store your information
