.png)
Authored by: Support.com Tech Pro Team
In This Guide
You'll Learn How To:
Before We Begin:

Google Home

Google Home is available on all Android smartphones, an app on iPhone, as well as through Google's range of home speakers, and some smart TVs and streaming boxes.
Amazon Alexa

Amazon Alexa is offered through Amazon's Alexa app on your smartphone, as well as through their range of home speakers, and some of Amazon's media streaming boxes.
Apple HomeKit

Apple HomeKit is offered through the latest version of iOS on iPhones, iPads, and iPods, as well as can be accessed using the Home app on macOS Mojave, Apple's home speaker, and the Apple TV system.
There are other companies that offer smart home integration as well. Hubs provide a simple, integrated way to connect all your devices, while Platforms extend functionality and allow for control and automation of smart home devices.
SmartThings

The SmartThings hub provides Zigbee, Z-Wave and other common ways home automation products communicate. The SmartThings hub connects to the SmartThings platform to let you use the SmartThings app.
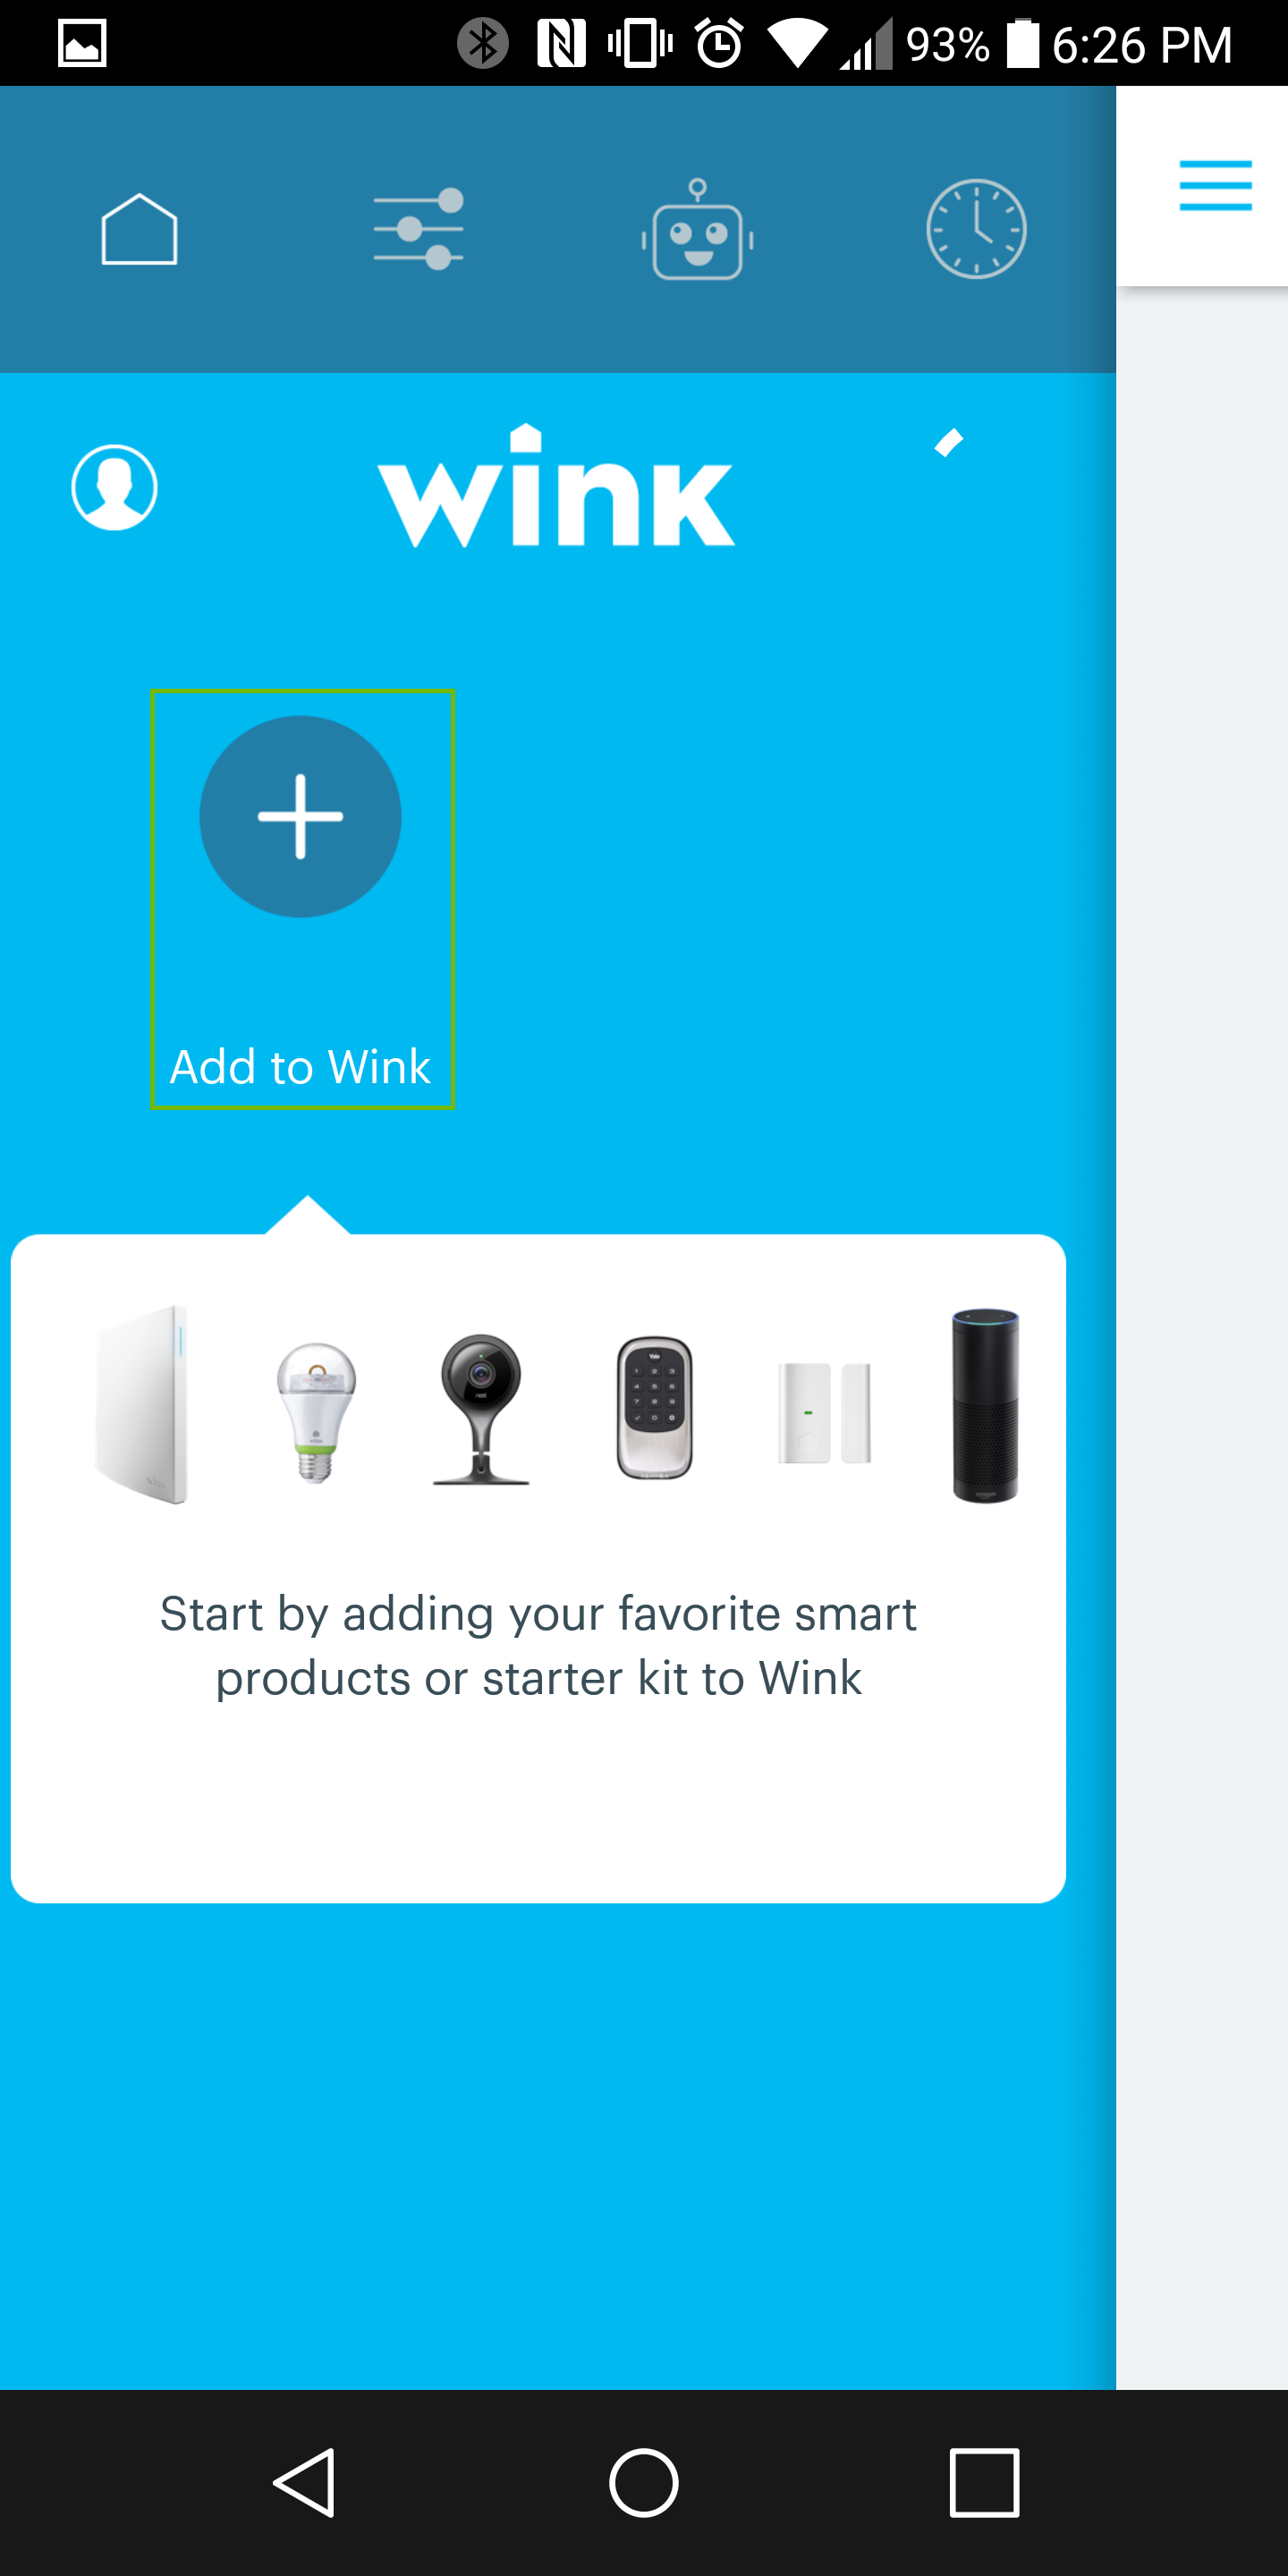
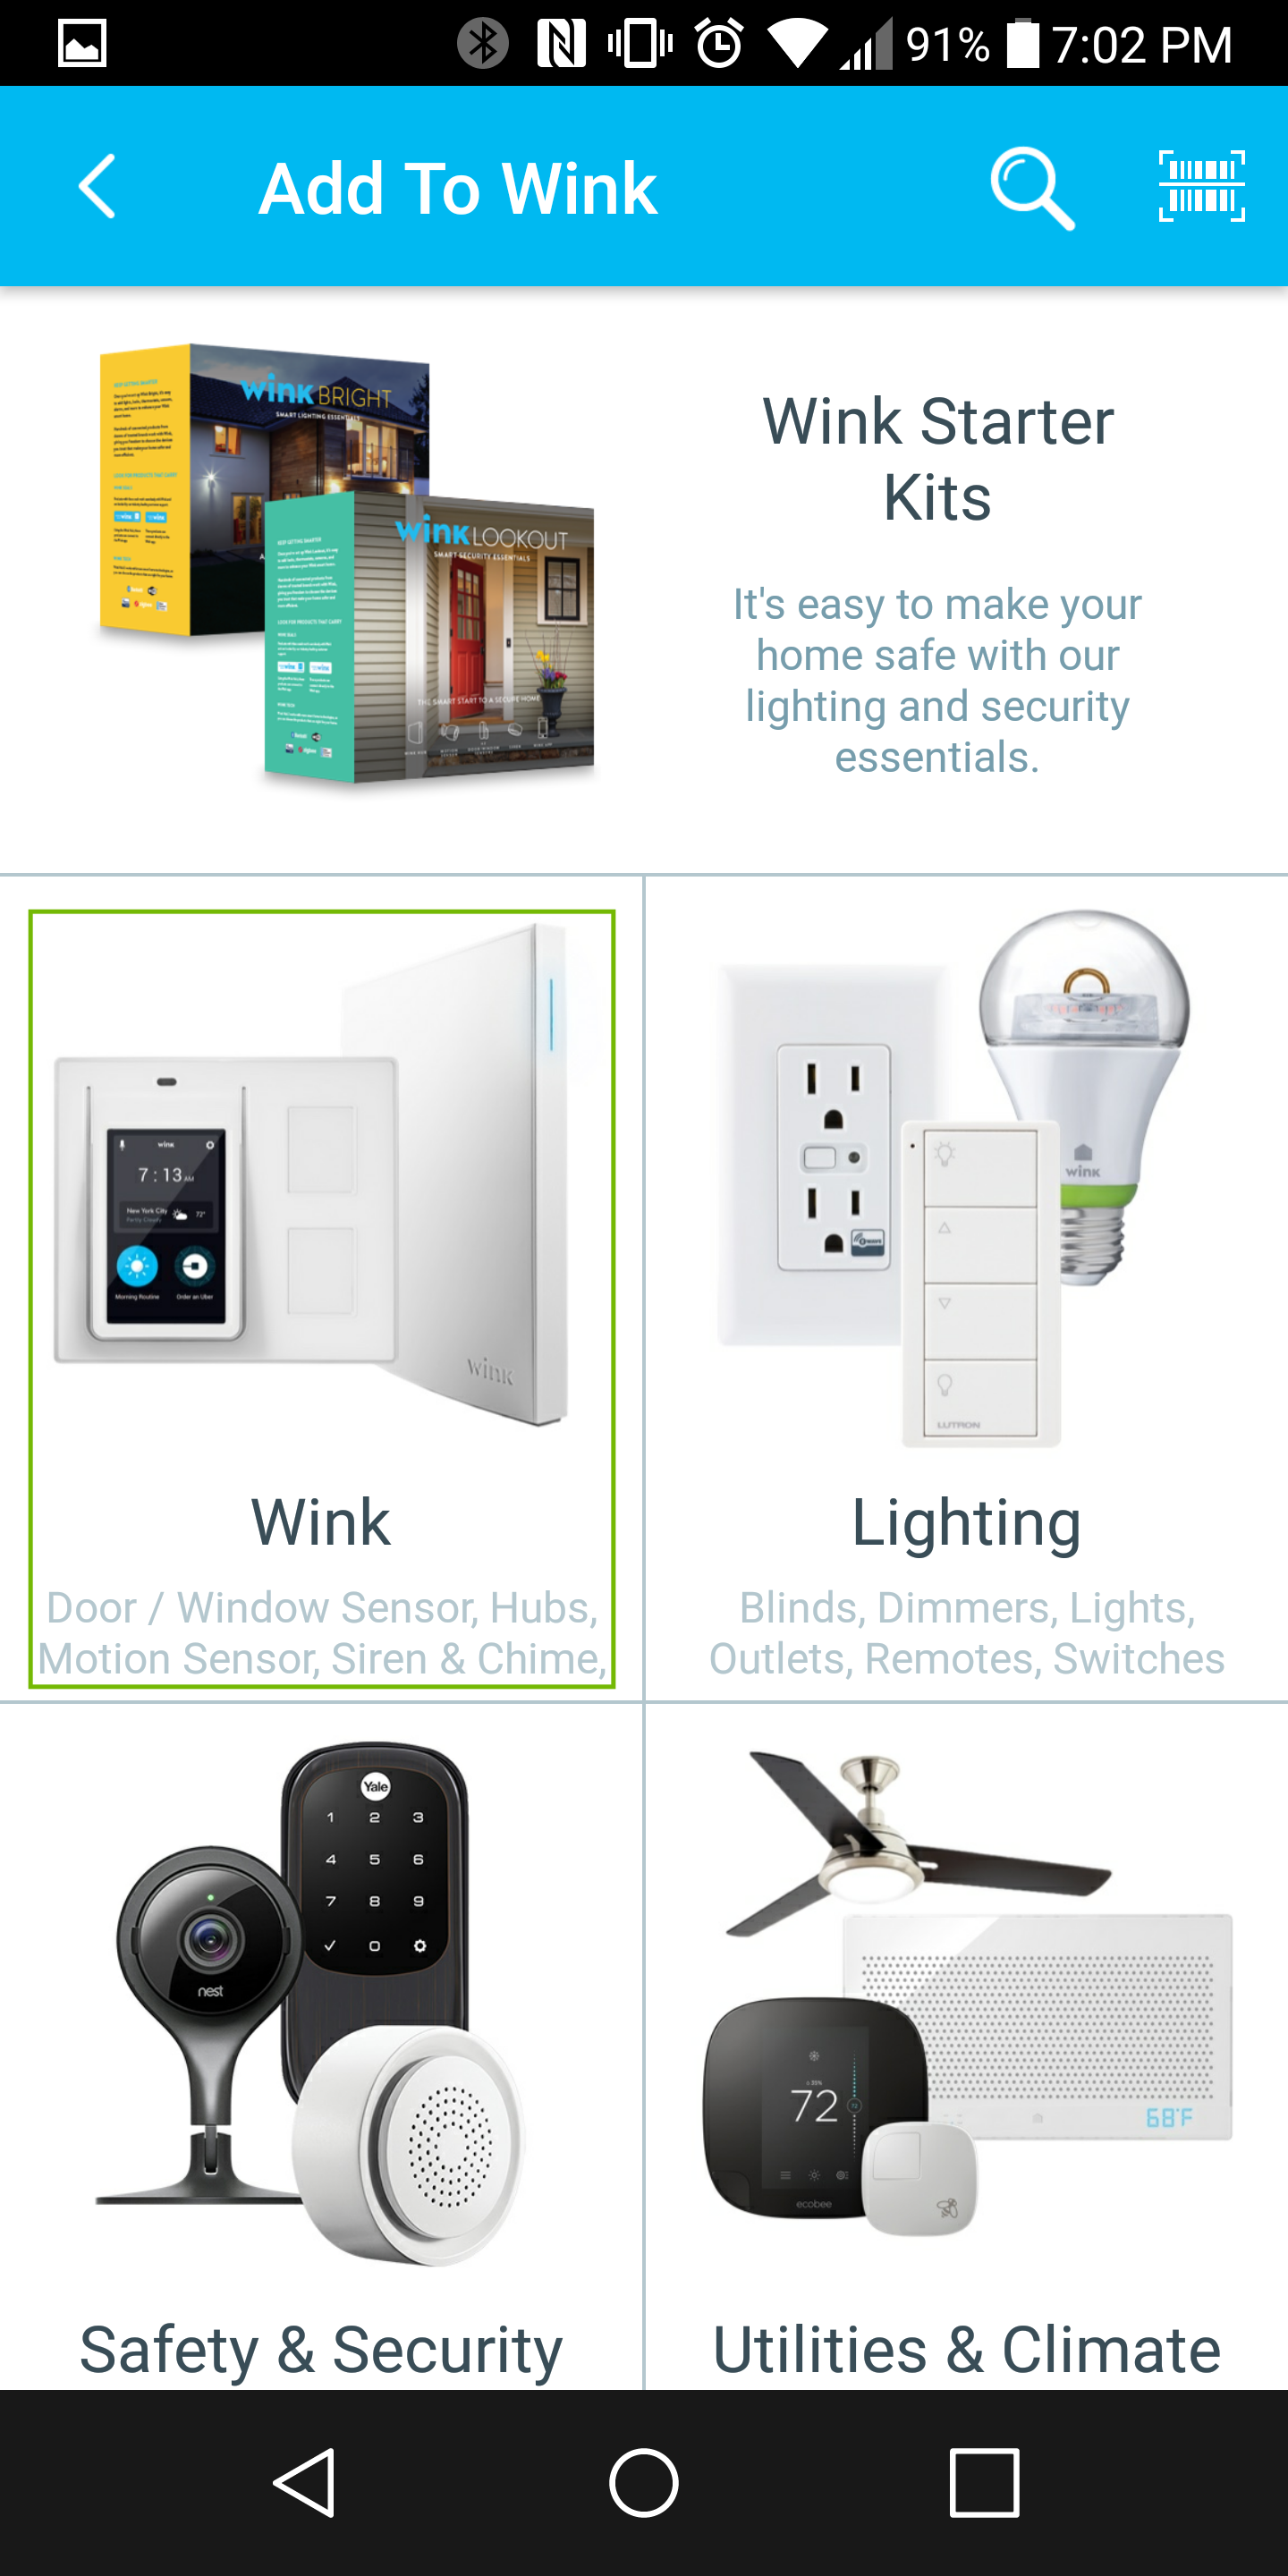
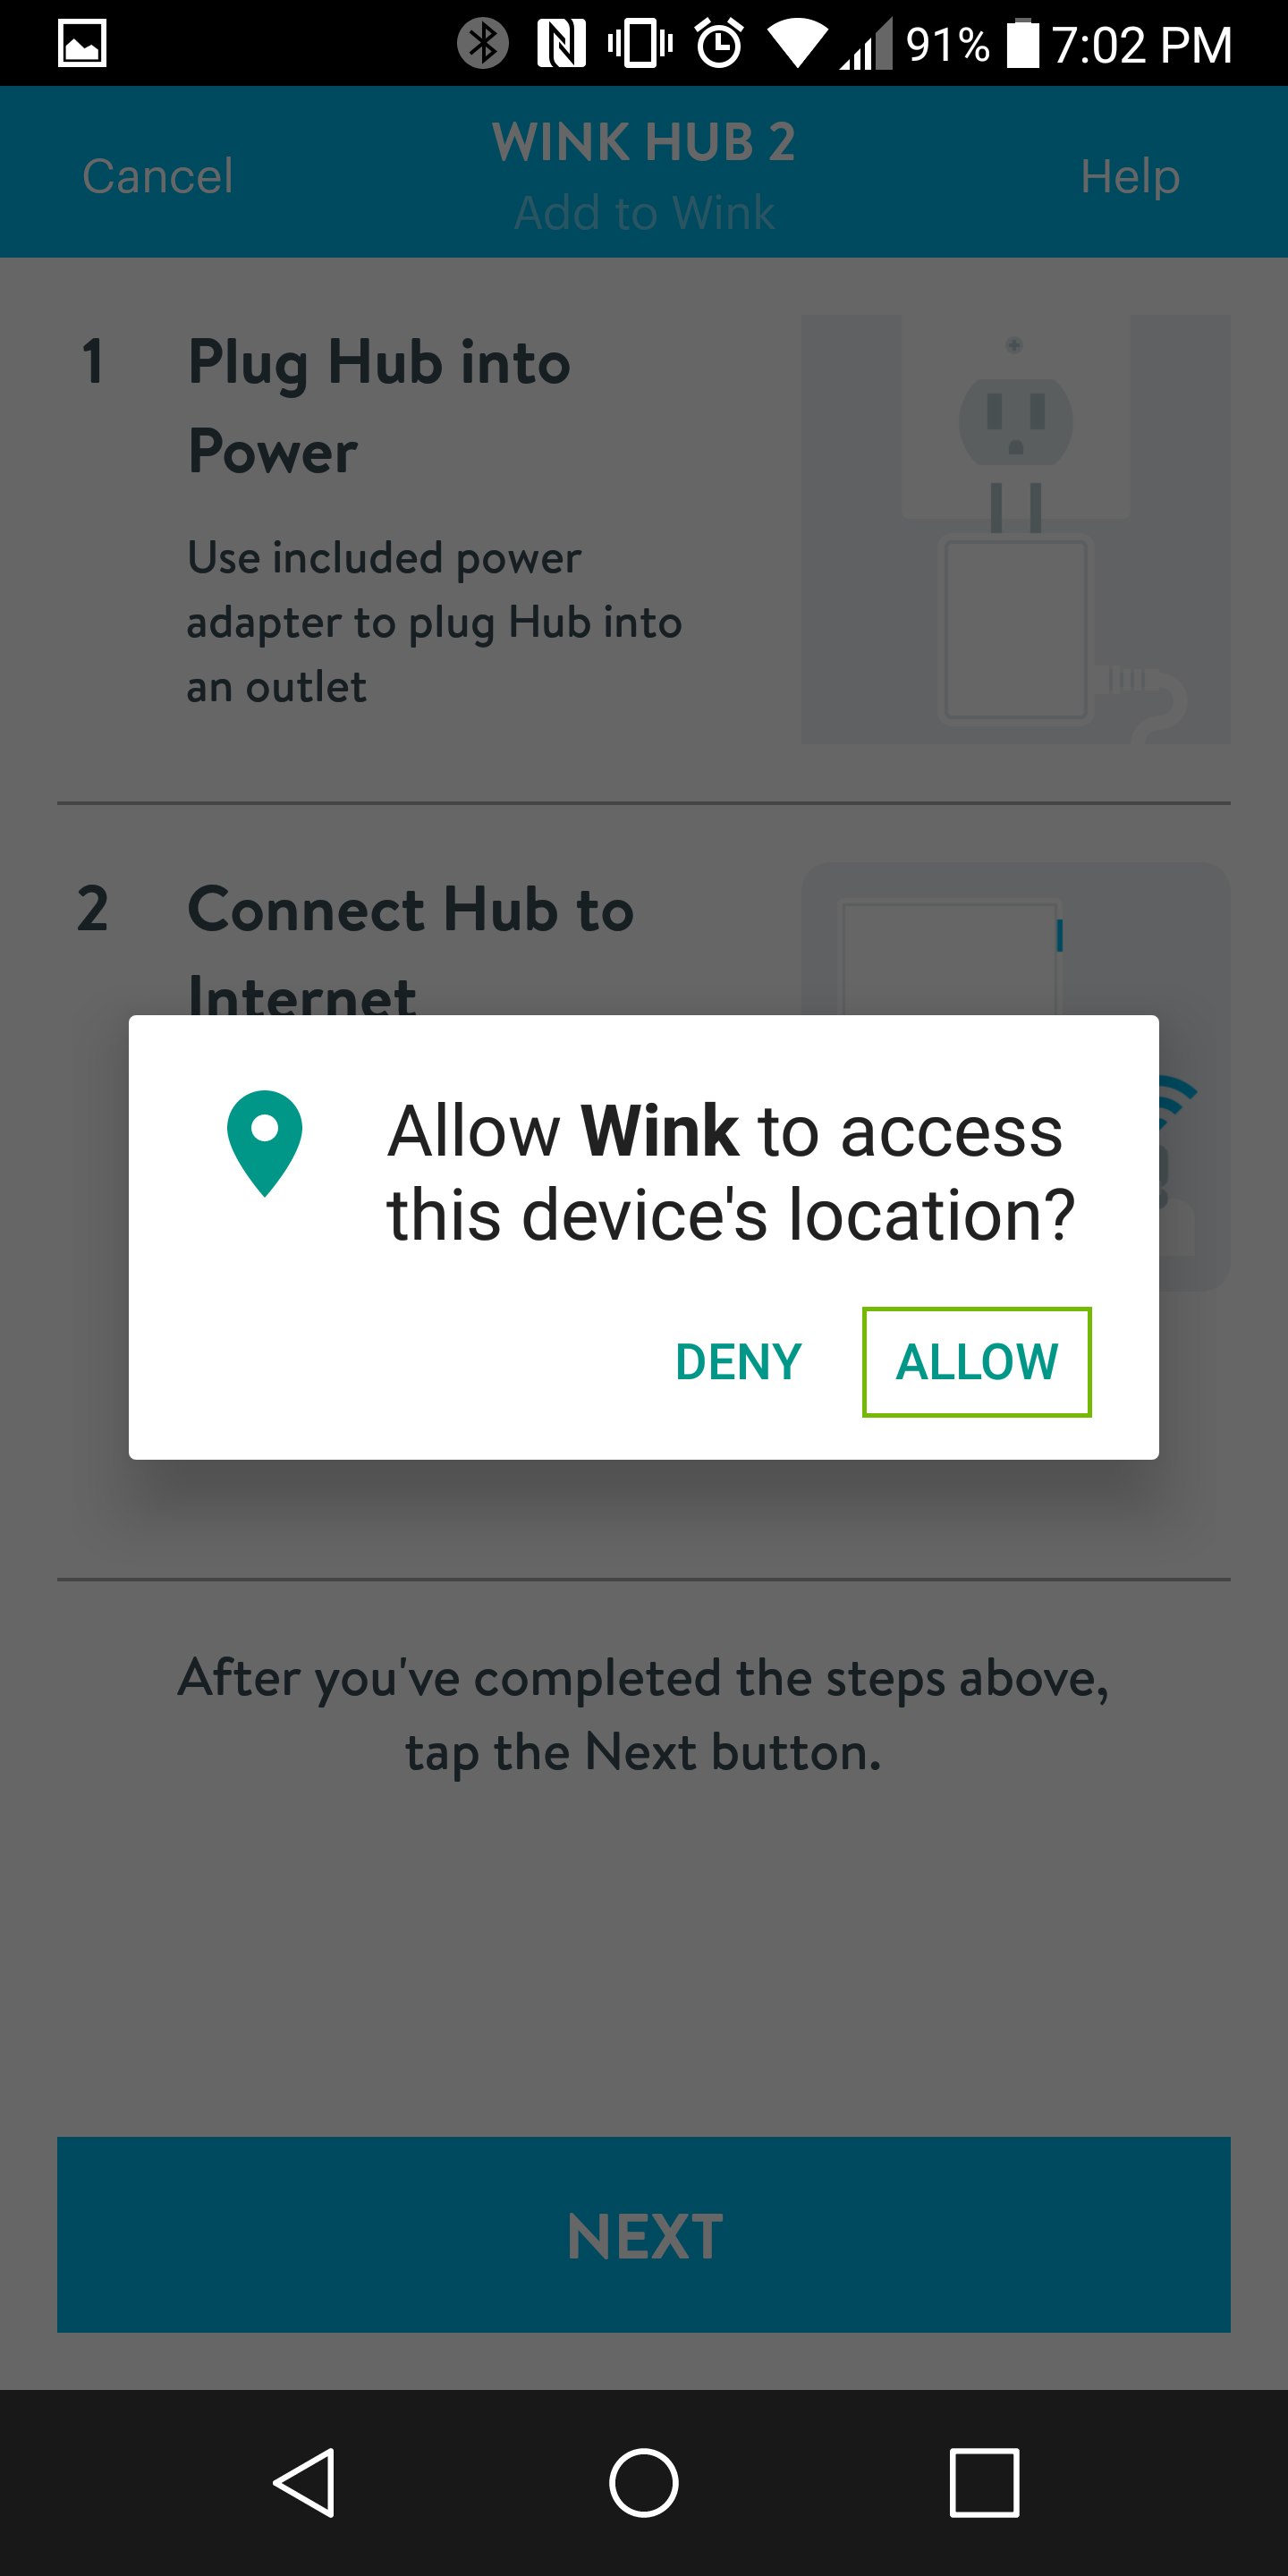
Wink

Creators of the Wink Hub with Zigbee, Z-Wave, and other antennas. The hub connects to the Wink platform to allow you to use the Wink app.
IFTTT

A web-based service used to create simple conditional statements to create integrated, automatic actions with your home automation equipment.
Xfinity Home

Comcast's home security system can provide some connection and home automation for certain Zigbee and Wi-Fi products.
Sylvania Smart+ devices are Bluetooth devices. They require you to be in range to use them.


At this time, your smart home device is not supported by the platform you have chosen.
You can request support from the manufacturer, or use a different home automation platform.


You’re all done! Enjoy your new smart home.


Support.com is committed to your privacy
We do not share or sell your data to third parties. We do use cookies and other third-party technologies to improve our site and services. The California Consumer Privacy Act (CCPA) gives you the ability to opt out of the use of cookies, third-party technologies and/or the future sale of your data. Do not sell my personal information.

Support.com is committed to your privacy
Read our Privacy Policy for a clear explanation of how we collect, use, disclose and store your information
