Factory Reset all settings on your DJI Mavic Pro Drone.
Before We Begin:
Be at your computer.
Have your drone and the supplied USB cable handy.
2. Reset Type Check
On the DJI Mavic Pro Drone, the Wi-Fi information can be reset, which can solve many simple connectivity issues, or a full factory reset can be performed to correct deeper problems, or prepare your drone for sale or gifting.
3. Wi-Fi Reset
To reset your drone's Wi-Fi back to the default settings, press and hold the drone's power button for 9 secs. When you hear three rapid beeps, you can let go.
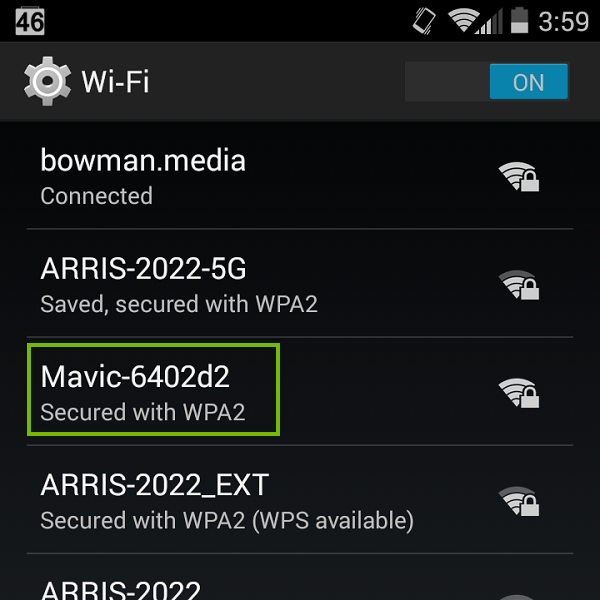
To verify that the reset worked, you should be able to see the Mavic's network on your mobile device. Try and connect to it.
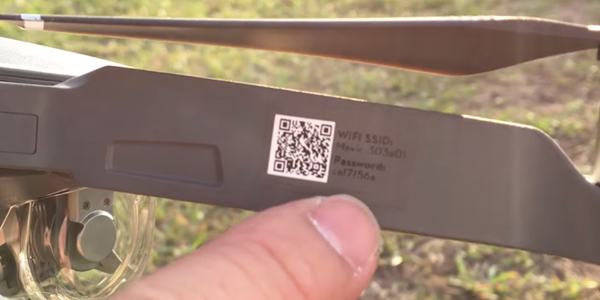
The password will be on the front right arm of your drone, on a sticker.
4. Installed Check
In order to continue, we will need to use the DJI Assistant 2 software on your computer.
5. Factory Reset
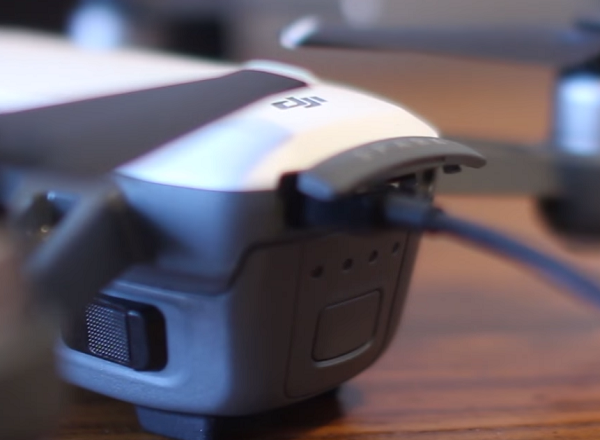
Turn on your drone.
Plug the Drone into your computer using the provided USB cable.
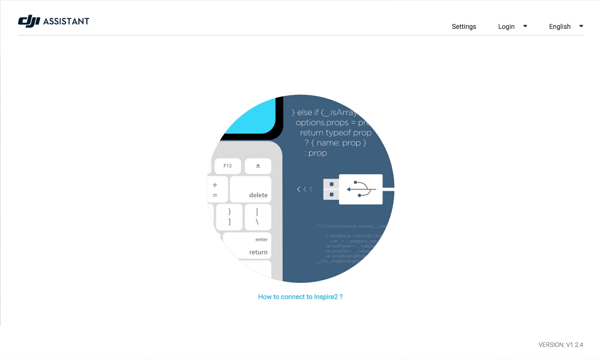
Open the DJI Assistant program.
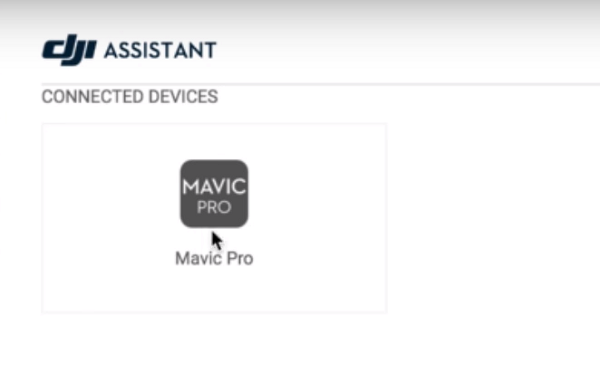
When you see this screen, DJI Assistant is detecting your drone. This may take a few moments.
Select your drone from the Connected Devices screen.
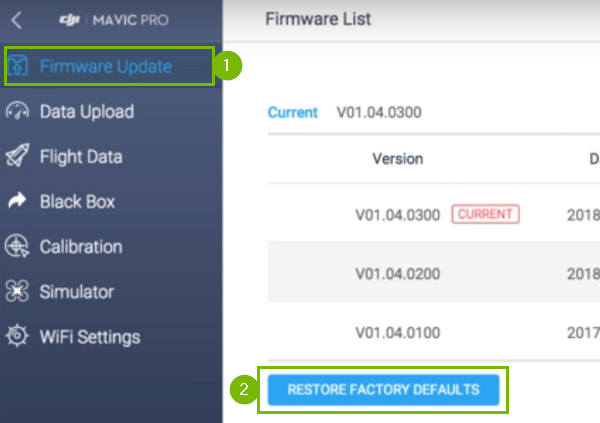
Make sure to have Firmware Update (1) selected, and then click on RESTORE FACTORY DEFAULTS (2).
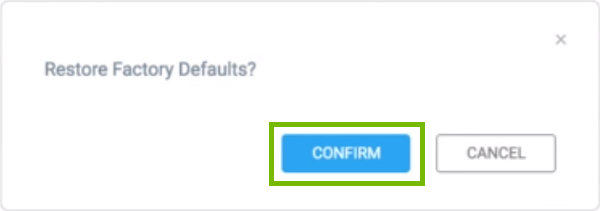
There will be a confirmation screen, click on CONFIRM.
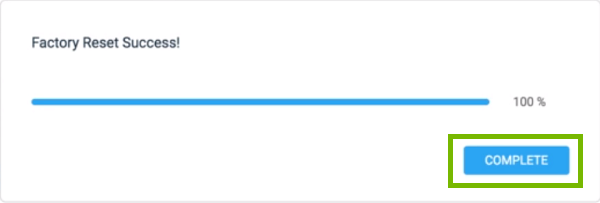
A progress bar will appear. When it is done, click on COMPLETE.
6. OS Choice
To continue, we need to know what Operating System your computer is using.
There are 2 main Operating Systems for personal computers currently available, Microsoft Windows and Apple macOS.
Microsoft WindowsApple macOSMicrosoft Windows runs on computers produced by multiple companies, such as Lenovo, Asus, Dell, Toshiba, Hewlett Packard, Acer, and Sony.Apple is the only company that makes macOS computers.
Scroll down, and select the exe for Windows DJI Assistant 2.
Open the downloaded program.
Windows will ask permission to run the program. Select Yes.
Carefully read the License Agreement. When you are ready to continue, place a dot next to I accept the agreement to indicate you accept it, then select Next.
You'll be asked where you want to install the software. The default location is fine, select Next.
You'll be asked where to put the shortcuts to the software. The default location is fine, select Next.
You'll be asked if you want shortcuts created. Most people want a shortcut on the desktop, which is set by default. Select Next.
You'll be asked to confirm the options you chose. Select Install.
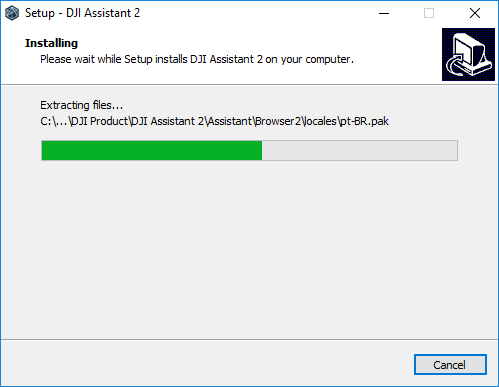
The software will install.
A specific driver is required to connect and talk to your DJI drone. Select Install.DJI is a Chinese company. The Publisher name translates as "Shenzhen Dajiang Innovation Technology Co., Ltd.", the full name of DJI.
Another specific driver is required to connect and talk to your DJI drone. Select Install.
The DJI Assistant 2 is now installed. Select Finish to exit the installer.
Scroll down, and select the dmg for macOS DJI Assistant 2.
Open the downloaded program.
If Security Settings Won't Allow the Program to Run
Sometimes macOS security settings can prevent the DJI Assistant 2 installer program from running. This section will guide you through correcting this.
Select OK to the warning message.
Select the Apple menu, then System Preferences.
Select Security & Privacy.
Select Open Anyway.
You will be informed the developer is unidentified. Select Open.
An introduction will be displayed. Select Continue.
Carefully read the Licence Agreement. When you are ready to continue, select Continue.
You'll be asked if you agree with the Licence Agreement you just read. When you are ready to continue, select Agree.
The installer will inform you how much space is needed, and where it will be installed. Select Install.
You will be prompted for your Mac's username and password to continue. Enter your Mac password, and select Install Software.
The software will install.
An extra driver is required to talk to the Android-based hardware inside your DJI Mavic Pro drone and controller, and the installer for that software will open. Select Continue.
The installer will inform you how much space is needed, and where it will be installed. Select Install.
The driver will install.
Once completed, select Close for the driver install.
With both the DJI software, and the driver installed, everything is complete and ready to use. Select Close to exit the installer.
You'll be asked if you wish to keep or Trash the installer. You do not need to keep the installer if you don't want to. Select Move to Trash.
.png)