Are you selling your drone? Are you trying to resolve an issue? Resetting your drone can help you. This guide will show you how.
There are two types of resets available for your drone:
Factory Reset: This requires a computer, Windows or Mac OS, and the DJI Assistant program. This will allow you to reset your drone, as it came out of the box. This is usually for when you are selling the drone, and want to remove all personal data it might have. It can also be used to try and fix an issue you are having with it, and other fixes are not working.
Drone Wi-Fi Reset: This just requires the drone. This will allow you to reset the Wi-Fi information from the drone back to the defaults. This is good, for times when your drone is not able to communicate with your mobile device. This only resets the Wi-Fi information, so no data will be lost.
2. Wi-Fi Reset
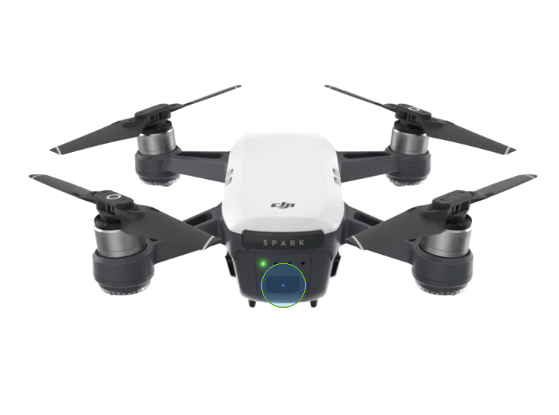
Press and hold the drone's power button for 9 secs. When you hear three rapid beeps, you can let go.
To verify that it works, you should be able to see the Spark's network on your mobile device.
3. Additional Information
To better assist you, please answer this question.
4. Factory Reset
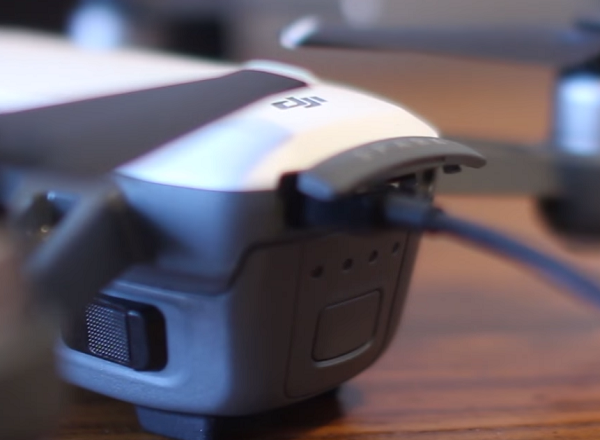
Turn on your drone.
Plug the Drone into your computer using the provided USB cable.
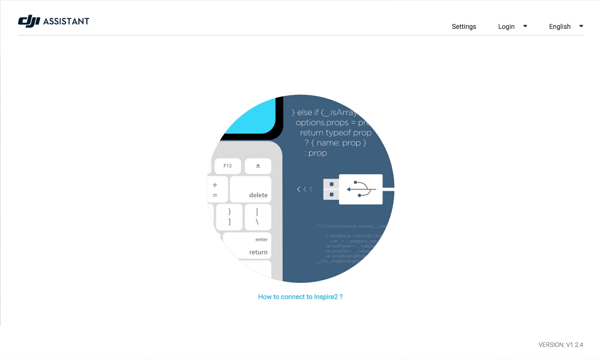
Open the DJI Assistant program.
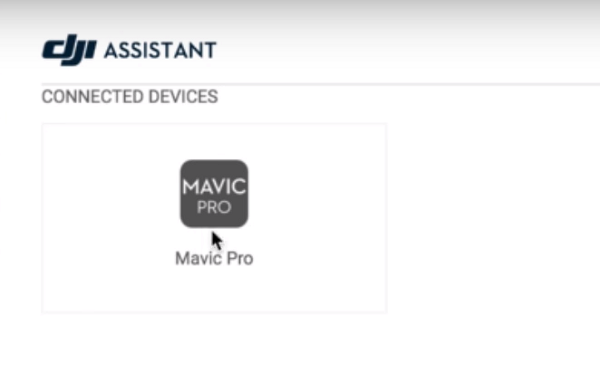
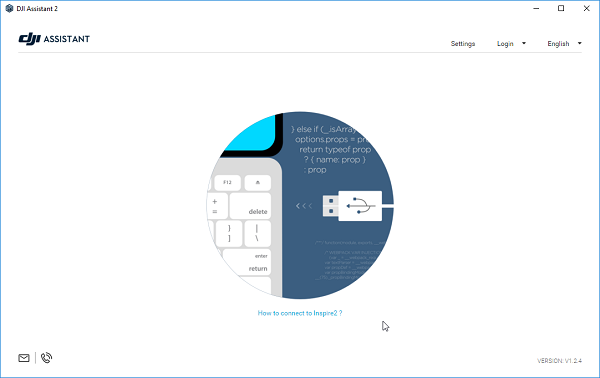
When you see this screen, DJI Assistant is detecting your drone. This may take a few moments.
Select your drone from the Connected Devices screen.
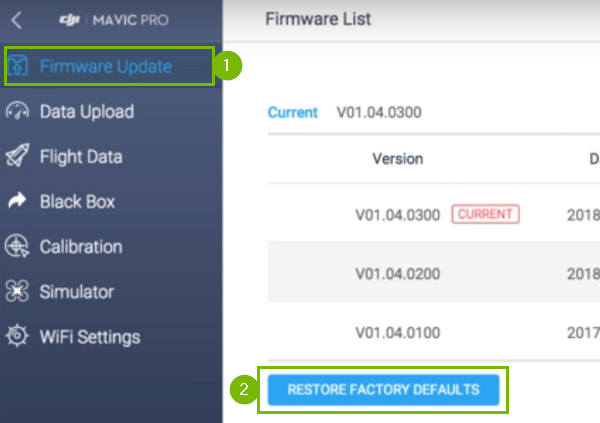
Make sure to have Firmware Update (1) selected, and then click on RESTORE FACTORY DEFAULTS (2).
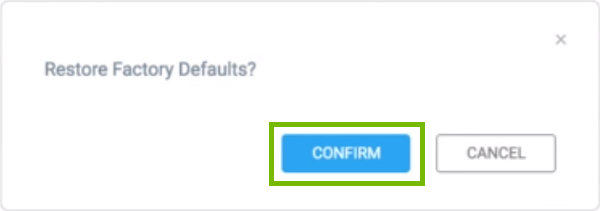
There will be a confirmation screen, click on CONFIRM.
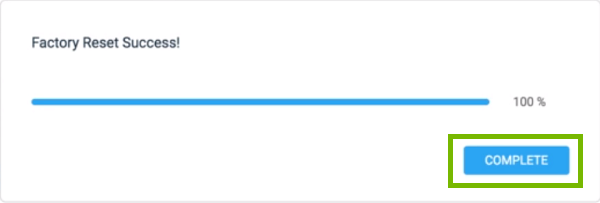
A progress bar will appear. When it is done, click on COMPLETE.
5. OS Choice
To continue, we need to know what Operating System your computer is using.
There are 2 main Operating Systems for personal computers currently available, Microsoft Windows and Apple macOS.
Microsoft WindowsApple macOSMicrosoft Windows runs on computers produced by multiple companies, such as Lenovo, Asus, Dell, Toshiba, Hewlett Packard, Acer, and Sony.Apple is the only company that makes macOS computers.
6. DJI Assistant Install
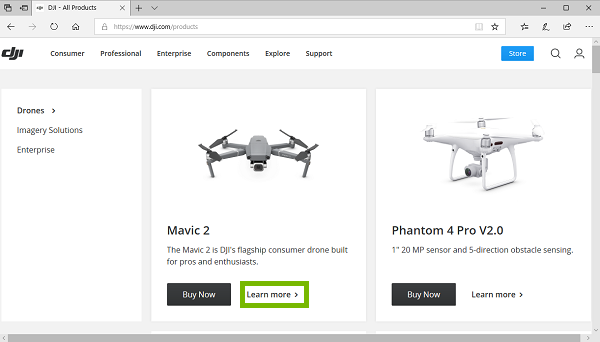
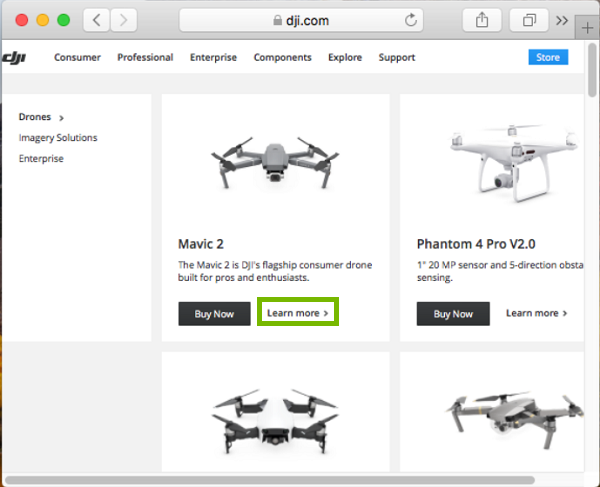
Open your browser and go to dji.com/products and select Learn more for your drone.
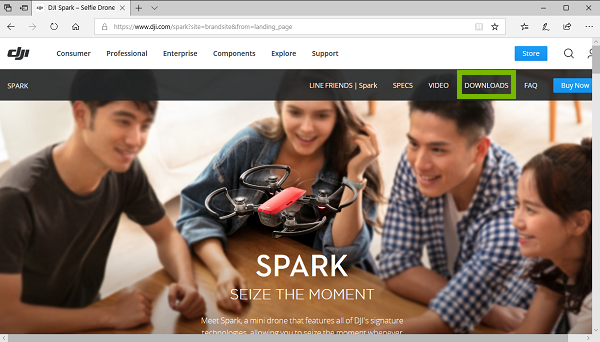
Click on Downloads.
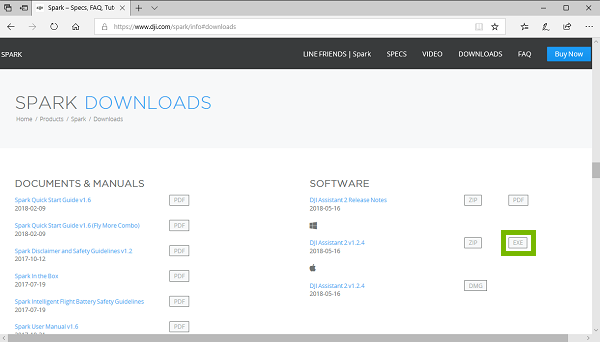
Click on the EXE for DJI Assistant.
Open or Run the download.
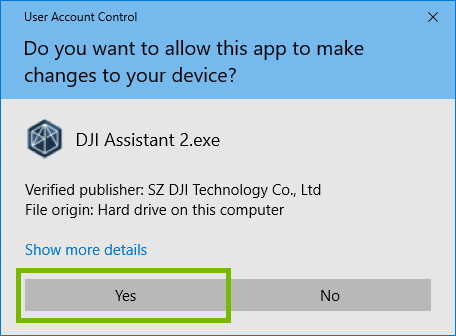
Click Yes on the User Account Control page.
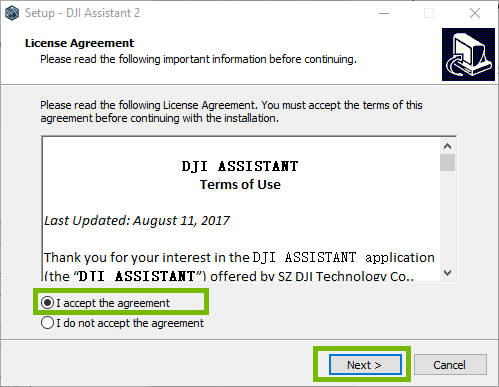
Click on I accept the agreement, then click on Next.
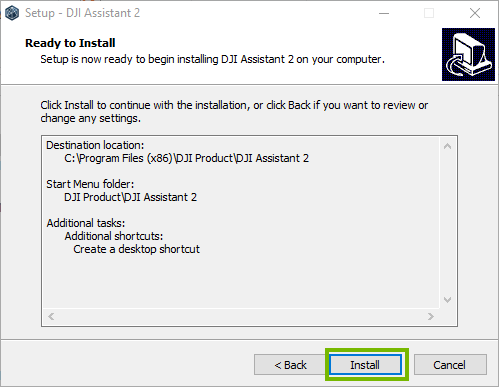
The next few pages you can click on Next. When available, click on Install.
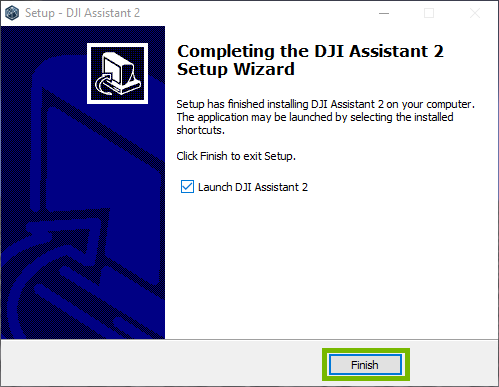
Click on Finish.
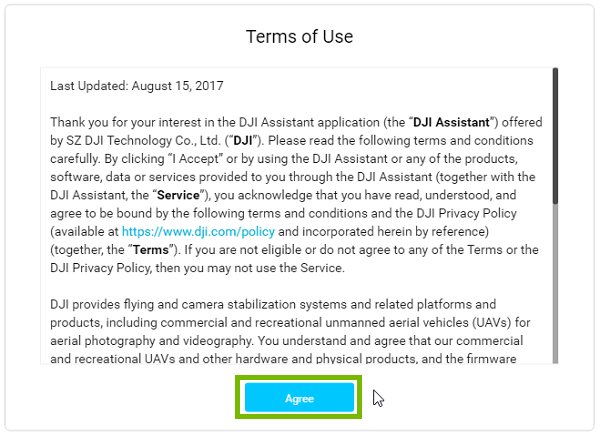
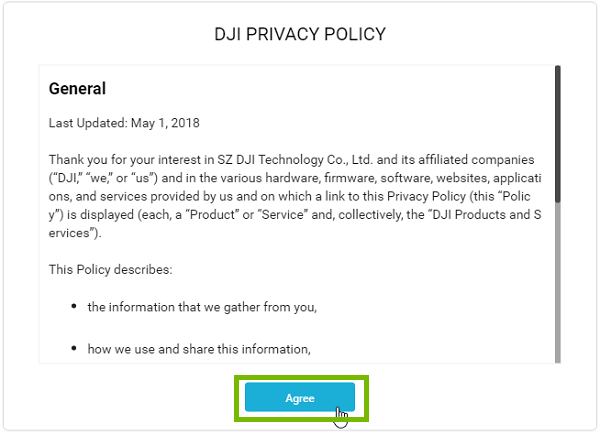
Click on Agree.
Click on Agree.
Click on the slider to turn any of the options you want on (it is ok to leave all of them off) and then click on Next.
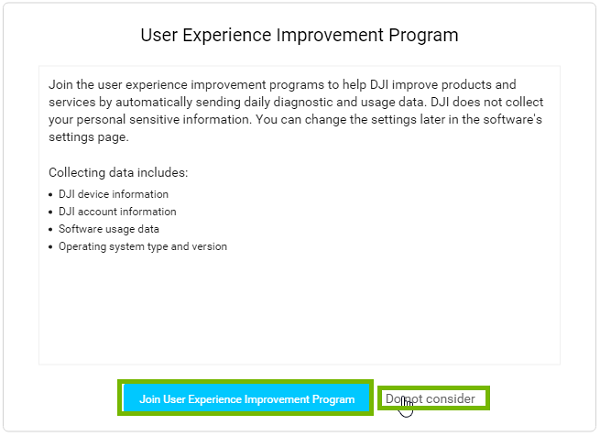
Click either on Join User Experience Improvement Program or Do not consider, either is ok to choose.
Once you see this page, the program is installed. You can close it at any time.
7. DJI Assistant Install
Open your browser and go to dji.com/products and select Learn more for your drone.
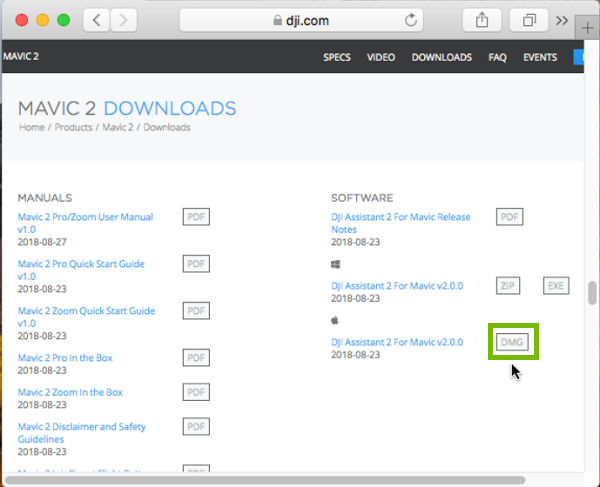
Click on Downloads.
Click on the DMG for DJI Assistant.
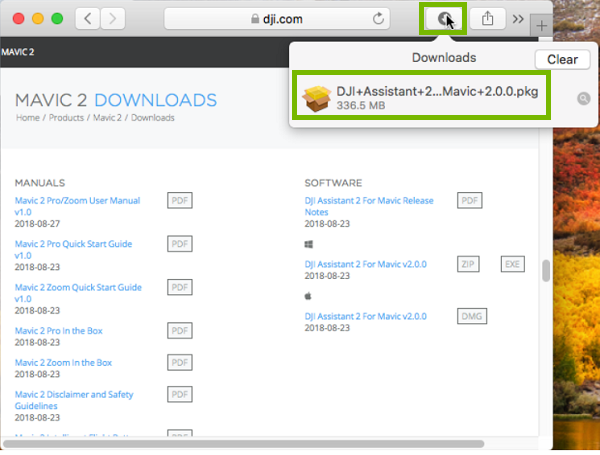
Click on the Downloads button, then click on DJI Assistant.
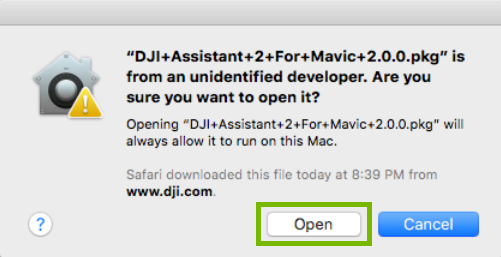
You will most likely get a window saying it won't open because it's from an unidentified developer. That is fine, click on OK.
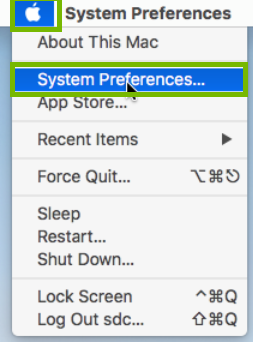
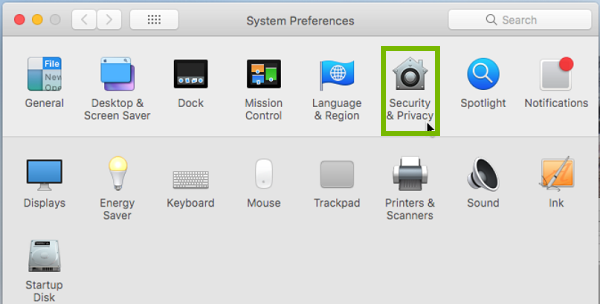
Click on the Apple in the upper left, then click on System Preferences.
Click on Security & Privacy.
Click on Open Anyway.
Click on Open.
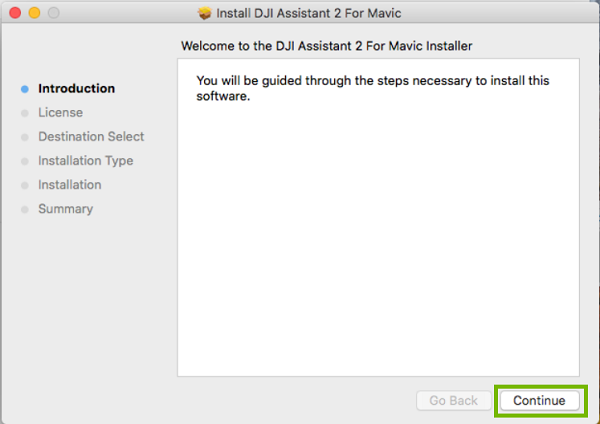
Click on Continue.
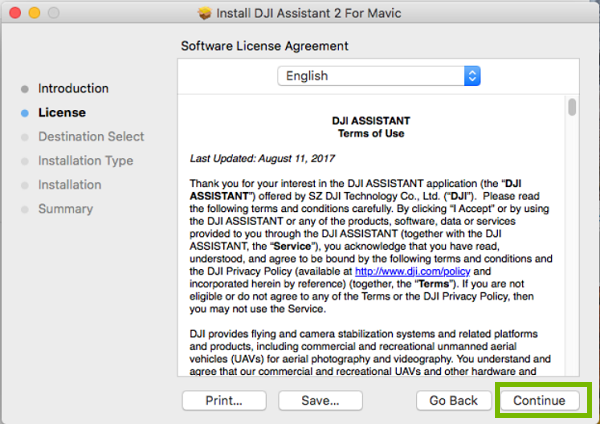
Click on Continue. Then click on Agree.
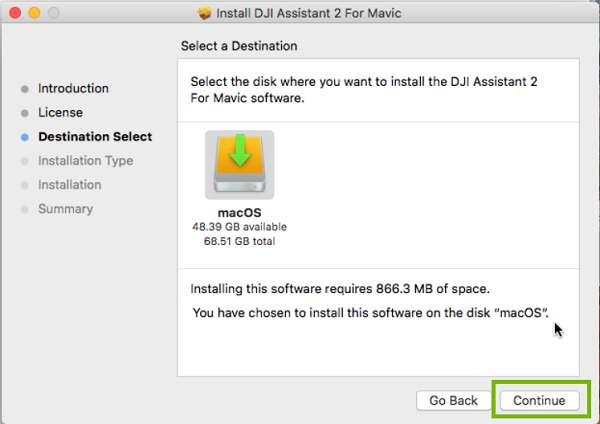
Click on Continue.
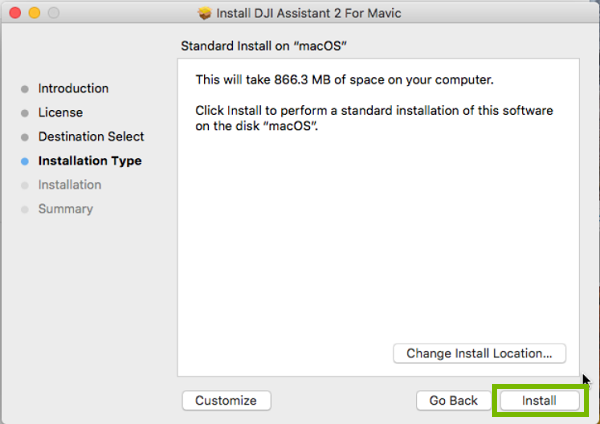
Click on Install.
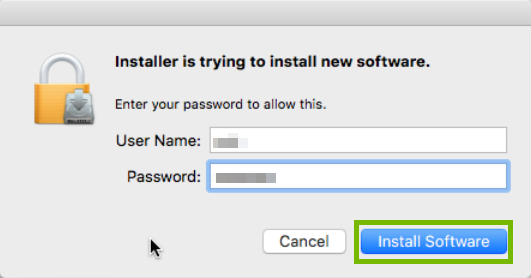
You might get an account confirmation. Enter in the account password, and click on Install Software.
Click on Close.
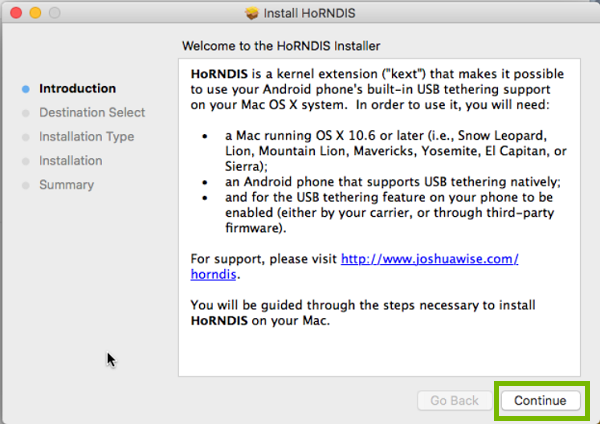
You might get a window to install HoRNDIS. Click on Continue.
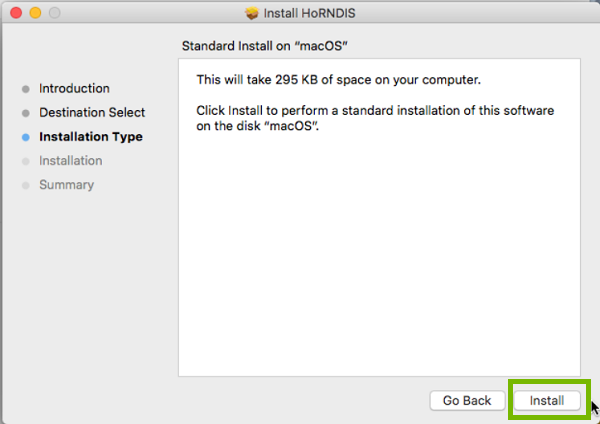
Click on Install.
Once done, open DJI Assistant.
Click on Agree.
Click on the slider to turn any of the options you want on (it is ok to leave all of them off) and then click on Next.
Click either on Join User Experience Improvement Program or Do not consider, either is ok to choose.
Once you see this page, the program is installed. You can close it at any time.
.png)