.png)
Authored by: Support.com Tech Pro Team
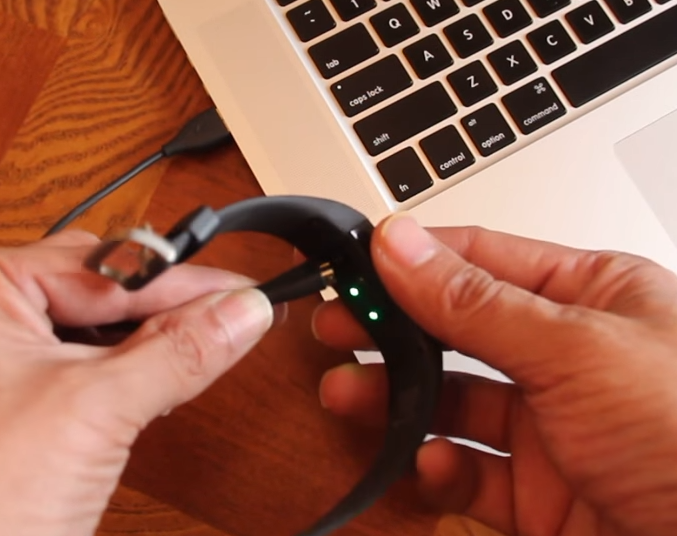
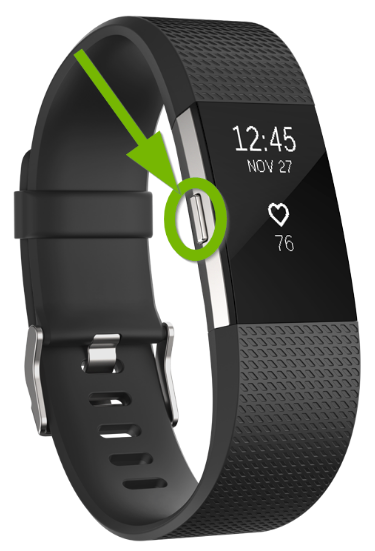
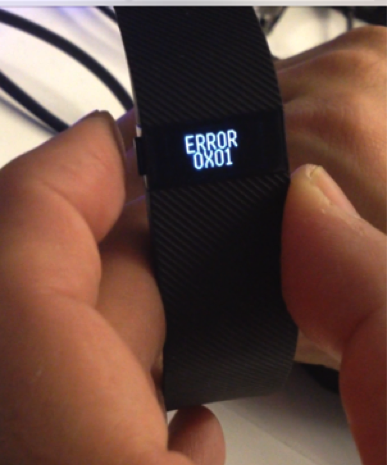
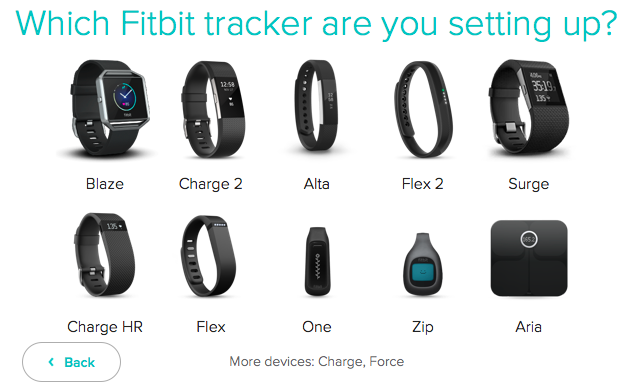
Many issues can be fixed by simply restarting your tracker. A factory reset is an involved troubleshooting step and should only be used as a final resort. After exhausting all other options, follow these steps to factory reset your Fitbit Charge.
Be sure to sync before completing the next steps. A factory reset will delete any stored data.
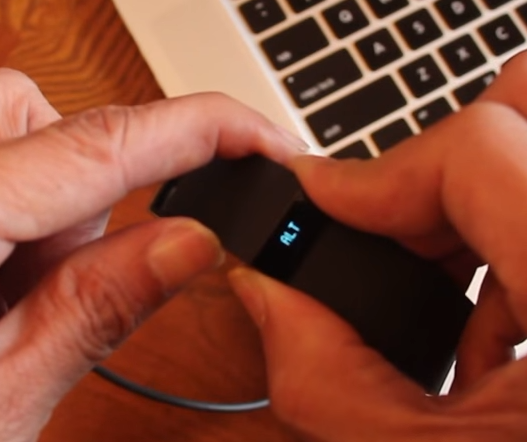
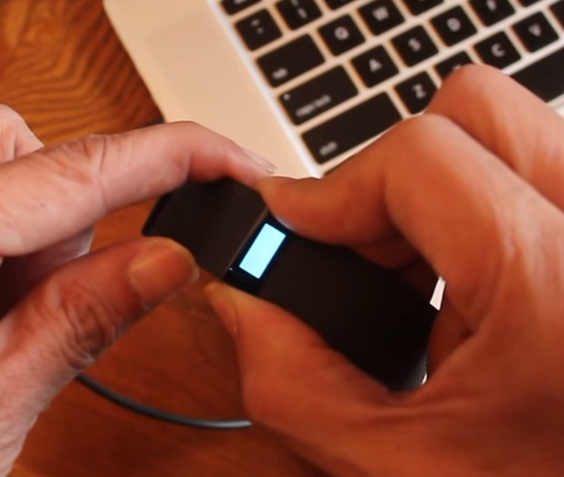
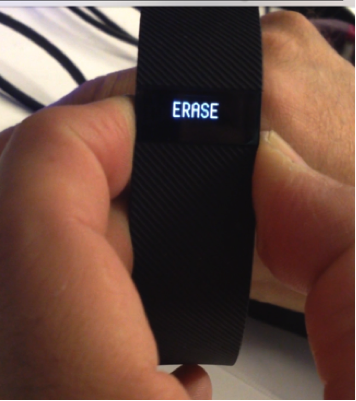
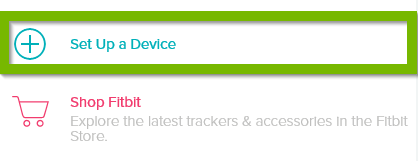
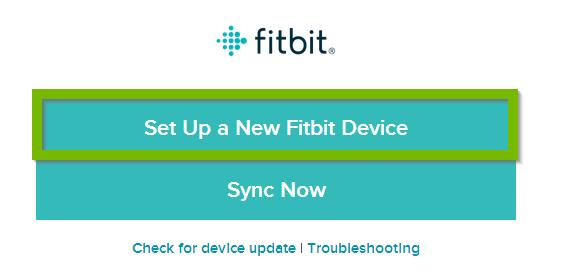
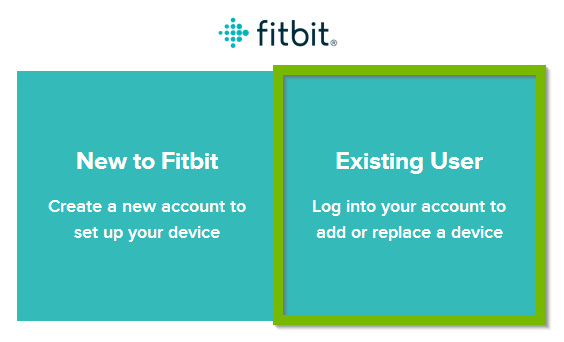
If you want to reconnect your tracker, you must set it up as a new device.


Support.com is committed to your privacy
We do not share or sell your data to third parties. We do use cookies and other third-party technologies to improve our site and services. The California Consumer Privacy Act (CCPA) gives you the ability to opt out of the use of cookies, third-party technologies and/or the future sale of your data. Do not sell my personal information.

Support.com is committed to your privacy
Read our Privacy Policy for a clear explanation of how we collect, use, disclose and store your information
