Boot Camp is software developed by Apple, in cooperation with Microsoft, designed to run Windows on Mac hardware. By using Boot Camp, you don't have to choose between Apple macOS or Windows. Instead, you can install both and simply switch between them by rebooting and selecting the other OS.
This guide will help you resolve issues you may encounter with Boot Camp on your Mac.
2. Check Compatibility
Always Check Compatibility
Unfortunately, not every Mac can run every version of Microsoft Windows. Before proceeding further, navigate to https://support.apple.com/en-us/HT204048 in any web browser to check compatibility requirements to install Windows with Boot Camp on your Mac.
3. Install Windows Support Software Manually
Windows support software installs drivers and applications on your computer specifically for your mac which enables functionality of your hardware. Typically, Windows support software runs after windows is installed on your Mac. In rare cases, Windows support software doesn't launch and you may have one or more of the following issues.
An error message says that Apple Software Update has stopped working.
One or more screen resolutions are missing or unavailable for your display in Windows.
You can't adjust the brightness of your built-in display in Windows.
Your Apple mouse, trackpad, or keyboard isn't working in Windows.
You don't hear audio from the built-in speakers of your Mac in Windows.
The built-in microphone or camera of your Mac isn't recognized in Windows
4. Install Windows Support Software Manually
Click on the Start Menu.
In the search bar type File Explorer and click File Explorer in the search results.
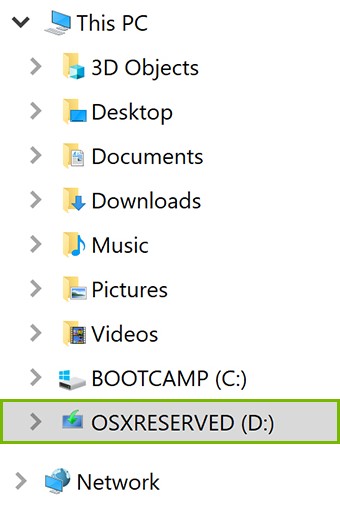
Go to the OSXRESERVED drive which is typically Drive D.
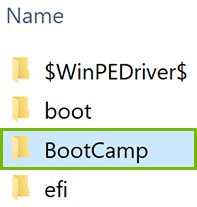
Double click on the BootCamp folder.
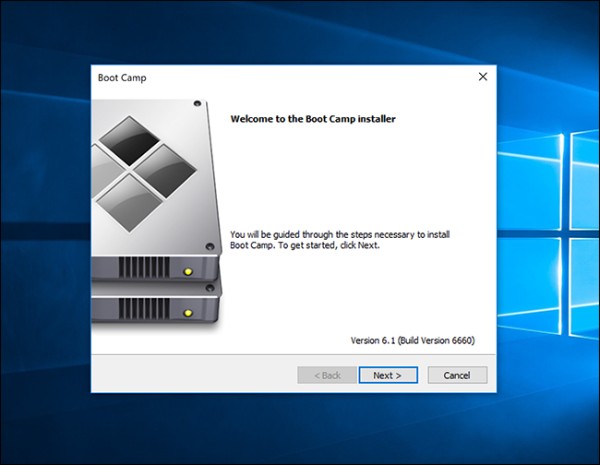
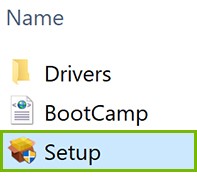
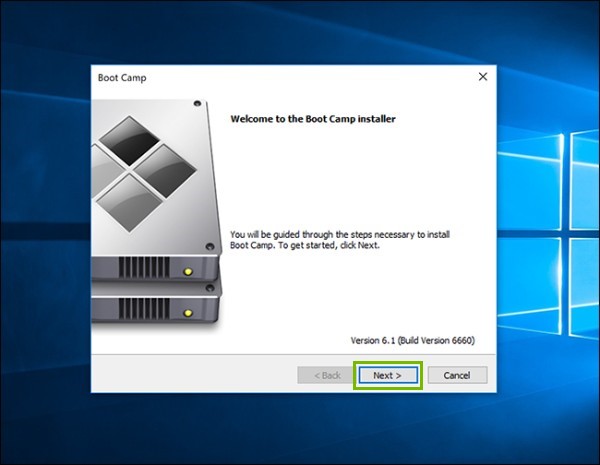
Double click the Setup file to start the installer.
Press Next.
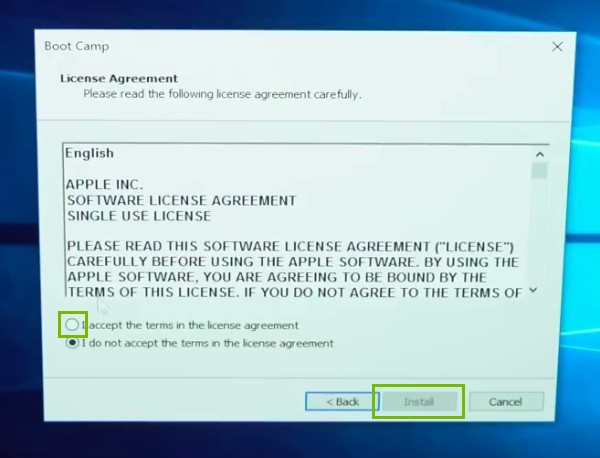
Click I accept the terms in the license agreement and then click Install.
If prompted, click Install to install any device software/drivers.
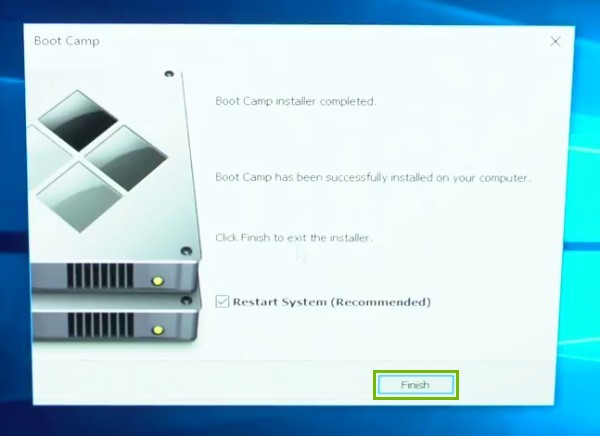
Click Finish.
5. Restart
Before your restart your PC, make sure to save all necessary work to prevent data loss.
Restart your computer.
If You're Running Windows 10
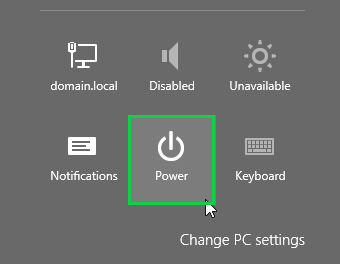
Select the Start menu.
Select (1) Power, then select (2) Restart.
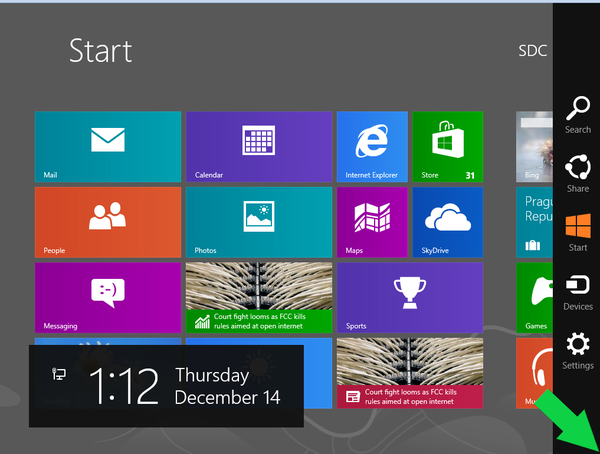
If You're Running Windows 8
Open the Charms Menu by moving your cursor to the right corner of the screen.
Click on the Settings icon.
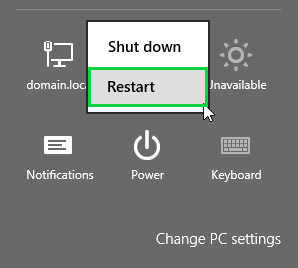
Click on Power.
Click on Restart.
If You're Running Windows 7
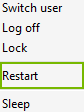
Select the Start Menu.
Select the arrow next to Shut Down.
Click on Restart.
6. Verify Issue Resolved
Check to see if your issue is resolved.
7. What's next?
8. Install Windows Support Software Manually
Click on the Start Menu.
Click the search icon.
In the search bar type File Explorer and click File Explorer in the search results.
Go to the OSXRESERVED drive which is typically Drive D.
Double click on the BootCamp folder.
Double click the Setup file to start the installer.
Press Next.
Click I accept the terms in the license agreement and then click Install.
If prompted, click Install to install any device software/drivers.
Click Finish.
9. Install Windows Support Software Manually
Click on the Start Menu.
In the search bar type Windows Explorer and click Windows Explorer in the search results.
Go to the OSXRESERVED drive which is typically Drive D.
Double click on the BootCamp folder.
Double click the Setup file to start the installer.
Press Next.
Click I accept the terms in the license agreement and then click Install.
If prompted, click Install to install any device software/drivers.
Click Finish.
10. Create ISO From Installation Media
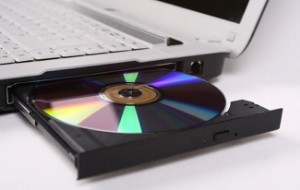
In order to install Windows on a Mac using Boot Camp, you need a disc image (referred to as an ISO). If you have your Windows install media you can make your own disc image from your install media.
Insert your Windows DVD or USB installation media.
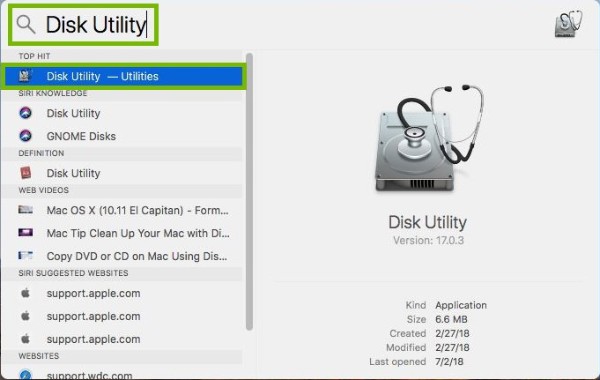
Click the Spotlight icon.
Type Disk Utility in the Search bar and click on Disk Utility from the search results.
Click the File menu.
Click on New Image.
Click on Image From (with your CD/DVD image listed).
Under format, make sure DVD/CD master is selected.
Click Save.
When the image is finished, you will be prompted to click Done.
Open Finder and locate your disk image.
Select the image in finder. Wait a couple seconds and click the file one more time.
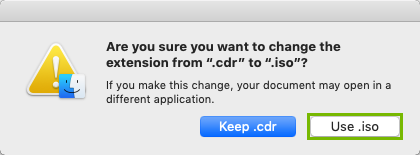
Change the .cdr to .iso and hit Enter.
Click Use .iso.
11. Switching Between OS
Restart the computer in whichever operating system you are in.
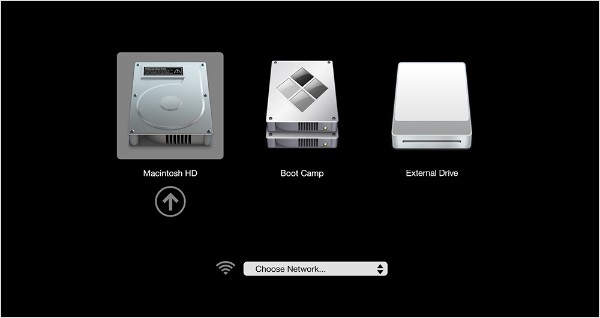
Hold the Option key down when your mac restarts.
Choose the operating system that you want to boot into.
12. What's next?
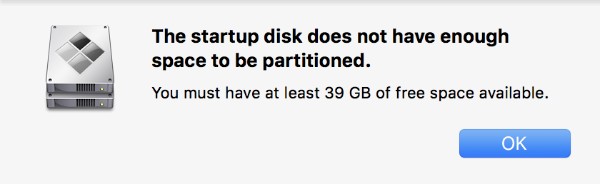
13. Not Enough Free Space
If you try to install Windows using boot camp but you don't have enough free space, you will receive a message stating The startup disk does not have enough space to be partitioned. If you get this error, you will need to free up some space on your drive.
14. Check Free Space
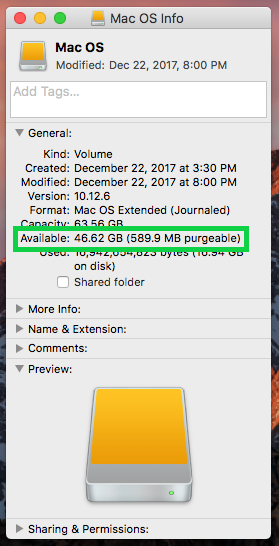
As a general rule, you will want to have a minimum of 40 Gigabytes of free space before attempting to install Windows on your Mac.
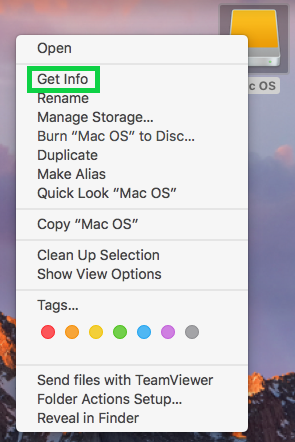
Find your drive on your desktop
Either Control Click or Right Click on your drive and click Get Info.
Look for Available space and take note of free space.
15. Manage Storage
Select the Apple menu and then About This Mac.
Select Storage.
Select Manage.
From Recommendations, you'll be able to use these tools to optimize, reduce clutter, and find large groups of files. Look through the items here for simple places to check to help clear unneeded files from your computer.
16. Verify Issue Resolved
Check to see if your issue is resolved.
If you do not know how to setup boot camp you can click the "Show Me How" button below.
Clicking this button will open a new guide that will provide you with steps to resolve your issue.
17. What's next?
18. Delete Local Snapshots
If you use Time Machine to create a Time Machine backup, it could prevent you from installing Windows on boot camp. The general reason this happens is because this space used by your snapshots is not reported as used space by macOS. It will typically give you an error stating your disk could not be partitioned. The following steps will help you to clear these snapshots from your computer.
Deleting local snapshots will remove any saved Time Machine backups from your system. Removing these backups will remove the ability to restore to them at a later time.
Click on the Spotlight icon.
Search for Terminal.
Type in exactly what is displayed in the following note:
for i in `sudo tmutil listlocalsnapshots / | tr -d com.apple.TimeMachine.` ; do sudo tmutil deletelocalsnapshots "$i" ; done
Press Enter.
If prompted, enter your password and press Enter.
19. Verify Issue Resolved
Check to see if your issue is resolved.
If you do not know how to setup boot camp you can click the "Show Me How" button below.
Clicking this button will open a new guide that will provide you with steps to resolve your issue.
20. Disable FileVault
FileVault 2 encrypts your files on your drive to make them secure. Boot camp will sometimes have problems partitioning drives that are encrypted with FileVault. This guide will walk you though disabling FileVault encryption.
To Disable FileVault:
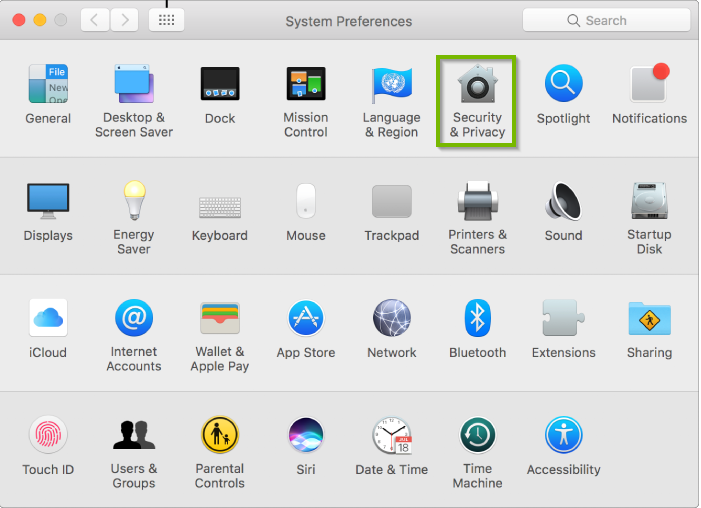
Choose Apple menu > System Preferences.
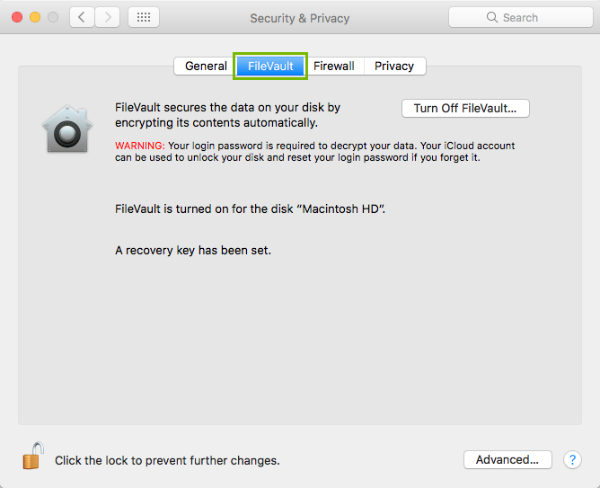
Click Security & Privacy.
Click the FileVault tab.
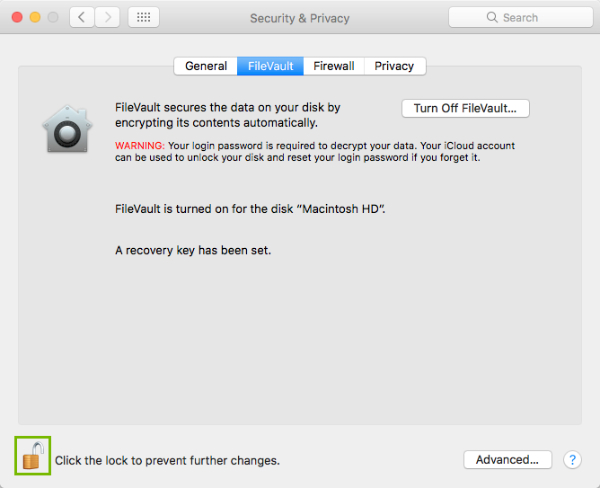
Click to unlock the Lock button, then enter an administrator name and password.
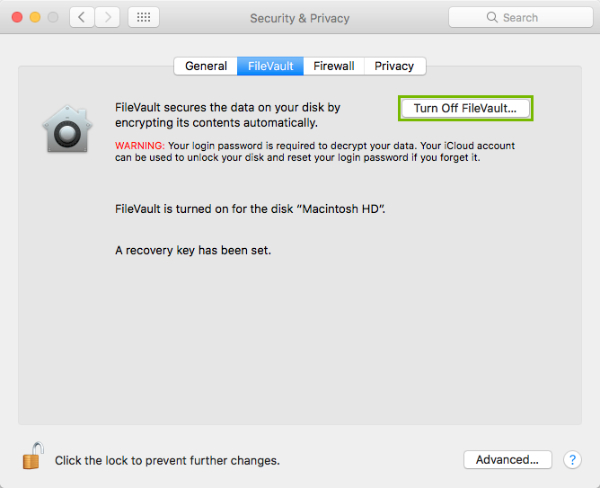
Click Turn Off FileVault.
Click Restart & Turn off Encryption.
21. First Aid
We will now check for errors on your boot drive using Disk Utility.
Running Disk Utility can take a long time, especially on larger hard drives. Please make sure you won't need your computer for at least 1 hour before beginning this step.
Click on spotlight icon.
Type Disk Utility in the Search bar and click on Disk Utility from the search results.
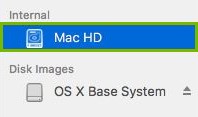
In the bar on the left, highlight your boot disk.
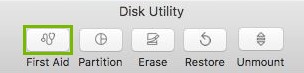
Click the First Aid button at the top.
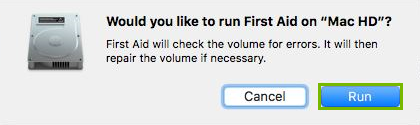
Click Run.
Disk Utility will scan your hard drive, and attempt to repair any issues it has.If you are prompted to complete the repairs yourself, or get an error about disk failure, reach out to Apple Support immediately.
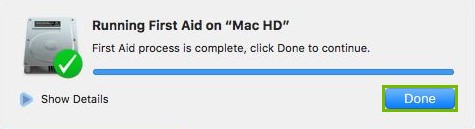
Click Done to finish.
22. Verify Issue Resolved
Check to see if your issue is resolved.
If you do not know how to setup boot camp you can click the "Show Me How" button below.
.png)