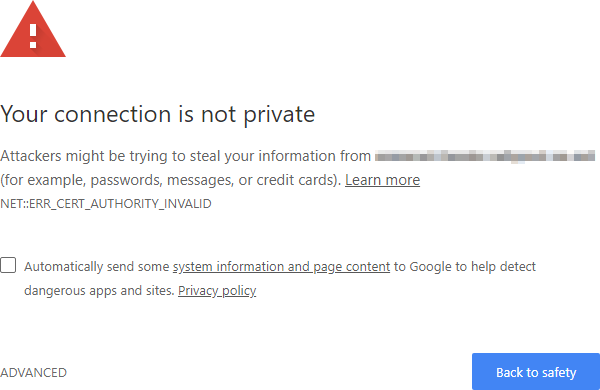
How to Fix Connection is Not Private Error in Chrome
Authored by: Support.com Tech Pro Team
1. Introduction
Security warnings while browsing can be frustrating. In many cases, they are caused by a website that's not configured properly, but there are a few computer and Chrome browser settings we can check to ensure the problem isn't happening because of a mistaken setting.
This guide will take you through the basic settings to ensure your computer and Chrome aren't the cause of these security errors. We will check:
Computer date and time
Chrome cache and cookies
Tools You'll Need:
A paperclip
iPhone charging cable
Access to a computer with iTunes installed
Any other non-consumable tools needed
Comment out tools section if no tools are necessary
-->
Supplies You'll Need:
Zip ties
Any other consumable supplies
Comment out supplies section if no supplies are necessary
-->
Before You Begin:
You must have access to a computer with iTunes installed.
You must have that thing for the other thing so you can do the thing.
Each individual prereq should have its own box like this. Not all will contain multiple links.
Comment out prerequisites section if no prereqs are necessary
-->
A Quick Fix
One quick way to correct this issue may involve your antivirus. You can temporarily disable your antivirus to test it if was blocking access to the website.
2. Make Sure Date and Time are Correct
Security certificates are used by our web browsers and computers to make sure a particular site is safe. If the date and time are wrong, certain web pages may give security warnings and secure programs such as work VPNs, banking apps, and most social network apps will not function. Since iOS devices (iPhones and iPads) and Android set their time automatically, you don't usually need to check those.
If you notice that your Date and Time keeps becoming unsynced, you should speak to the manufacturer about replacing your CMOS battery.
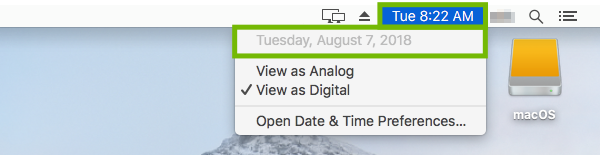
How to Verify the Date and Time on a Mac
Select the time display in the top-right corner of your screen.
Make sure both the date and time are correct.
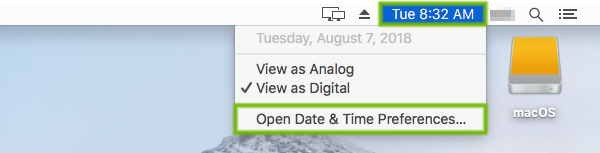
If the time is incorrect, select the time display in the top-right corner of your screen, then select Open Date & Time Preferences.
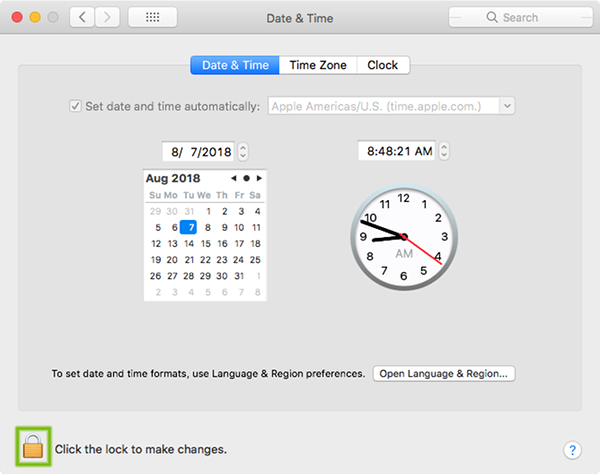
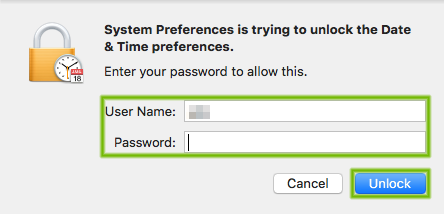
Select the lock in the bottom-left corner to make changes.
Enter your username and password, then select Unlock.
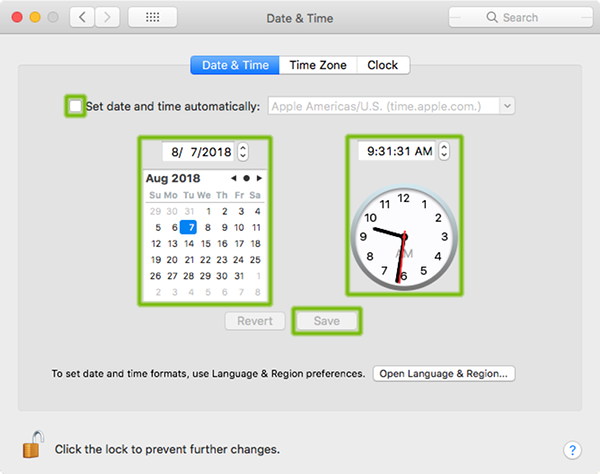
In most cases, letting your Mac take care of setting the time is the best choice. Make sure there is a check for Set date and time automatically, and make sure a time server close to you is chosen.
If you want, you can set the time manually. Remove the check for Set date and time automatically, then enter the correct date and time. Press Save when done.
Select Time Zone, then select your closest region on the map, and refine it by choosing the city you are in, or the city closest to you, from the list below.
How to Verify the Date and Time in Windows
Look at the date and time shown in the system tray. This is usually in the bottom right corner of the screen.
If the date or time are wrong, it can cause issues. To fix:
Windows 10
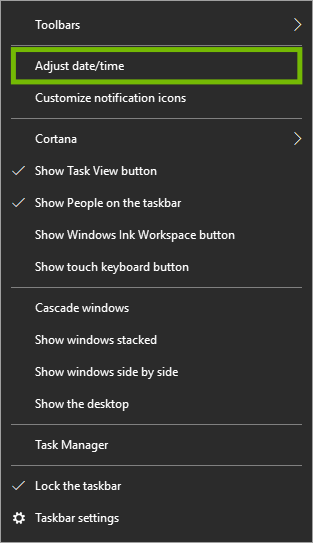
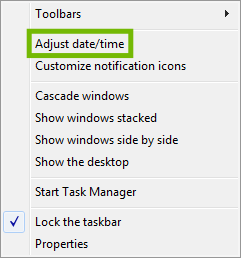
Right-click on the date and time.
Select Adjust date/time.
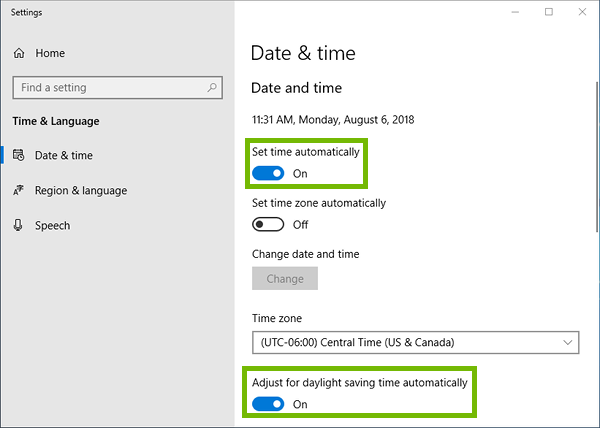
For most, letting Windows manage the date and time, as well as automatically setting it is the best choice.
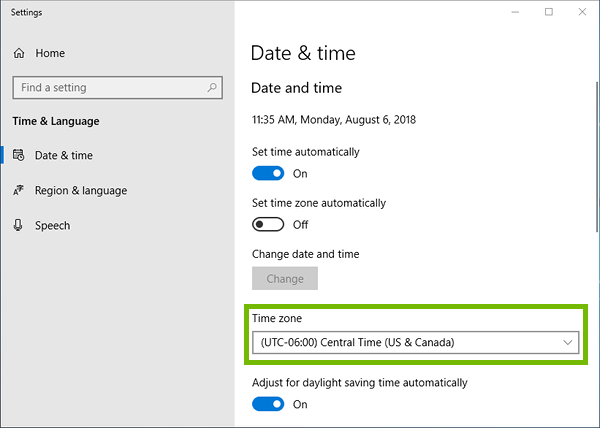
Make sure Set time automatically and Adjust for daylight saving time automatically are both turned On.
Make sure your time zone is selected for Time zone.
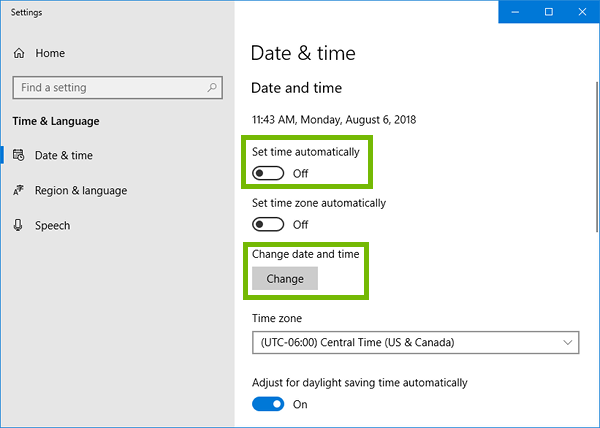
If you want, you can manually set the Date and time.
Make sure Set time automatically is set to Off, then select Change for Change date and time.
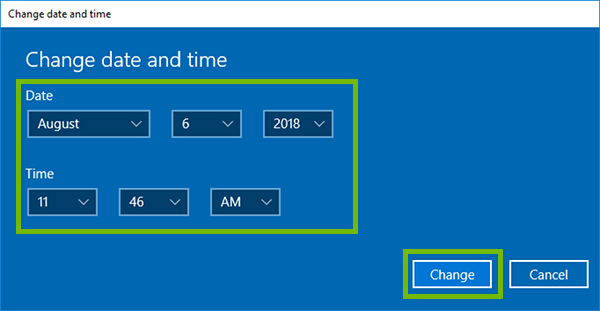
Set the Date and Time correctly, then select Change.
Other Windows Versions
Right-click on the date and time.
Select Adjust date/time.
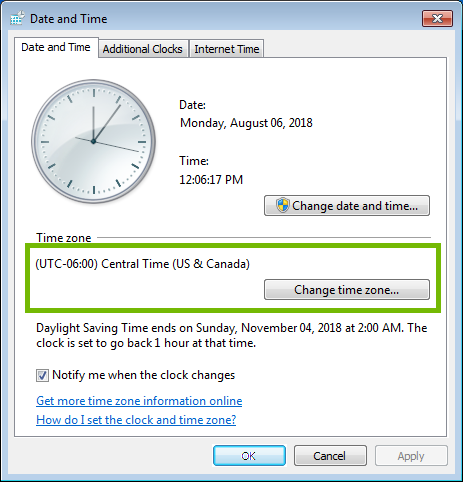
Make sure the proper Time zone is selected.
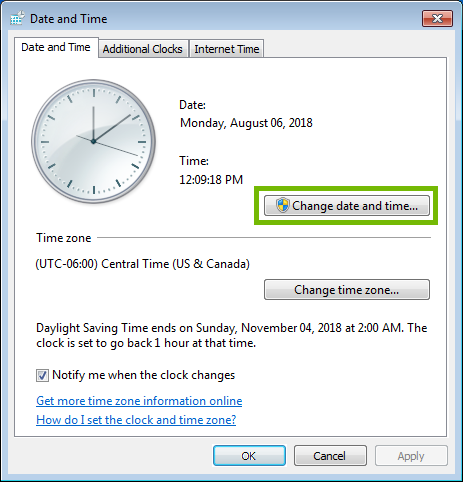
Select Change date and time.
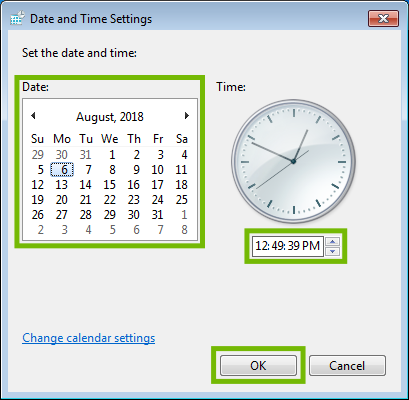
Correct the Date and Time, then select OK.
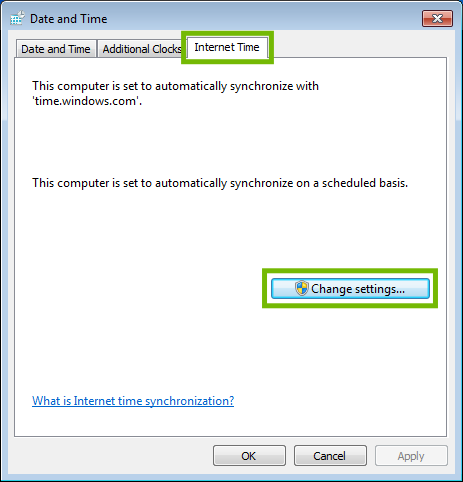
You may wish to have Windows set the date and time for you in the future.
Select the Internet Time tab at the top, then select Change settings.
Make sure Synchronize with an Internet time server is checked, then select OK.
3. Check for Updates
Check for Updates on a Mac System
Select the Apple menu, then App Store.
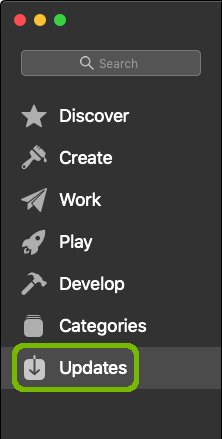
You will now see the app store pull up. Select Updates.
macOS 10.14 Mojave or Later
macOS 10.13 High Sierra or Earlier
Any version of macOS 10.7 (Lion) or older can check for available updates through the Apple Menu and Software Updates.
Check for Updates on Windows Systems
Open the Start menu and select Settings.
Select Update and Security.
Select Windows Update on the left, then select Check for updates.
Once the system has finished checking for updates, it will automatically download and install the latest applicable updates.
The system also may prompt you to restart, if it does, please do so at your earliest convenience, otherwise the update process will not complete.If you system was already recently updated, chances are that no further updates are available and your Update status will indicate: Your device is up to date.
4. Turn Off Problematic Chrome Extensions
Extensions provide extra features to Chrome. Sometimes they aren't coded well or they break after a Chrome update and begin to cause problems. Disabling or removing unneeded or unwanted Extensions can help resolve these problems.
Using Incognito Mode, See if Disabling Extensions is Needed
Open Google Chrome.
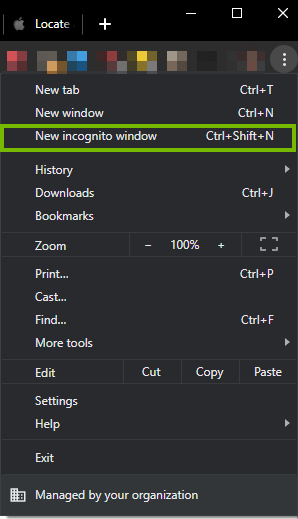
Click the menu button.
Select the New Incognito Window.
Test the webpage you were trying to reach by trying to access it with the Incognito Window.
If you can reach the webpage with no issue then you most likely have an extension causing your problem.
How to Turn Off Chrome Extensions
Open Google Chrome.
Select the Menu in the top right corner.
Then, point to More tools, and select Extensions.
Disable an Extension
Select the toggle in the bottom right of the extension.
Repeat this for each extension you want to disable.
Delete an Extension
Select Remove for the extension.
Select Remove to confirm.
Repeat this for each extension you want to delete.
5. Clear History and Cached Browsing Data
If you're still having issues on a particular website, your browser could be holding onto some outdated or bad data in the form of an old cookie, cached version of the website, etc. Clearing this data allows your browser to load the website freshly as if it had never been there before.
Open Google Chrome.
Select the menu at the top.
Click More tools, then select Clear browsing data.
Select Advanced at the top. For Time range, select All time. Place a checkmark next to each item you'd like to clear, then select Clear data. We recommend selecting everything we've shown here except passwords and autofill form data.
Browsing history
Recommended This clears the memory of the pages you've browsed to.
Download history
Recommended This clears the memory of files you've downloaded.
Cookies and other site data
Recommended Pages store small data to remember you between visits to their pages. These are called cookies. This option clears cookies.
Cached images and files
Recommended Pages are downloaded and saved to your computer, so they are faster to display. This option clears cached copies, which can resolve many problems you may have.
Passwords and other sign-in data
Not Recommended The browser saves usernames and passwords for sites you sign into. There's no need to clear this, normally.
Autofill form data
Not Recommended Your browser stores other form data, such as your address, common search terms, and other things you type often on sites. There's no need to clear this, normally.
Site Settings
Recommended Checking this will clear specialty site settings you may have save.
Hosted app data
Recommended Some sites, especially Google apps, store extra app data that will automatically re-download when needed. Clearing this will cause a very small wait and solves problems with those apps.
6. Try the Webpage Again
With your browser's website data removed, try to visit the website again. If you still receive security warnings, the issue is with the website itself, and not your device or its web browser. In this case, there is nothing you can do to resolve the error. Once the website owner/manager resolves the issue, you will stop receiving security warnings when you visit the website.
.png)