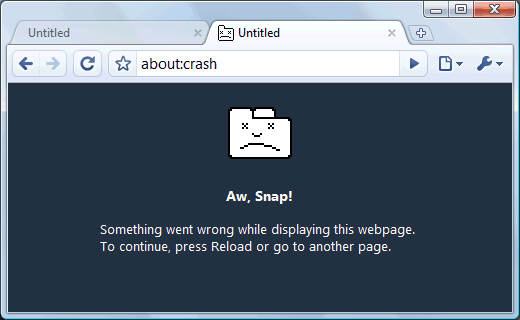
Google Chrome is currently the most popular browser in the world today. So, of course, it's a huge inconvenience if you're running into "Aw, snap!" or "He's dead, Jim!" crash screens. While Google is trying to be humorous, running into this message frequently while you're trying to work won’t end up being the funniest of jokes. Crashing at the wrong time can cause you to lose a big chunk of work or even some precious data.
This guide will go over common fixes for Chrome crashes that will help get your browser back to a stable state.
Each fix is listed in order. Try each one individually and test your browser. If you're still having trouble, try the next fix until you find one that has resolved the issue.
What You'll Need:
No extra tools or supplies are needed.
-->
Before You Begin:
Extra instructions.
hyperlink
-->
2. Quit and Restart Chrome
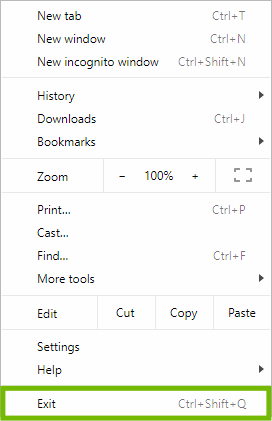
Quit Chrome NormallyQuitting and restarting Chrome can quickly and easily fix many problems it may have:
Select the menu in the top-right corner.
Select Exit at the bottom.
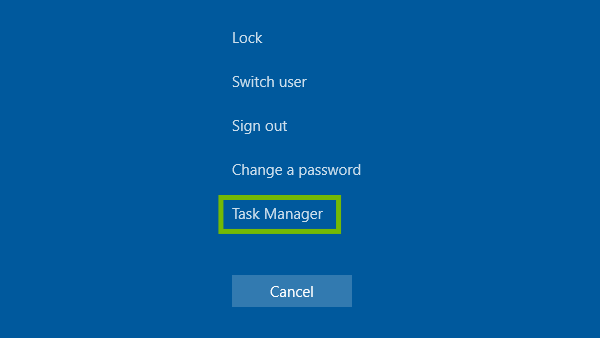
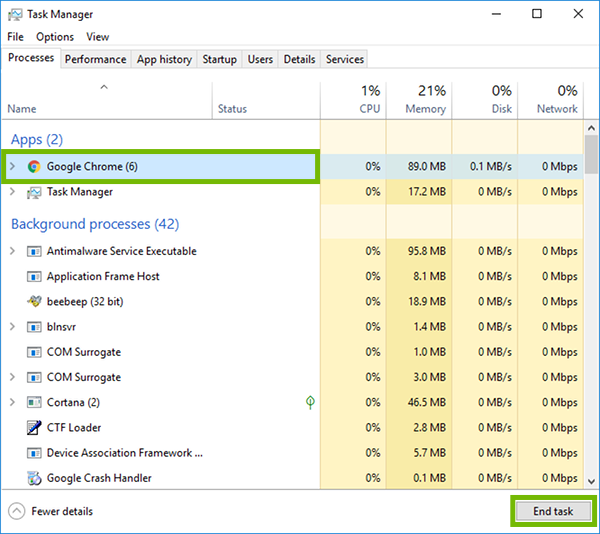
Quit Chrome Forcefully
If you're unable to quit Chrome the normal way, you may need to force it to quit:
On your keyboard, press the Control, Alt, and Delete keys at the same time.
Select Task Manager.
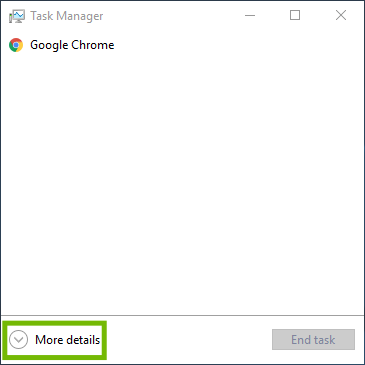
Select More details.
Select any entries named Google Chrome or chrome.exe, then select End task.
3. Clear Chrome Saved Data
Open Google Chrome.
Select the menu at the top.
Click More tools, then select Clear browsing data.
Select Advanced at the top. For Time range, select All time. Place a checkmark next to each item you'd like to clear, then select Clear data.
Browsing history
Recommended This clears the memory of the pages you've browsed to.
Download history
Recommended This clears the memory of files you've downloaded.
Cookies and other site data
Recommended Pages store small data to remember you between visits to their pages. These are called cookies. This option clears cookies.
Cached images and files
Recommended Pages are downloaded and saved to your computer, so they are faster to display. This option clears cached copies, which can resolve many problems you may have.
Passwords and other sign-in data
Not Recommended The browser saves usernames and passwords for sites you sign into. There's no need to clear this, normally.
Autofill form data
Not Recommended Your browser stores other form data, such as your address, common search terms, and other things you type often on sites. There's no need to clear this, normally.
Site Settings
Recommended Checking this will clear specialty site settings you may have save.
Hosted app data
Recommended Some sites, especially Google apps, store extra app data that will automatically re-download when needed. Clearing this will cause a very small wait and solves problems with those apps.
4. Delete Unwanted Chrome Extensions
Extensions provide extra features to Chrome. Sometimes, these extensions are not coded well, break after a Chrome update or they change the way Chrome works in an unwanted or malicious way.
Disabling or removing unneeded or unwanted Extensions can help resolve these problems.
It is recommended to delete all unwanted extensions and disable all other extensions, then test Chrome. After that, enable the wanted extensions one by one, test Chrome with each one to find the extensions that are causing problems and delete them.
Open Google Chrome.
Select the Menu in the top right corner.
Then, point to More tools, and select Extensions.
Disable an Extension
Select the toggle in the bottom right of the extension.
Repeat this for each extension you want to disable.
Delete an Extension
Select Remove for the extension.
Select Remove to confirm.
Repeat this for each extension you want to delete.
5. Restart the PC
Before your restart or shut down your PC, make sure to save all necessary work to prevent data loss.
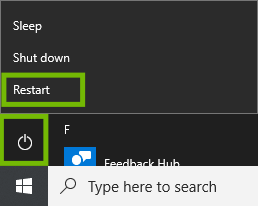
Using the Mouse
Select the Start menu.
By default it is in the lower left corner of your screen.
Select Power, then select Restart.
Using the Keyboard
Press the Windows and X keys at the same time. This minimizes any open windows you may have.
Press the Alt and F4 keys at the same time. This tells Windows to close the desktop.
Select Restart, then OK.
6. Uninstall Chrome
Sometimes it's necessary to uninstall Google Chrome then reinstall it.
In most cases, your bookmarks and saved passwords will be saved through uninstalling and reinstalling, but they can be lost during this process if you haven't signed into a Google account with Chrome in the past.
Any history, frequently used pages, cookies, and Extensions will be lost.
Any bookmarks, passwords, and extension settings will be lost if you have not signed into your Google account with Chrome, and won't be available again until you sign back into your Google account.
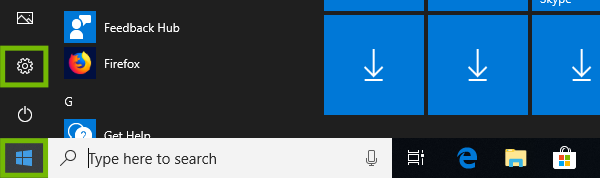
Select the Start menu, then select Settings.
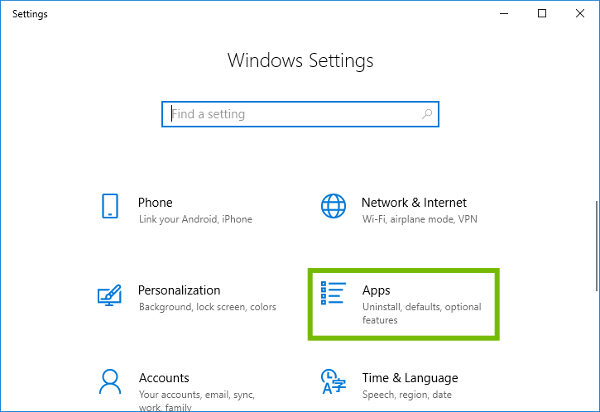
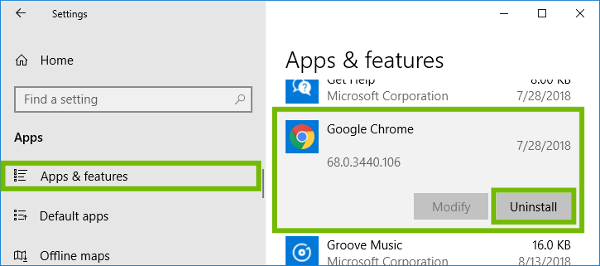
Select Apps.
In Apps & features, select Google Chrome, then select Uninstall.
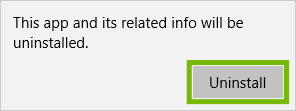
Select Uninstall for the conformation message.
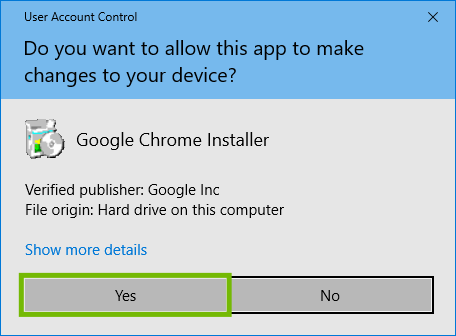
The installer will ask permission to run, select Yes.
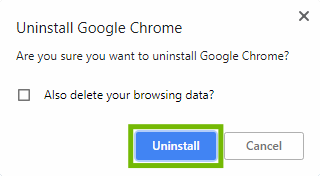
The installer will confirm you want to uninstall, select Uninstall.
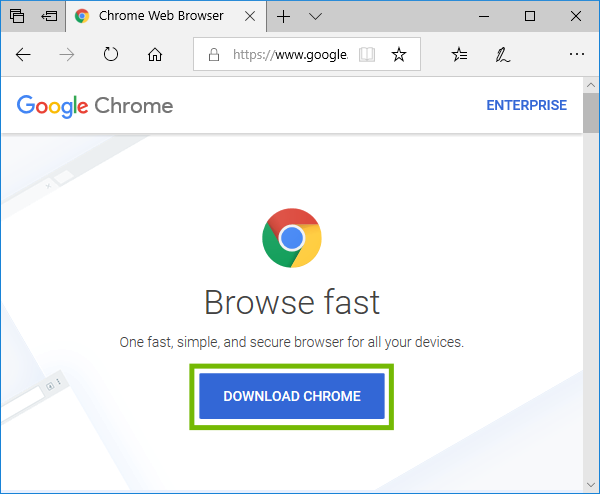
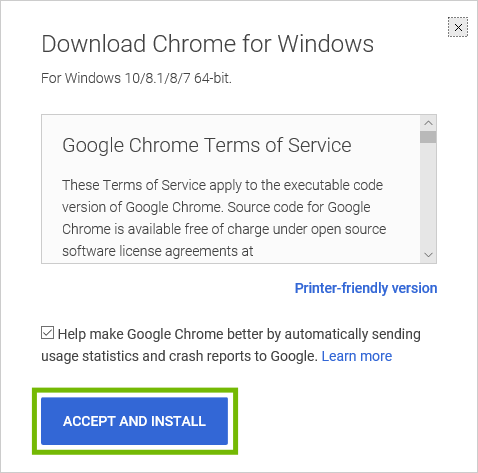
7. Install Chrome
We will use the built-in Edge browser on your computer to download and install Google Chrome.
.png)