How to Fix Issues with the Denon 2016 AVR Remote App
Authored by: Support.com Tech Pro Team
1. Introduction
This guide will help you repair issues with the companion apps for your Denon AVRS930H.
This guide will cover:
Power cycling your devices
Checking Wi-Fi
Uninstalling the app
Reinstalling the app
Setting up the app
2. Power Cycle Network and Devices
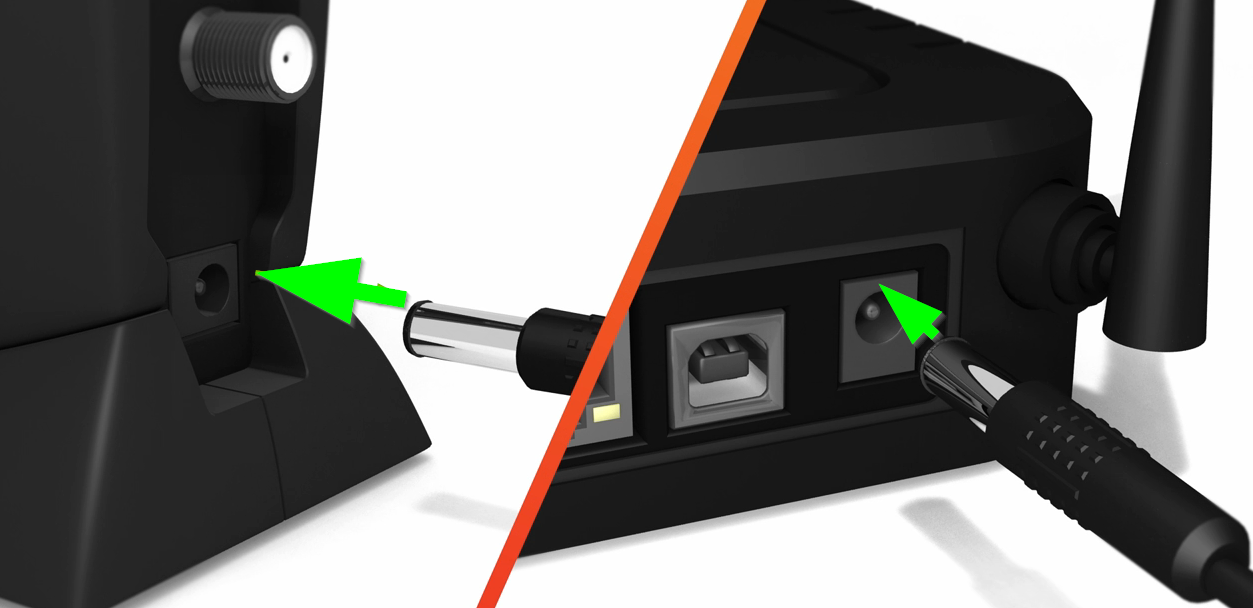
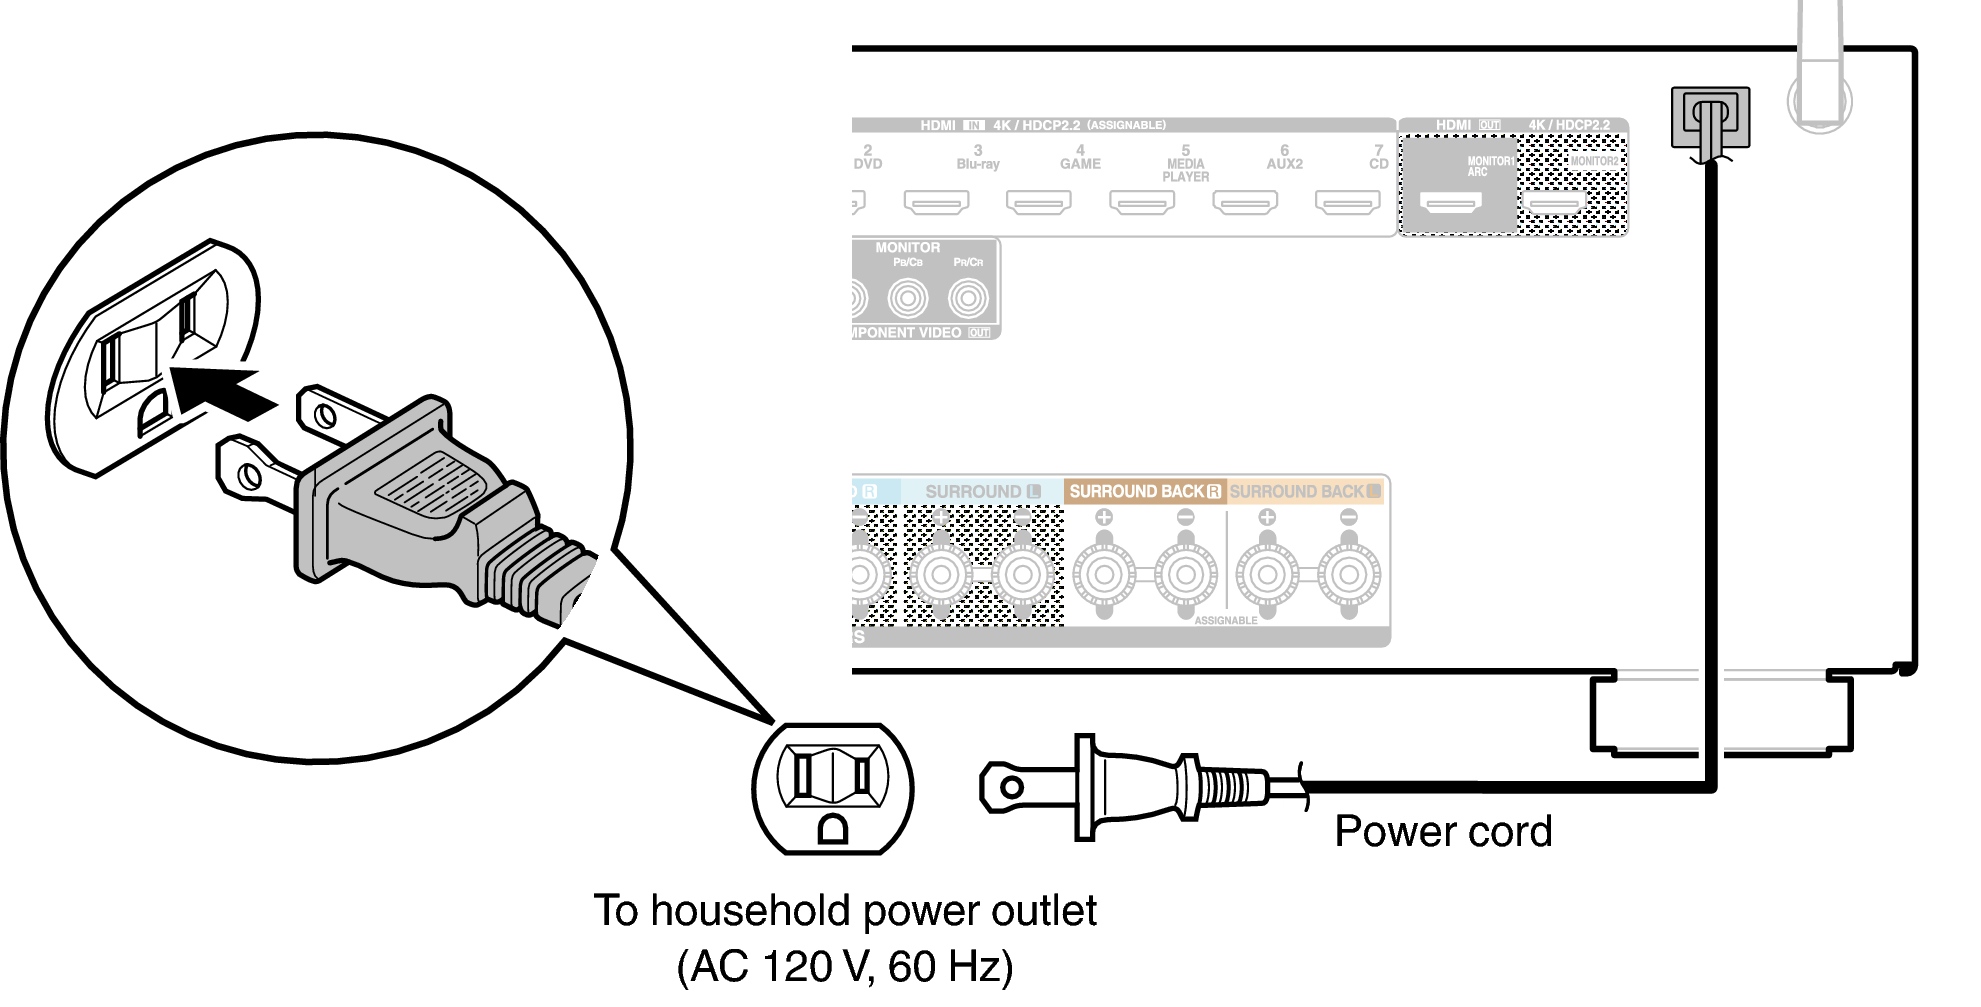
Unplug the power to all of your Denon devices.
Unplug the power to your Gateway / Router.
Power off your mobile device (Android / IOS).
Plug in the power to your Gateway/Router.
Plug in the power to your Denon devices.
Power on your mobile device (Android/IOS).
3. Wi-Fi Connectivity Check
In order to proceed, you will want to double check your device's WiFi connection. The next page will guide you through the process of connecting your smartphone or tablet to your wireless network.
You can skip the next step if your smart phone or tablet is already connected.
4. Connect Wi-Fi
Depending on what device (Smartphone or Tablet) and which generation you have, the menu theme and options might look slightly different on your screen. However, the steps should be similar across all Android devices and generations.
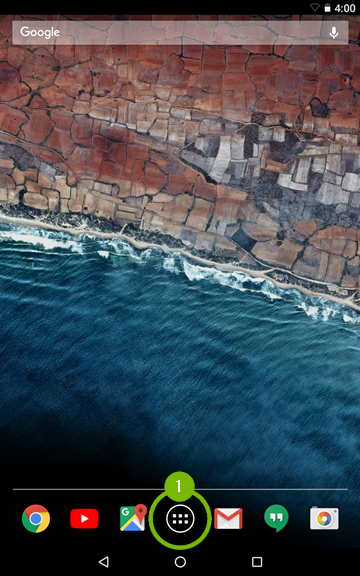
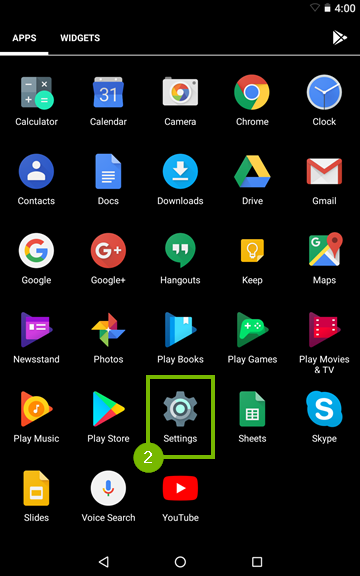
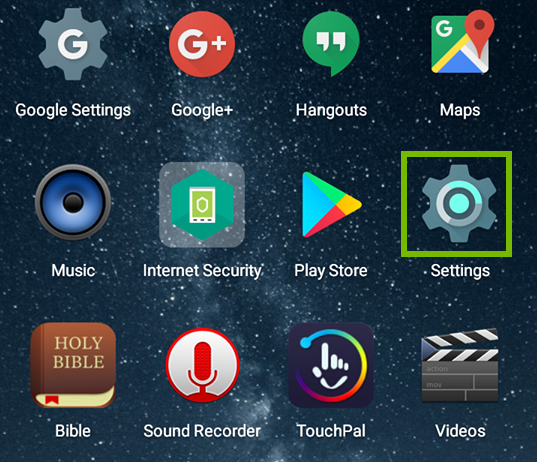
From the main screen of your Android device, tap on the Apps button.
Then look for and tap on Settings.
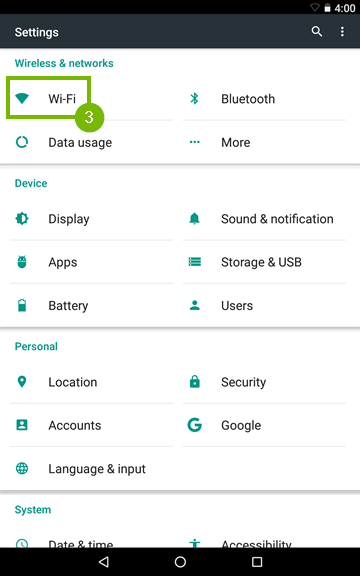
Go to Wi-Fi.
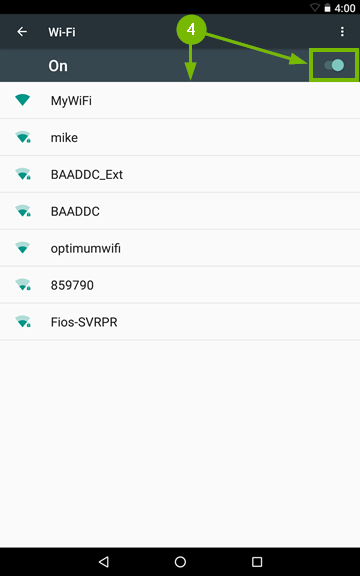
Make sure the Wi-Fi feature is enabled by flipping the On / Off switch to the On position then wait for the network list to populate and tap on the Wi-Fi network that you want to connect to.
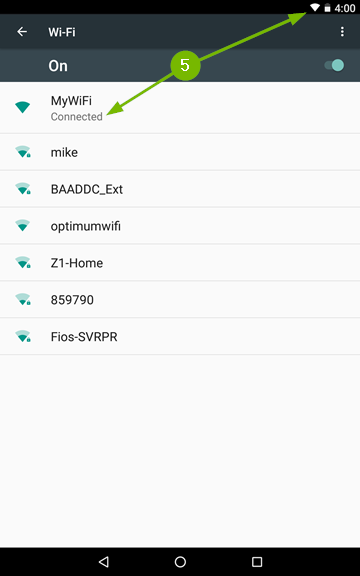
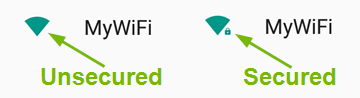
Your Android device will automatically connect to the network if there is no security enabled, or you have connected to it in the past. The Wi-Fi network name will show Connected underneath and the Wi-Fi symbol will fill up in the top right corner of the screen.
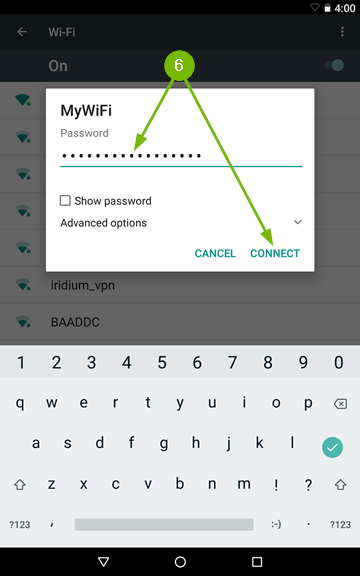
If the Wi-Fi network requires a password, then you will see a small padlock next to the Wi-Fi symbol, which also means the connection is secure. Tapping on a secured Wi-Fi networks name will prompt you to enter the password. Passwords are always case sensitive. Type it in using the on screen keyboard then tap Connect.
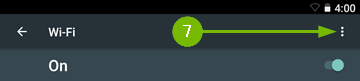
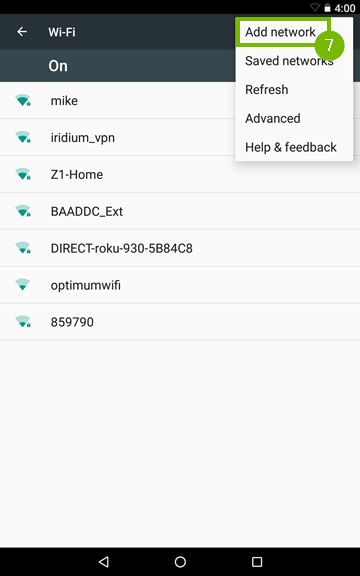
If the Wi-Fi network you are trying to connect to is hidden, then tap the More option which looks like three dots positioned vertically, on the top right corner of the screen, then tap Add network.
Enter the Wi-Fi networks name using the on screen keyboard and tap Save if no password is required to connect. If a password is needed to connect to the Wi-Fi network then tap on Security and select the security type. Type in the password, then tap Save.
At this point your Android device should be connected to Wi-Fi.
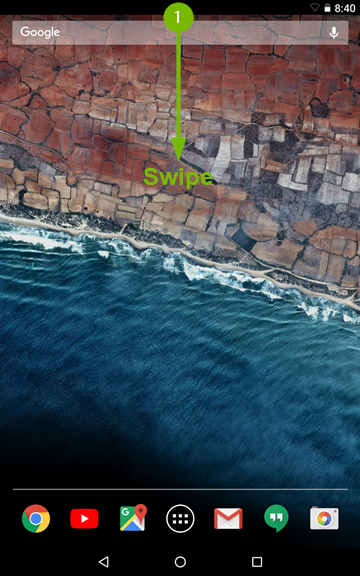
As an alternate way you can also try the following method:
Swipe downwards from the top side of the screen.
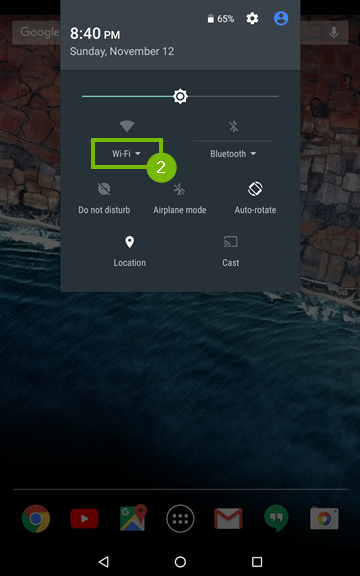
Look for the Wi-Fi symbol in the drop down menu and tap on the word below it. If you're not connected to any network, it will say Wi-Fi. If you're already connected to a network, it will show its name.
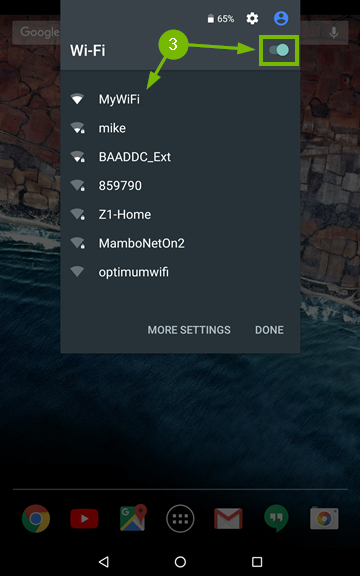
Make sure the Wi-Fi feature is enabled by flipping the On / Off switch to the On position then wait for the network list to populate and tap on the Wi-Fi network that you want to connect to.
5. App Reinstall
The next steps will take you through reinstalling either the Heos or the Denon 2016 AVR Remote app. First, we'll uninstall the app and then follow up by reinstalling it.
6. Uninstall Android App
Method 1:
From the home screen, press the menu button.
Locate the Heos app.
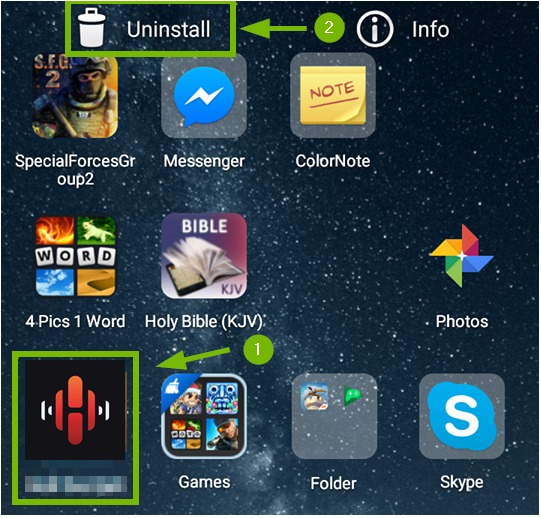
Press and hold your finger on the app that you wish to uninstall.
Drag it to the icon on the top of your screen where it says "Uninstall".
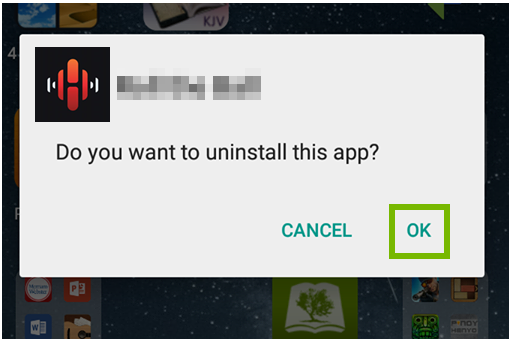
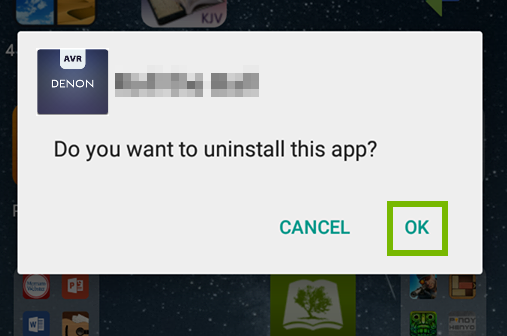
Tap on OK to confirm your action.
Method 2:
From the home screen, press the menu button.
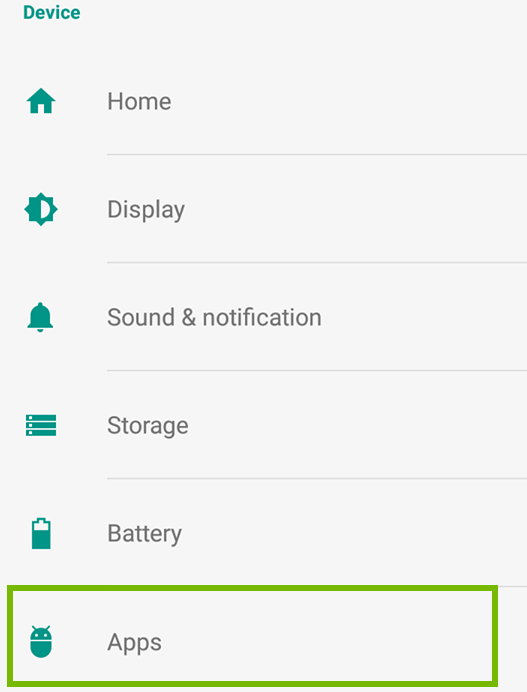
Choose Settings.
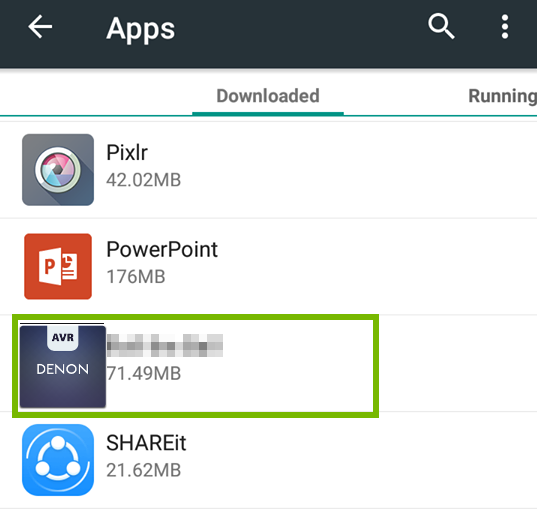
Choose Apps.
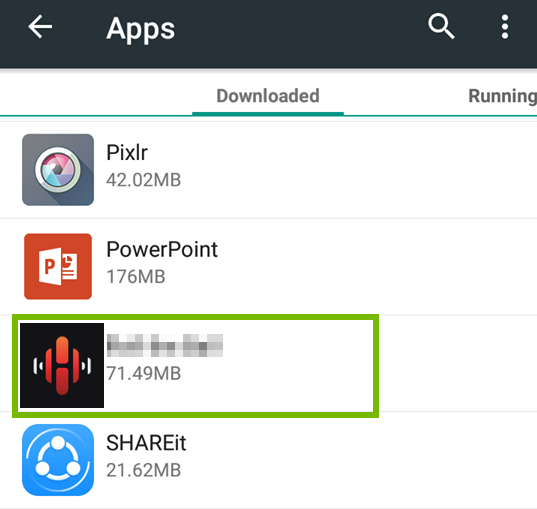
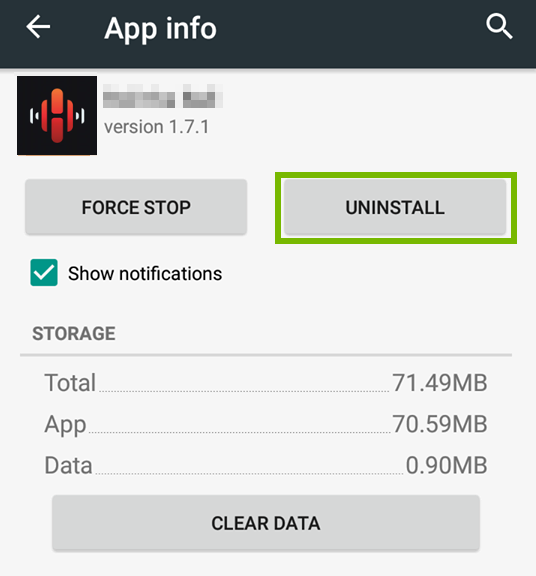
Find the Heos app, then tap on it.
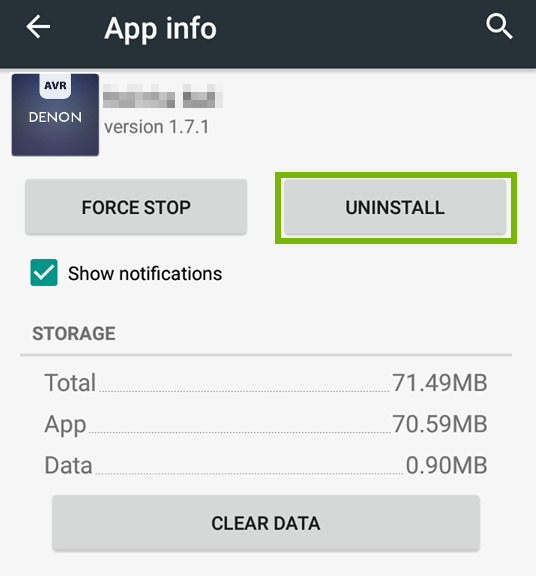
Tap Uninstall.
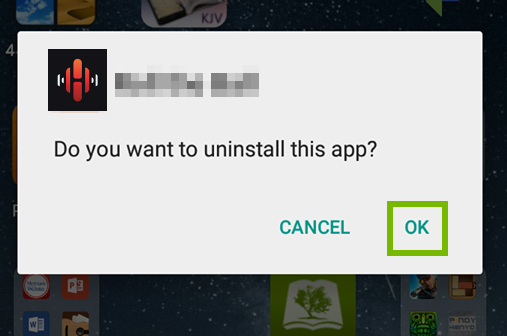
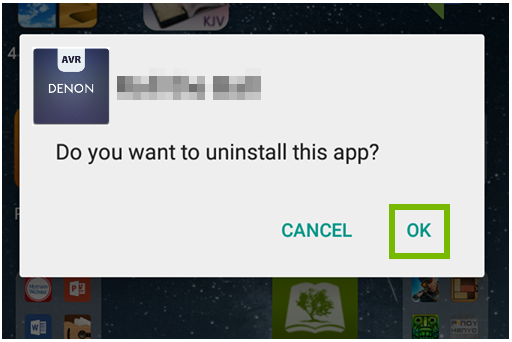
Tap on OK to confirm your action.
7. Install Android App
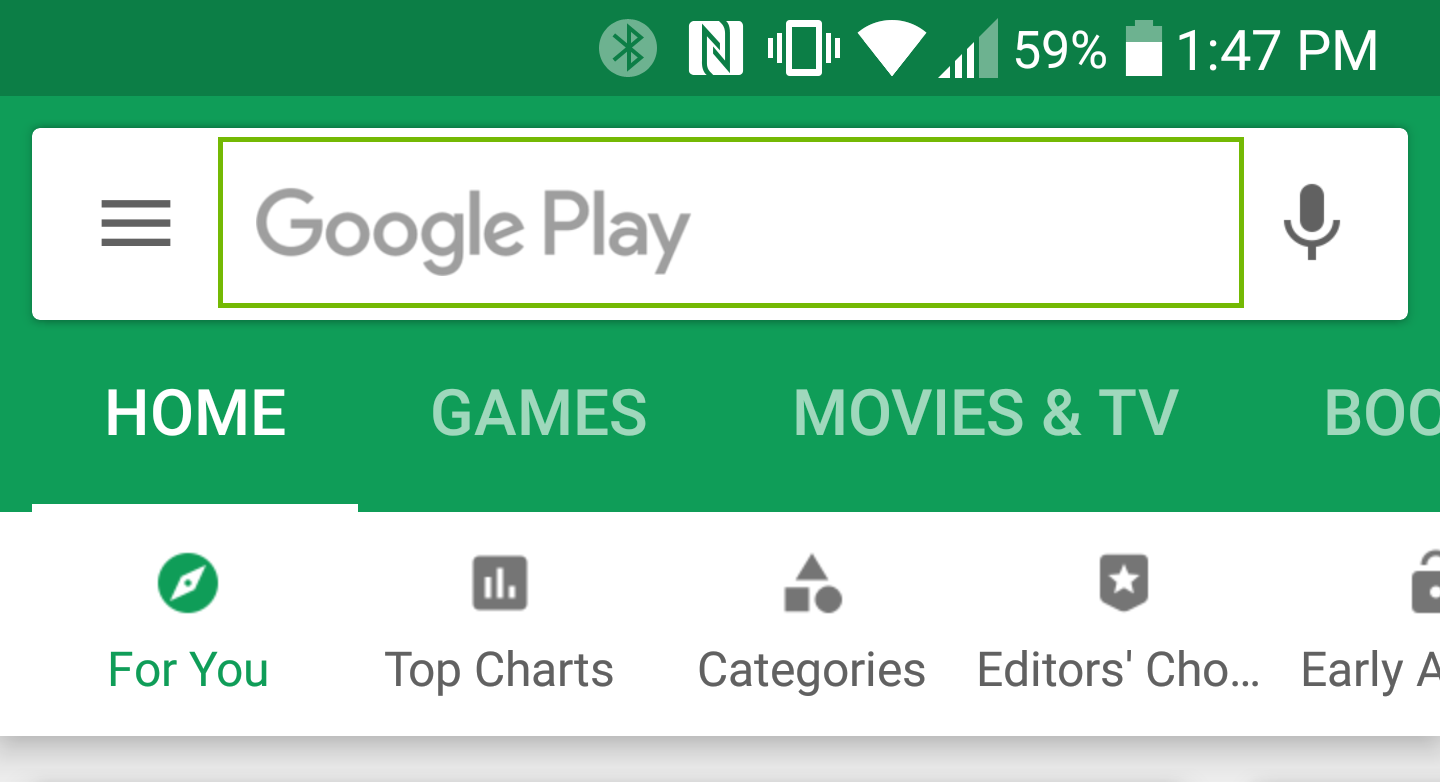
Launch the Play Store on your smartphone.
Select the search bar at the top.
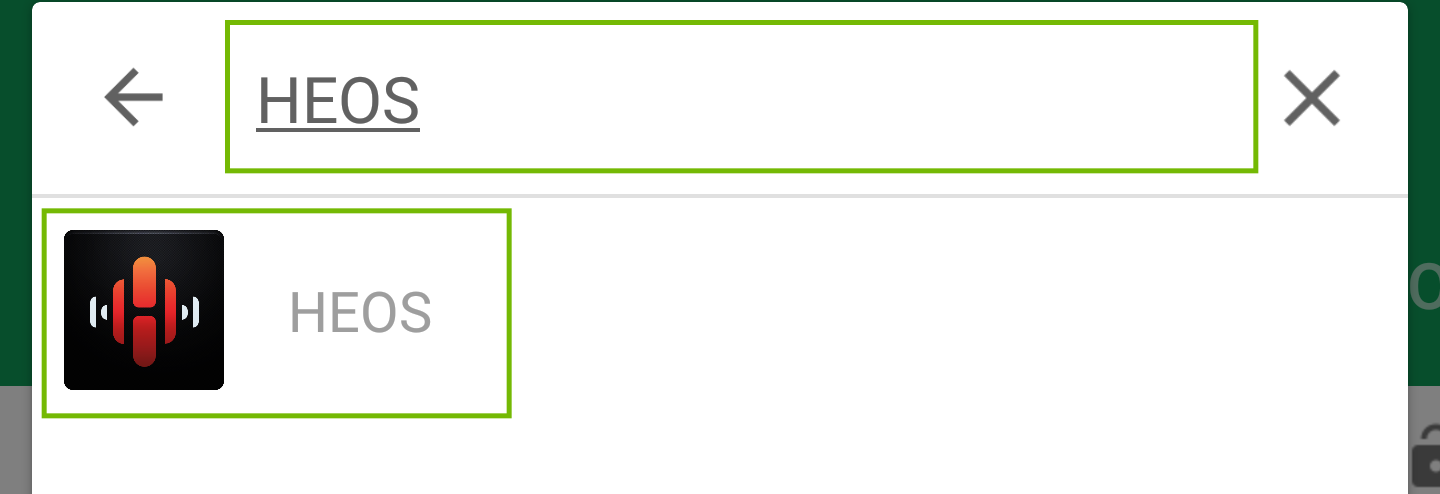
Type in HEOS, then select HEOS from the list.
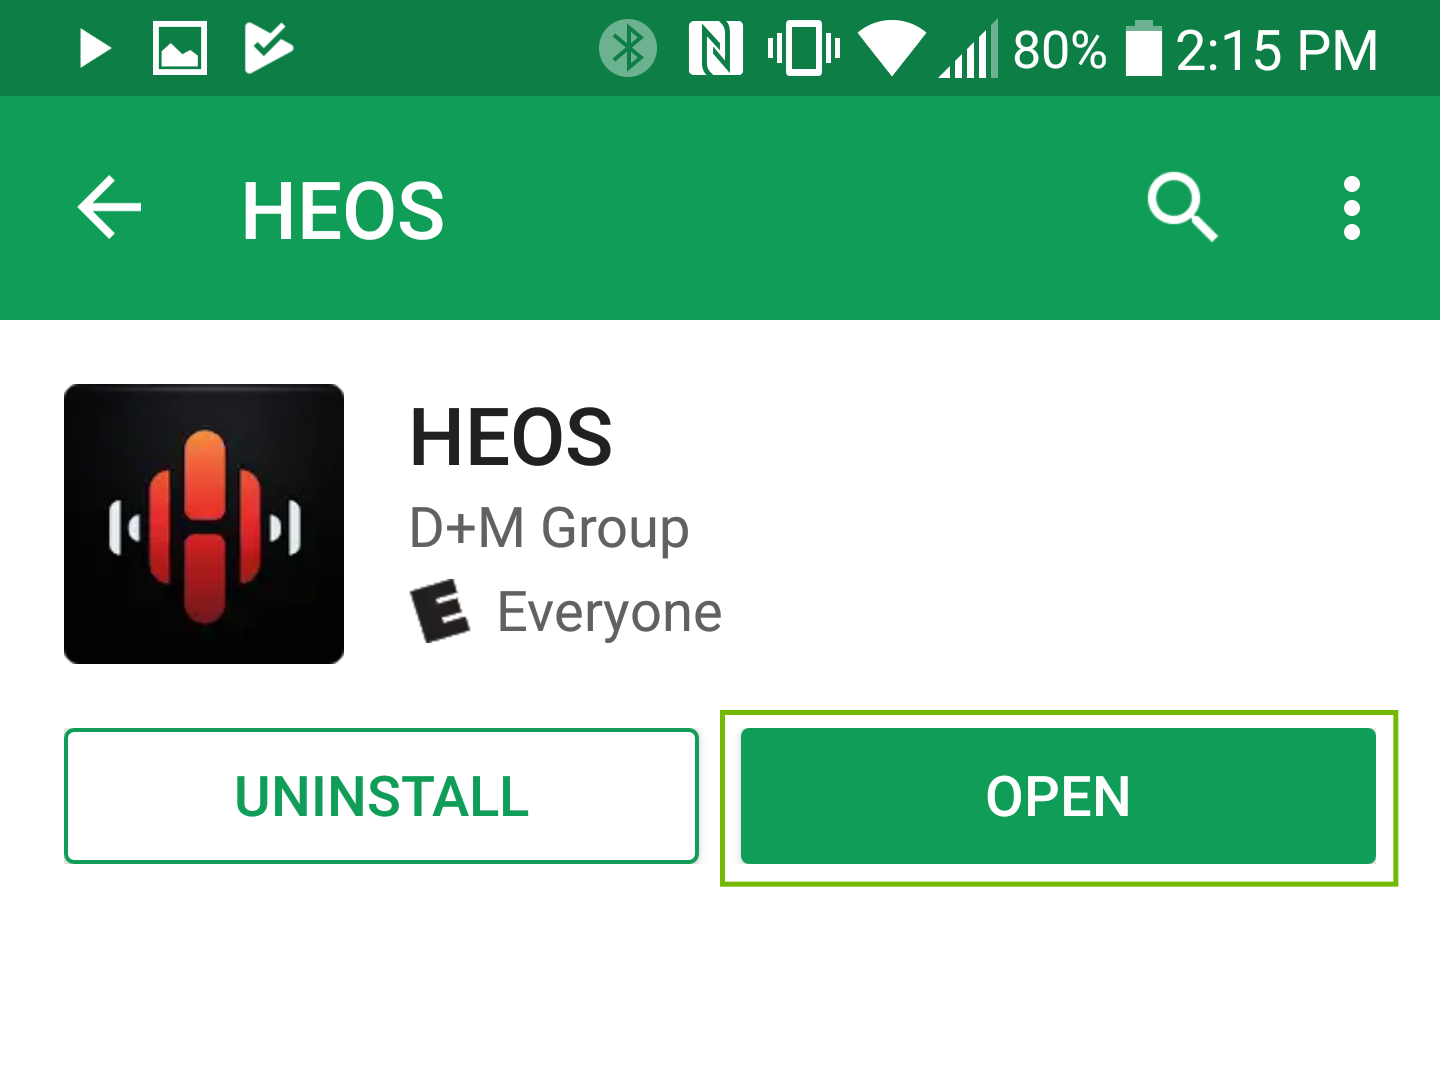
Select Install.
Select Open to open the app.
8. Setup App
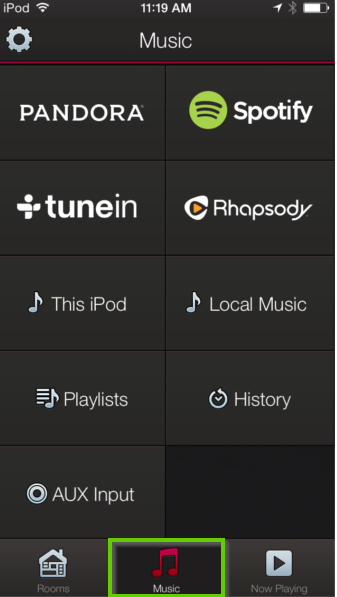
Open the HEOS App.
Navigate to the Music Tab.
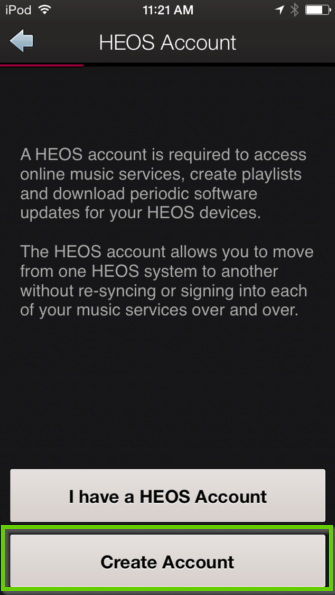
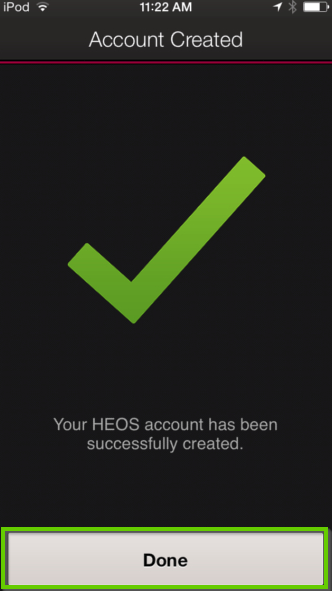
The first time you use this app it will ask you to create an account.
Tap Create Account.
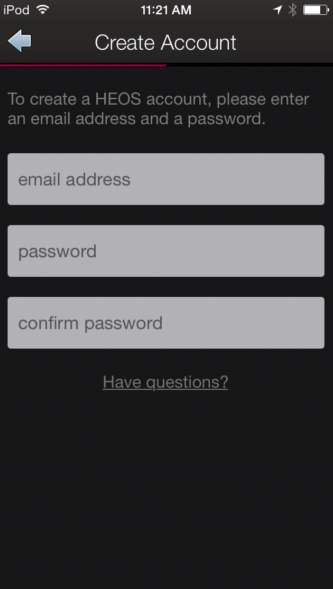
Type in your details.
Tap Done.
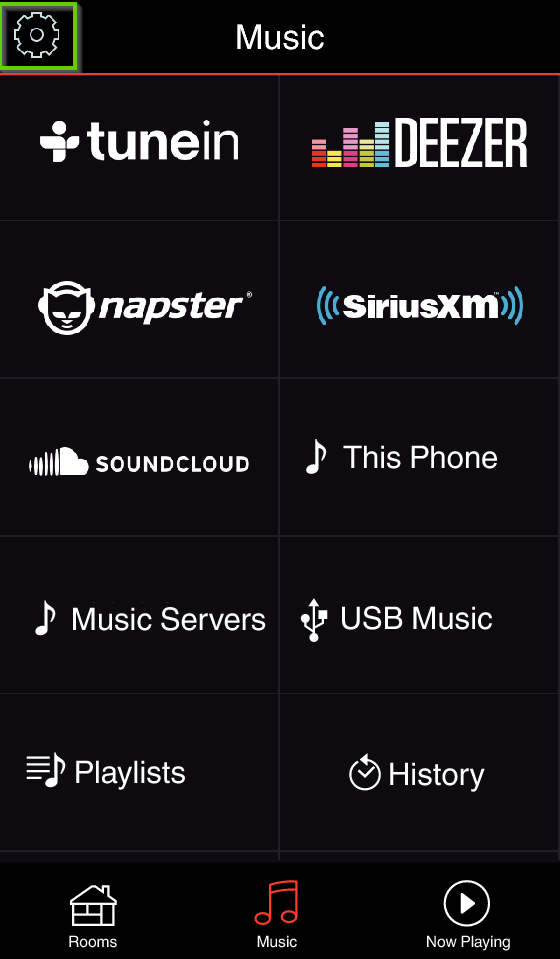
Return to the MusicTab.
Select the Settings icon.
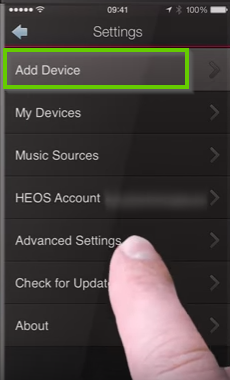
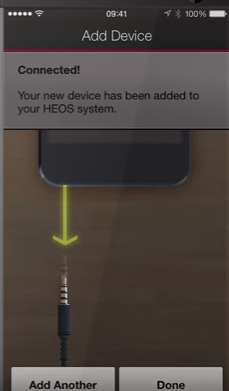
Select Add a Device.
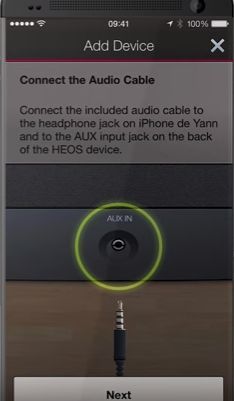
Follow the onscreen instructions by connecting one end of the Aux cable into your AVR and the other into your smartphone's headphone jack.
You're now connected to your HEOS app.
9. What's next?
10. Uninstall Android App
Method 1:
From the home screen, press the menu button.
Locate the Denon 2016 AVR Remote app.
Press and hold your finger on the app that you wish to uninstall.
Drag it to the icon on the top of your screen where it says "Uninstall".
Tap on OK to confirm your action.
Method 2:
From the home screen, press the menu button.
Choose Settings.
Choose Apps.
Find the Denon 2016 AVR Remote app, then tap on it.
Tap Uninstall.
Tap on OK to confirm your action.
11. Install Android App
Launch the Play Store.
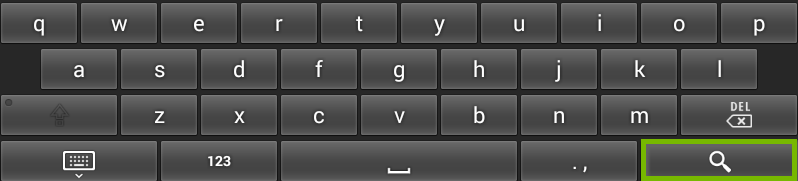
Search for Denon 2016 AVR Remote using the search box located at the top.
Touch the magnifying glass on the on-screen keyboard to search.
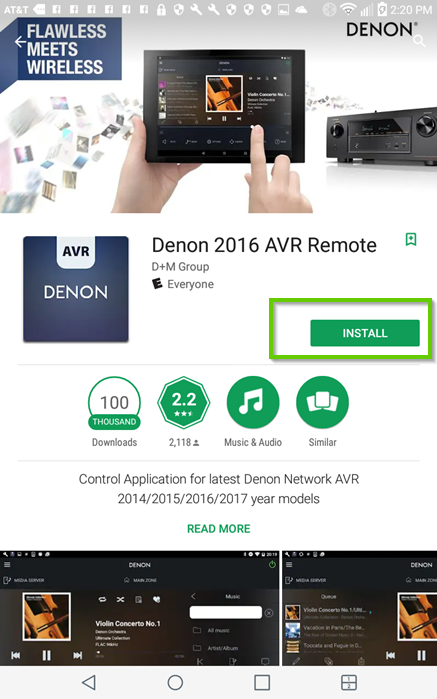
On the app's install page, touch INSTALL.
Review the install prompt that pops up. Once done, touch ACCEPT.
Wait for the download to finish. Once done, touch OPEN to launch the app or go back to your apps to access the new app's icon.
12. Connect AVR
Open your Denon 2016 AVR Remote App.
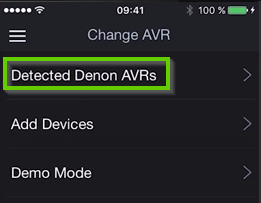
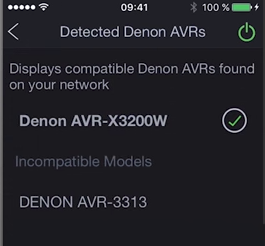
The first time you open the app, it will ask for you to detect available AVRs or add devices. Tap Detected Denon AVRs.
Tap the AVR you have installed.
13. Wi-Fi Check
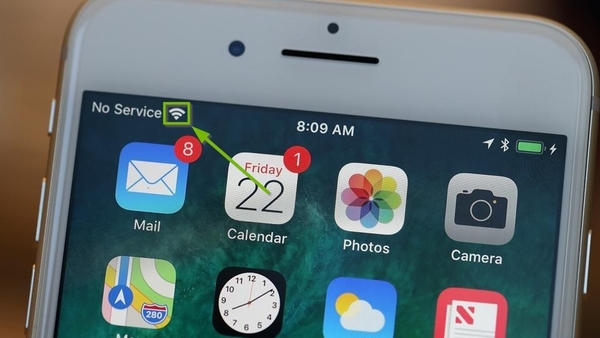
You can skip this step if your iPhone or iPad is already connected.
The simplest way to check to see if your iPhone or iPad is connected to Wi-Fi is to look across the top of your screen. The icon that is identified in the image below indicates that you are connected to a Wi-Fi network.
14. Connect Wi-Fi
Depending on what device (iPhone, iPad or iPod Touch) and which generation you have, the menu theme and options might look slightly different on your screen. However, the steps should be the same across all iOS devices and generations.
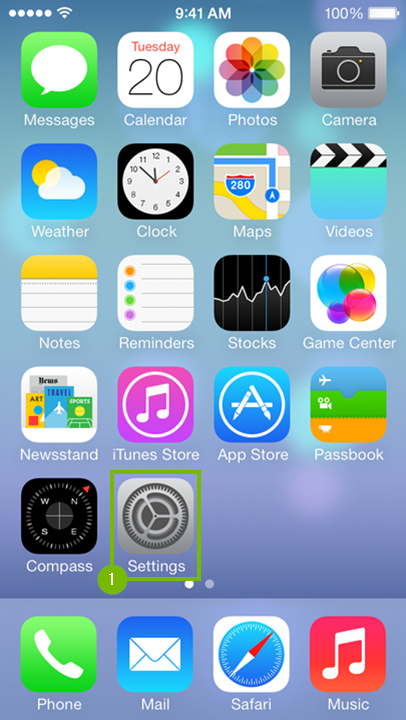
From the main screen of your device, look for and open Settings.
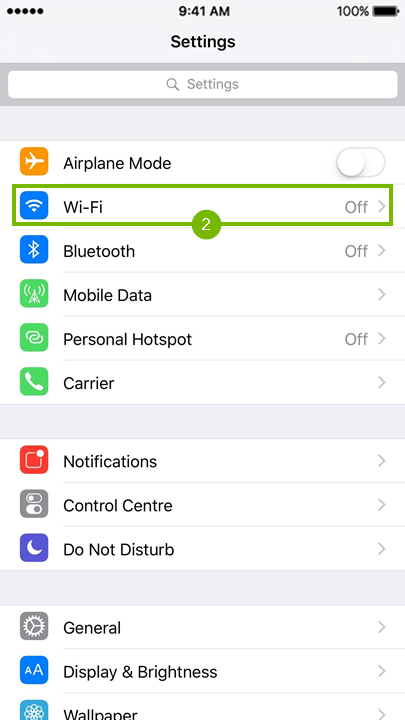
After that, go to Wi-Fi. You will see that this option also shows one of three statuses to the right:
Off - the Wi-Fi feature is disabled
Not Connected - there is no Wi-Fi connection establishe
the Wi-Fi connections name - there is a Wi-Fi connection already established.
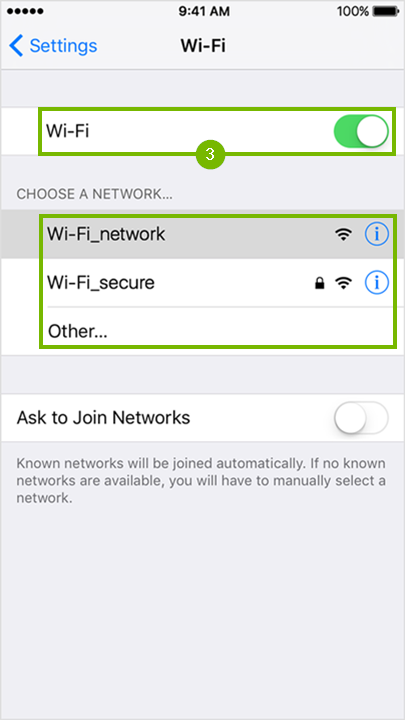
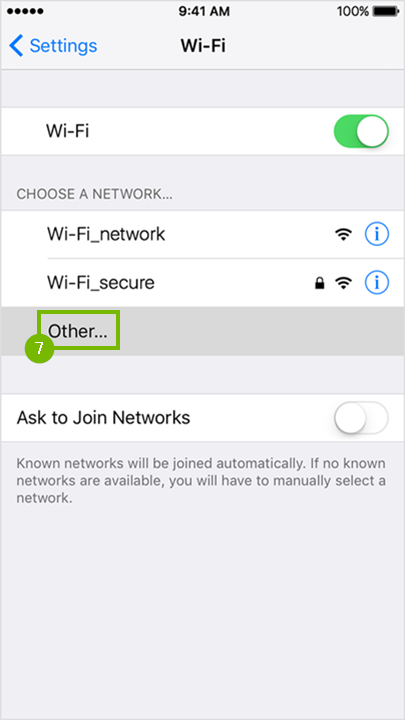
Make sure that the Wi-Fi feature is enabled by flipping the On/Off switch to the green position. Locate and tap the Wi-Fi networks name that you wish to connect to from the list.
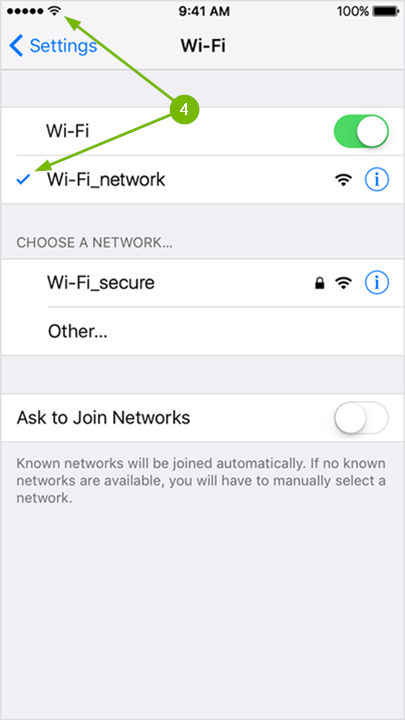
Your iOS device will automatically connect to the network if there is no security enabled, or you have connected to it in the past. The checkmark and Wi-Fi symbol indicate you are connected.
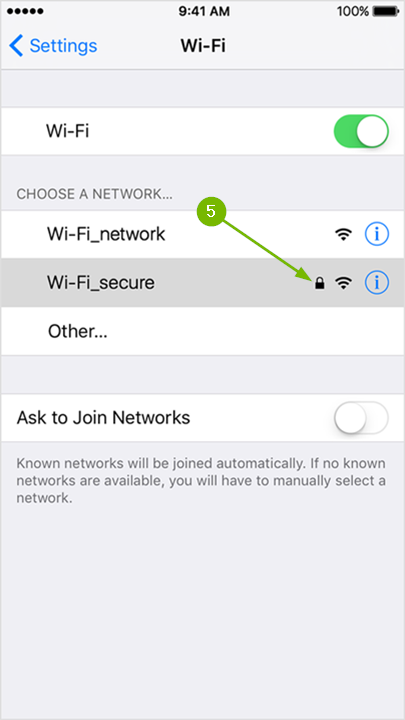
If the Wi-Fi network requires a password, then you will see a small padlock to the right of its name, which also means the connection is secure.
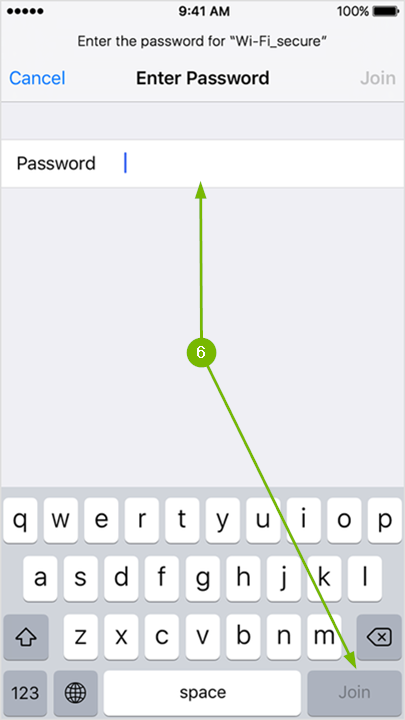
Tapping on a secured Wi-Fi networks name will prompt you to enter the password. Passwords are always case sensitive. Type it in using the on screen keyboard then tap Join on the bottom right corner. If tapping it does nothing, then it means the password you typed in is too short.
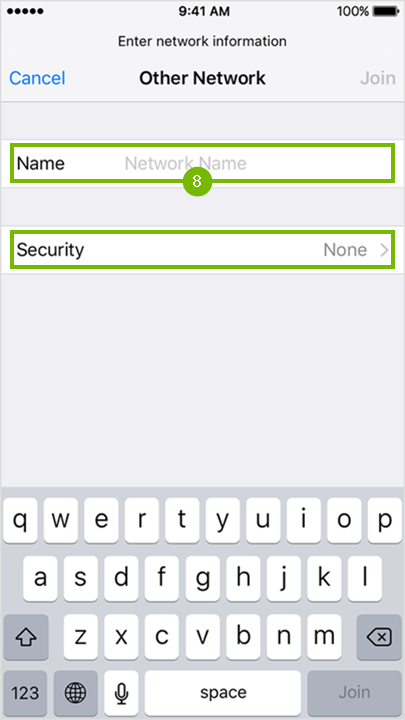
If the Wi-Fi network you are trying to connect to is hidden, then tap the Other... option.
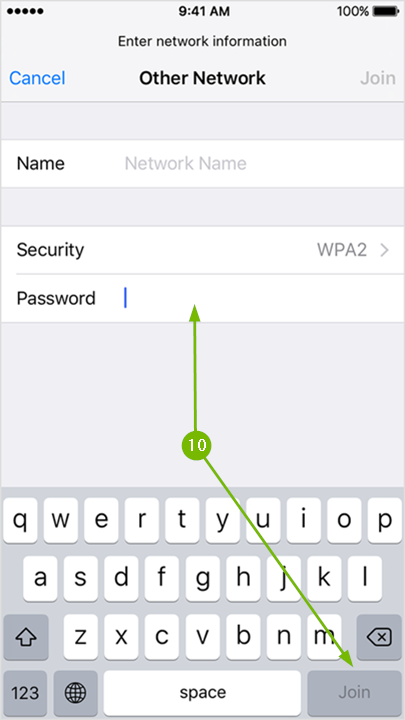
Enter the Wi-Fi networks name using the on screen keyboard and tap Join at the bottom right if no password is required to connect. If a password is needed to connect to the Wi-Fi network then tap on Security.
Choose the type of security the Wi-Fi network has by tapping on it.
Finally, type in the required Wi-Fi password and tap Join at the bottom right corner to connect.
At this point your iOS device should be connected to Wi-Fi.
15. App Reinstall
The next steps will take you through reinstalling either the Heos or the Denon 2016 AVR Remote app. First, we'll uninstall the app and then follow up by reinstalling it.
16. Uninstall iOS App
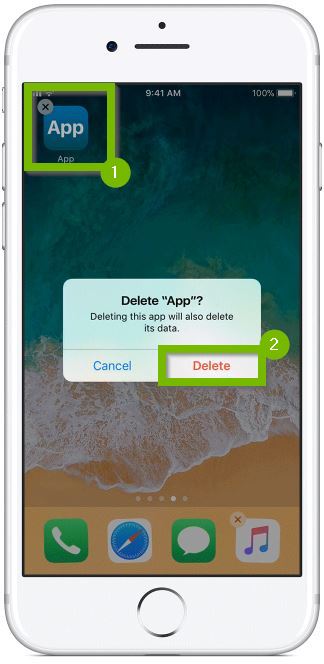
From your main screen, locate the Heos app.
Lightly touch and hold the app until it jiggles or vibrates.
Tap X in the upper-left corner of the app.
Tap Delete.
17. Install iOS App
From the main screen, open the App Store.
At the bottom of the screen, tap on Search.
Type HEOS on the search bar at the top.
Tap Search to start the search.
.
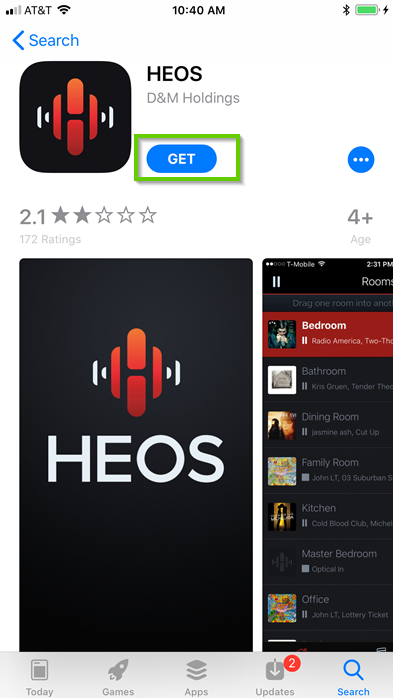
Tap the App to see its download options.
Tap Get.
Tap OPEN once the app is installed.
18. Setup App
Open the HEOS App.
Navigate to the Music Tab.
The first time you use this app it will ask you to create an account.
Tap Create Account.
Type in your details.
Tap Done.
Return to the MusicTab.
Select the Settings icon.
Select Add a Device.
Follow the onscreen instructions by connecting one end of the Aux cable into your AVR and the other into your smartphone's headphone jack.
You're now connected to your HEOS app.
19. Uninstall iOS App
From your main screen, locate the Denon 2016 AVR Remote app.
Lightly touch and hold the app until it jiggles or vibrates.
Tap X in the upper-left corner of the app.
Tap Delete.
20. Install iOS App
From the main screen, open the App Store.
At the bottom of the screen, tap on Search.
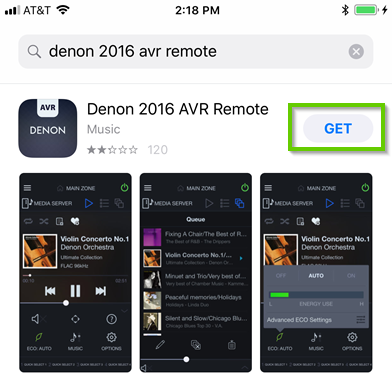
Type Denon 2016 AVR Remote on the search bar at the top.
Tap Search to start the search.
.
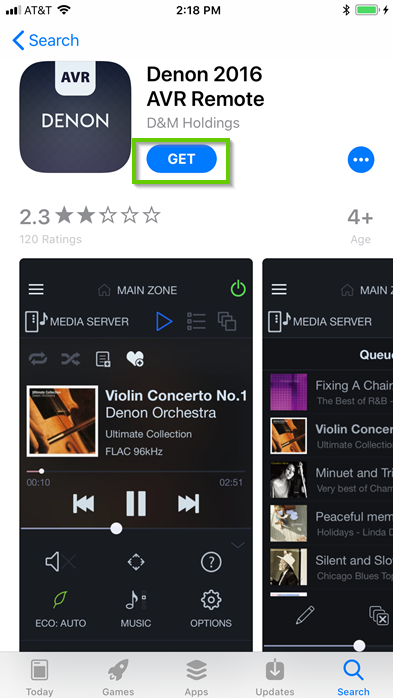
Tap the App to see its download options.
Tap Get.
Tap OPEN once the app is installed.
21. Connect AVR
Open your Denon 2016 AVR Remote App.
The first time you open the app, it will ask for you to detect available AVRs or add devices. Tap Detected Denon AVRs.
.png)