How to fix issues with the QRS Mobile app if you're unable to set up your D-Link device with it or it's not working as intended.
2. Connect Mobile for Setup
In order to set up your range extender, you'll need to connect your mobile device to its Wi-Fi setup network first.
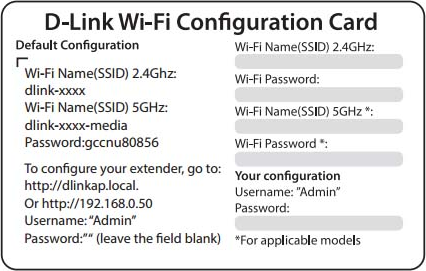
You should be able to find the range extender's default Wi-Fi credentials on the Wi-Fi Configuration Card received within the package or on a sticker on the rear of the range extender.
Use the illustrations below to help you choose the type of device you are using:
Android
iOS
3. Connect Android
Depending on your exact device (Smartphone or Tablet), and which generation you have, the menu theme and options might look slightly different on your screen. However, the steps should be similar across all Android devices and generations.
Open Settings.
Select Wi-Fi.
Select the dlink-xxxx Wi-Fi network from the list.
The network is unsecured; this is normal. You will be using it to set up the device only. After, you will be using the device over a secured wireless connection.
4. Power Cycle
Unplug your range extender from the power outlet.
Wait ten seconds.
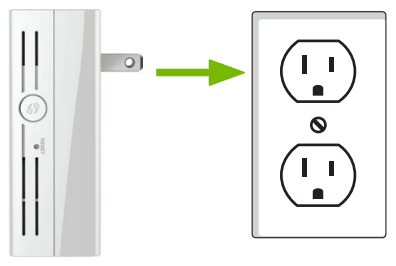
Plug your range extender back into the power outlet.
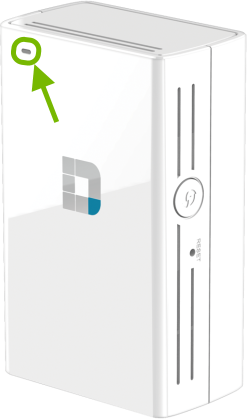
Make sure the indicator light turns on.
Wait one minute for the range extender to start back up fully.
5. Close Running Apps
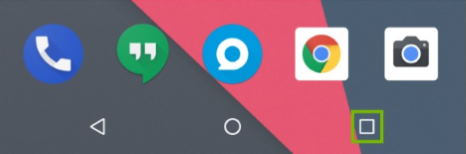
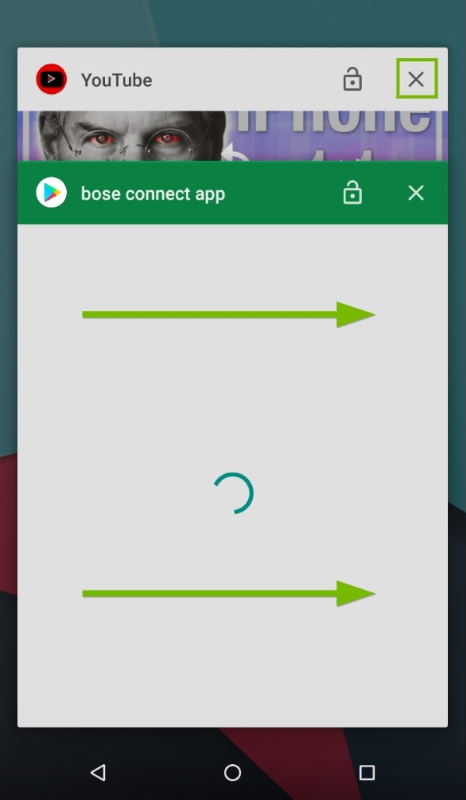
Tap Recent Apps at the bottom of the screen.
The Recent Apps button may be located on either the bottom left or bottom right as either an onscreen button or a physical button. If you're unsure which button it is, please refer to the user manual of your android device.
Either tap the X or swipe to the side to close an app.
6. Restart
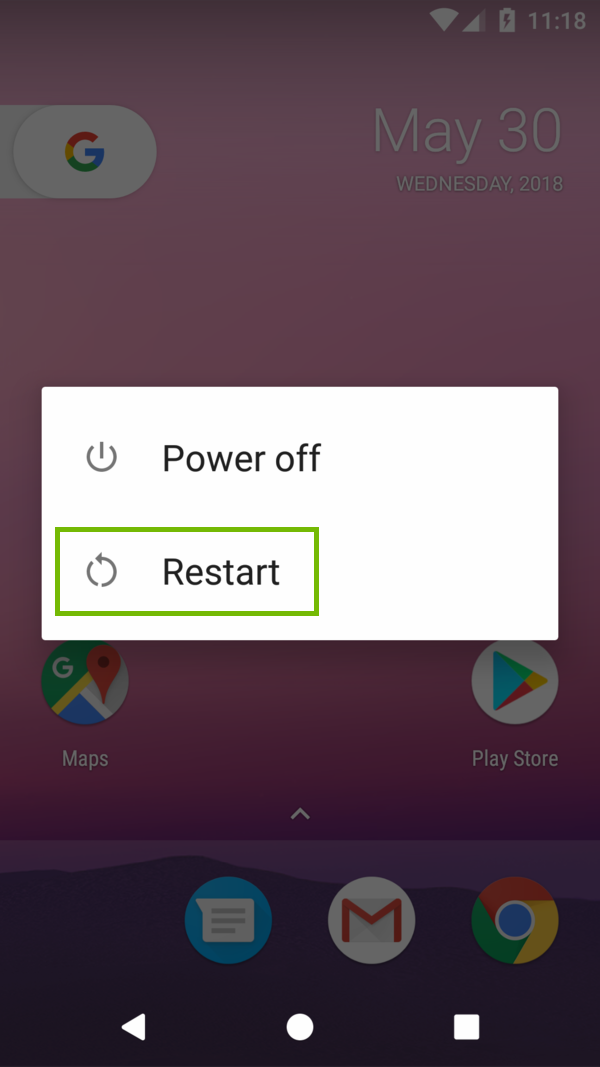
Hold down the power button on your Android device. Depending on the manufacturer and model of Android device you have, the location of the power button will vary.
A prompt will appear on screen. Select Restart.
If the menu does not pop up, continue to hold the power button, and your Android device will shut off.
If you had to shut down your Android device, wait 30 seconds before turning your device back on.
7. Connect to Wi-Fi
Depending on what device (Smartphone or Tablet) and which generation you have, the menu theme and options might look slightly different on your screen. However, the steps should be similar across all Android devices and generations.
Open Settings.
Select Wi-Fi.
Make sure Wi-Fi is set to On at the top.
Your Android device will automatically connect to the network if there is no security enabled, or you have connected to it in the past. The Wi-Fi network name will show Connected underneath.
To Connect to a New Network
If you're connecting to a particular Wi-Fi network for the first time:
Select the connection from the list.
Enter the password for the network, then select Connect.
To Connect to a Hidden Network
If the Wi-Fi network you wish to connect to is a hidden network, it won't appear in the list of available networks. However, if you know the network's exact name and password, it can be added manually.
Select Add network.
Enter the Network Name (also called the SSID) you wish to connect to, the type of Security it uses (usually WPA2), and the Password for the network, then select Save.
8. Check App Updates
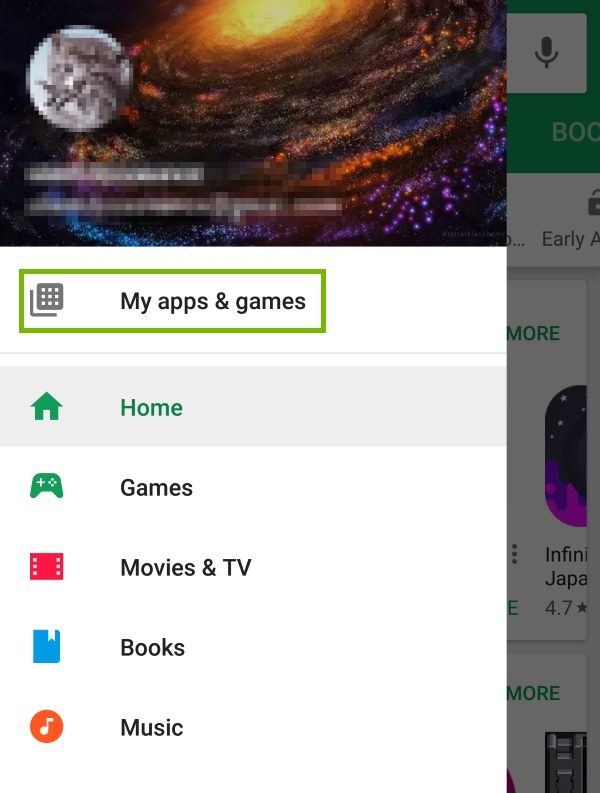
Open the Play Store.
At the top, choose the three bars on the left of the search line.
Choose My apps & games at the top.
Choose Update All.
9. Uninstall Android App
Open Apps on your Android device.
Look for the QRS Mobile app.
Tap and hold the app's icon until you see the Uninstall option show up at the top side of the screen.
Drag the icon over the Uninstall option until the icon turns red and release it.
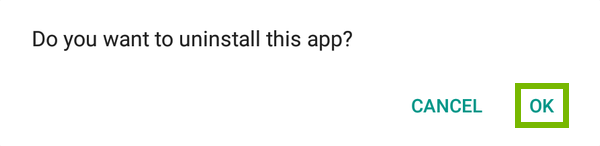
You will be asked whether you want to uninstall the app. Tap OK to confirm.
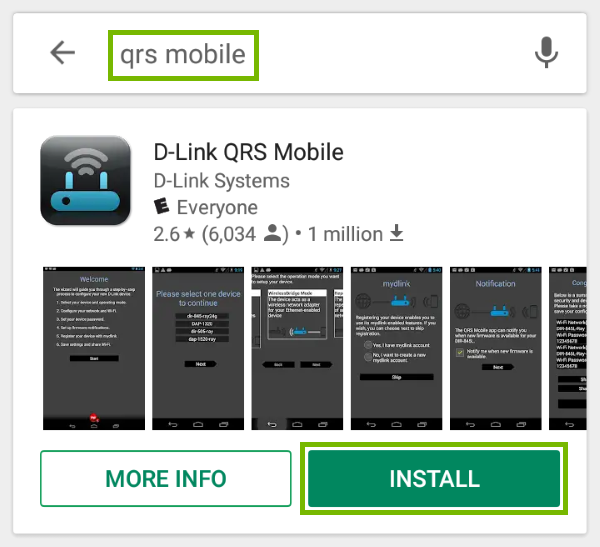
10. Install Android App
Launch the Play Store on your mobile device.
Tap in the search box at the top of the screen.
Type "qrs mobile" in the search bar at the top. The app will show up below.
Tap Install and then Open to use it.
11. What's next?
12. Connect iOS
Depending on your exact device (Smartphone or Tablet), and which generation you have, the menu theme and options might look slightly different on your screen. However, the steps should be similar across all Apple iOS devices and generations.
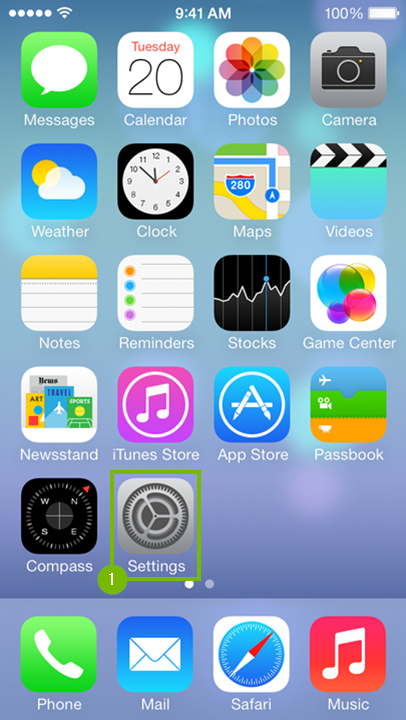
Open Settings.
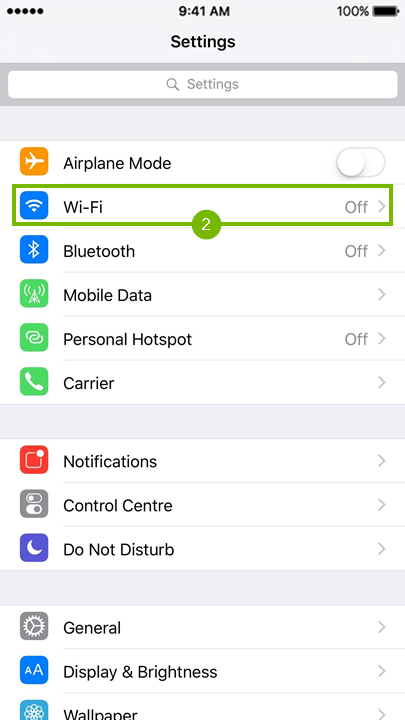
Select Wi-Fi.
Select the dlink-xxxx Wi-Fi network from the list.
The network is unsecured; this is normal. You will be using it to set up the device only. After, you will be using the device over a secured wireless connection.
13. Power Cycle
Unplug your range extender from the power outlet.
Wait ten seconds.
Plug your range extender back into the power outlet.
Make sure the indicator light turns on.
Wait one minute for the range extender to start back up fully.
14. Close Running Apps
The way to show all running apps on an iOS device varies with the model you have:
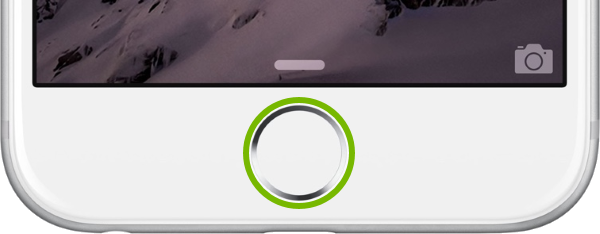
Older iOS devices, up to the iPhone X, still come equipped with a circular home button beneath the screen.
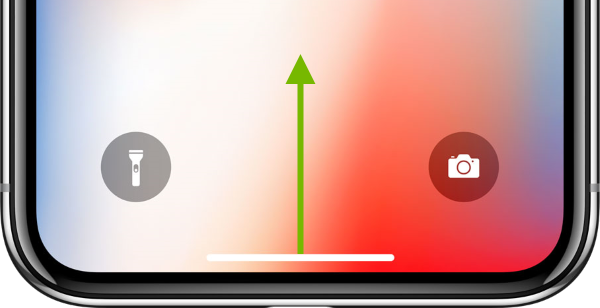
Newer iOS devices, beginning with the iPhone X, no longer come equipped with the circular home button beneath the screen.
On iOS Devices with a Home Button
Double-press the Home button quickly.
On iOS Devices Without a Home Button
Swipe up from the bottom of the screen and pause slightly in the middle of the screen.
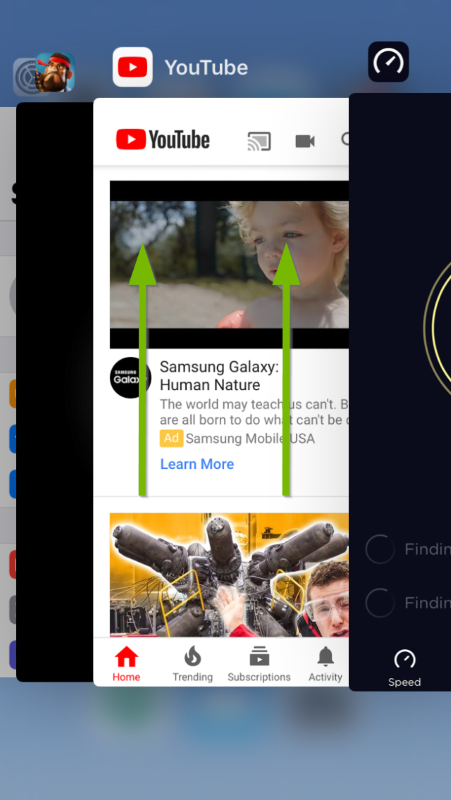
You will now see a list of apps that are currently open. Swipe up on any of the apps to close them.
15. Restart
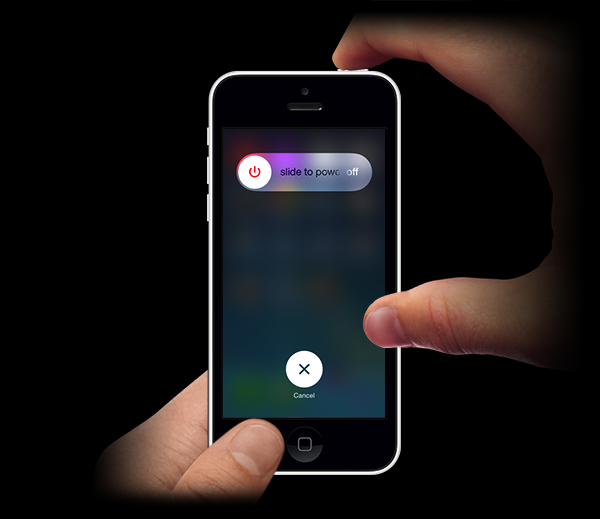
Hold down the lock / power button.
Slide to power off when prompted.
Wait until the phone is off.
Hold down the lock / power button until you see the Apple logo.
16. Connect to Wi-Fi
Depending on what device (iPhone, iPad or iPod Touch) and which generation you have, the menu theme and options might look slightly different on your screen. However, the steps should be the same across all iOS devices and generations.
From the main screen of your device, look for and open Settings.
After that, go to Wi-Fi. You will see that this option also shows one of three statuses to the right:
Off - the Wi-Fi feature is disabled
Not Connected - there is no Wi-Fi connection establishe
the Wi-Fi connections name - there is a Wi-Fi connection already established.
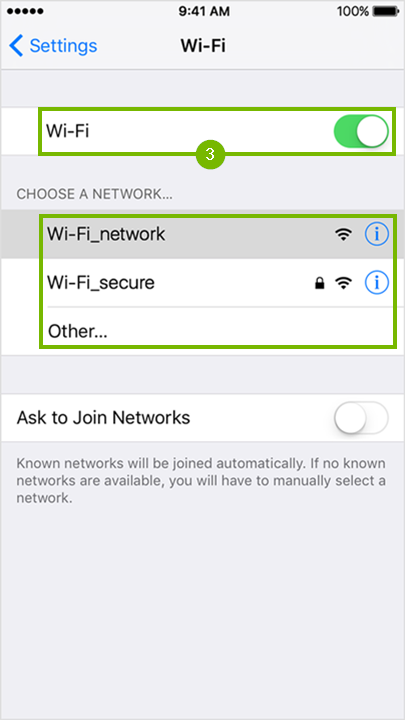
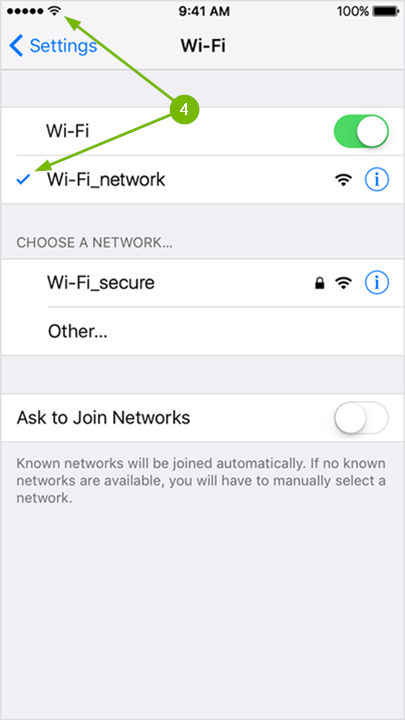
Make sure that the Wi-Fi feature is enabled by flipping the On/Off switch to the green position. Locate and tap the Wi-Fi networks name that you wish to connect to from the list.
Your iOS device will automatically connect to the network if there is no security enabled, or you have connected to it in the past. The checkmark and Wi-Fi symbol indicate you are connected.
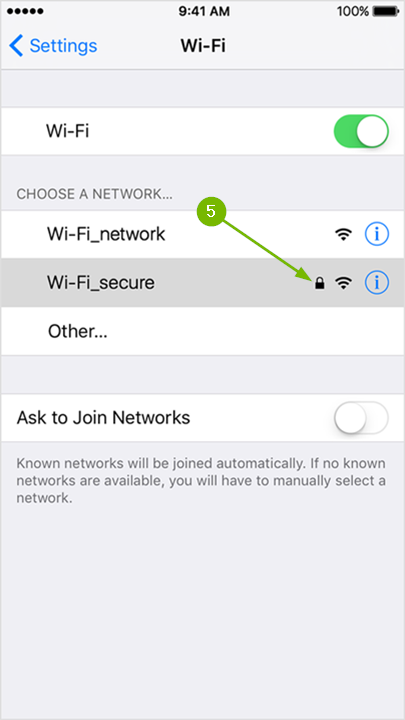
If the Wi-Fi network requires a password, then you will see a small padlock to the right of its name, which also means the connection is secure.
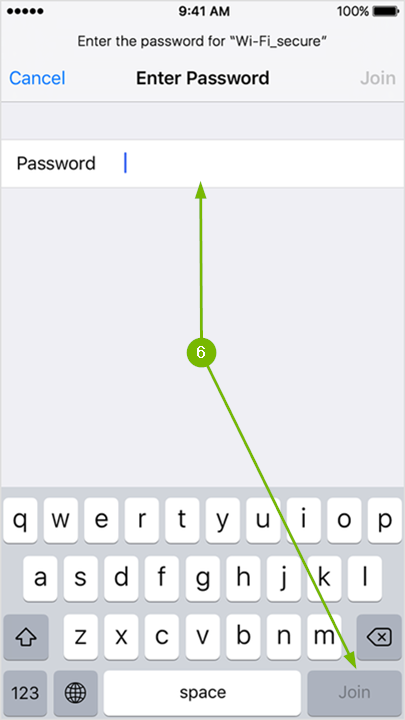
Tapping on a secured Wi-Fi networks name will prompt you to enter the password. Passwords are always case sensitive. Type it in using the on screen keyboard then tap Join on the bottom right corner. If tapping it does nothing, then it means the password you typed in is too short.
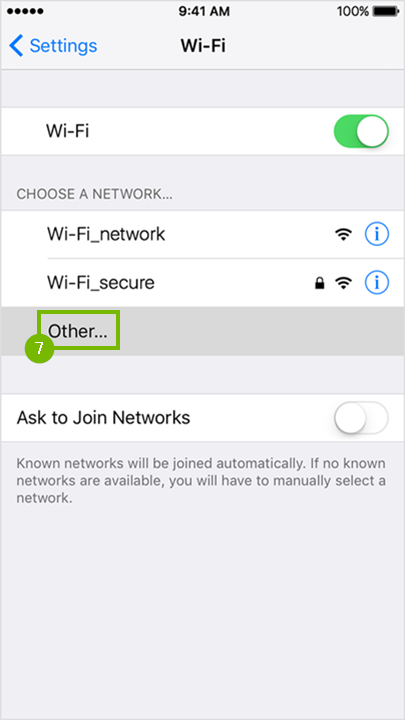
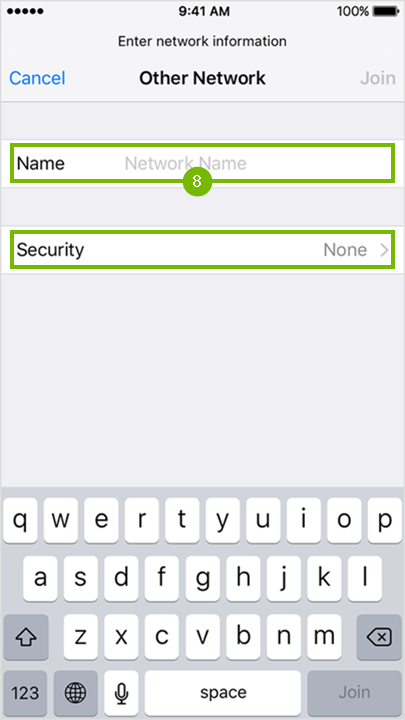
If the Wi-Fi network you are trying to connect to is hidden, then tap the Other... option.
Enter the Wi-Fi networks name using the on screen keyboard and tap Join at the bottom right if no password is required to connect. If a password is needed to connect to the Wi-Fi network then tap on Security.
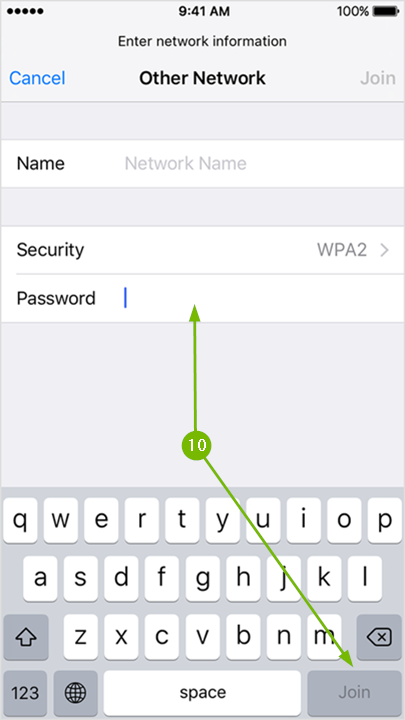
Choose the type of security the Wi-Fi network has by tapping on it.
Finally, type in the required Wi-Fi password and tap Join at the bottom right corner to connect.
At this point your iOS device should be connected to Wi-Fi.
17. Check App Updates
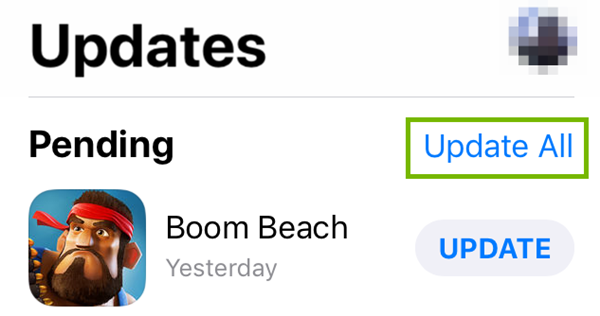
When an update is available the App Store will show a red circle next to it. Open the App Store.
Choose Updates at the bottom, then choose Update All on the top-right.
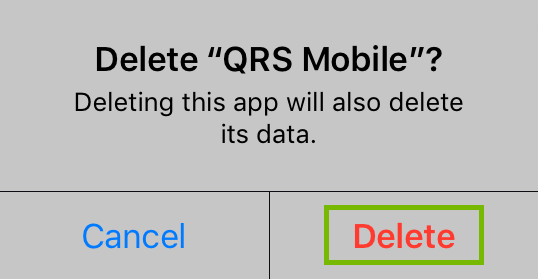
18. Uninstall iOS App
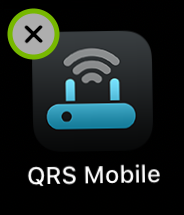
On the main screen of your iOS device, look for the QRS Mobile app.
Tap and hold the icon until an X shows up on its top left corner. Tap the X.
You will be asked whether you want to delete the app. Tap Delete to confirm.
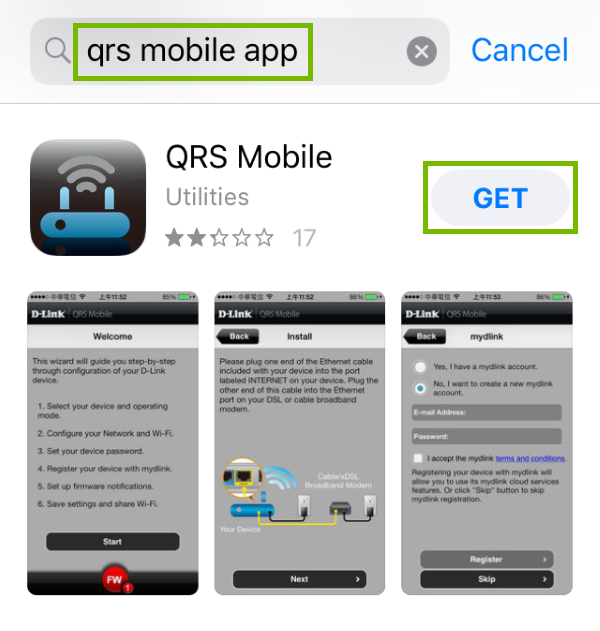
19. Install iOS App
Launch the App Store on your mobile device.
Tap Search in the bottom right corner.
Type "qrs mobile" in the search bar at the top. The app will show up below.
.png)