The keyboard is one of two primary input devices that every computer comes equipped with. Naturally, if the keyboard on your Mac is not responding to your commands properly, it can be quite frustrating. Whether the issue is with a single key, multiple keys, or the entire keyboard, this guide will provide you with troubleshooting steps to help fix the most common issues you may encounter with the keyboard of your Mac.
2. Restart
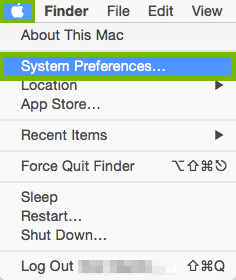
From the menu bar across the top of the screen, select the Apple menu (1), then select Restart... (2).
Any unsaved work will be lost.
3. Open Accessibility Preferences
Go to the Apple menu and select System Preferences.
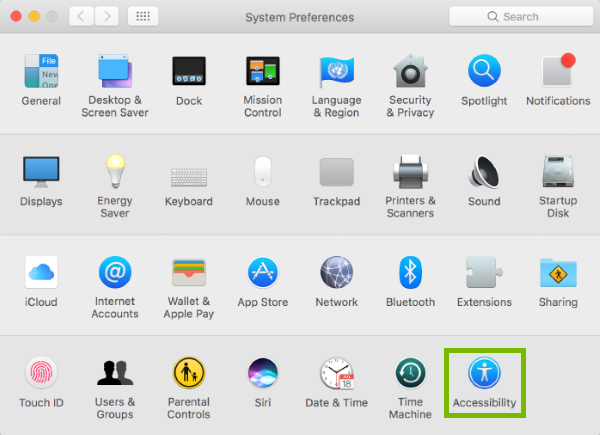
Then select Accessibility.
4. Toggle Slow Keys
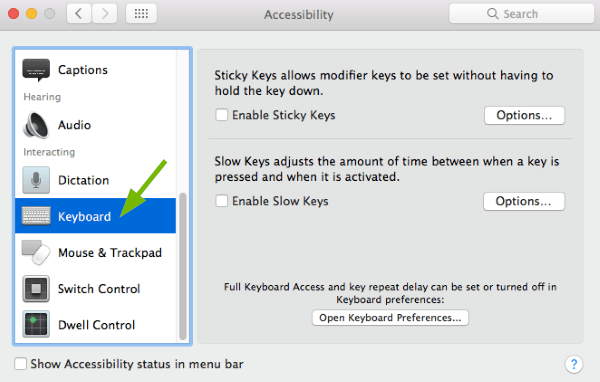
In Accessibility Preferences scroll down in the left pane and select Keyboard.
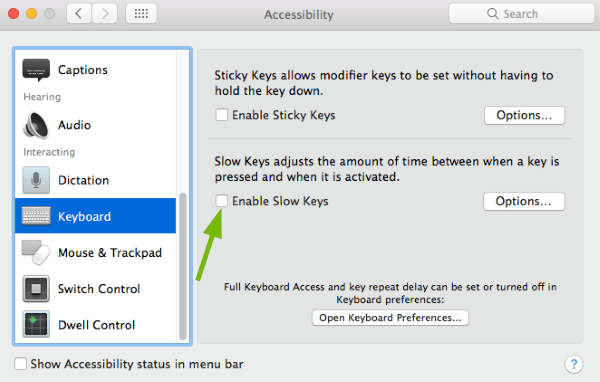
In the right pane you can toggle the Slow Keys feature. If you want key presses to be delayed put a check mark next to Enable Slow Keys. If you want to be able to type fast on the keyboard make sure there is no check mark next to it.
5. Additional Information
To better assist you, please answer this question.
6. Low Battery Bug
Apple identified a bug that could affect Mac computers running macOS 10.12 Sierra, regarding low battery alerts. If none of your keyboard keys work, your Mac may be showing a low battery alert that you cannot see, which is preventing your keyboard from functioning. Connect your Mac to its charger to clear the alert. If this particular bug is the cause of the issue, the keyboard should begin functioning again.
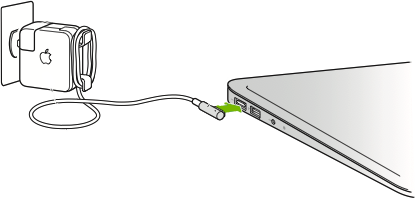
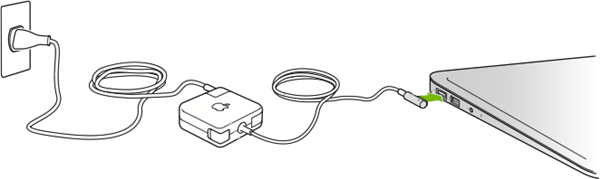
Connect your MacBook to the supplied charger.
Without the Extension Cable
With the Extension Cable
Make sure the power supply is firmly plugged into the wall socket, and power connector into the computer.
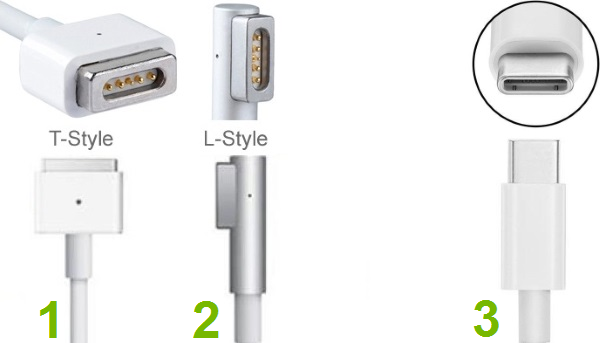
The power adapter and charging connector your MacBook uses may be different than the style depicted above. The following are the three common charging connector types you may encounter:
Magnetic T style
Magnetic L style
USB-C style
Test your keyboard to see if this has resolved the issue.
7. What's next?
8. Verify Wired Keyboard Connection
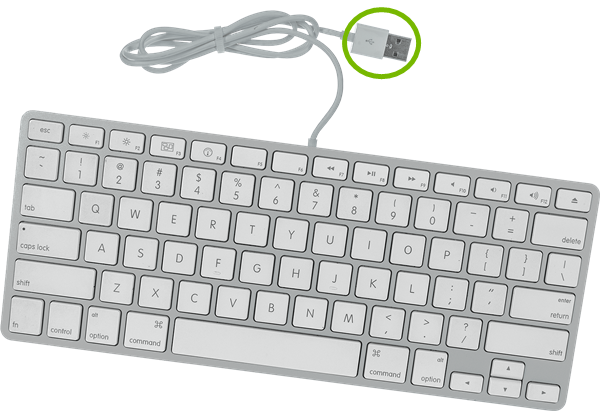
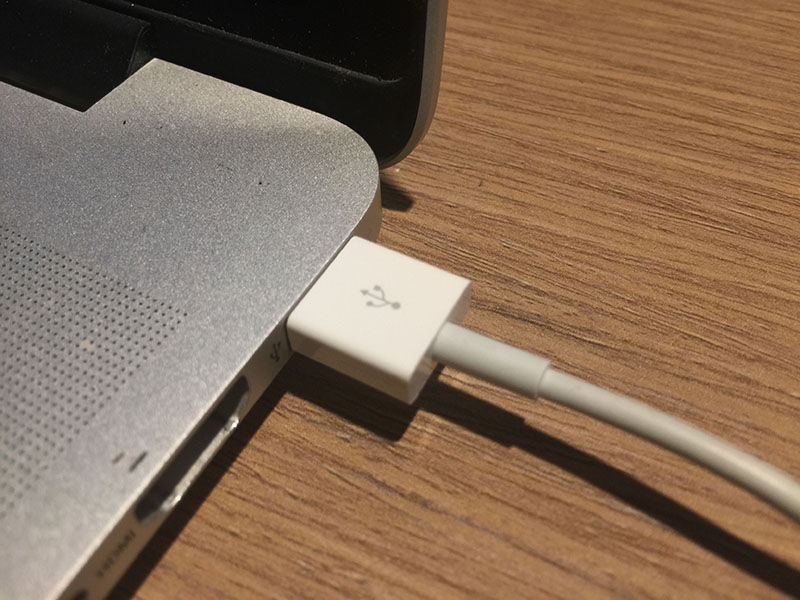
Whether you're using a wired Apple Keyboard or a wired keyboard of a different brand, they all connect to your Mac computer through a USB connection.
Follow the wire coming out of your keyboard and check if it's connected to any of the USB ports of your Mac. If it's already connected, then unplug it and plug it back in firmly.
Bypass any USB hubs or extension cords for troubleshooting purposes.
If the keyboard is not working connected to a USB port, try connecting it to a different port.
If the keyboard is not working connected to any of the USB ports, try connecting it to a different Mac or try connecting a different keyboard to this Mac. This can tell you whether the keyboard or Mac is malfunctioning.
9. What's next?
10. Toggle Power
Whether you're using a Magic Keyboard or an Apple Wireless Keyboard, they have to be turned on in order to use them.
For a wireless keyboard of a different brand, check the device's documentation if you're unsure whether it has a power switch.
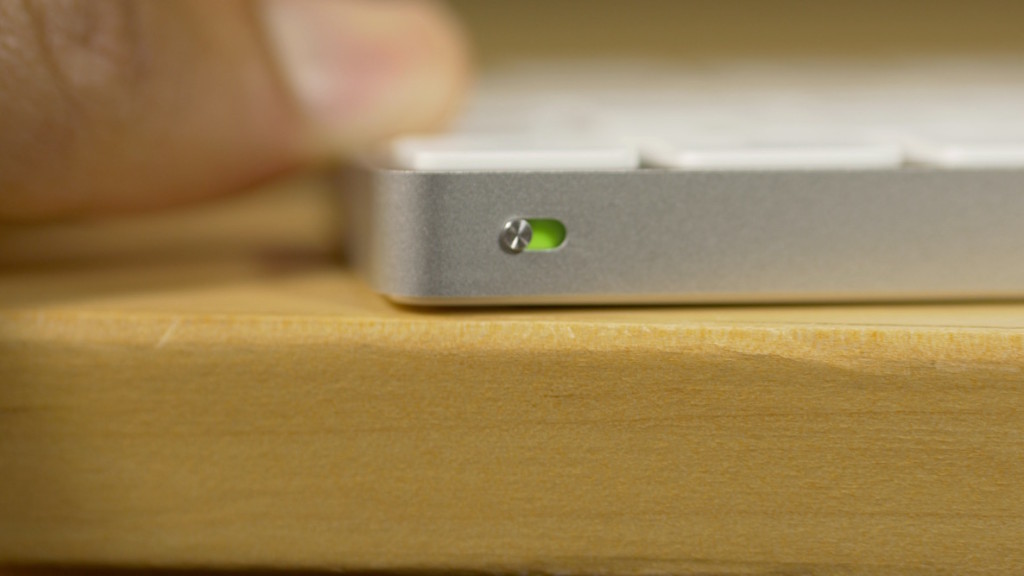
Magic Keyboard
The Magic Keyboard has a slide switch on the back edge of the device. If the green coloring is visible then it means the keyboard is turned on. Otherwise it's turned off.
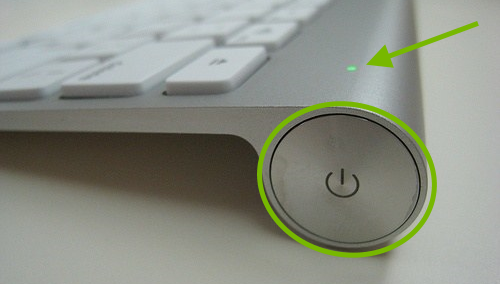
Apple Wireless Keyboard
Earlier Apple Wireless Keyboard models have a power button on the right side of the device and a green LED on the top of the device near the button. If the LED is lit then it means the keyboard is turned on. Otherwise it's turned off.
If you're keyboard is not functioning even when turned on, try power cycling it: turn it off for 10 seconds, then turn it back on.
11. Enable Bluetooth
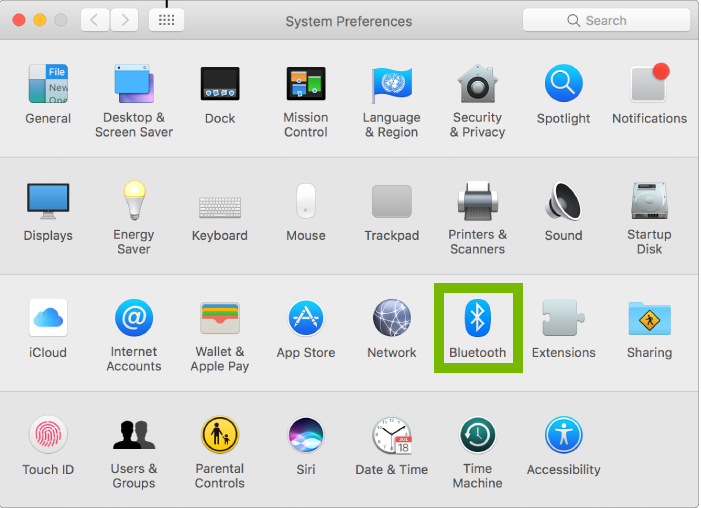
Open the Apple menu and then click on System Preferences.
Click on Bluetooth.
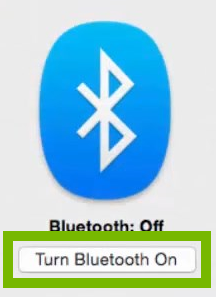
Click Turn Bluetooth On.
12. Charge or Replace Battery
Wireless keyboards need batteries to function. Depending on which type of keyboard you have, here's how you can make sure it has enough energy to be able to work:
Magic Keyboard
The Magic Keyboard has a built-in battery that needs to be recharged when it's depleted.
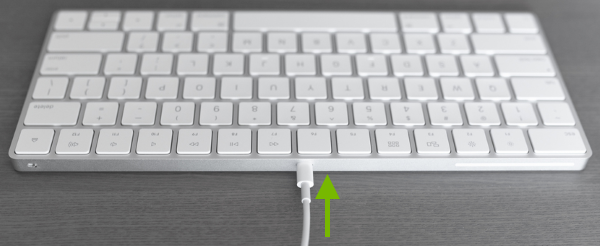
Plug the smaller connector of the Lightning to USB cable into the top edge of the keyboard.
Plug the other end into a USB port of your computer or a USB charger.
Turn the keyboard on if you wish to charge it faster. The green coloring is visible when the switch is in the on position.
Apple Wireless Keyboard
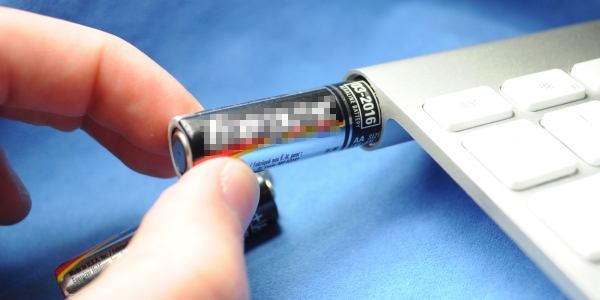
The earlier Apple Wireless Keyboard models use AA batteries that need to be replaced when they're depleted.
Use a coin or anything similar to open the battery compartment cover.
Remove the depleted batteries and replace them with new ones.
Ensure you are inserting the batteries in the correct orientation by checking the positive and negative terminals.
For a wireless keyboard of a different brand, check the device's documentation if you're unsure what type of batteries it uses and how it's powered up.
13. Additional Information
To better assist you, please answer this question.
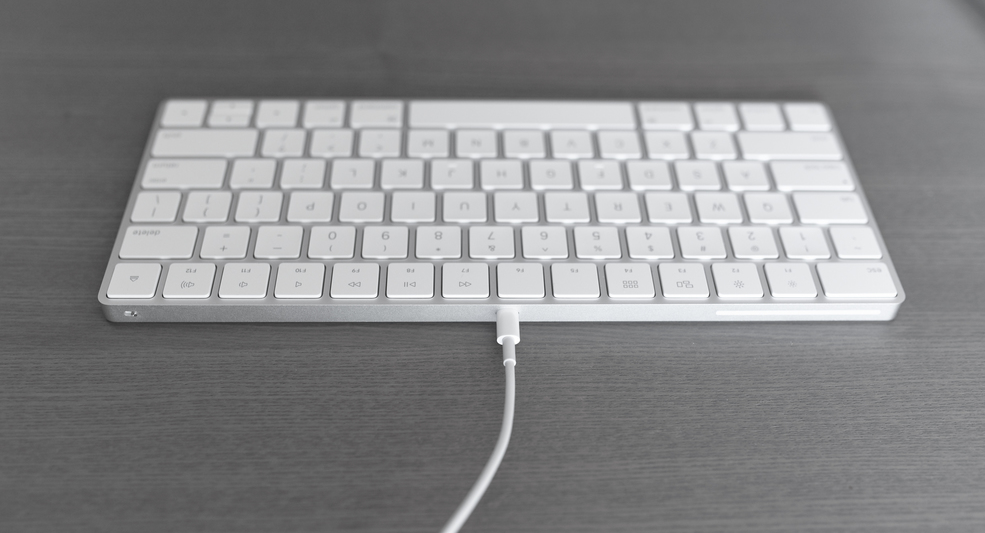
14. Magic Keyboard
Turn your Magic Keyboard on.
Now connect your Magic Keyboard to your Mac with the supplied lightning cable.
Plug the USB end into any available USB port on your Mac.
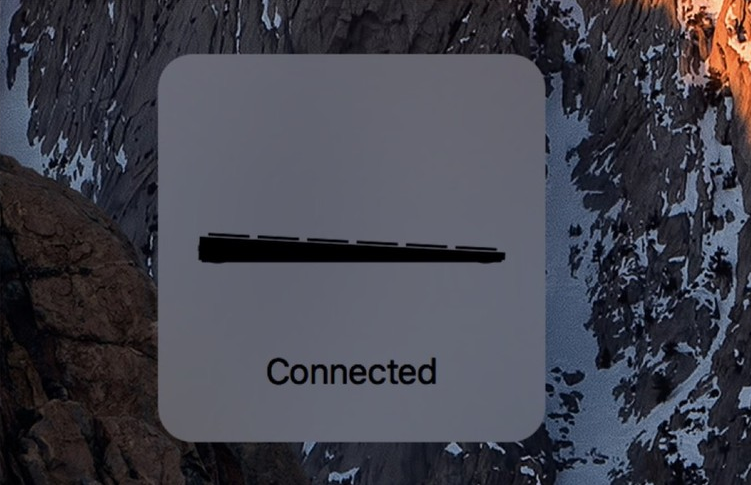
You will see a Connected message appear on-screen. This will disappear on it's own.
Your Magic Keyboard is now connected to your Mac! You may disconnect the lightning cable as you can use this Magic Keyboard wirelessly. But don't forget to charge the keyboard whenever it is low on battery.
15. Reduce Wireless Interference
Wireless signal interference can cause performance issues such as slow or intermittent connections and even complete disconnects. This interference involves the presence of:
Electromagnetic fields created by other electronic devices such as: Wi-Fi or Bluetooth capable devices, cordless phones, baby monitors, remote controlled toys, microwave ovens, seasonal lighting, garage door openers.
Structural materials in walls, floors, furnishings or other large objects.
To reduce wireless signal interference, look for any of the above devices, turn them off temporarily and check if the issue persists. If it does, then:
Consider moving the affected device or any of the other devices further from the affected device.
Alternately, if possible, you can select different wireless channels in the devices' configuration. Consult the devices' manufacturers documentation for details on how to make those changes.
The potential of structural materials to absorb wireless signal and cause signal loss or undesired behavior is as follows:
Set your device to pairing mode. The way you do this may differ from device to device. In many cases, you can place your device in pairing mode by having the device off, then pressing and holding the power button to start it up. Usually, after a few moments, it will indicate it is in pairing mode (flashing its indicator light, for example), and you can release the power button.
On the menu bar, click the Apple menu, then System Preferences.
Select Bluetooth.
Ensure that it says Bluetooth: On. Turn it on with the button if it isn't.
Your computer will search for any Bluetooth devices in range.
Once your device is located, click Pair.
Once the pairing process is complete, your Mac will automatically connect to the device whenever it is in range.
18. Delayed Keys
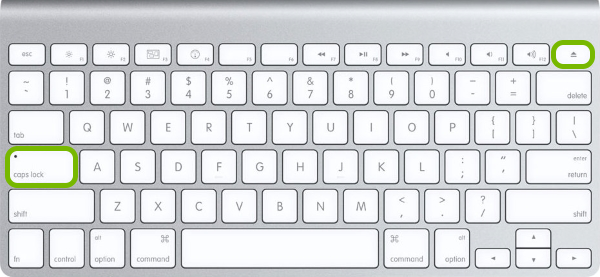
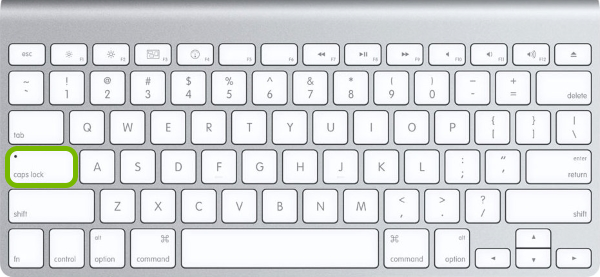
Certain keys, such as the Caps Lock and Media Eject keys, are designed to purposely use a slight delay to prevent accidental keypresses from activating them.
To activate these keys properly, press and hold the Caps Lock key until the key’s indicator light comes on. Similarly, press and hold the Media Eject key until the Media Eject icon appears on your screen.
19. Open Accessibility Preferences
Go to the Apple menu and select System Preferences.
Then select Accessibility.
20. Toggle Sticky Keys
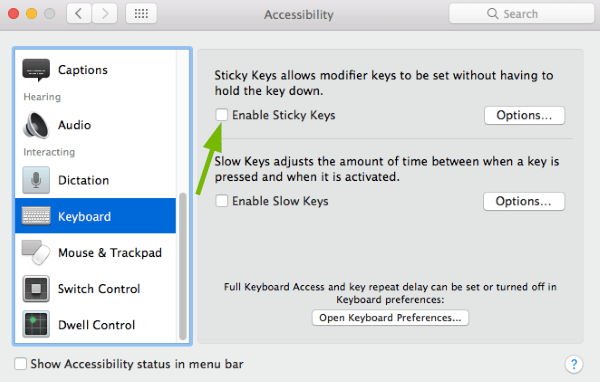
In Accessibility Preferences scroll down in the left pane and select Keyboard.
In the right pane you can toggle the Sticky Keys feature. If you want modifier keys to behave as if they're held down when you press and release them, put a check mark next to Enable Sticky Keys. If you don't want to use this feature, make sure there is no check mark next to it.
The keys affected by the Sticky Keys feature are: command ⌘, option ⌥, control ^, shift ⇧.
21. Toggle Text-to-Speech
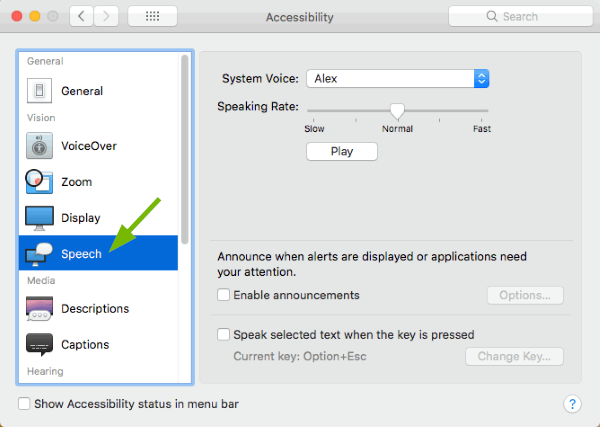
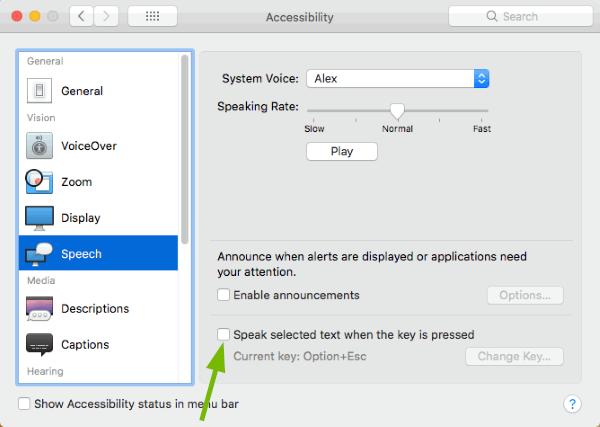
In Accessibility Preferences scroll down in the left pane and select Speech.
In the right pane you can toggle the Text-to-Speech feature. Put a check mark next to Speak selected text when the key is pressed if you want to use this feature, otherwise make sure there is no check mark next to it.
22. Open Keyboard Preferences
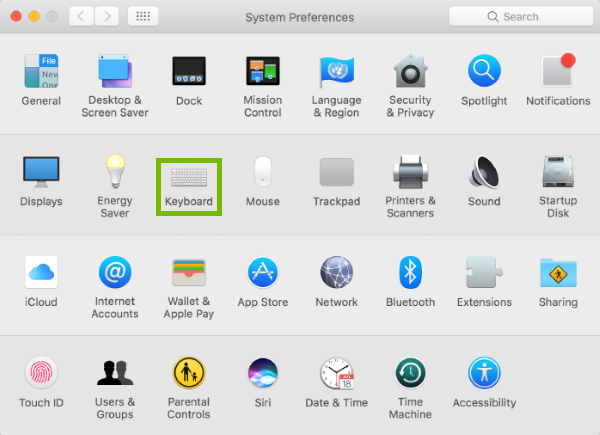
Go to the Apple menu and select System Preferences.
Then select Keyboard.
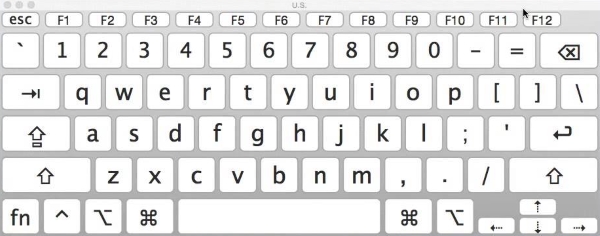
23. Keyboard Viewer
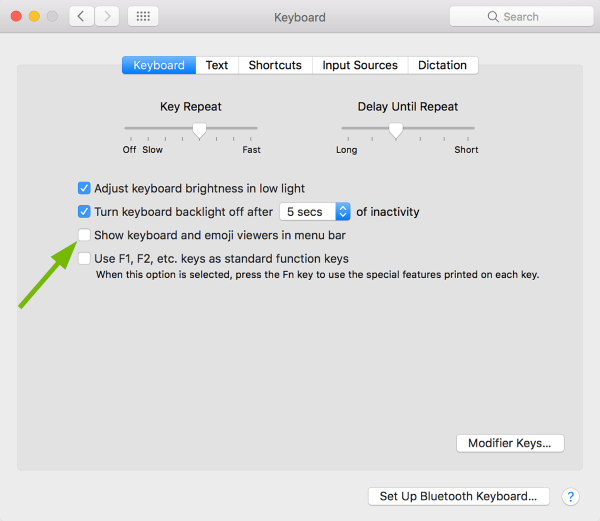
In Keyboard Preferences put a check mark next to Show keyboard and emoji viewers in menu bar.
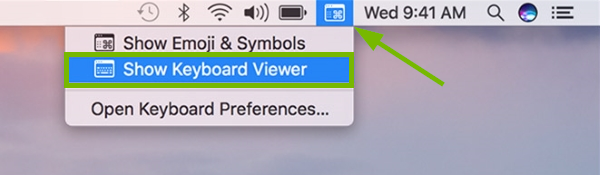
Click the keyboard icon in the menu bar, then choose Show Keyboard Viewer.
You'll see a graphical representation of your keyboard that highlights the corresponding keys you press on your keyboard.
Compare the layout of your physical keyboard with the on-screen keyboard and check if the keys you press are highlighted as well.
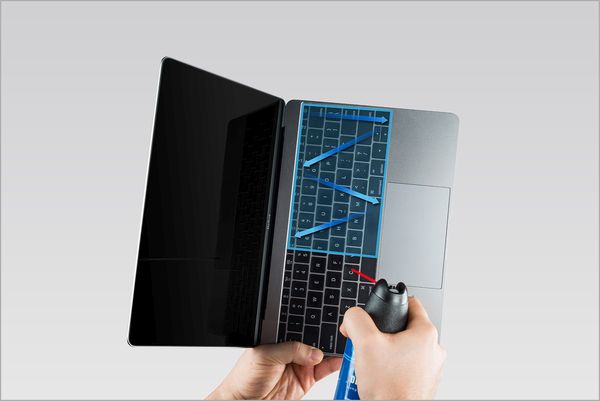
24. Clean Keyboard
This is a generic method to clean keyboards. It applies to notebooks with built-in keyboards as well as individual keyboards.
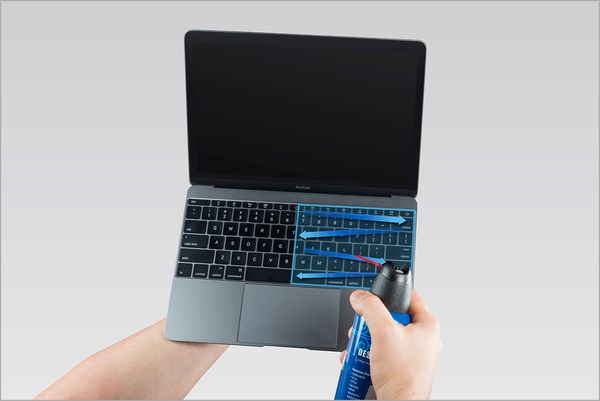
To clean your keyboard you will need to use a compressed air duster.
Always hold the can upright and use the included straw to control airflow. Keep the end of the straw about a half-inch away from the keyboard as you blow compressed air.
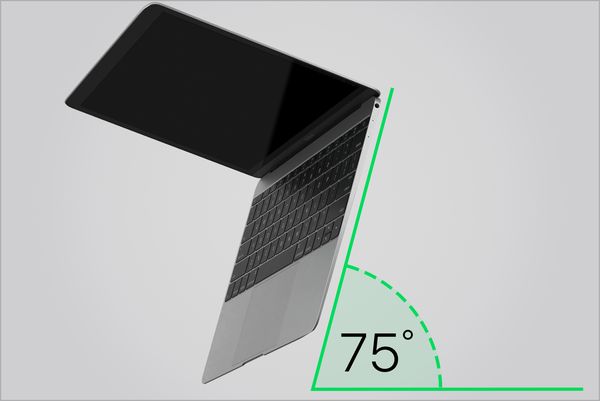
Hold your notebook or keyboard at a 75-degree angle, so it's not quite vertical.
Blow compressed air onto the keyboard, or just the affected keys, in a left-to-right motion.
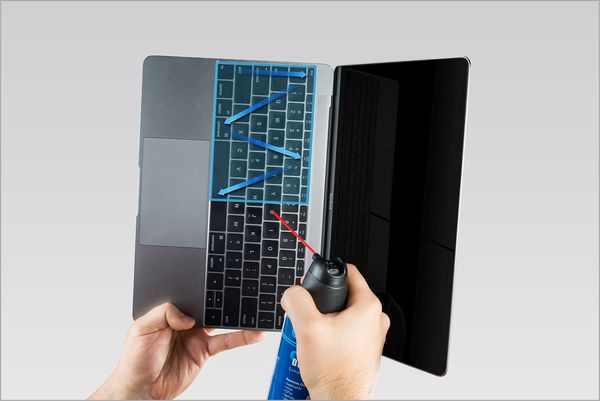
Rotate your notebook or keyboard to its right side and blow compressed air onto the keyboard again, from left to right.
Repeat the action, this time with your notebook or keyboard rotated to its left side.
25. What's next?
26. Choose Keyboard Layout
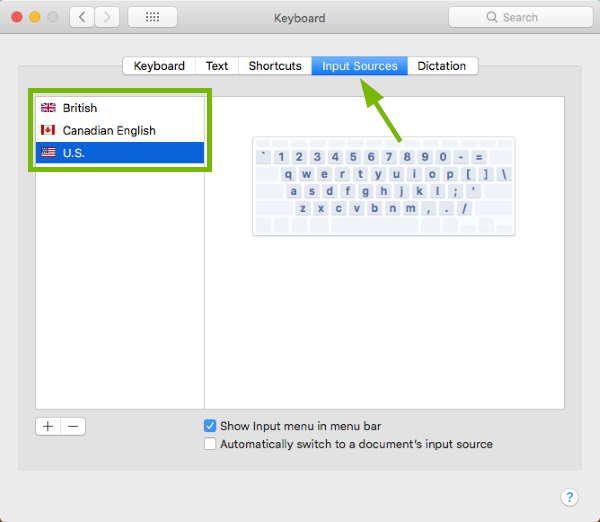
In Keyboard Preferences select the Input Sources tab and choose the preferred keyboard layout from the left pane.
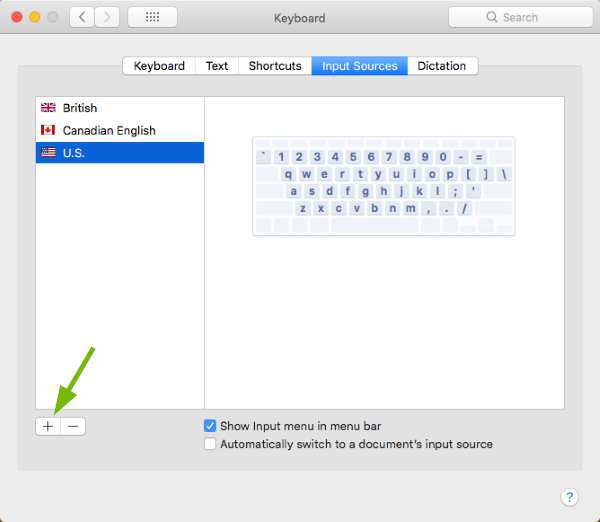
If no matching keyboard layout is listed, click the plus sign at the bottom left.
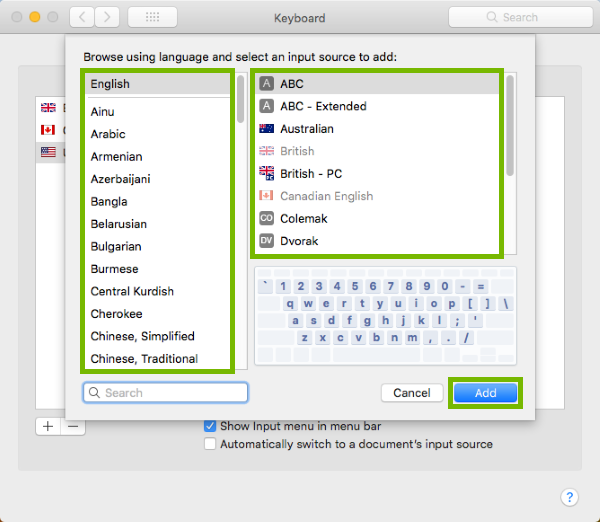
Select your preferred language in the left pane, then select the preferred keyboard layout in the right pane and click Add.
27. Open Accessibility Preferences
Go to the Apple menu and select System Preferences.
Then select Accessibility.
28. Toggle Slow Keys
In Accessibility Preferences scroll down in the left pane and select Keyboard.
In the right pane you can toggle the Slow Keys feature. If you want key presses to be delayed put a check mark next to Enable Slow Keys. If you want to be able to type fast on the keyboard make sure there is no check mark next to it.
29. Toggle CapsLock
The Caps Lock feature allows you to type with capital letters without needing to hold down the Shift button while you are pressing the letter keys. To activate the feature, press and hold the Caps Lock key until its indicator light turns on. To deactivate it, press and hold the key until its indicator light turns off.
30. Toggle NumLock
The Num Lock feature allows you to type numbers only using keys that have multiple functions. The activation and deactivation of this feature depends on the keyboard type you have:
On keyboards with a numeric keypad, press the Clear key to toggle the Num Lock feature.
On keyboards without a numeric keypad, press the Fn and F6 keys at the same time to toggle the Num Lock feature.
31. Open Keyboard Preferences
Go to the Apple menu and select System Preferences.
Then select Keyboard.
32. Keyboard Viewer
In Keyboard Preferences put a check mark next to Show keyboard and emoji viewers in menu bar.
Click the keyboard icon in the menu bar, then choose Show Keyboard Viewer.
You'll see a graphical representation of your keyboard that highlights the corresponding keys you press on your keyboard.
Compare the layout of your physical keyboard with the on-screen keyboard and check if the keys you press are highlighted as well.
33. Choose Keyboard Layout
In Keyboard Preferences select the Input Sources tab and choose the preferred keyboard layout from the left pane.
If no matching keyboard layout is listed, click the plus sign at the bottom left.
Select your preferred language in the left pane, then select the preferred keyboard layout in the right pane and click Add.
34. Open Accessibility Preferences
Go to the Apple menu and select System Preferences.
Then select Accessibility.
35. Toggle Mouse Keys
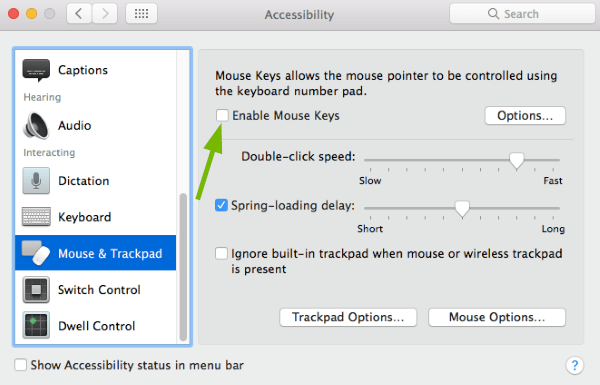
In Accessibility Preferences scroll down in the left pane and select Mouse & Trackpad.
In the right pane you can toggle the Mouse Keys feature. If you want the numeric keys to control your mouse cursor put a check mark next to Enable Mouse Keys. If you don't want to use this feature, make sure there is no check mark next to it.
.png)