How to Fix Mobile Notifications from Fitbit Charge 2
Authored by: Support.com Tech Pro Team
1. Introduction
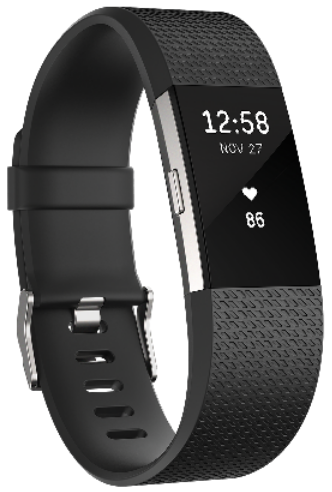
Your Fitbit device can receive notifications to keep you informed, such as text messages, phone calls, and meeting alerts, when your phone is nearby. Sometimes, complications between your mobile device and your Fitbit device can cause these notifications to stop functioning as intended. This guide will take you through some troubleshooting steps that will help you restore notification functionality to your Fitbit device.
2. Notifications
Some notifications may be skipped or even stop occasionally for several reasons that don't suggest a problem with your mobile device or the Fitbit app.
Your phone might be too far from your Fitbit. Move closer to your phone.
Your Fitbit device will only show new texts you haven't read. Anything you have already read on your phone or Fitbit will not show.
Your phone might be set to Do Not Disturb, Quiet hours, or Driving mode.
You're phone might be connected to another Bluetooth device like speakers or headset.
The Charge 2 only supports certain notifications. Calls, texts, and calendar events.
Your device may be syncing. While syncing, notifications may be prevented or delayed.
If your Fitbit app just updated, certain notification settings may need to be configured again. Continue with the guide for directions on how to setup notifications.
Device lock might be active on your Fitbit device. If you tap your Fitbit device's screen and see the device lock prompt, enter your PIN to unlock the device.
3. Notifications On
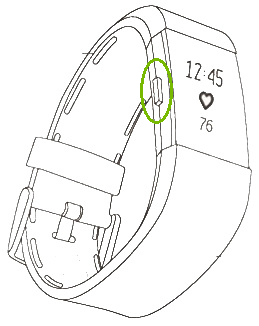
Make sure notifications are turned on by pressing and holding the side button on your Charge 2 while it is on the clock screen.
If notifications are on, an on-screen notification should be displayed.
A plus sign (+) means you have more than 1 notification to read.
4. Disable then Enable Bluetooth
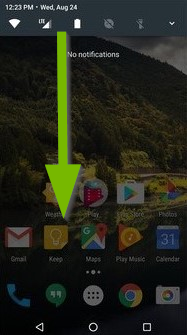
Swipe down from the top of the screen.
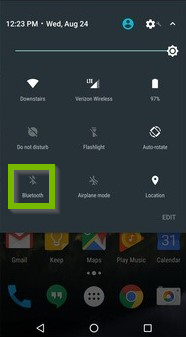
Tap the Bluetooth icon. Bluetooth is off if the icon looks like this.
Count to 20, then swipe down from the top of the screen.
Tap the Bluetooth icon, so it is no longer faded out.
5. Notifications
The connection between your phone and Fitbit device could be unstable. Bluetooth signals are susceptible to disconnecting or dropping occasionally. If you have an Android phone, check the following:
Make sure the Fitbit app is allowed to run in the background on your phone.
Open the Fitbit App.
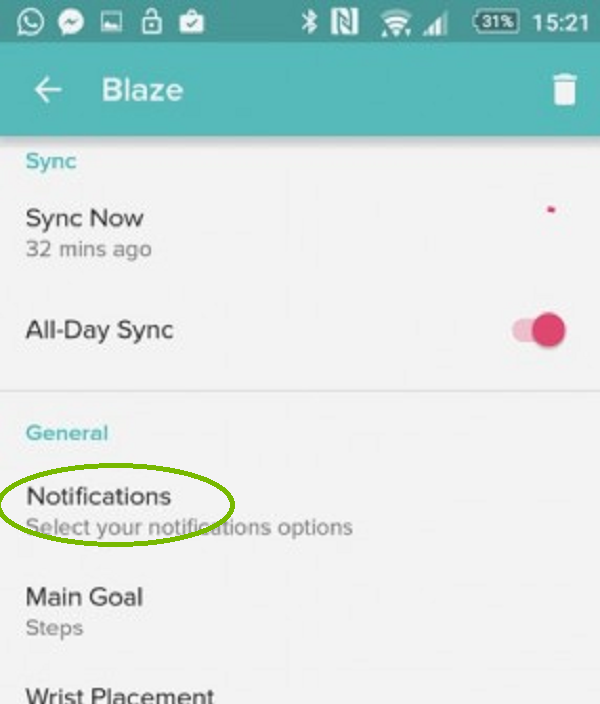
Tap or click on the Account icon.
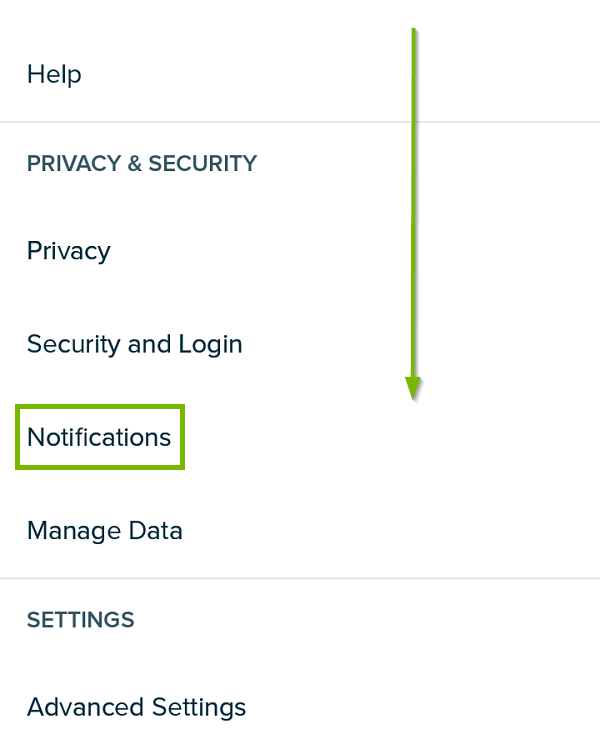
Tap Notifications.
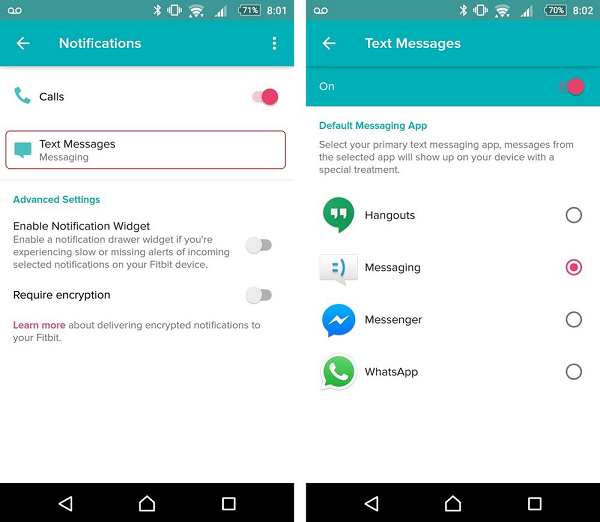
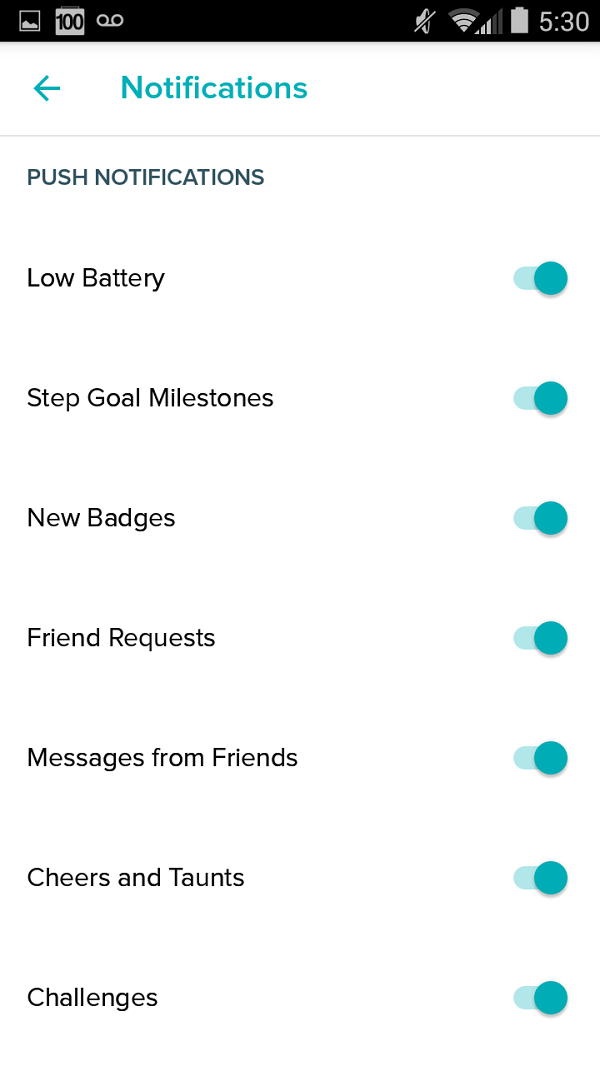
Tap the type of notification you'd like to receive (Text Messages, Calendar Events, Emails, or App Notifications), and make sure it's turned on.
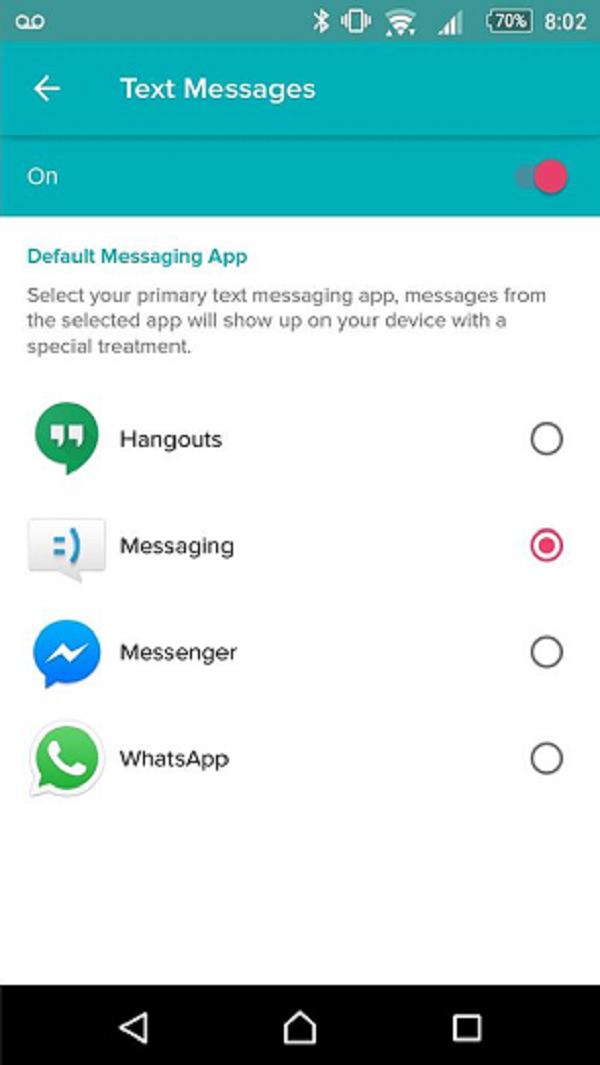
Choose which apps can send notifications to your Fitbit device. For example, if you'd rather see text messages from WhatsApp than Messages, change the Text messaging (SMS) app setting. (You can only choose 1 app per category.) This list shows the most common apps for these features:
Phone app—Dialer
Text messaging (SMS) app—Messages
Calendar app—Calendar
Email—Email
6. Power Cycle
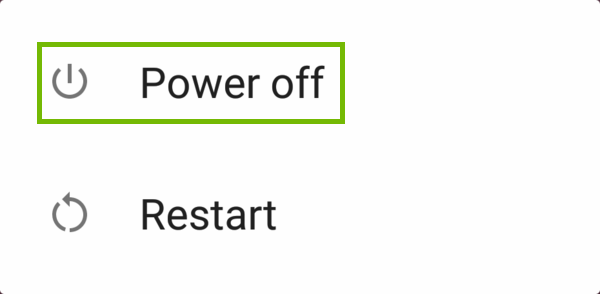
Turn off your phone. Push and hold the power button, then select Power off from the menu.
Wait 30 seconds.
Turn your phone back on by pressing and holding the Power button for a few seconds, until the screen lights up.
7. Restart Device
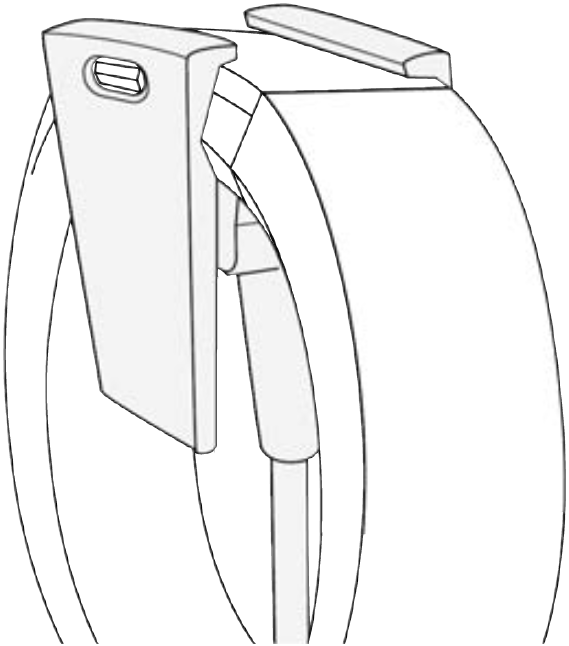
Plug the charging cable into the USB port on your computer or any USB wall charger.
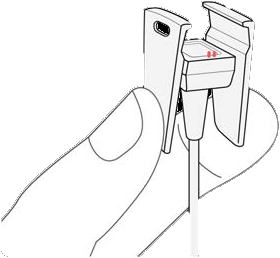
Clip the other end of the charging cable to the port on the back of the tracker. The pins on the charging cable must lock securely with the port.
Make sure the button on your tracker is aligned with the button opening on the charging cable.
You will know the connection is secure when the tracker vibrates and you see a battery icon on the display. Your Charge 2 will begin charging.
Press and hold the button on your tracker for four seconds. When you see the Fitbit logo and the tracker vibrates, this means the tracker has restarted.
Unplug your tracker from the charging cable.
8. Refresh Notifications
Open the Fitbit App.
Tap or click on the Account icon.
Tap Notifications.
Turn Off all notifications.
Restart your phone.
Open the Fitbit App.
Tap or click on the Account icon.
Tap the type of notification you'd like to receive (Text Messages, Calendar Events, Emails, or App Notifications), and make sure it's turned on.
Choose which apps can send notifications to your Fitbit device. For example, if you'd rather see text messages from WhatsApp than Messages, change the Text messaging (SMS) app setting. (You can only choose 1 app per category.) This list shows the most common apps for these features:
Phone app—Dialer
Text messaging (SMS) app—Messages
Calendar app—Calendar
Email—Email
Turn on the Fitbit's Notification Setting by being on the clock screen, PRESS and HOLD the button.
9. Delete Paired Bluetooth Device
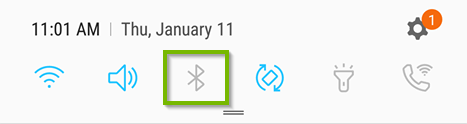
Swipe down on your screen to access the menu.
Hold down on the Bluetooth icon to bring up Bluetooth options.
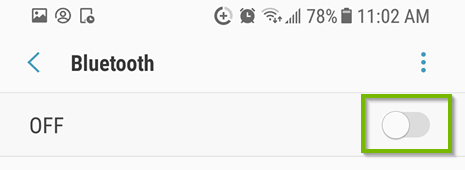
Slide Bluetooth ON if it isn't already.
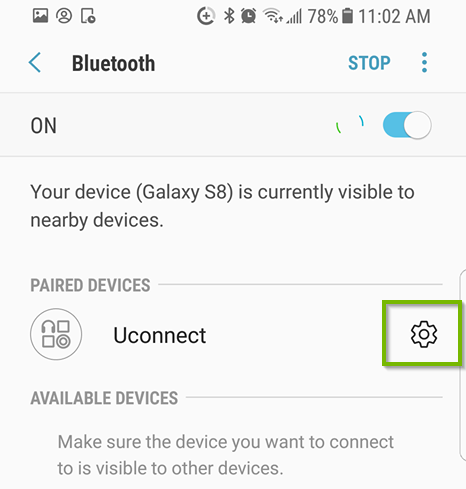
Tap the gear icon next to the device you wish to unpair.
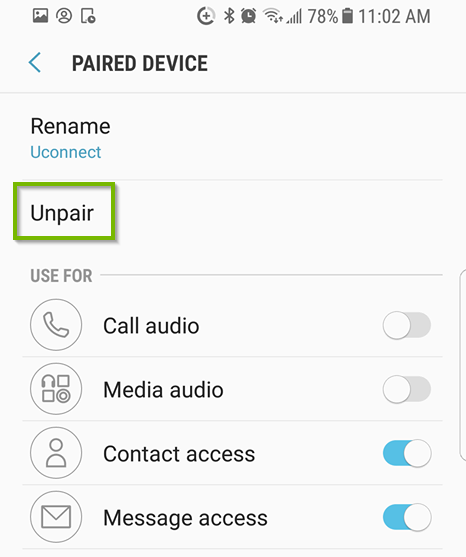
Tap Unpair.
The Bluetooth device has now been unpaired and can be re-added if you wish.
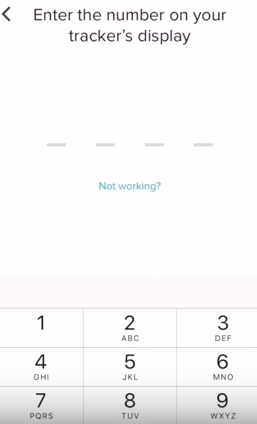
10. Pairing
Your tablet or phone will now try to find your tracker.
Wait for it to connect.
Type the code on your Fitbit into your phone or tablet.
Your Fitbit is now connected!
11. Notifications
The connection between your phone and Fitbit device could be unstable. Bluetooth signals are susceptible to disconnecting or dropping occasionally. If you have an Android phone, check the following:
Make sure the Fitbit app is allowed to run in the background on your phone.
Open the Fitbit App.
Tap or click on the Account icon.
Tap Notifications.
Tap the type of notification you'd like to receive (Text Messages, Calendar Events, Emails, or App Notifications), and make sure it's turned on.
Choose which apps can send notifications to your Fitbit device. For example, if you'd rather see text messages from WhatsApp than Messages, change the Text messaging (SMS) app setting. (You can only choose 1 app per category.) This list shows the most common apps for these features:
Phone app—Dialer
Text messaging (SMS) app—Messages
Calendar app—Calendar
Email—Email
12. What's next?
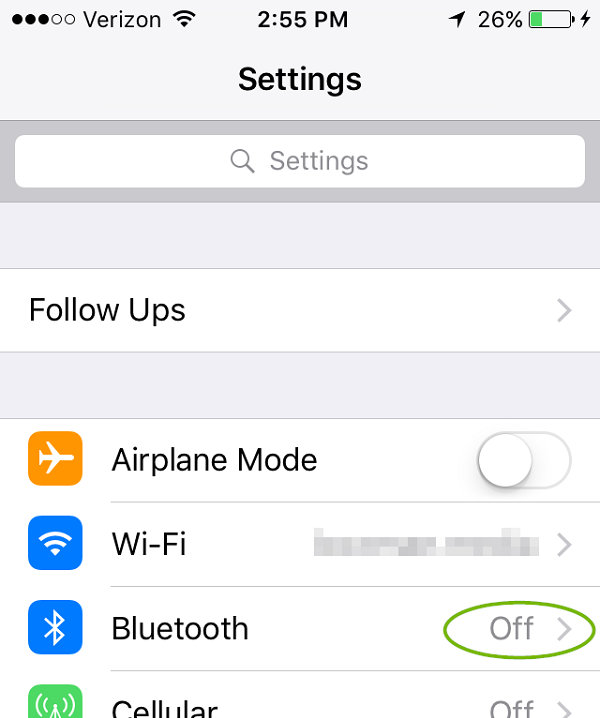
13. Disable then Enable Bluetooth
Tap Settings icon on phone.
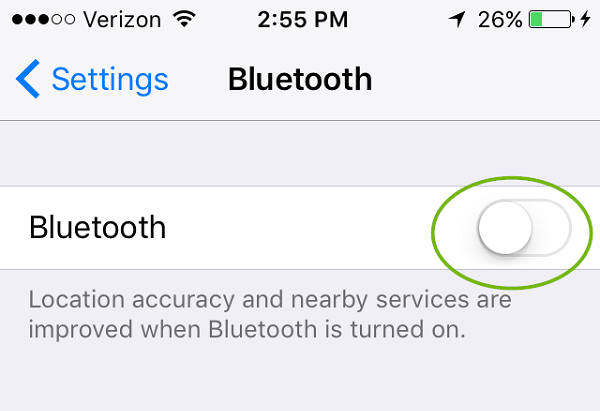
Tap the Bluetooth icon. Bluetooth is off if the icon looks like this.
Slide the slider to turn it white. Bluetooth is now off.
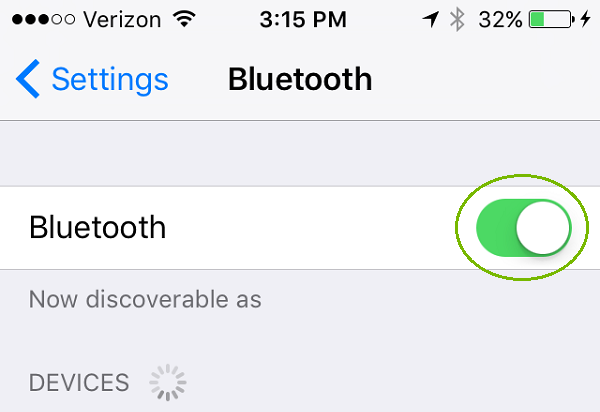
Count to 20, then slide the slider to turn it green. Bluetooth is now on.
14. Notifications
Have your phone and Fitbit device nearby. Setup may take a few minutes.
Verify Your Phone Settings
Open the Settings app to review your phone settings.
Confirm or adjust these settings:
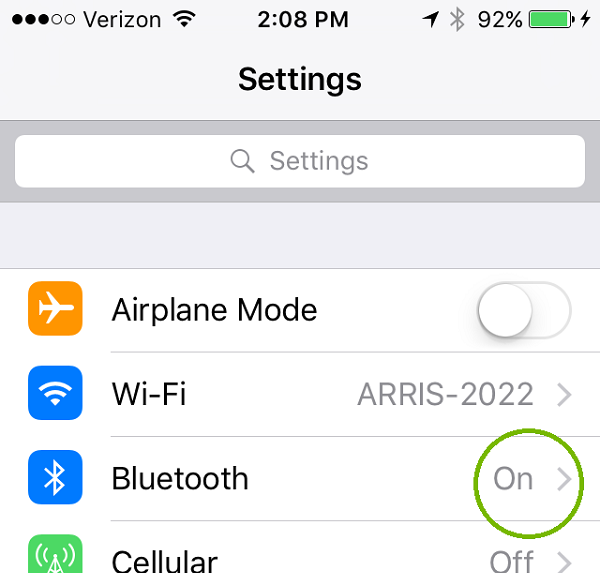
Verify that Bluetooth is On.
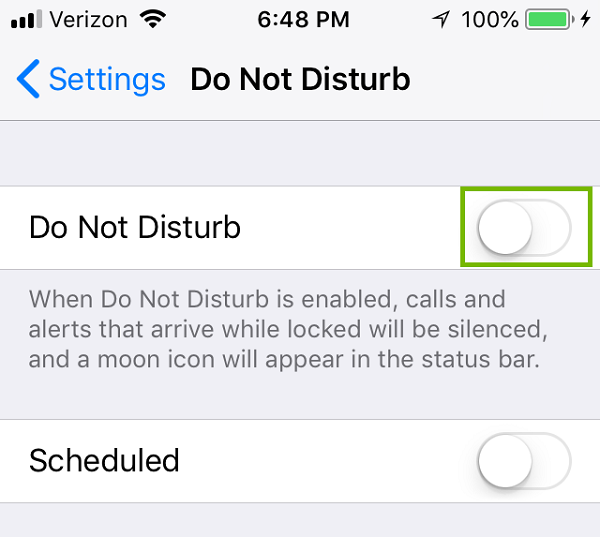
Tap Do Not Disturb. Make sure slider is off.
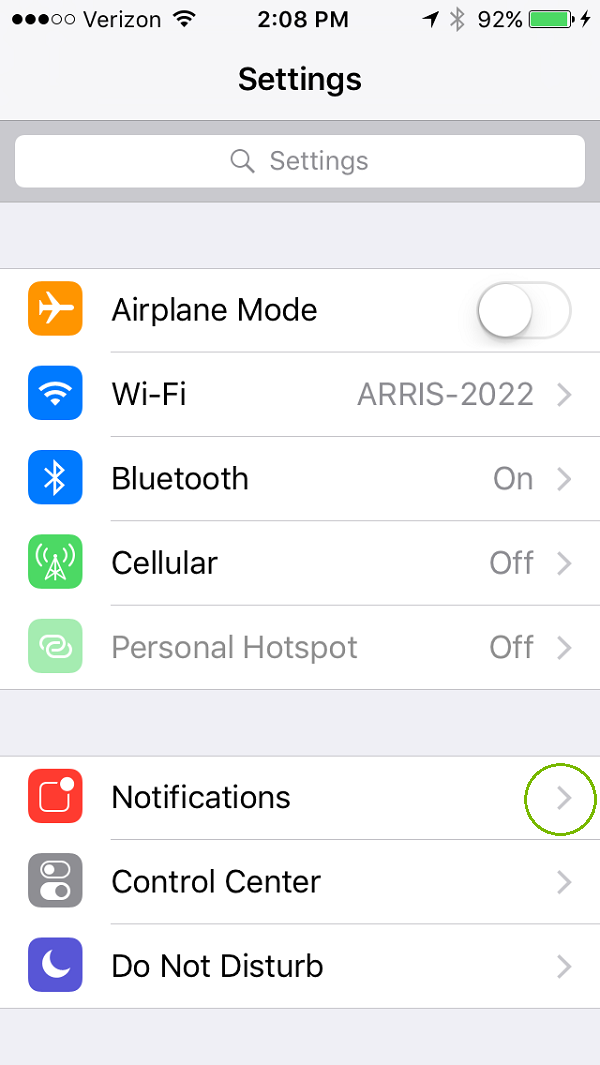
Tap on Notifications.
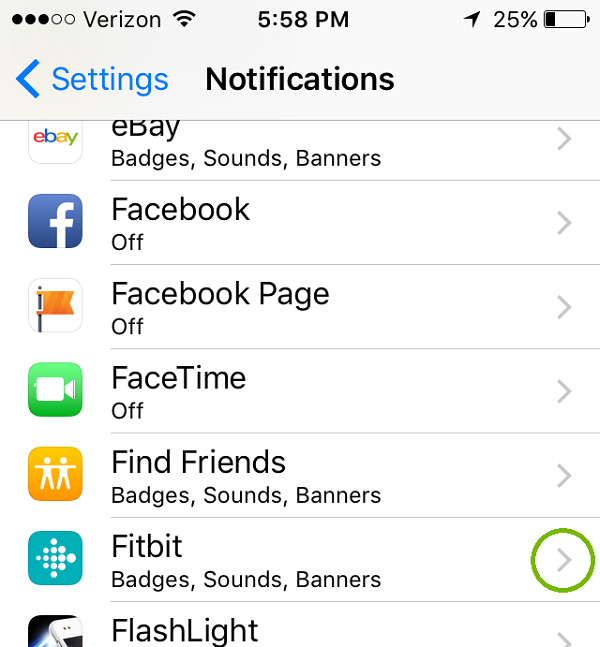
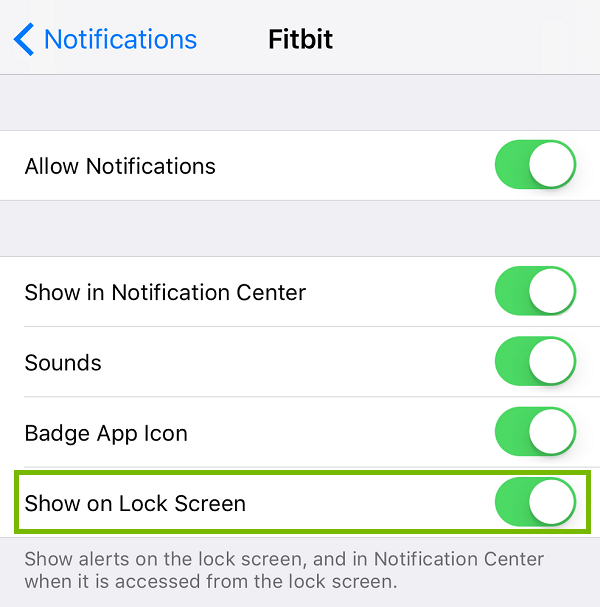
Scroll down and tap on the Fitbit App.
For Messages, also make sure Show on Lock Screen is on.
Open the Fitbit App.
Tap or click on the Account icon.
Tap Notifications.
Tap the type of notification you'd like to receive (Text Messages, Calendar Events, Emails, or App Notifications), and make sure it's turned on.
Choose which apps can send notifications to your Fitbit device. For example, if you'd rather see text messages from WhatsApp than Messages, change the Text messaging (SMS) app setting. (You can only choose 1 app per category.) This list shows the most common apps for these features:
Phone app—Dialer
Text messaging (SMS) app—Messages
Calendar app—Calendar
Email—Email
15. Restart
To restart your device:
Restart your iPhone X
Press and hold the Side button and either volume button until the slider appears.
Drag the slider to turn your iPhone X completely off.
After your iPhone X turns off, press and hold the Side button again until you see the Apple logo.
Restart your iPhone 8 or earlier, iPad, or iPod touch
Press and hold the Top (or Side) button until the slider appears.
Drag the slider to turn your device completely off.
After the device turns off, press and hold the Top (or Side) button again until you see the Apple logo.
With iOS 11 or later, you can also turn off your device by going to Settings, then General, then Shut Down.
16. Restart Device
Plug the charging cable into the USB port on your computer or any USB wall charger.
Clip the other end of the charging cable to the port on the back of the tracker. The pins on the charging cable must lock securely with the port.
Make sure the button on your tracker is aligned with the button opening on the charging cable.
You will know the connection is secure when the tracker vibrates and you see a battery icon on the display. Your Charge 2 will begin charging.
Press and hold the button on your tracker for four seconds. When you see the Fitbit logo and the tracker vibrates, this means the tracker has restarted.
Unplug your tracker from the charging cable.
17. Refresh Notifications
Open the Fitbit App.
Tap or click on the Account icon.
Tap Notifications.
Turn Off all notifications.
Restart your phone.
Open the Fitbit App.
Tap or click on the Account icon.
Tap the type of notification you'd like to receive (Text Messages, Calendar Events, Emails, or App Notifications), and make sure it's turned on.
Choose which apps can send notifications to your Fitbit device. For example, if you'd rather see text messages from WhatsApp than Messages, change the Text messaging (SMS) app setting. (You can only choose 1 app per category.) This list shows the most common apps for these features:
Phone app—Dialer
Text messaging (SMS) app—Messages
Calendar app—Calendar
Email—Email
Turn on the Fitbit's Notification Setting by being on the clock screen, PRESS and HOLD the button.
18. Unpair Bluetooth Device
Open Settings.
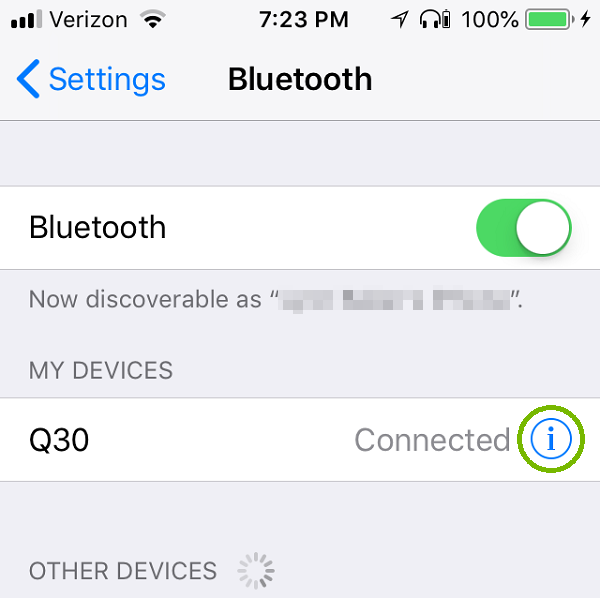
Tap on Bluetooth.
Tap on the little "i" icon on the device you want to forget.
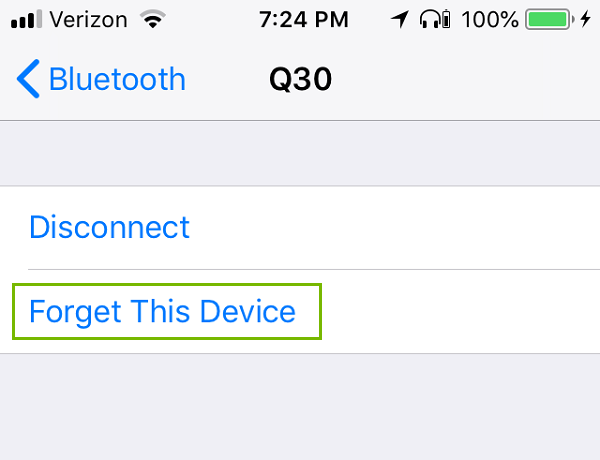
Tap Forget this Device.
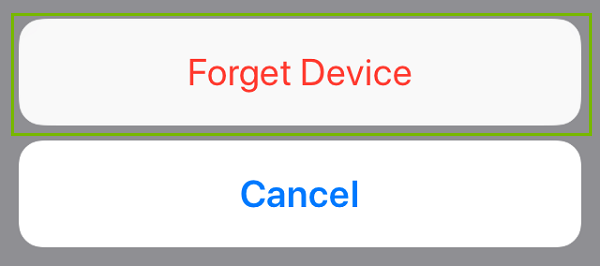
Confirm by tapping Forget Device.
19. Pairing
Your tablet or phone will now try to find your tracker.
Wait for it to connect.
Type the code on your Fitbit into your phone or tablet.
Your Fitbit is now connected!
20. Notifications
Have your phone and Fitbit device nearby. Setup may take a few minutes.
Verify Your Phone Settings
Open the Settings app to review your phone settings.
Confirm or adjust these settings:
Verify that Bluetooth is On.
Tap Do Not Disturb. Make sure slider is off.
Tap on Notifications.
Scroll down and tap on the Fitbit App.
For Messages, also make sure Show on Lock Screen is on.
Open the Fitbit App.
Tap or click on the Account icon.
Tap Notifications.
Tap the type of notification you'd like to receive (Text Messages, Calendar Events, Emails, or App Notifications), and make sure it's turned on.
Choose which apps can send notifications to your Fitbit device. For example, if you'd rather see text messages from WhatsApp than Messages, change the Text messaging (SMS) app setting. (You can only choose 1 app per category.) This list shows the most common apps for these features:
.png)