How to Fix "No SIM Card Installed" on Android Phone
Authored by: Support.com Tech Pro Team
Encountering the "No SIM Card Installed" error on your Android device can be frustrating, as it prevents you from making calls, sending texts, and using mobile data. This error can occur for various reasons, including issues with the SIM card, the SIM card tray, or software glitches.
Solving Issues Related to the "No SIM Card Installed" Error
Check the Physical SIM Card
Before attempting any software-related fixes, it's essential to ensure that the physical SIM card is properly inserted and in good condition:
Eject the SIM Card Tray: Use the SIM card ejector tool that came with your device or a paperclip to gently eject the SIM card tray.
Inspect the SIM Card: Examine the SIM card for any visible damage, such as scratches, bends, or cracks. If you find damage, contact your carrier for a replacement SIM card.
Reinsert the SIM Card: Carefully reinsert the SIM card into the tray, ensuring it's properly seated and aligning it with the notch in the tray.
Insert the SIM Card Tray: Slide the SIM card tray back into your Android device.
Restart Your Device: After reinserting the SIM card, restart your Android device to check if the error is resolved.
Toggle Airplane Mode
Toggling Airplane Mode on and off can help reset your device's connection to the cellular network:
Swipe down from the top of the screen to open the Quick Settings menu.
Tap the airplane icon to enable Airplane Mode. Wait for a few seconds, and then tap it again to disable Airplane Mode.
Check if the 'No SIM Card Installed' error persists.
Restart Your Android Device
A simple restart can often resolve network-related issues:
Press and hold the power button until the power menu appears.
Tap "Restart" or "Reboot," depending on your device.
After your device restarts, check if the SIM card is recognized.
Check Mobile Network Settings
Ensure that your Android device is correctly configured to use mobile data and recognize the SIM card:
Go to "Settings."
Scroll down and select "Network & Internet" or a similar option, depending on your device.
Tap on "Mobile network" or "Cellular network."
Verify that "Mobile data" or "Cellular data" is turned on.
Check the "Network mode" or "Preferred network type" settings and ensure they are set to the appropriate mode (e.g., 4G/3G/2G or LTE/WCDMA/GSM).
Reset Network Settings
Resetting your network settings can help resolve issues related to SIM card recognition:
Go to "Settings."
Scroll down and select "System" or "System & updates," depending on your device.
Tap on "Reset" or a similar option.
Select "Reset network settings."
Confirm the reset. Your Android device will restart.
Contact Your Carrier
If none of the above steps resolve the issue, it's possible that there may be an issue with your carrier's network or your account.
By following these steps, you can troubleshoot and resolve the 'No SIM Card Installed' error on your Android device. In most cases, the issue is related to the physical SIM card or software settings and can be resolved with simple fixes.
Contact Support.Com:
If you are still having trouble, refer to the step-by-step tutorial below or consider seeking personalized assistance from Support.Com.
Step-By-Step Tutorial for 'No SIM Card Installed' Error Android
1. Introduction
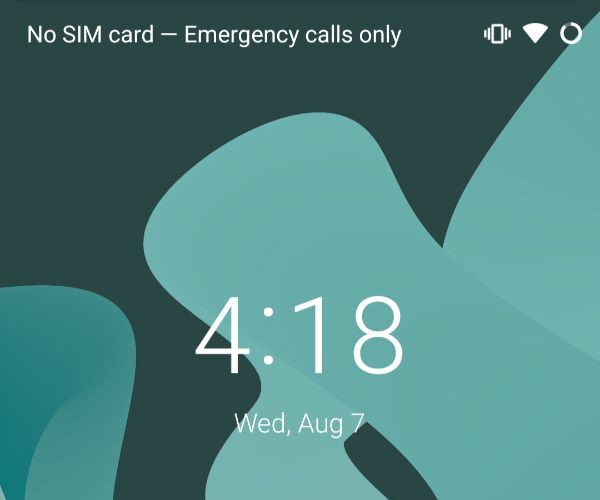
If your Android device displays a "No SIM Card Installed" message, or can't connect to your cellular network or cellular data, the following steps may help resolve these issues for you.
Tools You'll Need:
A SIM card removal tool
2. Restart
Hold down the power button on your Android device.
Depending on the manufacturer and model of Android device you have, the location of the power button will vary.
Select Power Off.
If the menu does not pop up, continue to hold the power button, and your Android device will shut off.
Wait 30 seconds.
Push and hold the Power button for a few moments, and your Android device will start back up.
3. Enable Cellular Data
Enabling Cellular Data allows your Android Smartphone to tap into the data you pay your provider for. If this is turned off you may not get a connection to your provider at all.
Make sure that you're in an area with cellular network coverage. If you're not within range of your network you may not be able to access your cellular data or you may be charged roaming fees. Check with your cellular provider to determine if you are in an area covered by your cell provider.
Domestic Cellular Data
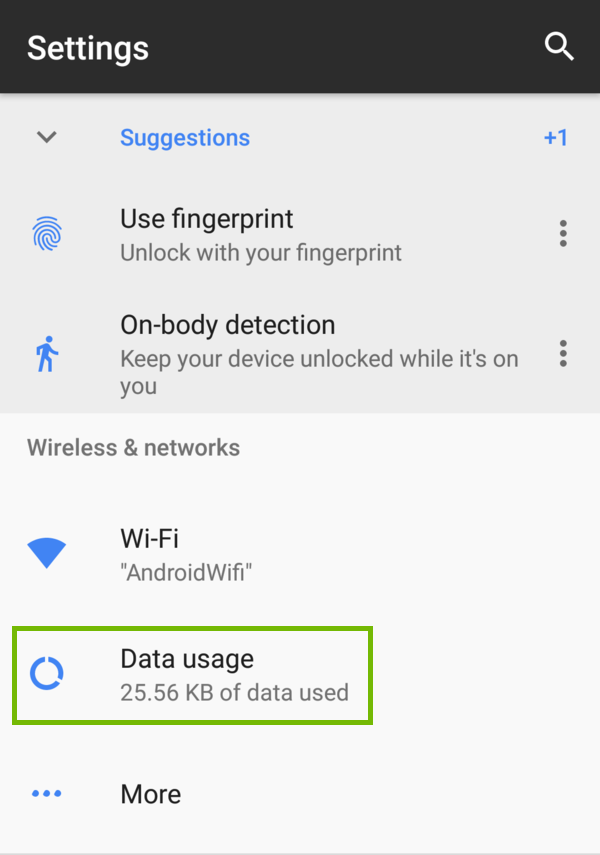
Open Settings on your phone or tablet.
Select Data usage.
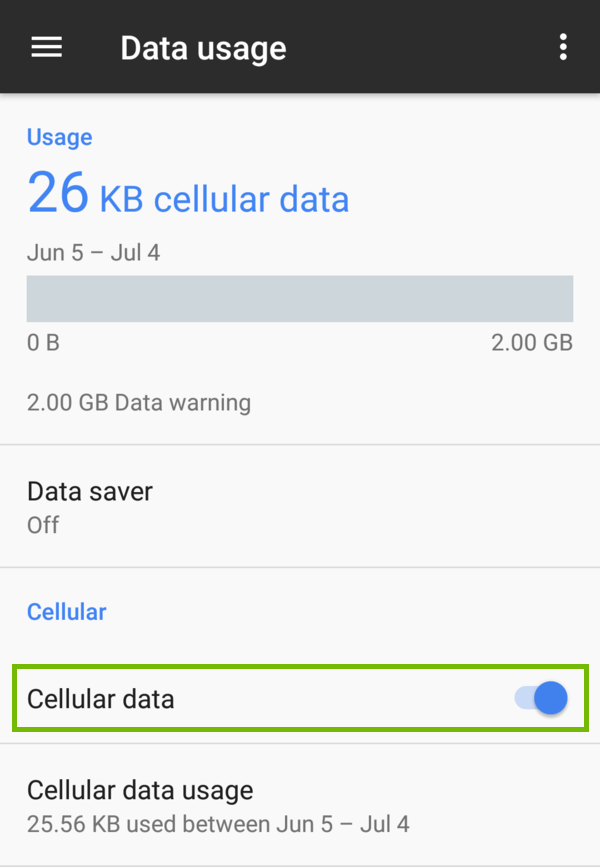
Make sure Cellular data is turned On.
Roaming Cellular Data
If you are out of the country, your cellular provider most likely charges much, much higher rates. Please check with your cellular provider to determine what prices to expect, before you travel.
By default, your Android device disables roaming data, to prevent you from getting really large bills for your data use. If you wish to enable data while roaming, continue below.
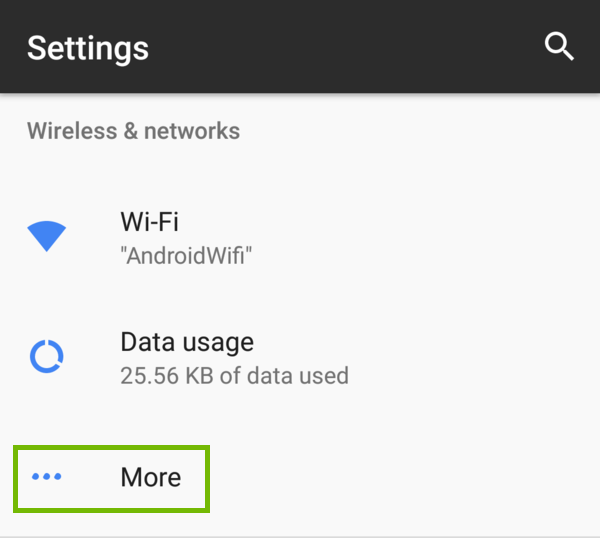
Open Settings on your phone or tablet.
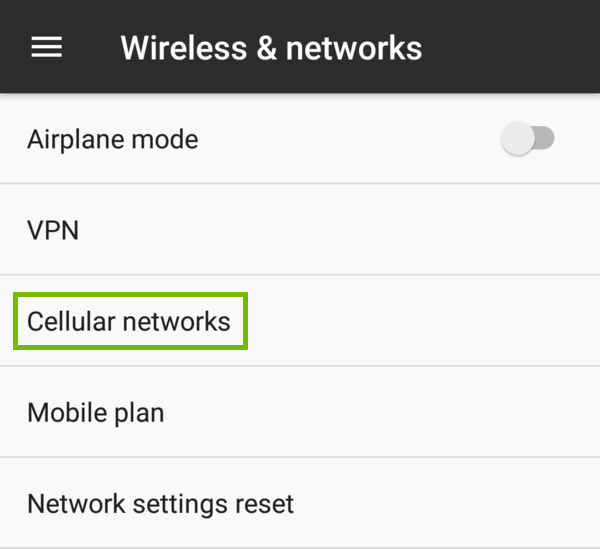
Under Wireless & networks, select More.
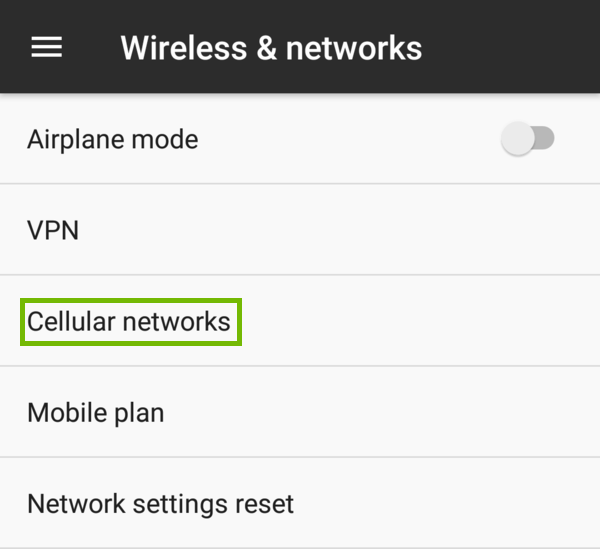
Select Cellular networks.
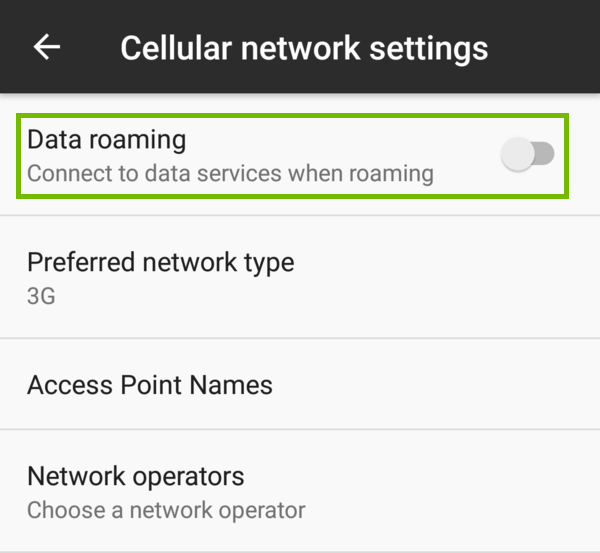
Set Data roaming to On.
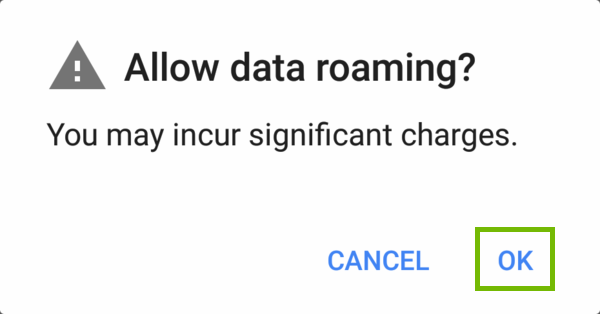
Decide to enable roaming or not. As a final reminder, turning this feature on may incur significant charges on your cellular bill. Select OK to proceed.
4. Auto Network Mode
Enabling your Android device to automatically connect to a preferred network allows your smartphone to choose what network it connects to according to your installed SIM Card.
Open Settings on your phone or tablet.
Under Wireless & networks, select More.
First, make sure Airplane mode is Off.
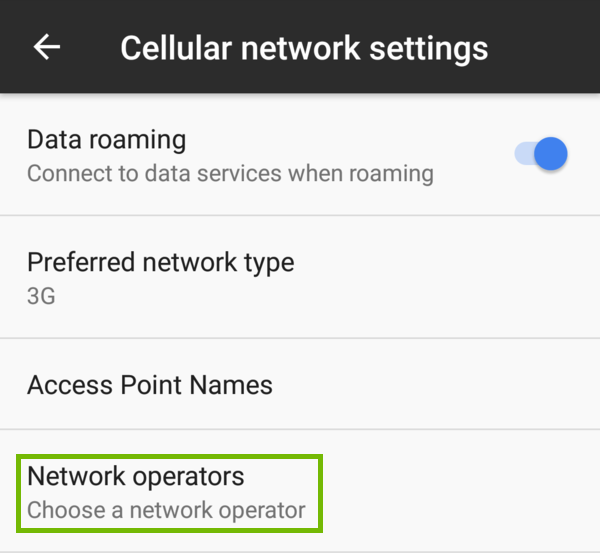
Select Cellular networks.
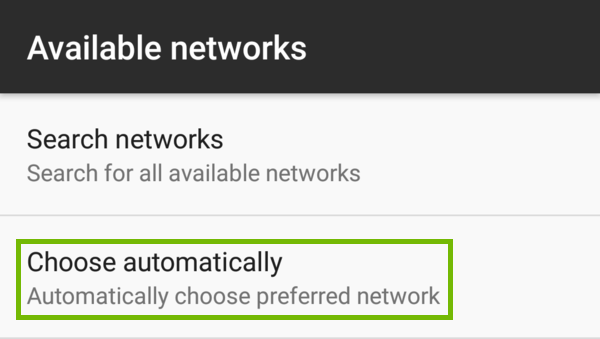
Select Network operators.
Select Choose automatically, so your phone will pick your network provider based on what is indicated on your SIM card.
5. Power Off
There are different ways to turn off your Android smartphone depending on the model and the version of Android you have installed.
Android Oreo and Newer
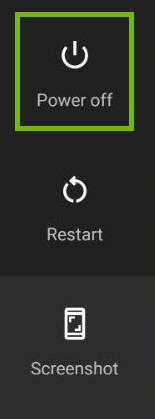
Press and hold the power button until the power menu shows.
Tap Power off.
Android Nougat and Older
Press and hold the power button until the power menu displays.
Tap Power Off.
6. Reseat SIM Card
The next step is to re-seat the SIM card your phone uses to get information on how to access your cell provider's network.
If you are not comfortable reseating your sim card, or do not have the SIM eject tool skip the step and answer as such at the bottom.
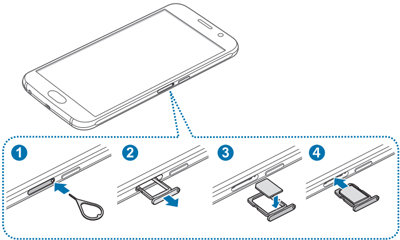
Eject and re-seat the SIM Card.
Use the SIM eject tool to eject the tray.
Carefully pull the tray out.
Re-seat the SIM, making sure the notch lines up properly with the spot for it.
Push the SIM tray back in till it's flush with the edge of your phone.
Press and hold the power button until your phone turns back on.
Remove Hidden Spyware In Minutes For Free
Detect and remove spyware, keyloggers, tracking cookies, and other
threats that slow down your PC or steal your data.
65+ Million Downloads
Spyware scanner with AI-powered detection engine + database
.png)