.png)
Authored by: Support.com Tech Pro Team
Part of the experience of going to the movie theater to see a film on the big screen is the audio that goes along with it. The large screen, the immersive sound that comes from all directions - it's a top-notch experience and for most folks, it beats watching things at home.
However, building a home theater system that offers surround sound in your own living room is more accessible these days. Unfortunately, unlike the movie theater, the entire system is your responsibility to both set up and troubleshoot if things aren't working as intended.
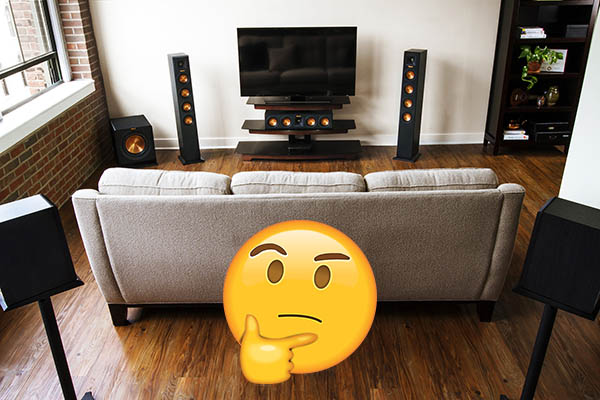
One of the biggest differences about having a home theater surround sound system in your home compared to the speakers built-into your TV, or even soundbar solutions, is the addition of rear speakers. These speakers create the immersive experience of adding the sound that would be coming from behind you during a scene to the room you're watching in.
Unfortunately for some users, the rear speaker experience can be underwhelming, and if you're in that situation, you may believe something's wrong. This can be due to a number of different factors. This guide will take through everything to consider when it comes to your rear speakers and help you get the most out of your home theater surround sound experience.
Tools You'll Need:
-->
Supplies You'll Need:
-->
Before You Begin:
You must have this thing before you whatever.
-->
There's a huge difference difference between Stereo and Surround Sound.
Stereo only uses two channels, a left and a right channel. All modern music is recorded in stereo and most movies and videos have a stereo option. A lot of media you encounter will be encoded for stereo sound.
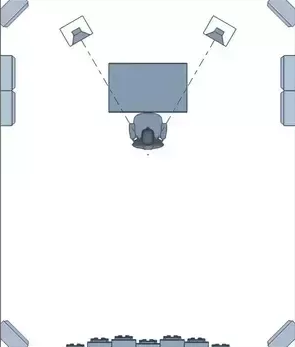
While stereo has the two channels of sound, surround systems normally have over five speakers arranged in specific ways. Media encoded for surround sound will create a sound field around you, similar to what you would hear if you were in a theater.

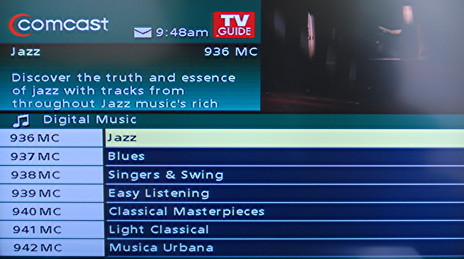
Whether it be content from your cable or satellite provider, a movie you've purchased or are streaming online, or even an album that you're trying to enjoy, it's important to consider the type of audio experience you're expecting vs. what the media you're consuming is capable of outputting. You may find that the audio experience you're expecting can be different than what the media is capable of. Depending on the type of media you're working with and where you're getting it from, this can vary greatly.
One of the most common mistakes made when it comes to home theater surround sound systems is faulting the equipment for not playing audio in surround sound when the audio the system is receiving isn't in surround sound itself. Your home theater system will still output the sound of non-surround sound content, but it may only play back in stereo sound. Stereo sound will never engage the rear speakers of your system, and may give you the impression that something is wrong. So, why would the audio not be in surround sound? There are a number of reasons why this might be the case:


Always be sure to check the audio capabilities of the media you're about to watch or listen to before you begin playback. This can help set the correct expectations for what you're about to hear, and avoid blaming your equipment for a simple deficiency of the content that's being consumed.
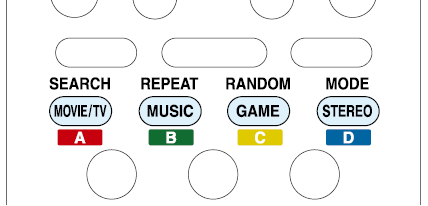
As pointed out previously, there is a large amount of content that is specifically designed to be played back in stereo sound. For individuals who consume a great deal of stereo content, this leaves rear speakers sitting idle a large majority of the time. However, this doesn't always have to be the case. Many receivers offer 'Stereo Surround' or 'Multi Channel Stereo' sound options.
Stereo surround or multi channel stereo audio engages the rear speakers as a second set of stereo speakers, which serves to act as a literal form of surround sound - physically surrounding listeners with stereo sound. While this type of playback will not suit all listeners, it is an available option that you may prefer for certain types of stereo content.

Keep in mind that changing sound modes on your receiver is never done automatically. This means that if you've set your receiver to use Stereo Surround or Multi Channel Stereo audio while listening to stereo content, you will have to change to the sound mode back to surround sound when watching surround sound content.
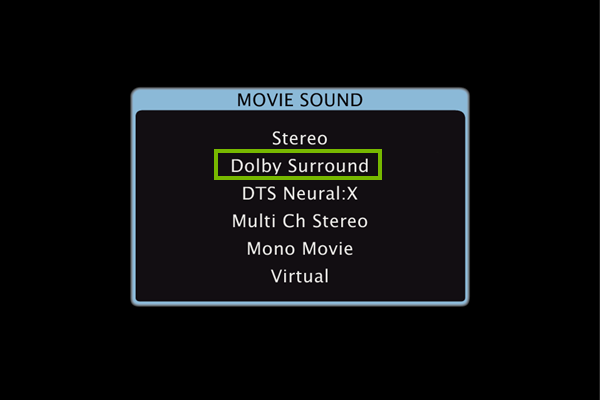
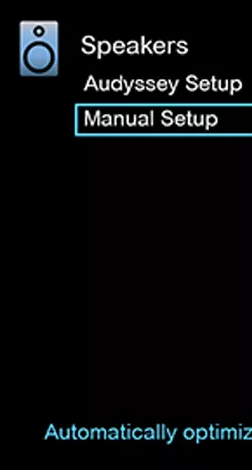
If you've determined the media you're working with is surround sound compatible, the first thing to make sure of is that your receiver is set to properly deliver the audio it's receiving to all the audio channels of your surround sound system.
This is accomplished by setting your receiver to the proper sound mode for surround sound. On most receivers, this means selecting the Dolby Surround or Surround sound mode option.
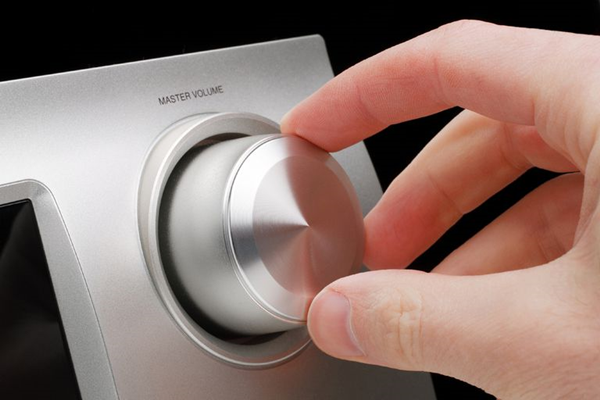
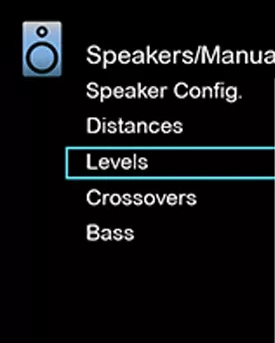
If you are still having difficulty with the rear speakers on your surround sound system, the next step is to make sure that their levels are not severely imbalanced. Increase the volume level on your receiver, and listen closely for sound coming from the rear speakers.
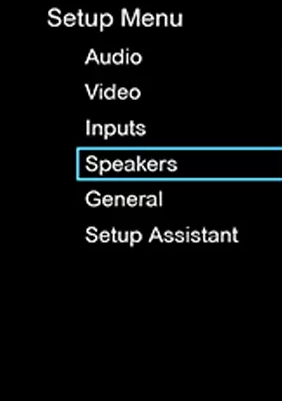
If you're able to confirm that sound is coming from the rear speakers, but their volume is very low compared to the front speakers, speaker configuration settings can be adjusted to boost the volume levels of the rear channel speakers.
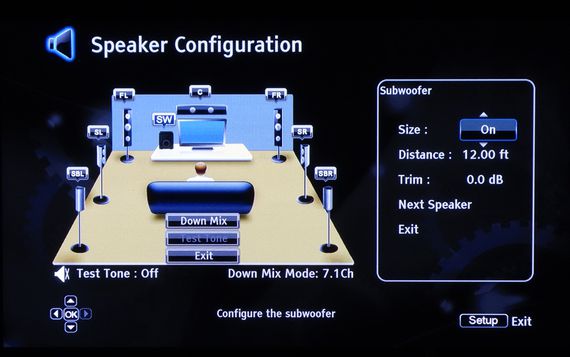
When adding additional dB boosts to your speakers, always make sure you're sitting in the most "optimal" spot in the room the surround sound system is set up in. This will ensure you get the best "room filling" sound that will not have to be adjusted again later on.
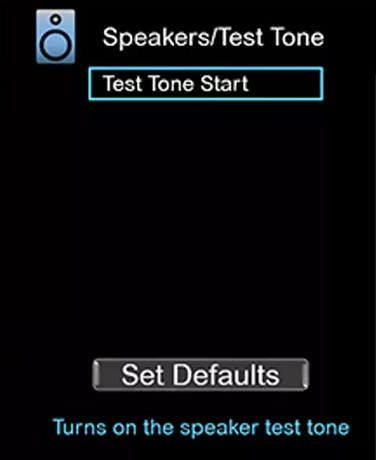
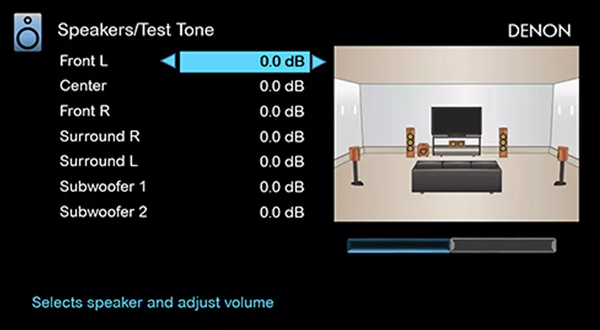
If you're still unable to hear anything at all from your rear speakers, it's time to test whether or not your receiver is able to get sound to the speakers in question. Thankfully, most receivers have the ability to send test tones to your speakers. Test tones can be sent to individual audio channels, or to the entire system at once. If your receiver is able to get a test tone to play on the problematic speakers, it means your speakers are connected properly and the issue either lies with the media that's being played, or the settings your receiver is using.
The process of sending test tones to your system's speakers will vary greatly depending on the brand and model of receiver you are using. The following instructions and images are provided as a general guide to what this process will likely entail on your equipment.
Before moving your equipment or checking any cabling, make absolutely sure that your A/V Receiver and any other components that are currently on are fully powered off.
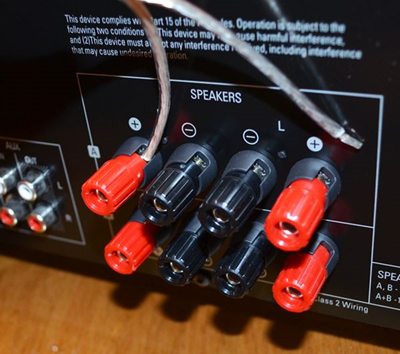
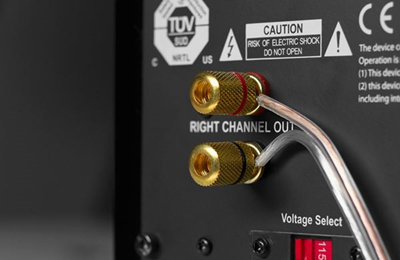
If you were unable to hear test tones from one or more of your speakers, the next step is to make absolutely sure that all of the speaker cabling connected to the rear of the receiver is connected properly and is in good physical condition.

If all the cabling is connected correctly between your speakers and your receiver, and you're still not able to hear any sound coming from the rear channel speakers:

Support.com is committed to your privacy
We do not share or sell your data to third parties. We do use cookies and other third-party technologies to improve our site and services. The California Consumer Privacy Act (CCPA) gives you the ability to opt out of the use of cookies, third-party technologies and/or the future sale of your data. Do not sell my personal information.

Support.com is committed to your privacy
Read our Privacy Policy for a clear explanation of how we collect, use, disclose and store your information
