How to Fix Software Install Issues on a Windows PC
Authored by: Support.com Tech Pro Team
1. Introduction
Installing applications is generally a worry free process. This guide will assist you when problems arise installing programs.
Install issues can arise if:
There isn't enough free space on the hard drive.
There is a network connectivity issue.
User Account Control problems.
Other software conflicts.
2. Check Drive Space
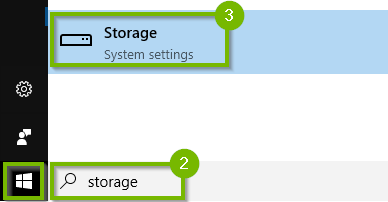
Click Start, type storage in the search box, then click Storage.
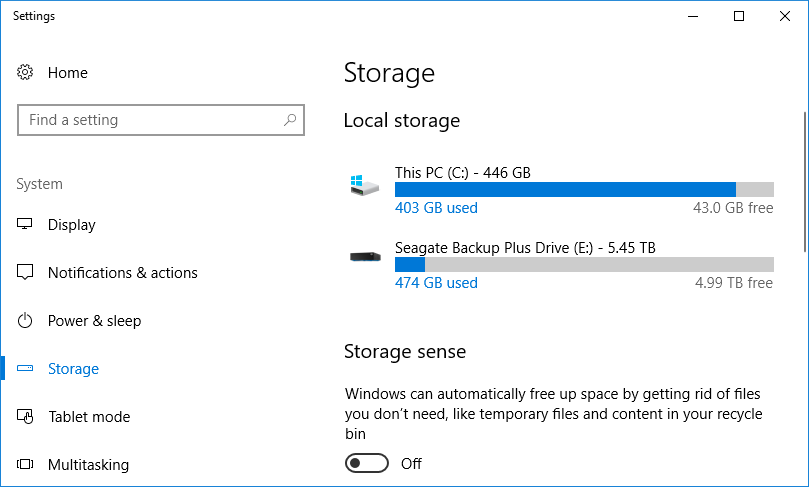
Under Local storage on the right, you will see a list of drives. In the example below, C: has a 446 GB capacity with 403 GB used and 43 GB free space.
3. Disk Cleanup
Click Start, type storage in the search box, then click Storage.
Under Local storage on the right, you will see a list of drives. In the example below, C: has a 446 GB capacity with 403 GB used and 43 GB free space. You need to have some space available for Windows to function properly.
4. Uninstall an App
You may need to remove an app because you need the space or simply don't need it anymore. The following steps show you how to easily remove an app.
Click Start then Settings.
Next, Select Apps.
Scroll down and locate the app you wish to remove, and click on Uninstall.
Carefully read any prompts in case there are special instructions. Proceed until the application is removed.
Some applications may require that you reboot.
5. Restart Your PC
Before your restart or shut down your PC, make sure to save all necessary work to prevent data loss.
Using the Mouse
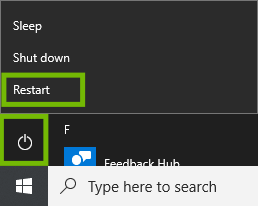
Select the Start menu.
By default it is in the lower left corner of your screen.
Select Power, then select Restart.
Using the Keyboard
Press the Windows and X keys at the same time. This minimizes any open windows you may have.
Press the Alt and F4 keys at the same time. This tells Windows to close the desktop.
Select Restart, then OK.
6. Verify Network Connectivity
Some software requires you to be connected to the Internet to install correctly. The easy way to check this is to open a web browser, such as Edge, and make sure you can bring up a web page, such as Google.
Open Edge, or another web browser you are familiar with.
At the top, type in google.com, and push the Enter key on your keyboard.
The simple Google homepage should open up.
If the Google Homepage does not come up, please see our guide on connecting your computer to your home network.
7. Install Software
Try to install your software again.
8. Check User Account Control
Windows 10 has 2 methods of protection for applications on your computer.
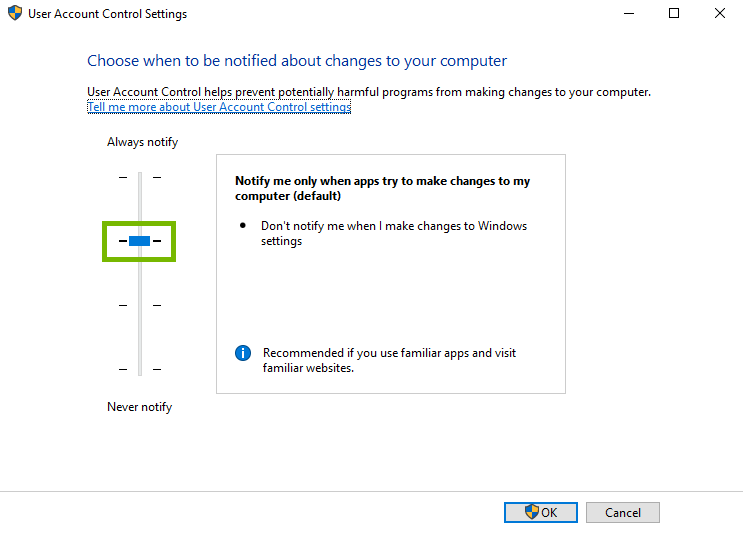
User Account Control
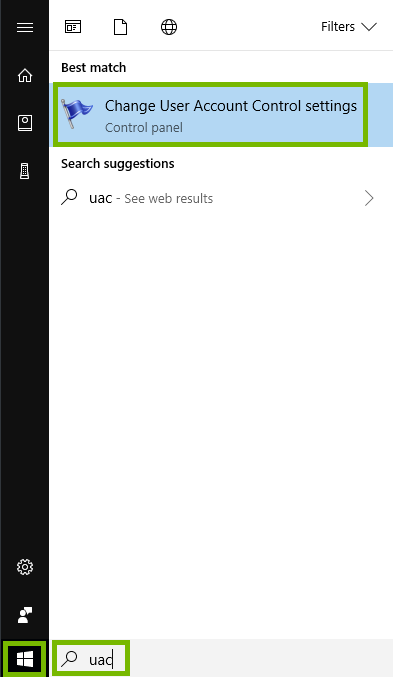
Choose the Start menu, and search for UAC. Choose Change User Account Control settings.
Make sure the slider on the left is set to medium-high.
This will prompt you, but not block you, when installing programs.
Windows Defender App Control
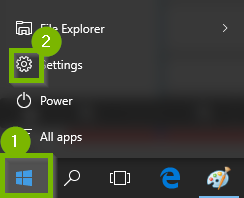
Open the Start Menu, and select the Settings icon.
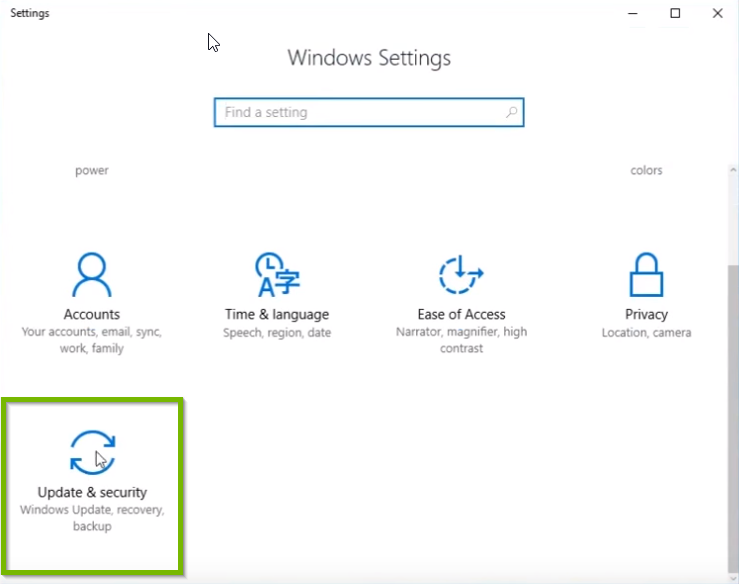
Scroll down and select Update & Security.
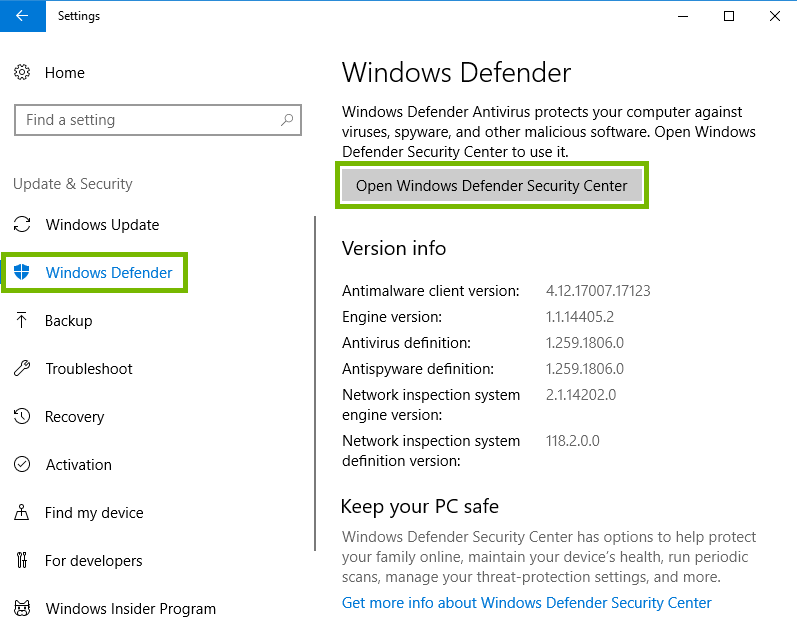
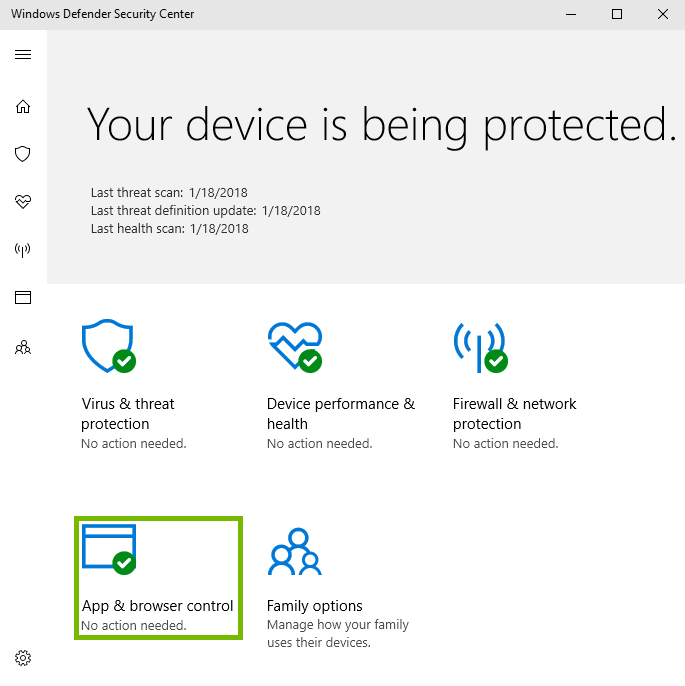
Choose Windows Defender on the left, then click the Open Windows Defender Security Center button on the right.
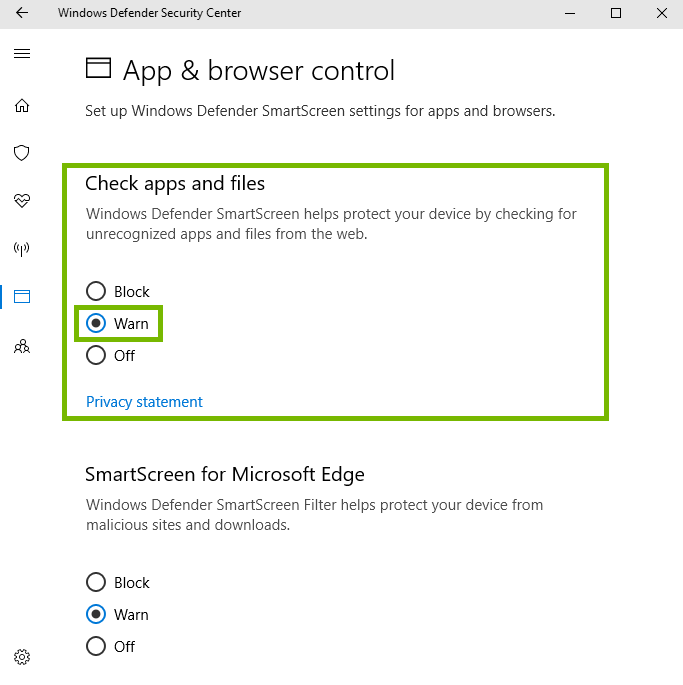
Choose App & browser control.
Under Check apps and files, place a dot next to Warn.
Again, this will warn, and not block you from installing programs.
9. Install Software
Try to install your software again.
10. Reboot Into Safe Mode
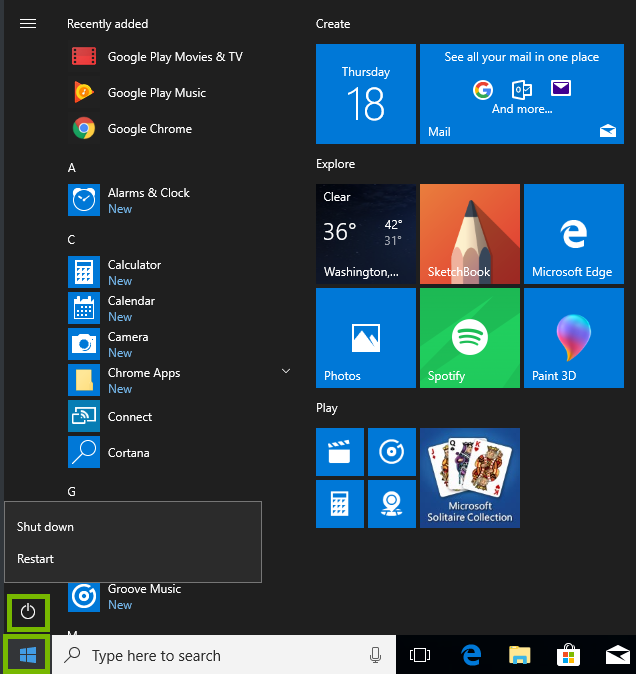
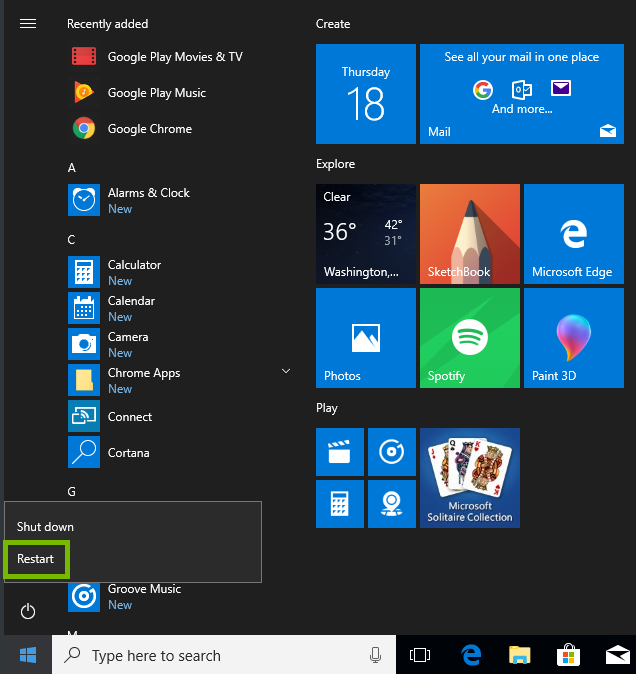
Select the Start menu, then select the Power icon.
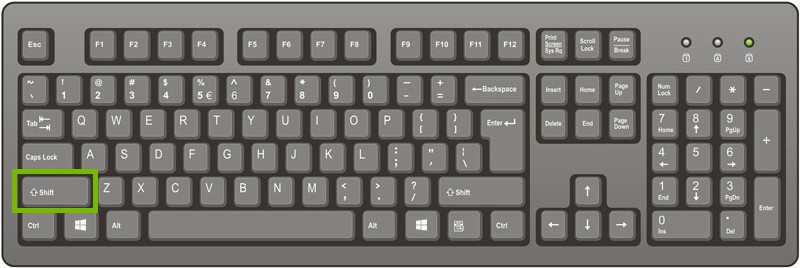
Hold down the Shift key on your keyboard, and keep it held down.
With the Shift key still held down, click on Restart.
Release the shift key on your keyboard.
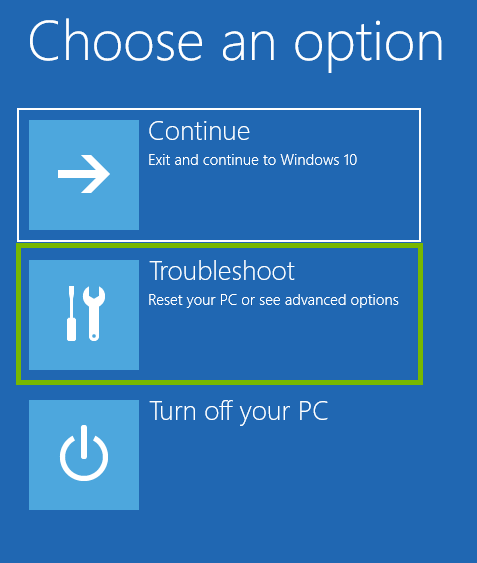
Choose Troubleshoot.
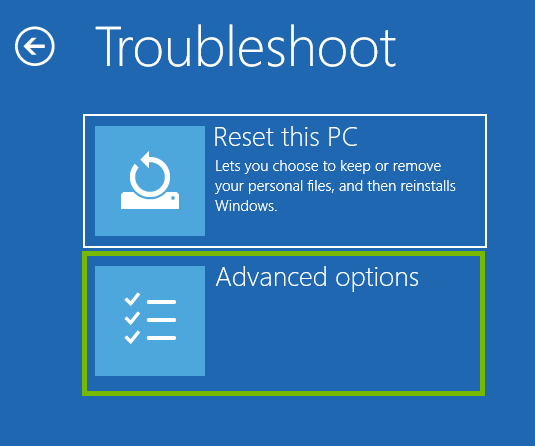
Choose Advanced options.
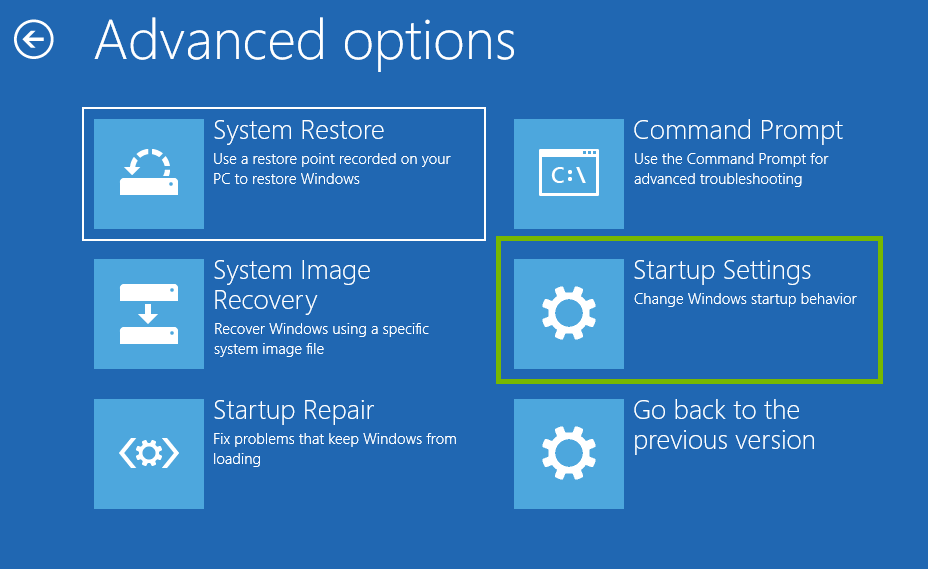
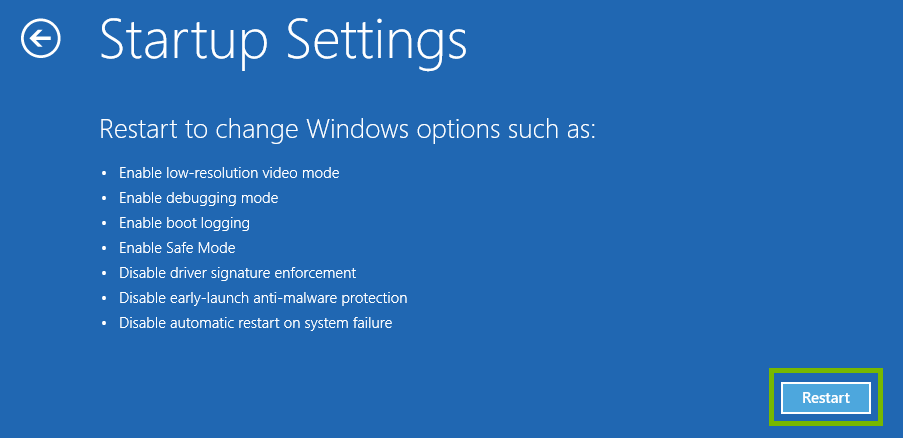
Choose Startup Settings.
Choose Restart.
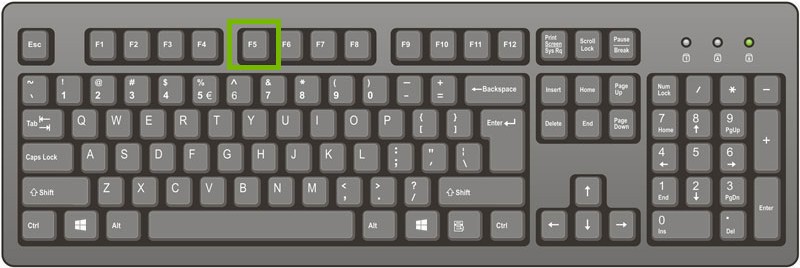
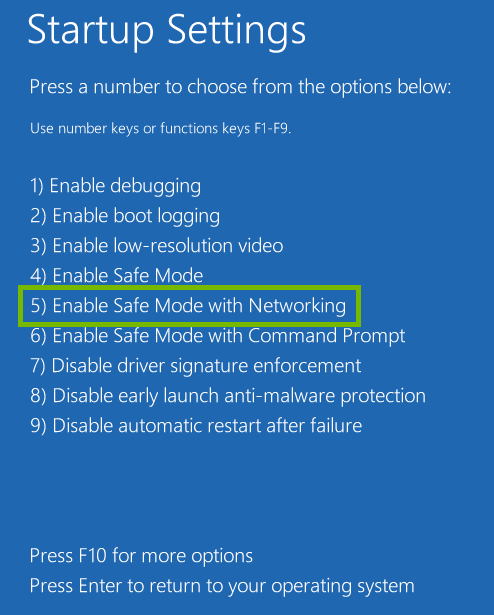
After your computer reboots, on the startup settings menu, push the F5 key on your keyboard for Enable Safe Mode with Networking.
Safe mode is a special diagnostic mode for Windows, designed to startup with very few items, to make sure nothing else can interfere with the task you're trying to perform.
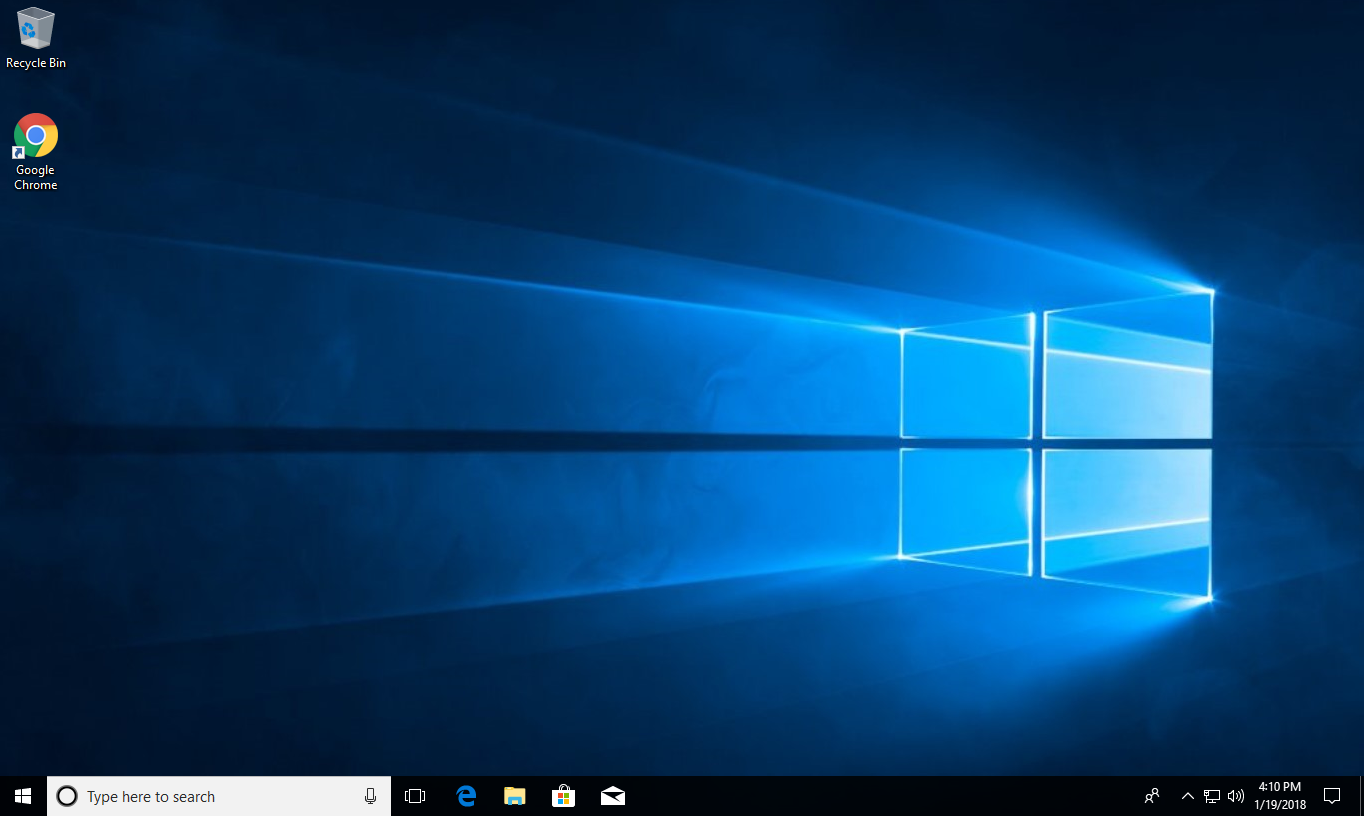
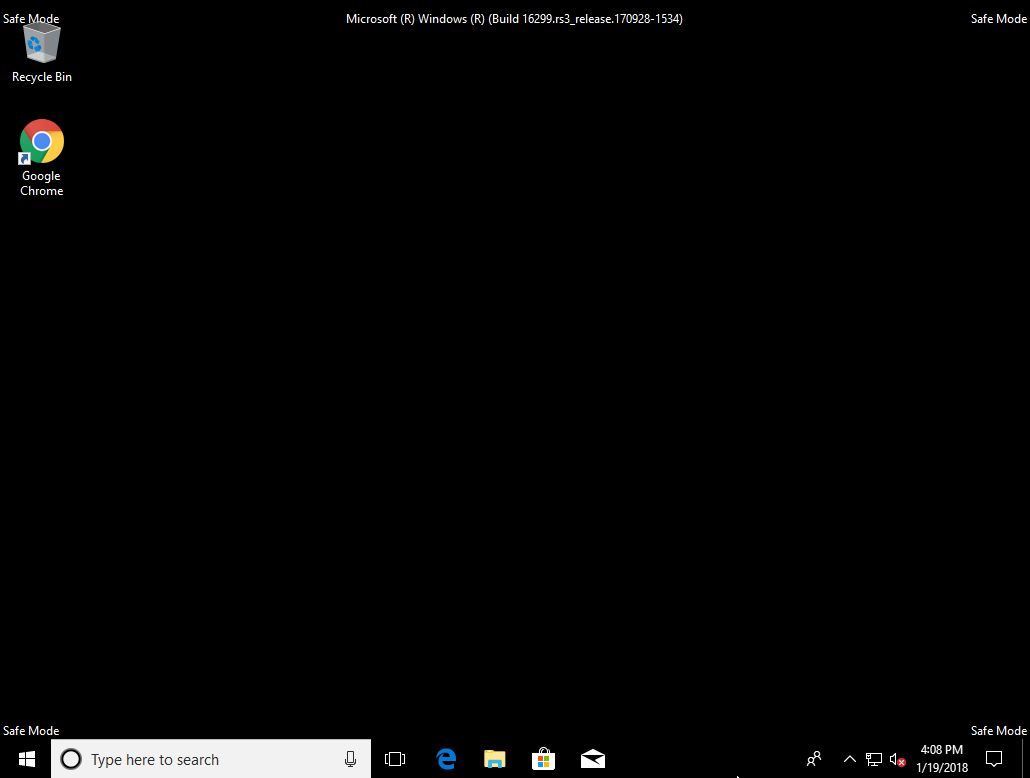
Windows may look different than you are used to, for example, the desktop background may be missing, the screen may look stretched or squished, and you should see the words Safe Mode in every corner. This is to let you know you are in safe mode.
Normal Mode ExampleSafe Mode Example
11. Install Software
Try to install your software again.
12. Restart Your PC
Before your restart or shut down your PC, make sure to save all necessary work to prevent data loss.
Using the Mouse
Select the Start menu.
By default it is in the lower left corner of your screen.
Select Power, then select Restart.
Using the Keyboard
Press the Windows and X keys at the same time. This minimizes any open windows you may have.
Press the Alt and F4 keys at the same time. This tells Windows to close the desktop.
Select Restart, then OK.
13. Create Test Profile
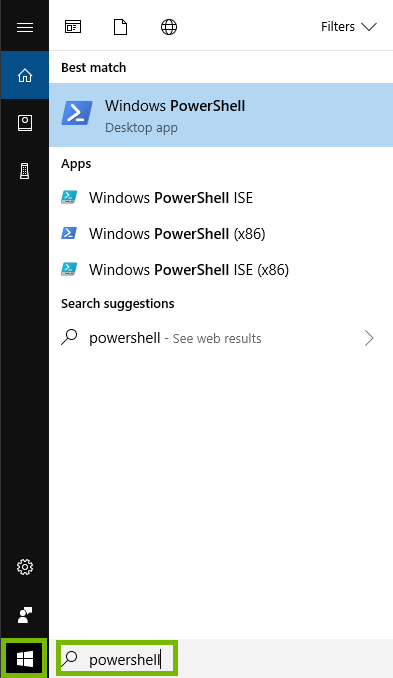
Choose the Start menu, and type PowerShell into the search.
Using your right mouse button, right click on PowerShell in the list above. A special menu will open. Choose Run as Administrator.
Windows may ask if PowerShell may make changes. If it does, click Yes.
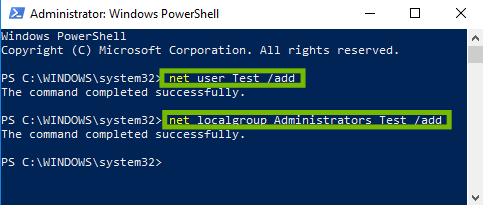
Enter the following 2 commands, push enter at the end of each: net user Test /add net localgroup Administrators Test /add
14. Restart Your PC
Before your restart or shut down your PC, make sure to save all necessary work to prevent data loss.
Using the Mouse
Select the Start menu.
By default it is in the lower left corner of your screen.
Select Power, then select Restart.
Using the Keyboard
Press the Windows and X keys at the same time. This minimizes any open windows you may have.
Press the Alt and F4 keys at the same time. This tells Windows to close the desktop.
Select Restart, then OK.
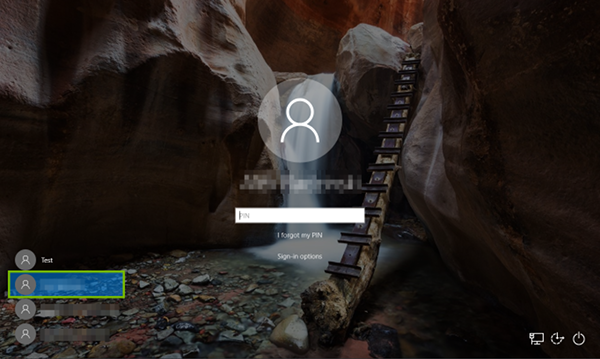
15. Log Into Test Profile
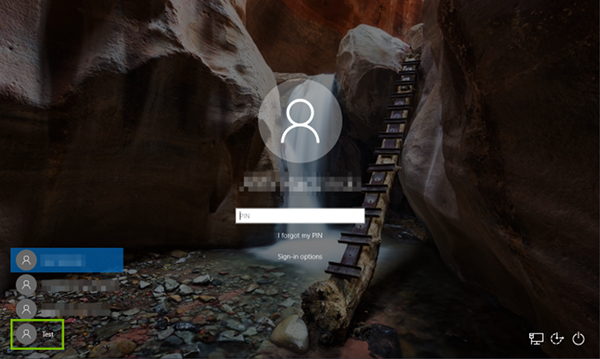
On the login screen, you'll be given options to choose which profile you'd like to log in with. Click on Test in the bottom-left corner.
16. Install Software
Try to install your software again.
17. Delete Test Profile
Click the Start menu, choose Profiles, then choose Sign out.
Choose your normal profile from the list in the bottom-left, and sign in as you normally do.
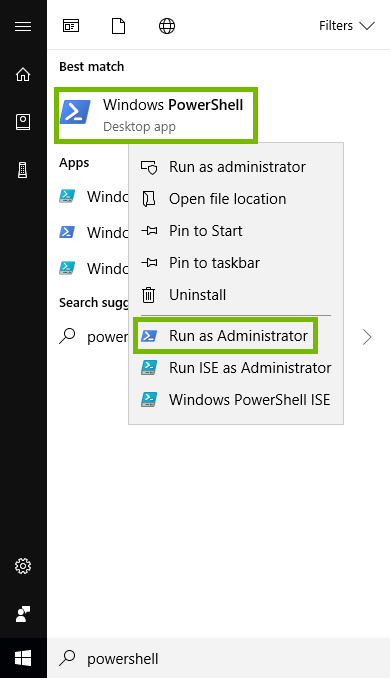
Choose the Start menu, and type PowerShell into the search.
Using your right mouse button, right click on PowerShell in the list above. A special menu will open. Choose Run as Administrator.
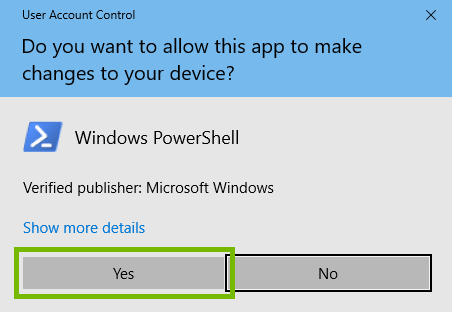
Windows will ask if PowerShell may make changes, click Yes.
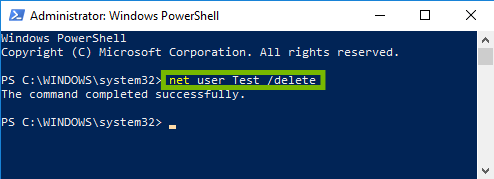
Type in the following command, then press enter: net user Test /delete
18. Delete Test Profile
Click the Start menu, choose Profiles, then choose Sign out.
Choose your normal profile from the list in the bottom-left, and sign in as you normally do.
Choose the Start menu, and type PowerShell into the search.
Using your right mouse button, right click on PowerShell in the list above. A special menu will open. Choose Run as Administrator.
Windows will ask if PowerShell may make changes, click Yes.
Type in the following command, then press enter: net user Test /delete
.png)