.png)
Authored by: Support.com Tech Pro Team
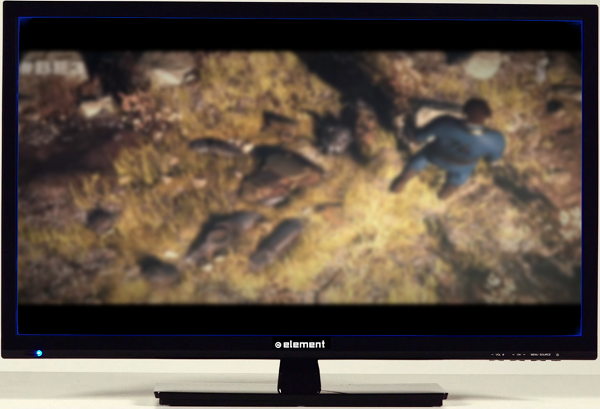
Some of the most common issues we experience with our televisions these days all relate to what we are seeing on the screen. If you are experiencing your Element Smart TV's picture cutting out, appearing blurry, or even losing audio at the same time, this guide will take you through steps to help resolve these types of issues.
The following guide will contain steps for both TV programming sources and External sources.
To better assist you, please answer this question.
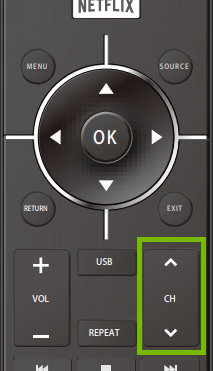
If you are trying to watch TV (whether it be over-the-air or via your cable / satellite provider), switch to another channel. The channel you are tuned into may be having broadcast difficulties.
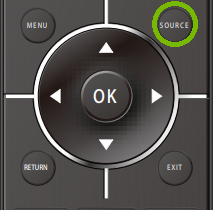
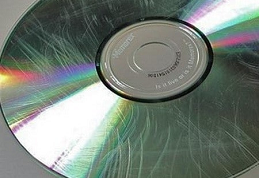
If you are watching a DVD or Blu-ray, try another disc. If you don't have access to another disc, try a different external source connected to your TV, such as a cable box or video game console.
If the TV is connected to an indoor antenna, try to adjust or re-position the antenna until you get stronger signal strength.
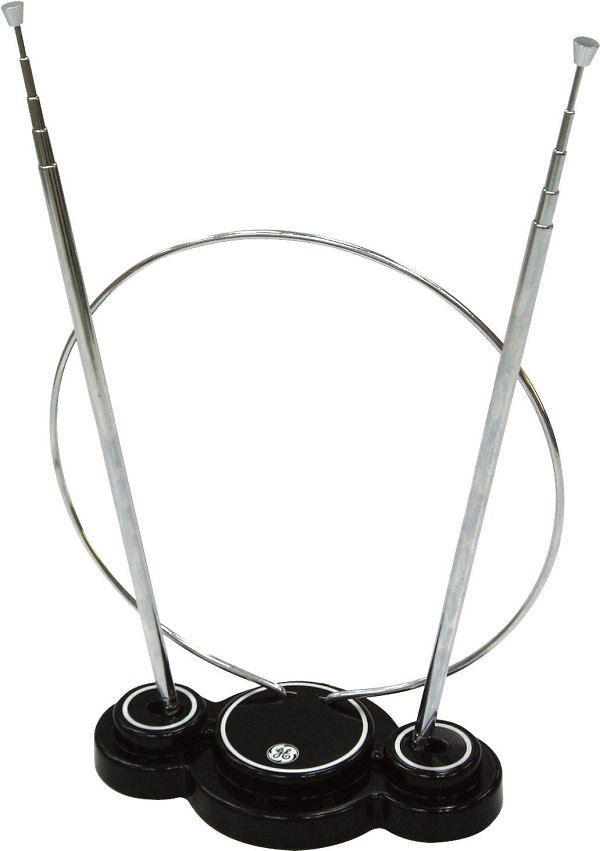
If the TV is connected to an indoor antenna, try to adjust or re-position the antenna until you get stronger signal strength.
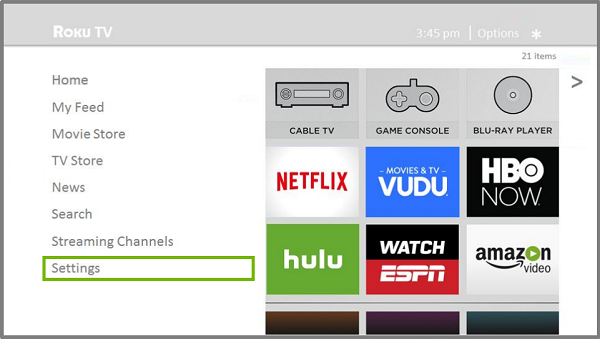
The menu systems depicted here may vary depending on the model of Element Smart TV you are working with. The process for removing channels should still be the same.

If you haven't already, please try power cycling the device you're working with. To do so, simply turn it off, wait 30 seconds and turn it back on again.
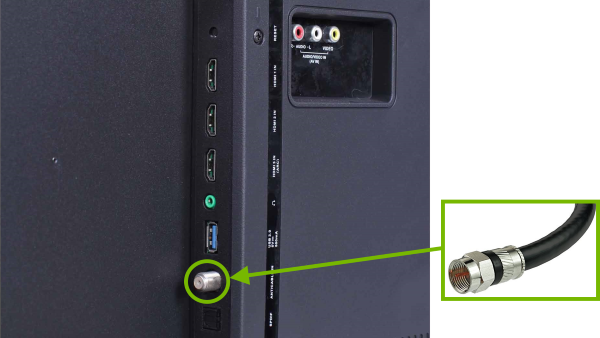
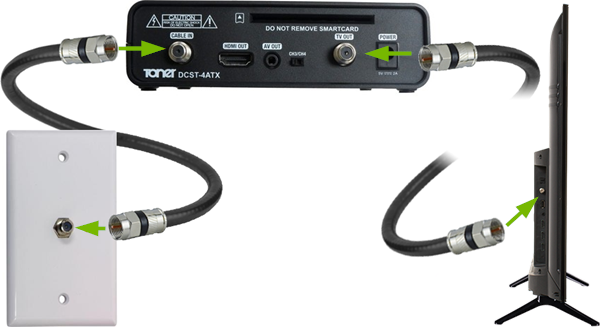
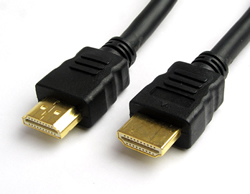
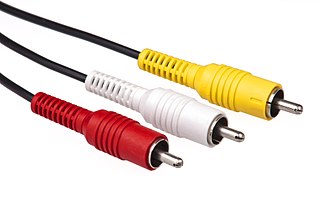
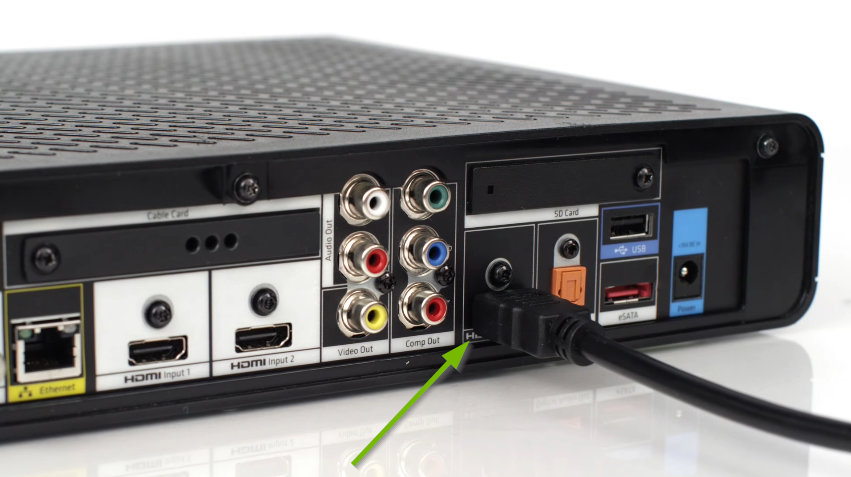
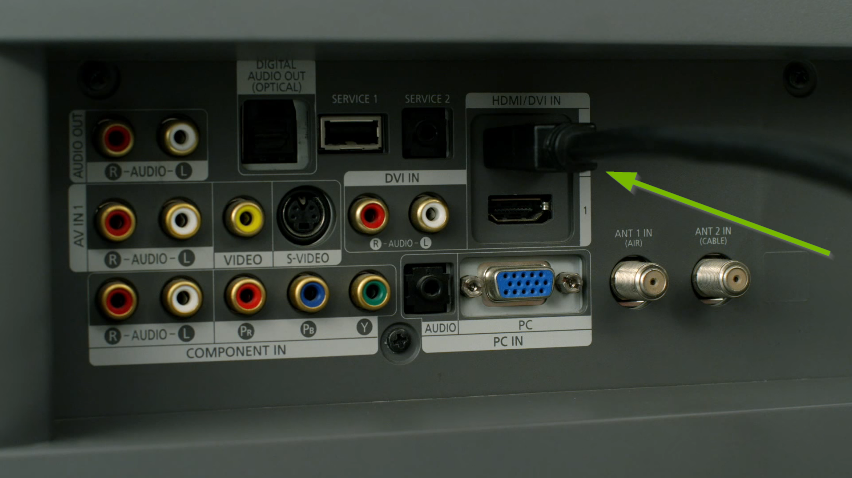
Identifying what kind of cable connects the box you wish to be seeing on the screen (cable box, DVD player, etc.) of your TV is very important. This will help make absolutely sure that the correct input settings are being used and that there is not a loose or bad connection with the cables being used. The kinds of cables being used and where they are connected will be different in every home theater setup.


If you are trying to watch TV (whether it be over-the-air or via your cable / satellite provider), switch to another channel. The channel you are tuned into may be having broadcast difficulties.
If you are watching a DVD or Blu-ray, try another disc. If you don't have access to another disc, try a different external source connected to your TV, such as a cable box or video game console.
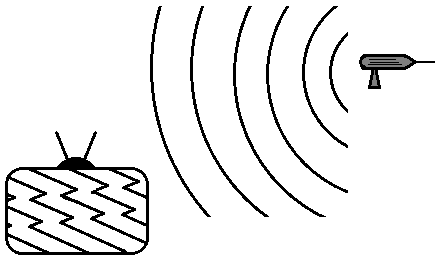
Sometimes image quality can be affected by local interference, such as an electrical appliance or power tools. Appliances like microwaves, refrigerators, freezers, or power tools like drills and saws can cause interference even while not running.
Based on our results, it is possible that the video source you are using is malfunctioning, or the media or disc you are using could be damaged or defective.
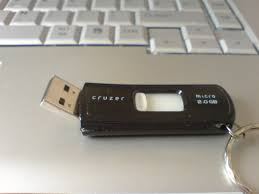
If the physical media or device you are attempting to use with your external source does not appear to be damaged, the external source itself may actually be malfunctioning.

Support.com is committed to your privacy
We do not share or sell your data to third parties. We do use cookies and other third-party technologies to improve our site and services. The California Consumer Privacy Act (CCPA) gives you the ability to opt out of the use of cookies, third-party technologies and/or the future sale of your data. Do not sell my personal information.

Support.com is committed to your privacy
Read our Privacy Policy for a clear explanation of how we collect, use, disclose and store your information
