How to Fix Video Issues on a Microsoft Surface Pro
Authored by: Support.com Tech Pro Team
1. Introduction
This guide will assist you in resolving common video issues you may experience with your Surface Pro tablet.
These are the following known video issues you may encounter:
Screen is black
Screen dimming problem
2. Screen is black
Solution 1:
Press the power button.
Press and release the power button on your Surface.
Wait several seconds.
Check to see if your Surface has turned on.
Solution 2: Use hotkeys to wake the Surface
Using your keyboard, simultaneously press the Windows logo key + Ctrl + Shift + B.
If you are in tablet mode, simultaneously press both the volume-up and volume-down buttons three times.
3. What's next?
4. Adjusting your screen resolution
To adjust your Screen resolution for Surface Pro
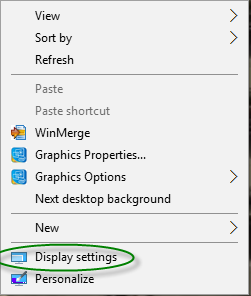
Right-click on your desktop and select Display Settings.
Under Scale and Layout you'll find an option for Change the size of text, apps and other items. Make sure it's set to 100%.
Also beneath Scale and Layout is Resolution.
Below shows the default resolution of the Surface 3, Surface 3 Pro and Surface 4 and then recommended display setting that make TM2 more comfortable to use on the 12 inch screen.Microsoft Surface 3Microsoft Surface 3 ProMicrosoft Surface 4 Pro3:2 Aspect Ratio3:2 Aspect Ratio3:2 Aspect RatioDefault Resolution 1920 x 1280Default Resolution 2160 x 1440Default Resolution 2736 x 1834Recommended Font Scaling 100%Recommended Font Scaling 100%Recommended Font Scaling 100%Recommended Resolution 1440 x 900Recommended Resolution 1440 x 900Recommended Resolution 1440 x 900
Once you've chosen your desired Resolution, a pop up box will ask you whether you want to keep it. Click Keep Changes to update to your new resolution or revert to go back to your old one.
5. Screen dimming problem
Within the Windows 10 search box, type 'power options', and click or tap Power Options within the search results.
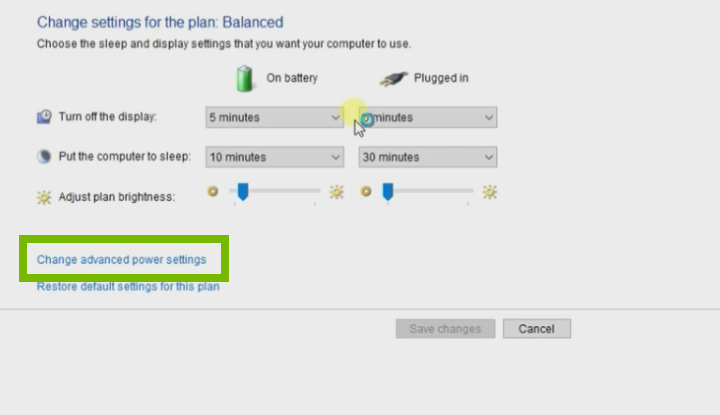
A list of available power plans will be displayed. To the right of the currently selected power plan, click or tap Change plan settings.
Within the change settings screen, click or tap Change advanced power settings.
Within the Power Options window, locate the Display header and click the + to expand it and reveal additional options. One of those options is Enable adaptive brightness. Click the + next to it to reveal its additional options.
Beneath Enable adaptive brightness, ensure that both ‘On battery‘ and ‘Plugged in‘ are set to Off.
.png)