How to Fix Video Issues on a Westinghouse Smart TV
Authored by: Support.com Tech Pro Team
1. Introduction
Video display problems can be quite frustrating, but this guide will walk you through some basic steps to correct those problems on your Westinghouse Smart TV.
2. How to Configure Aspect Ratio for Westinghouse Smart TV
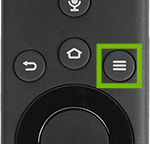
While watching a movie or television show, push the Menu button on your remote.
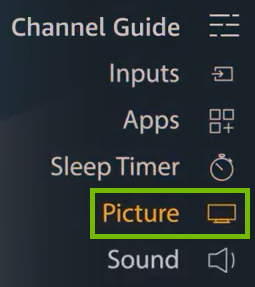
From the menu, select Picture.
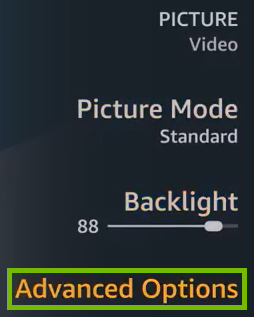
Select Advanced Options.
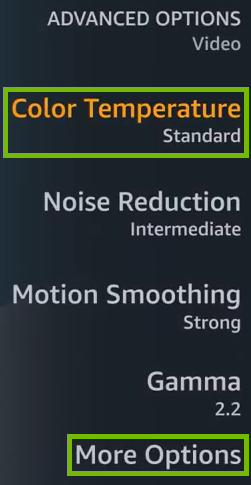
Select Color Temperature for preset, simple options. Select More Options to adjust each setting individually.
4. Content Delivery Check
To continue, we need to know what kind of content you're trying to watch.
5. Check Input Device
Sometimes, it's not a problem with your TV, but rather with the device sending pictures and sounds to your TV.
Try testing another device, first. For example, if you're watching cable, try switching to DVD or Blu-Ray, and play something there. If that works, it's most likely not a problem with your TV, but rather the device that's sending the programming your TV is showing.
Try turning your cable, DVD, or Blu-Ray player off, waiting a few moments, then turning it back on, and try again.
If one device works fine (say, your DVD or Blu-Ray player), but another does not (say, your cable box), it would be best to contact the provider of the device that isn't working.
6. Restart
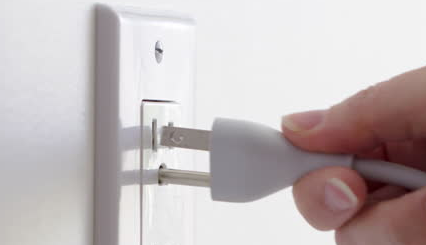
Turn it off by pressing the Power button on the unit itself or on the remote.
Then unplug it from the power outlet.
Wait for 10 seconds.
Plug it back in then turn the TV back on from the Power button.
7. What's next?
8. Check Internet Connection
Updates can only download and install automatically when your device has an active internet connection.
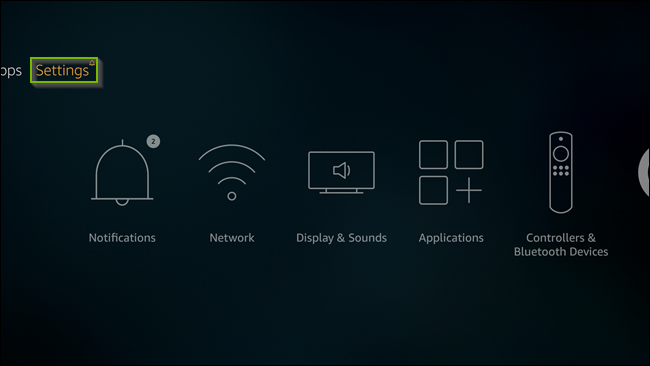
From the main screen:
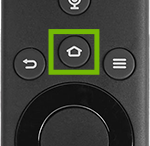
Select Settings
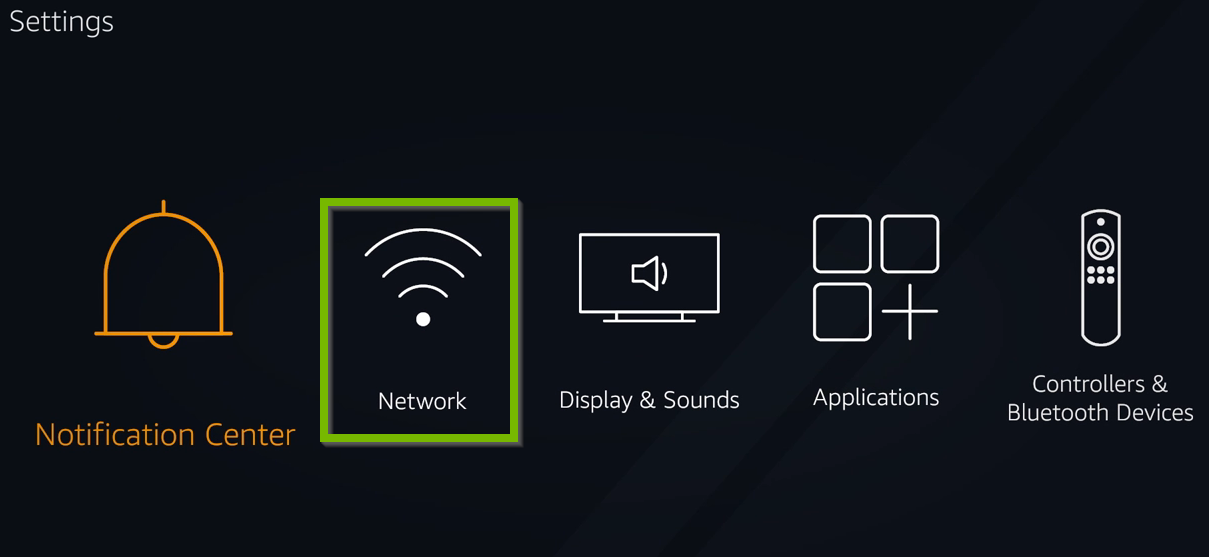
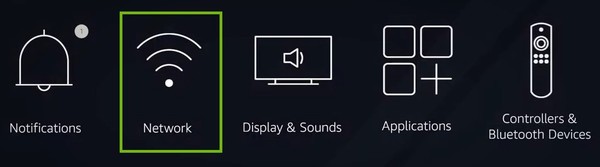
Select Network
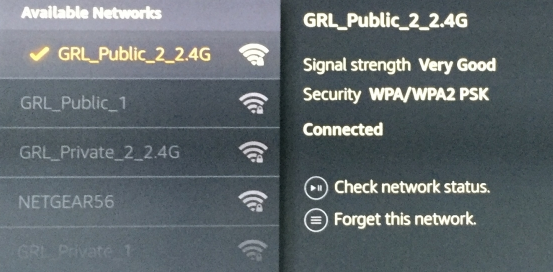
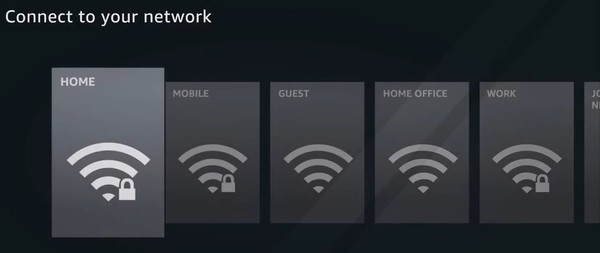
Your preferred Wi-Fi network should already be selected and shown with a check mark.
If you are not connected to any networks, select your preferred network from the list now.
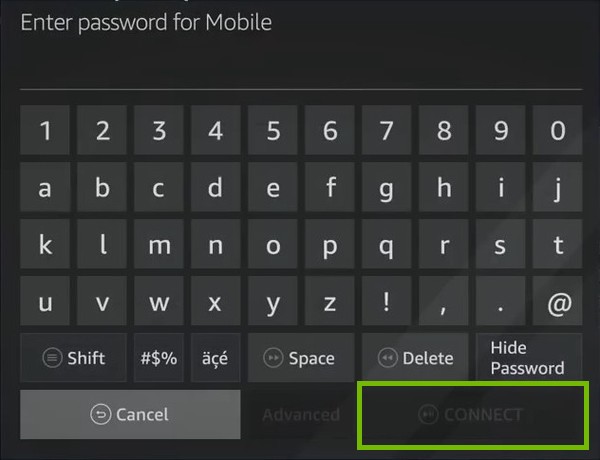
Enter your Wi-Fi network password, if needed.
You'll see a confirmation message on-screen when your device is successfully connected to your selected network.
Most Fire TV devices are only capable of connecting to Wi-Fi.
.png)