How to Get documents e-signed by others in Adobe's Acrobat Reader
Authored by: Support.com Tech Pro Team
1. Introduction
How to Get documents e-signed by others in Adobe's Acrobat Reader
2. Get documents e-signed by others
Open the PDF form in Acrobat or Acrobat Reader, and then choose Tools > Request E-signatures
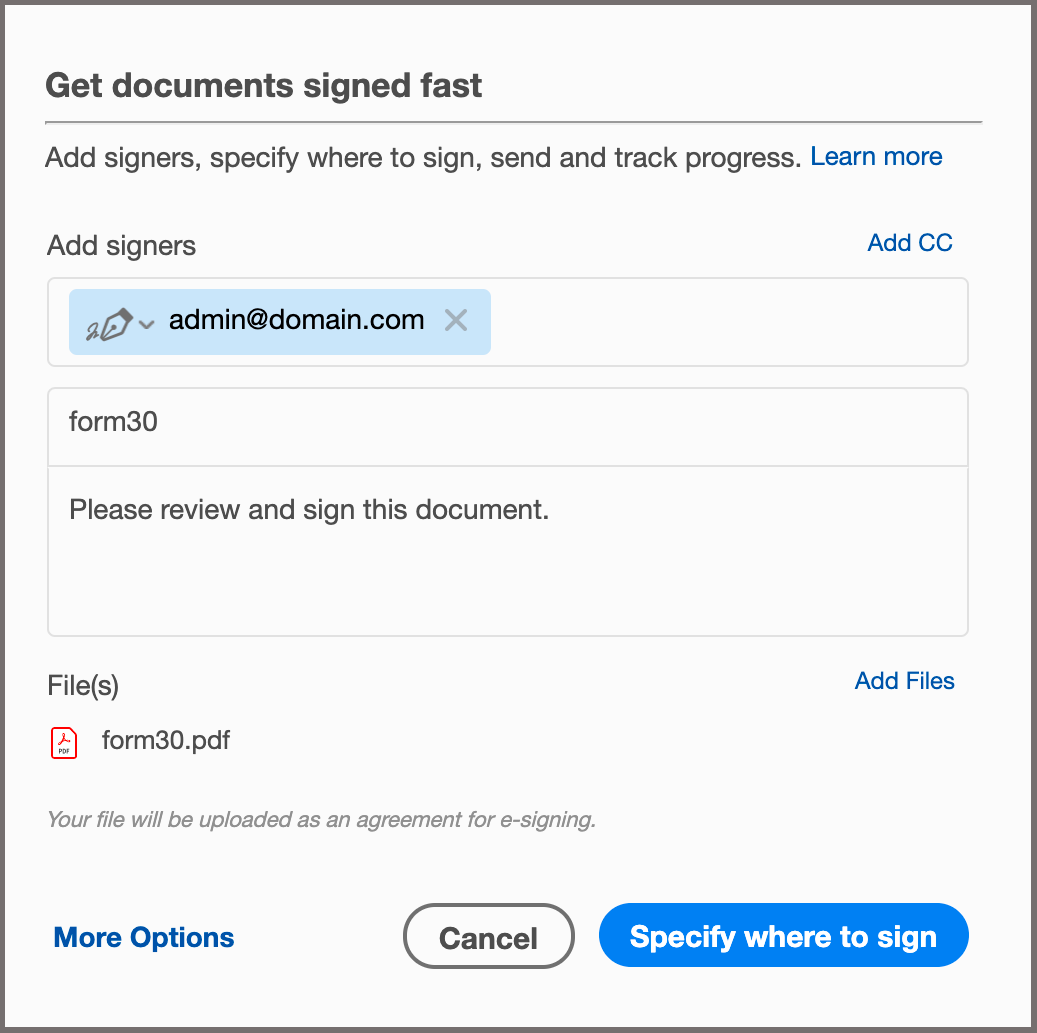
The Request Signatures window is displayed. Do the following:
In the Signers field, add recipient email addresses in the order you want the document to be signed.
Change the default text in the Subject &Message area as appropriate. Optional: If you want to add more people just for information, use the Add CC button to add their email addresses to the CC list.
If you want to add more documents, click Add Files and then browse and select the documents.
If you don't want to use the Advanced Options, skip the next optional step.
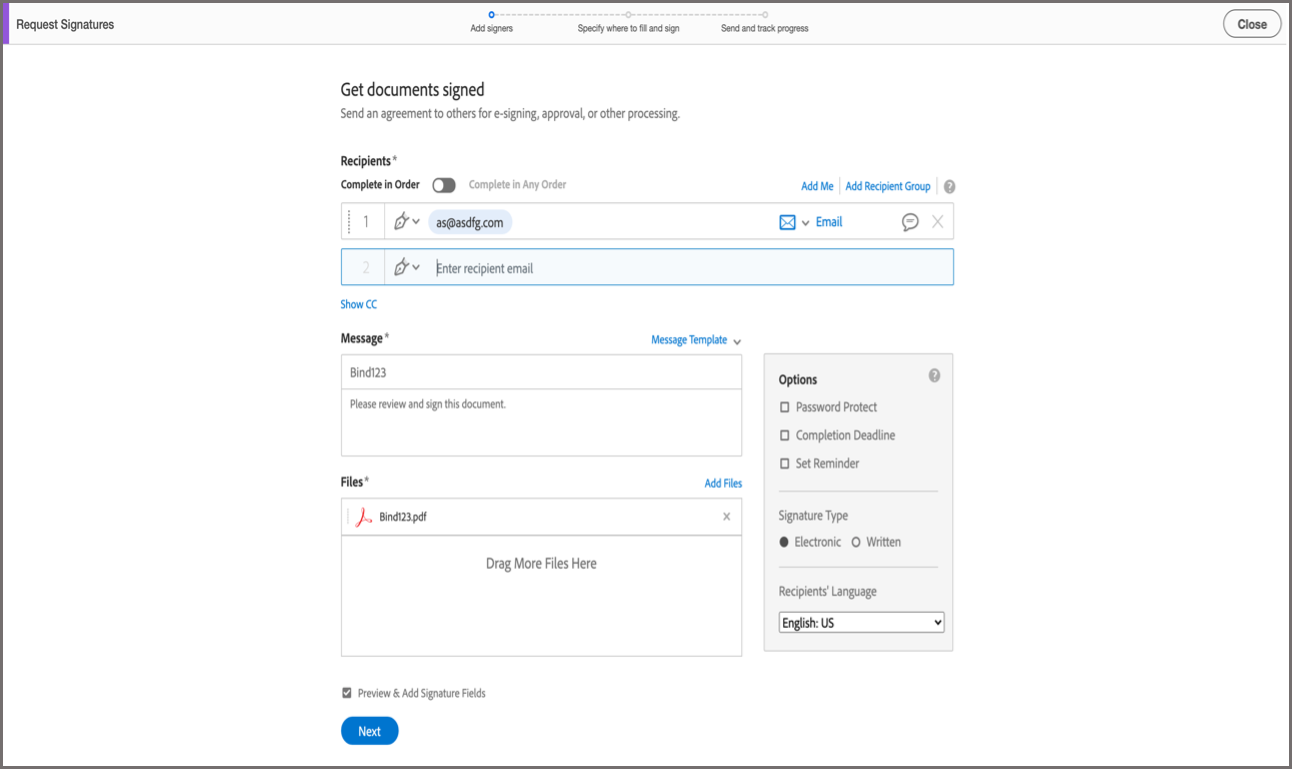
d. (Optional) Click More Options, if you want to specify advanced options, such as signer authentication, reminders, and more.
By default, the Complete in Order setting is turned on. The numbers by the email addresses reflect the participation order. If you do not want to follow any particular order for signing, toggle the switch to Complete In Any Order. (Optional) Click Add Me, if you want to be included as a signer of the document.
Specify authentication types like Email, Password, Knowledge-Based Authentication, or Phone.
Password Protect the PDF file.
Set a Completion Deadline.
Set a Reminder for the recipients to take action.
Specify the Recipient's Language in the email sent. (Available only with enterprise tier service.)
More or Advanced Options
Click Specify Where to Sign or Next.
The document is now ready for adding fields that you want the signers to fill in or sign.
If you have added multiple documents, the documents are converted into PDFs and combined into a single file. The combined file is opened for you to add appropriate fields
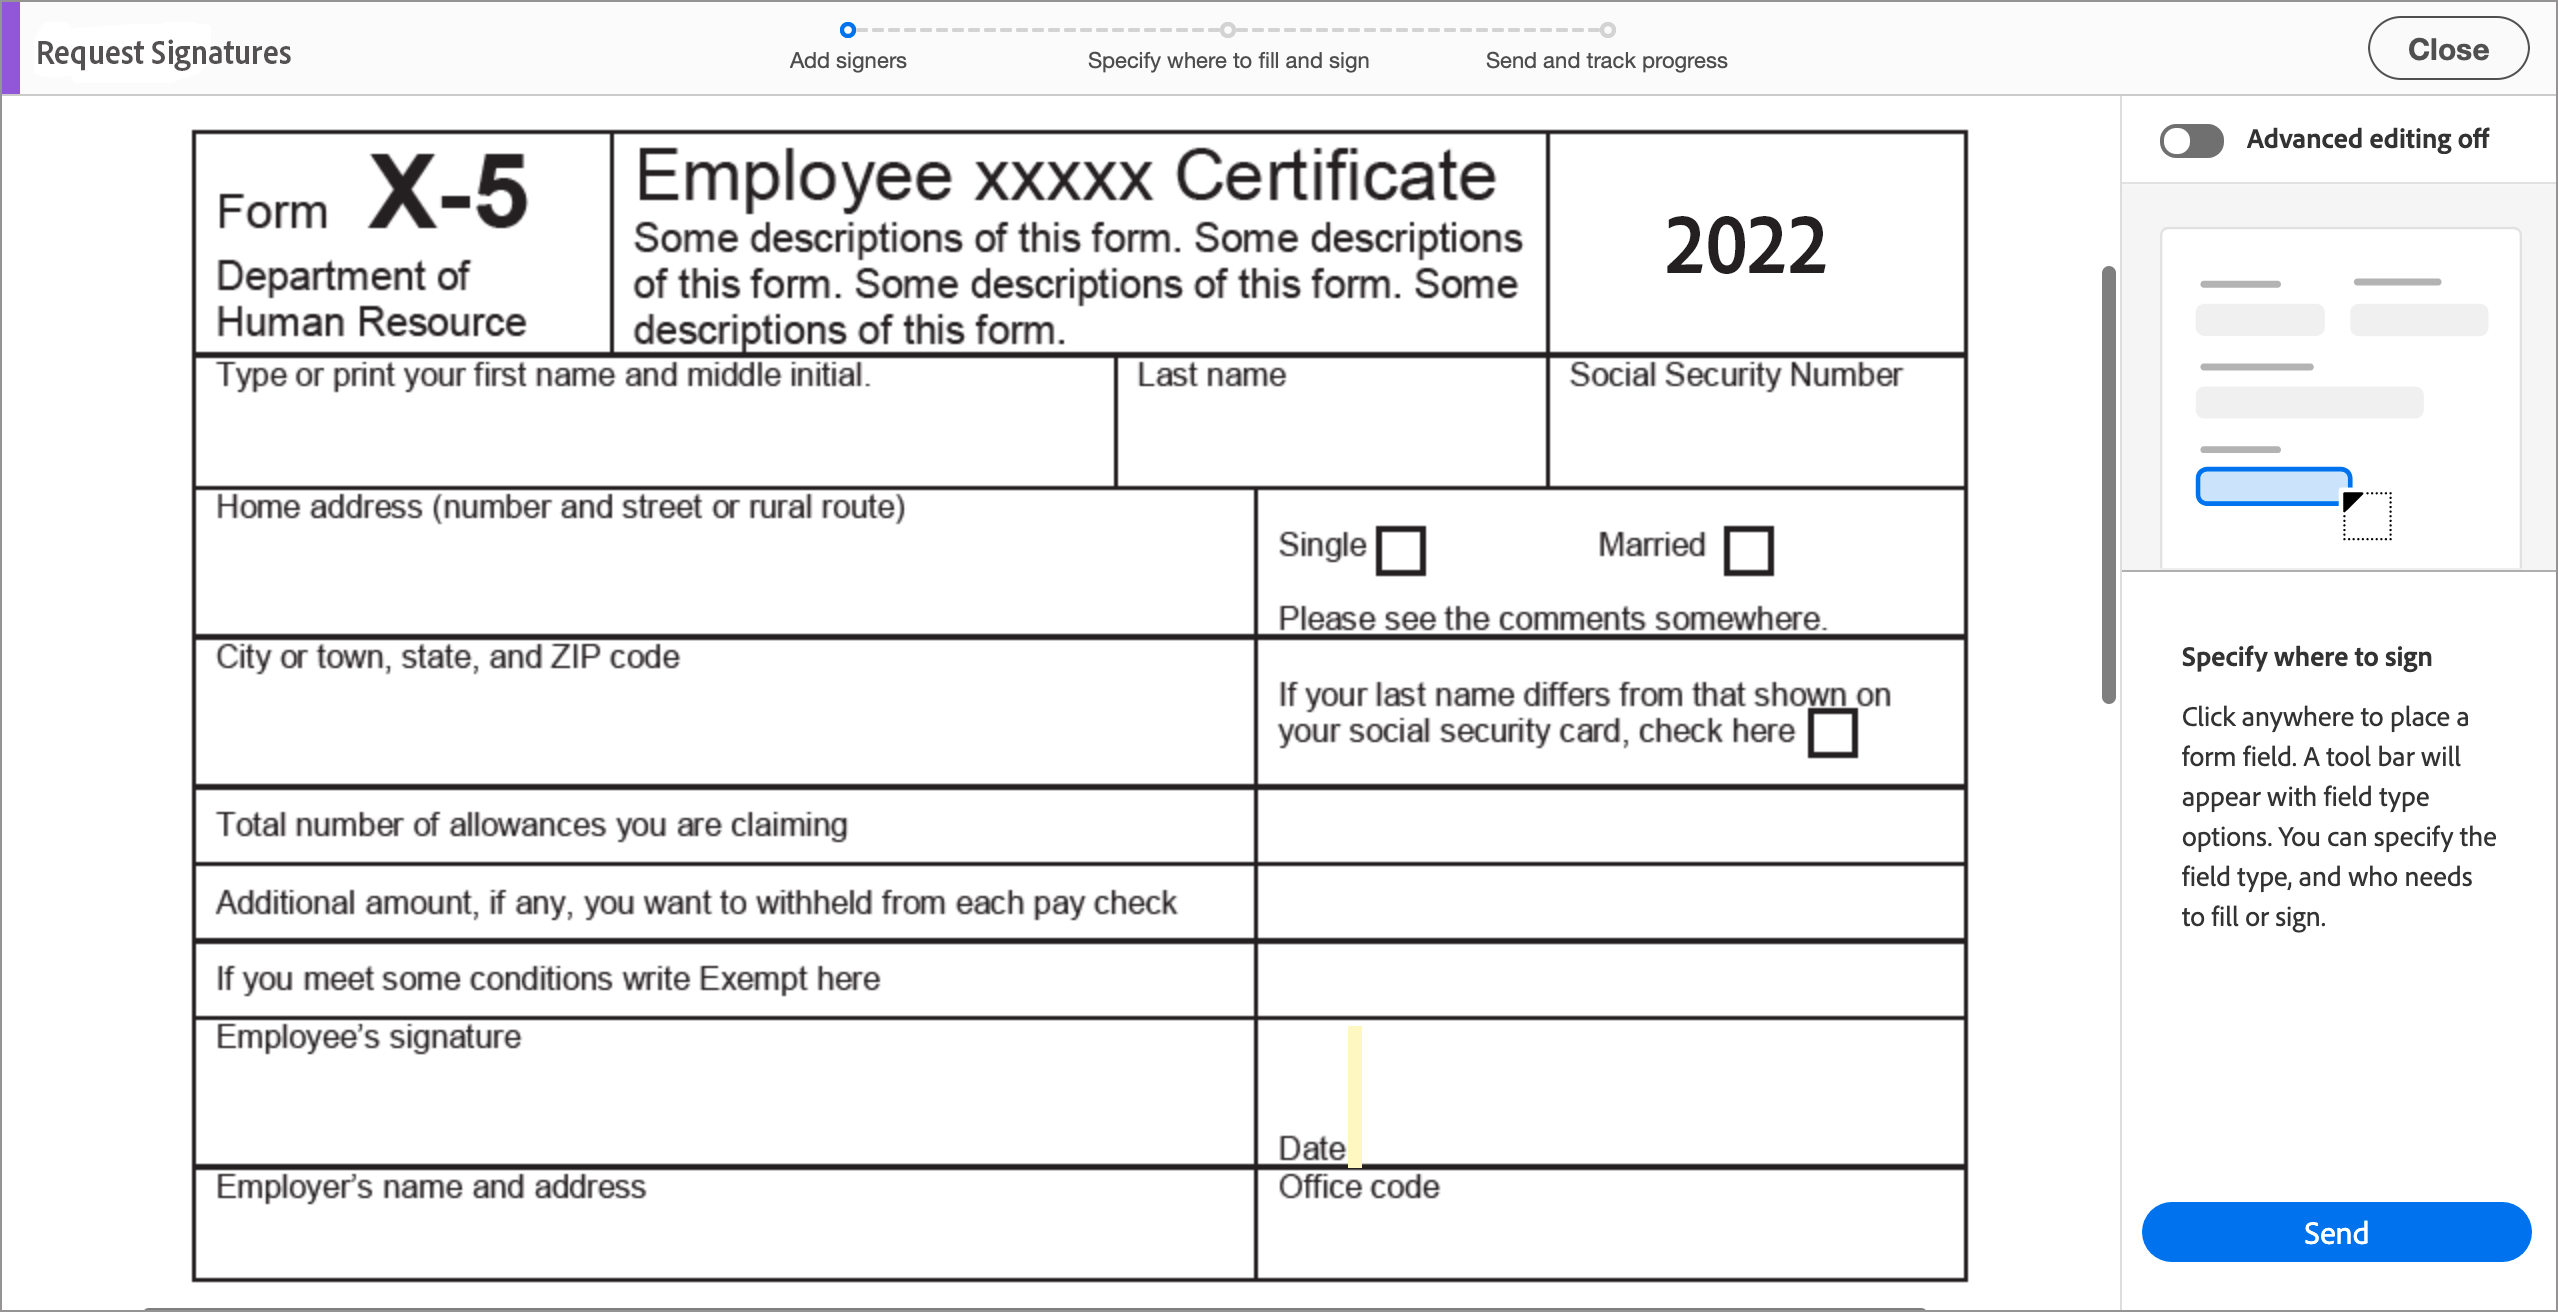
The Specify Where to Fill & Sign window showing options are based on whether you have added one signer or multiple signers.
Simplified mode for a single signer If you've added one signer, the Advanced Editing mode is off, and you see the simplified option as shown below. To place a signature or another field, click at the desired location in the document and set the field's properties from its context menu.
Simplified mode for multiple signers This mode provides simplified authoring with the capability of assigning fields to multiple signers. When you select a signer from the right pane and add fields in the form, the fields are assigned to the signer. That means those fields will be available to the signer for filling out the information and signing the form.
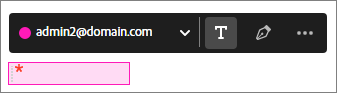
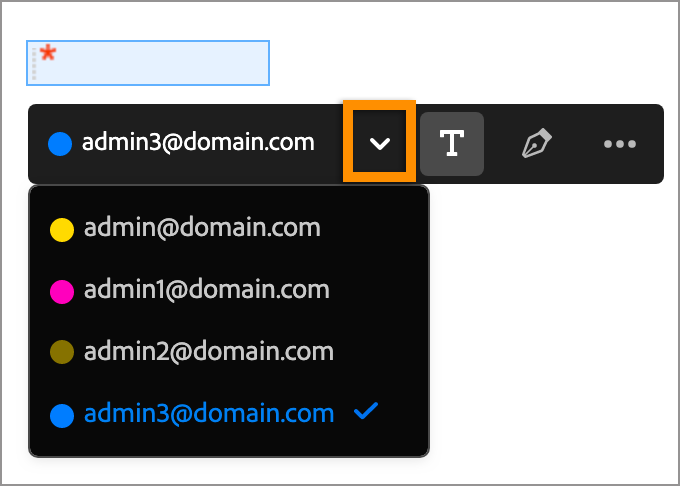
You can switch the assignee of any field using the floating toolbar. The assigned colors to the signers make it easy to distinguish the fields for respective signers.
Floating toolbar
Choose signer
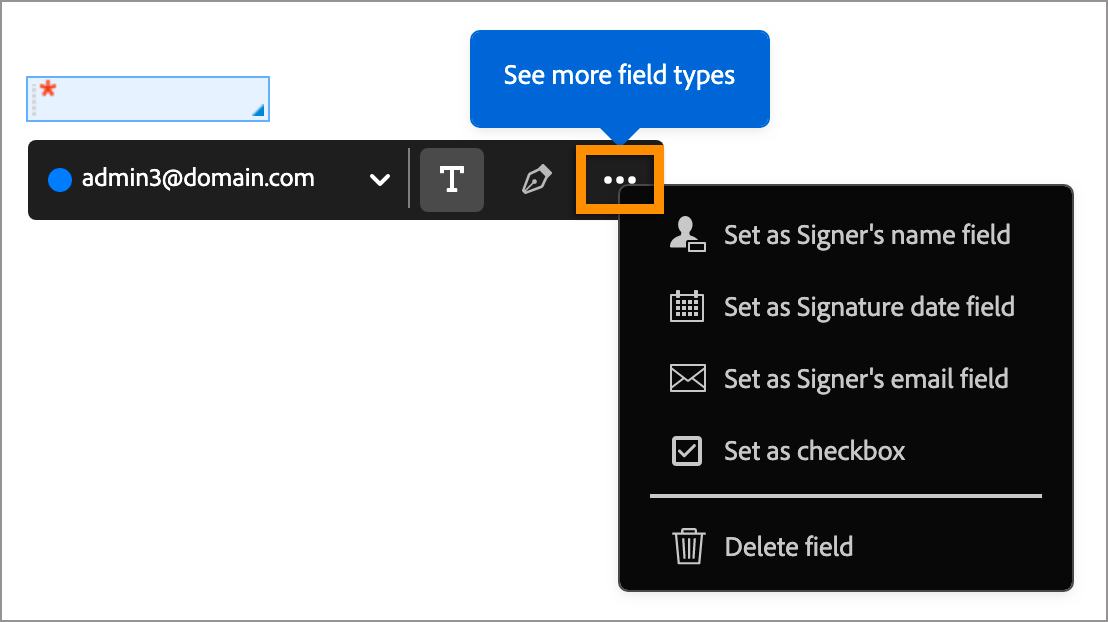
Choose the field type
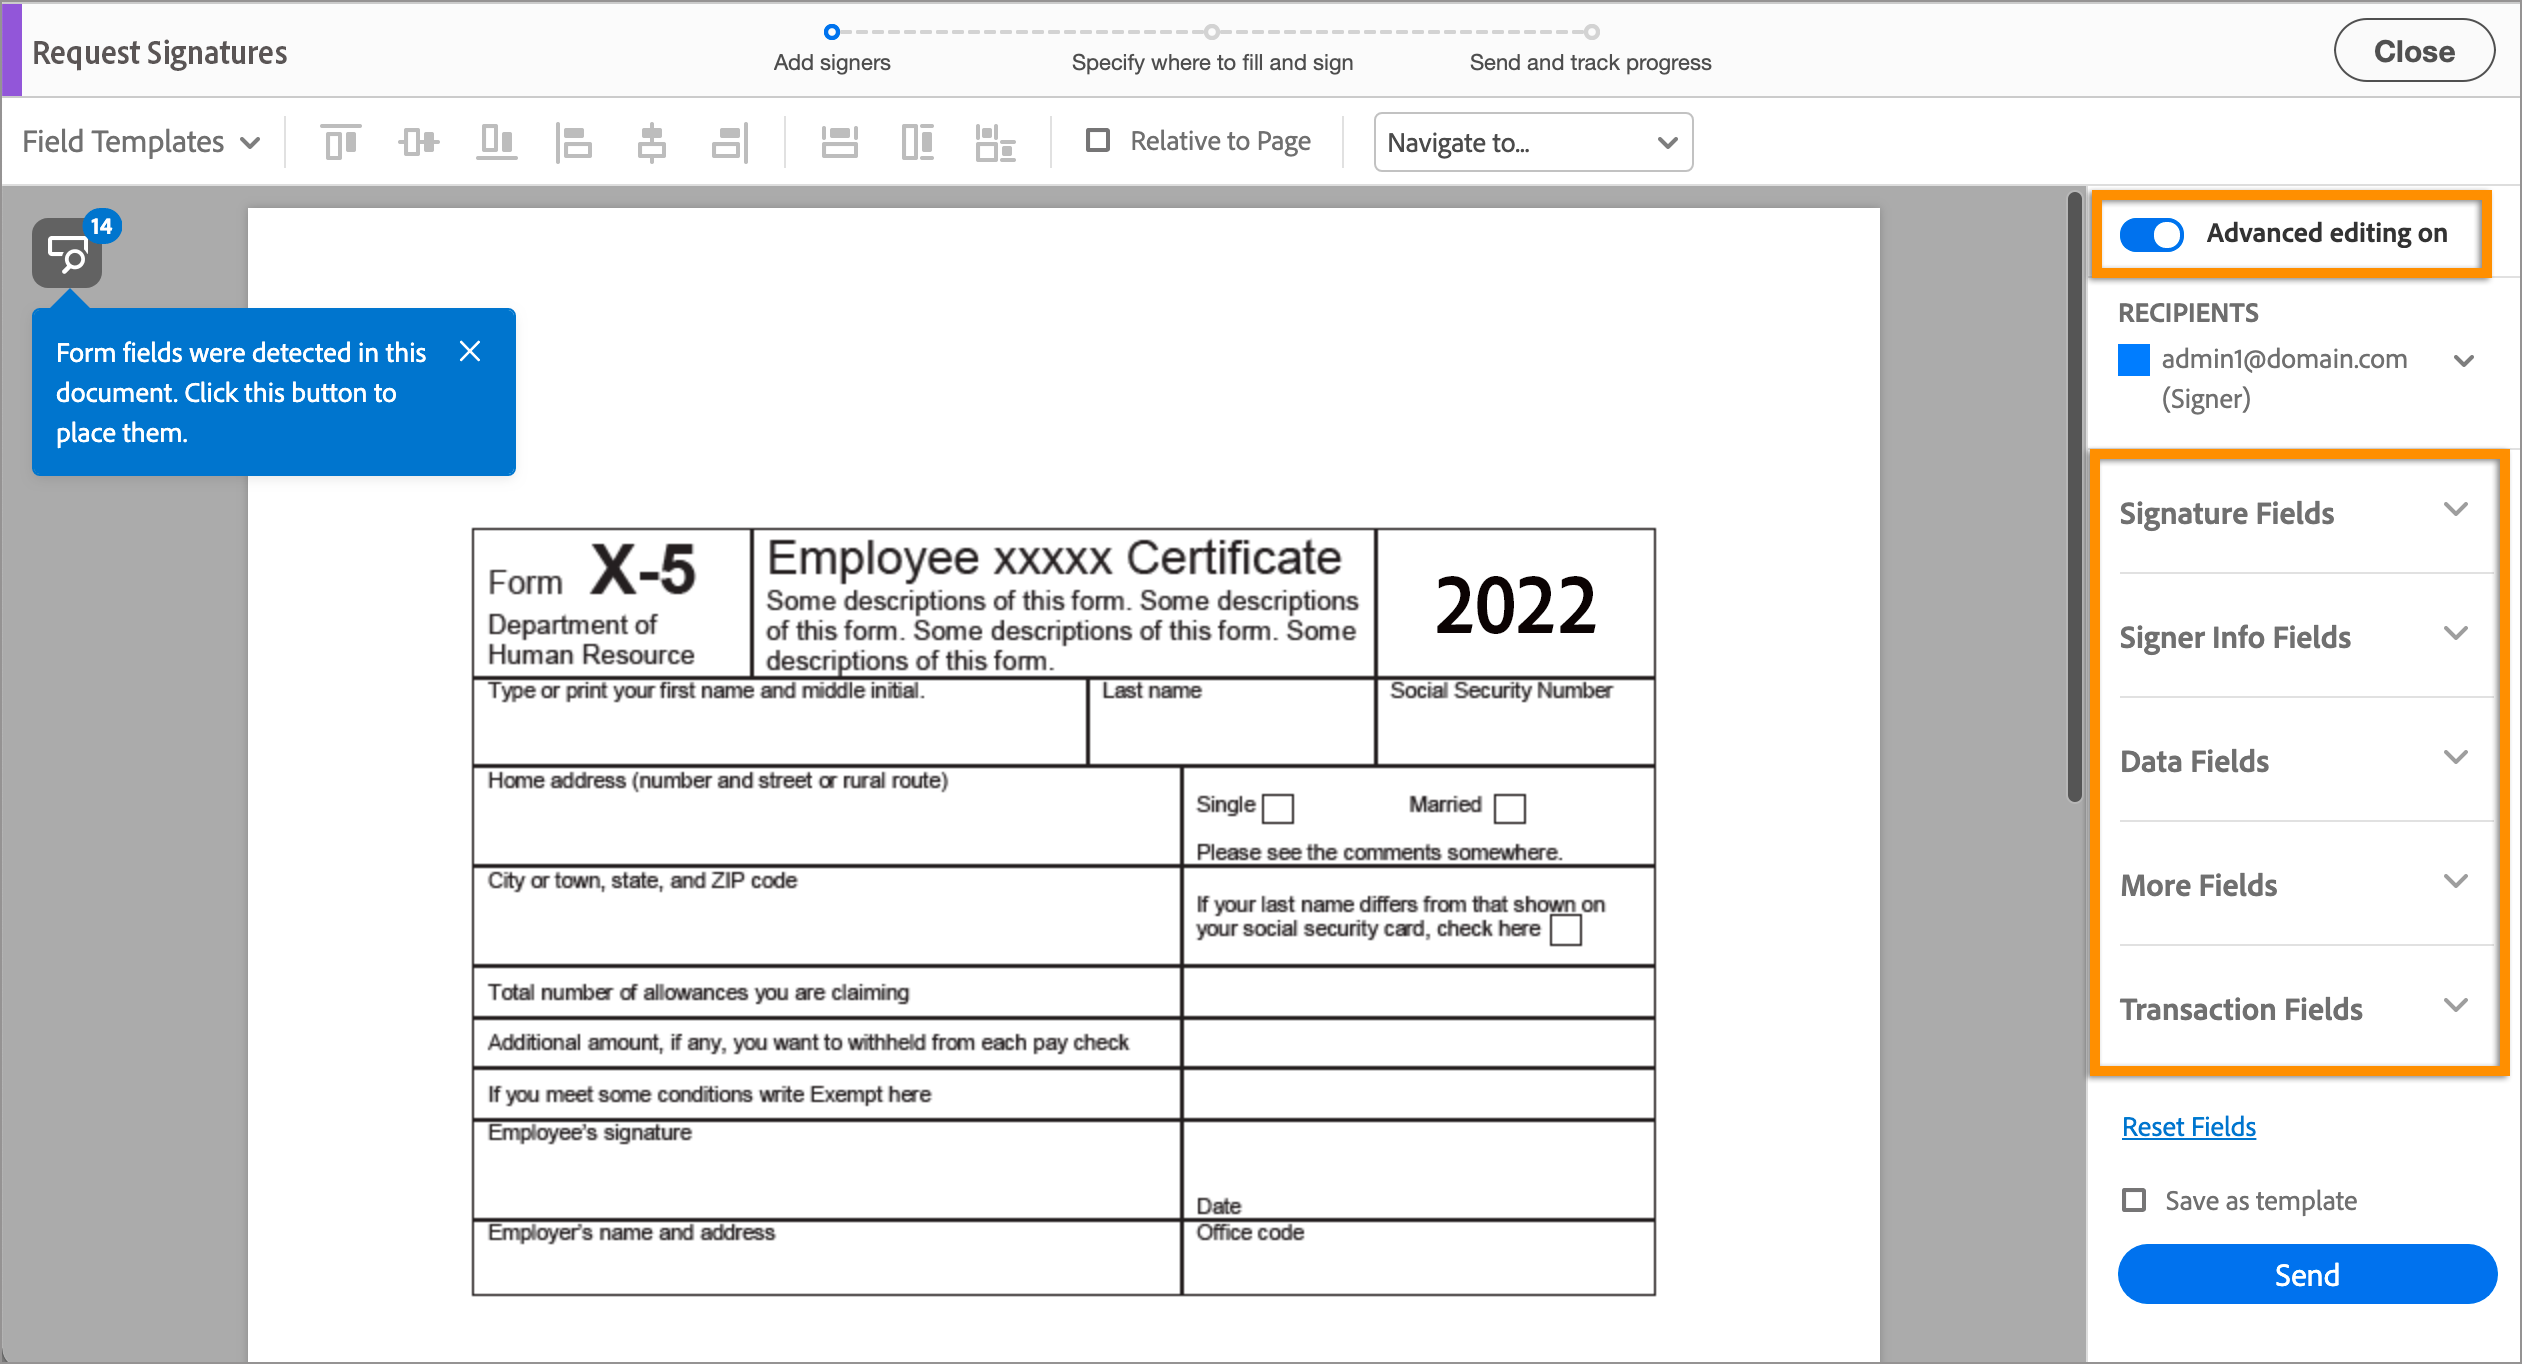
Advanced mode for multiple signers If you've added multiple signers, you see the options as shown below. Click the
button to place the detected form fields in the PDF document. Alternatively, drag fields from the tabs in the right pane and drop the fields where desired in the document.
You can switch between simplified mode and advanced mode for multiple signers. Change mode, turn off the Advanced Editing switch on the right-pane
When you've placed all desired fields in the document, click Send. The document is sent for signature to the recipients and a confirmation notice is displayed.
.png)