How to install the companion apps for your DJI drone:
The DJI GO 4 app for mobile devices,
The DJI Assistant 2 app for computers.
You'll Need:
A computer or mobile device with an internet connection.
2. Introduction
The DJI GO 4 app allows you to pilot your drone, control the gimbal, camera and other drone functions. It features drone configuration settings, as well as photo and video editing and sharing. This guide will assist you with installing the app onto your mobile device and activating the drone.
3. OS Choice
To continue, we need to know what Operating System your smartphone or tablet has.
There are 2 main Operating Systems for smartphones currently available, Android and iOS.
Android SmartphoneiOS SmartphoneAndroid smartphones are produced by multiple companies, such as Samsung, LG, Motorola, HTC, and OnePlus.Apple is the only company that makes iOS smartphones.
4. Check Wi-Fi
Depending on what device (Smartphone or Tablet) and which generation you have, the menu theme and options might look slightly different on your screen. However, the steps should be similar across all Android devices and generations.
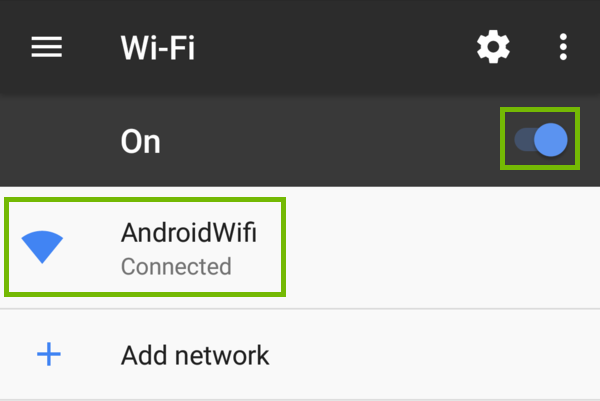
To check if your Android mobile device is connected to Wi-Fi:
Open Settings on your phone or tablet.
Select Wi-Fi.
Make sure Wi-Fi is turned On, then select the Wi-Fi network that says Connected under it.
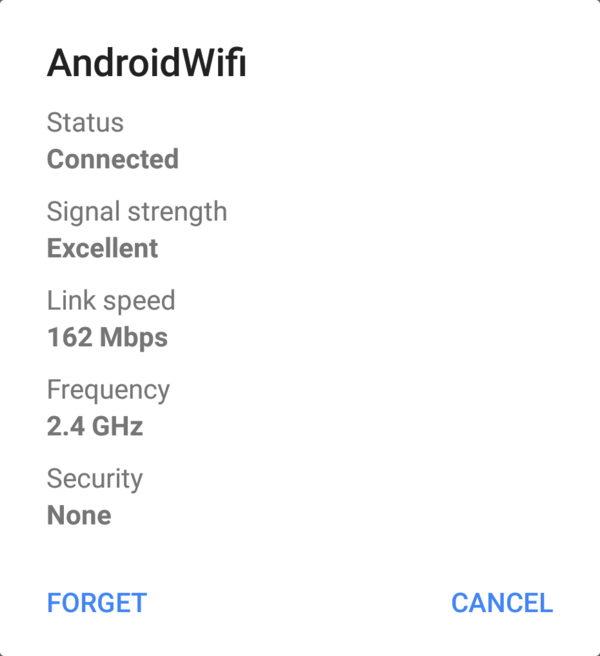
Here, you'll see the basics of your Wi-Fi connection, with the Wi-Fi network name at the top, and other information such as Signal Strength, Link Speed and the Frequency you're connected at and the Security type of the network.
More Details
To see more information about your connection, select Cancel.
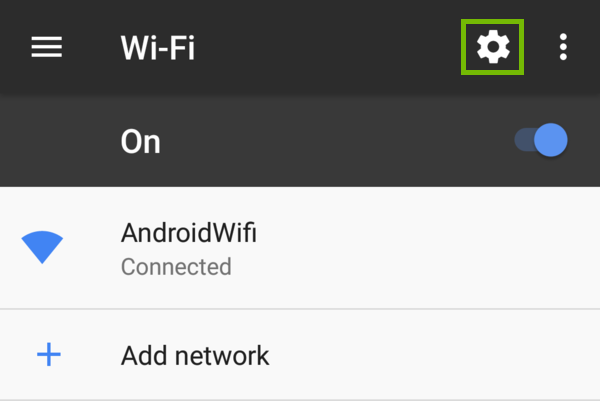
Select the Settings gear in the top right corner.
Here, you'll see a variety of information related to your connection at the bottom, such as the MAC (Media Access Control) address and IP addresses your Android device has been given.
5. Install App (Android)
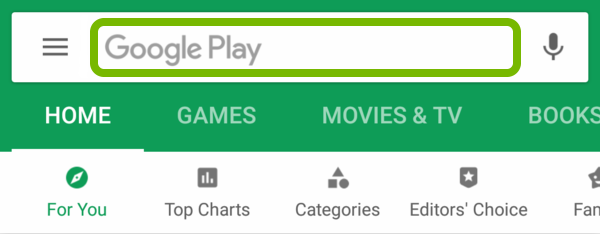
Launch the PlayStore app on your Android device.
Tap in the search box at the top of the screen.
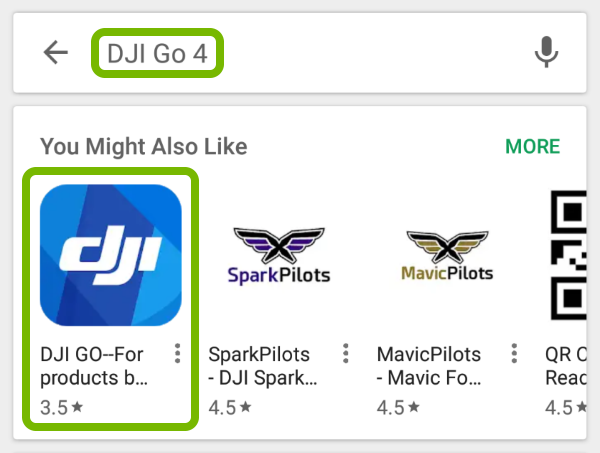
Search for "DJI GO 4" and tap on the found app.
Tap Install and then Open to use it.
6. First Launch
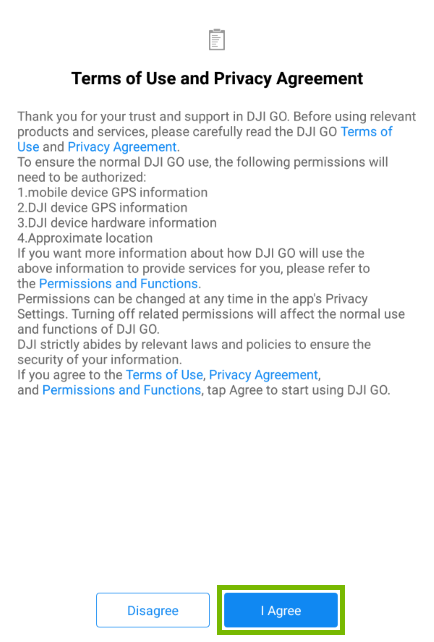
Launch the DJ GO 4 app on your mobile device.
Read through the Terms of Use and Privacy Agreement then tap I Agree when you're ready to continue.
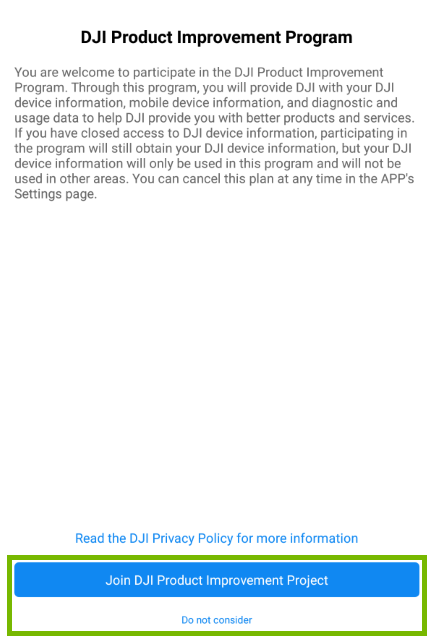
Choose whether you want to Join or Not Consider the DJI Product Improvement Plan.
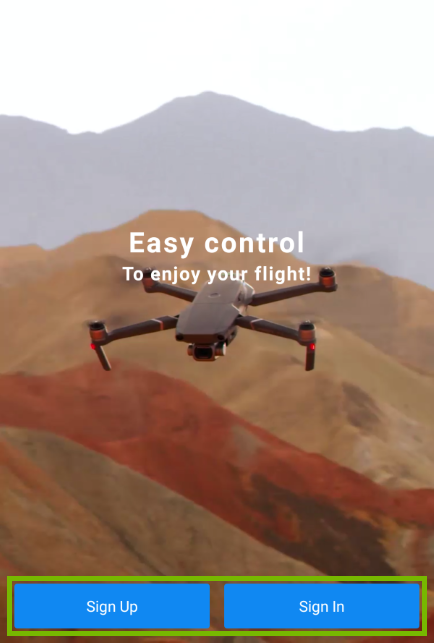
Choose how you want to login to the app:
If you want to use a new DJI account or don't have one, choose Sign Up and fill in your new account information.
If you want to use an existing DJI account, choose Sign In and fill in your login information.
7. Introduction
The DJI Assistant 2 software contains extra settings and utilities for use with your drone. With the DJI Assistant 2 software, you have options to upload your flight data, black box information, calibrate your vision sensors and upgrade your firmware. The software also includes a simulator for testing flight settings and practice flying your DJI Drone.
8. OS Choice
To continue, we need to know what Operating System your computer is using.
There are 2 main Operating Systems for personal computers currently available, Microsoft Windows and Apple macOS.
Microsoft WindowsApple macOSMicrosoft Windows runs on computers produced by multiple companies, such as Lenovo, Asus, Dell, Toshiba, Hewlett Packard, Acer, and Sony.Apple is the only company that makes macOS computers.
9. Verify Network Status
To Check Network Status on Windows 10
1st Method
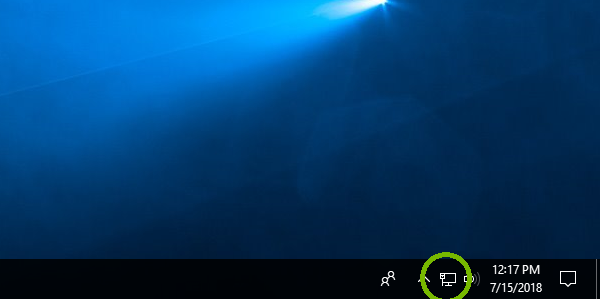
The Network icon in the lower right corner of the screen can tell you a lot about your network connection and the state it’s in.
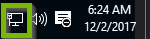
The Network icon represents the current status of your network connection. Depending on the current status of your connection, the appearance of this icon will change. The following are the different icons you might see and their corresponding meanings.
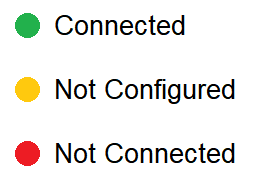
Represents an Ethernet connection and successful connection to the internet.
Represents an Ethernet connection with no connection to the internet.
No network adapters are detected or enabled.
You’re connected to WiFi and the Internet.
Connected to WiFi, but no Internet connection is detected (also known as limited connectivity).
A wireless adapter is detected and there are wireless networks in range, but you’re not connected to one.
Your wireless network adapter is recognized, but no WiFi networks are found and you’re not connected to WiFi.
If you want to see even more information about your connection status, click the Network icon itself regardless of what status it currently displays.
or
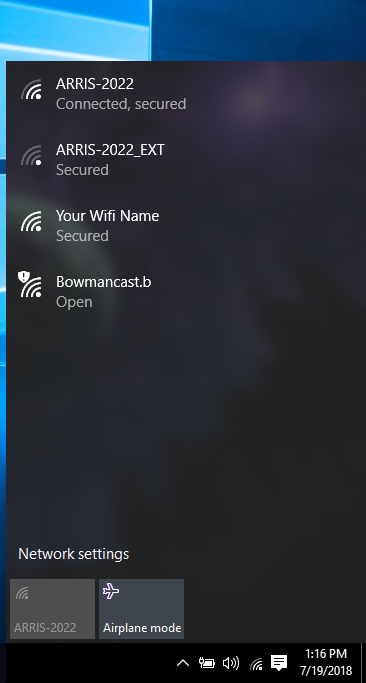
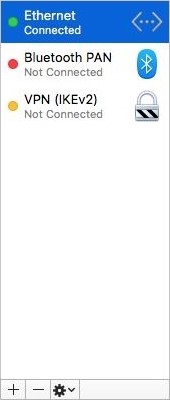
This will bring up the Network menu. Within your network menu, you can see the status of your current connection. If your device is capable of connecting to WiFi, you will also see a list of wireless networks your device is currently in range of.
The status underneath each network name represent either your device's current connection status to that network, or additional attributes of that network.
Connected, Secured: This means you are connected to this WiFi network, and the network is secured with a password.
Connected: This means you are connected to this WiFi network. This network may not be password protected.
Secured: This is an available WiFi network that requires a password to successfully connect to.
Open: This is an available WiFi network with no password required.
The icons to the left of each network name indicate an individual network's signal strength. This will vary depending on your physical distance from each network's point of origin, among other factors.
WiFi network with very strong signal (Best).
WiFi network with strong signal (Good).
WiFi network with weak signal strength (OK).
WiFi network with very weak signal (Worst).
This WiFi network is not password-protected (Open network).
2nd Method
Select the Start button.
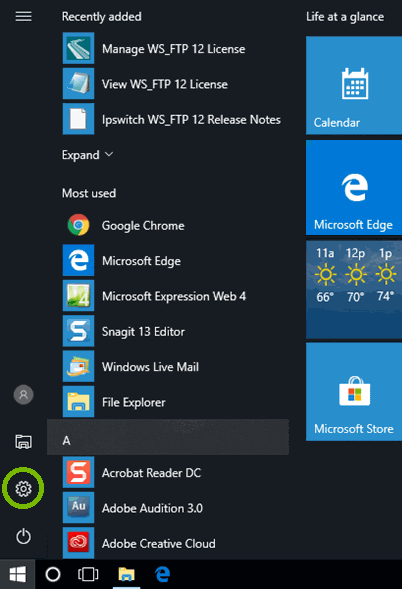
Select Settings.
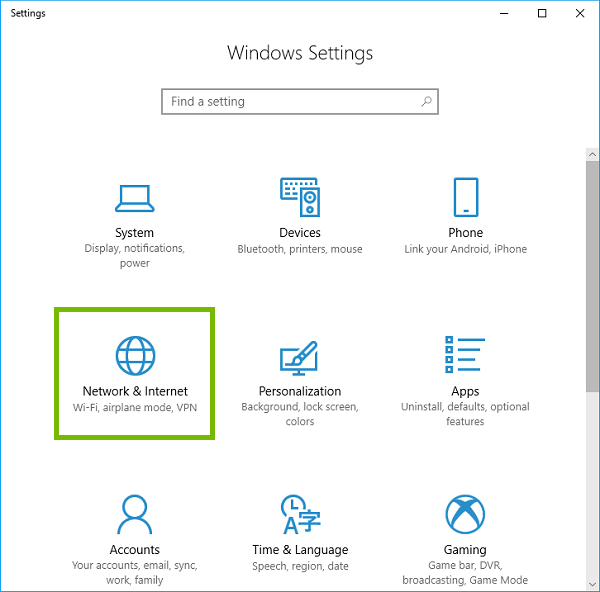
Select Network & Internet.
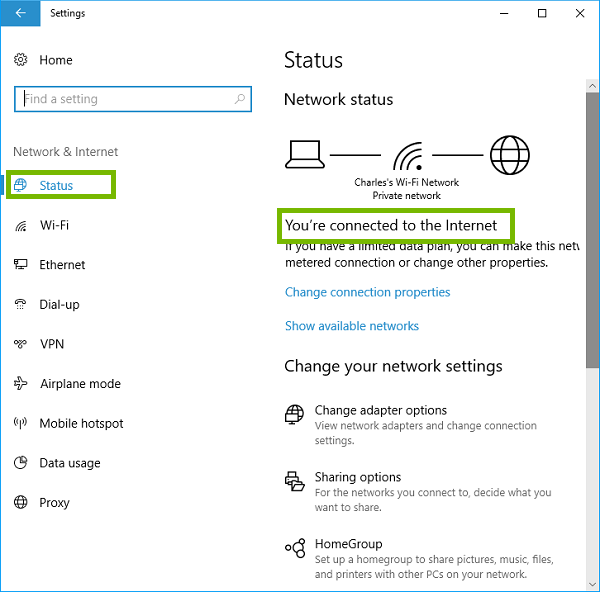
Select Status. Your current connection status will be displayed on the right side of the screen.
10. Windows Install
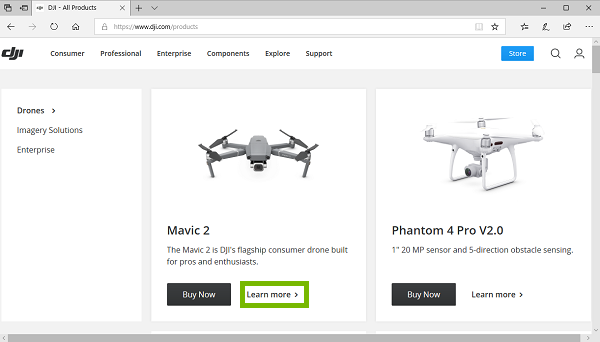
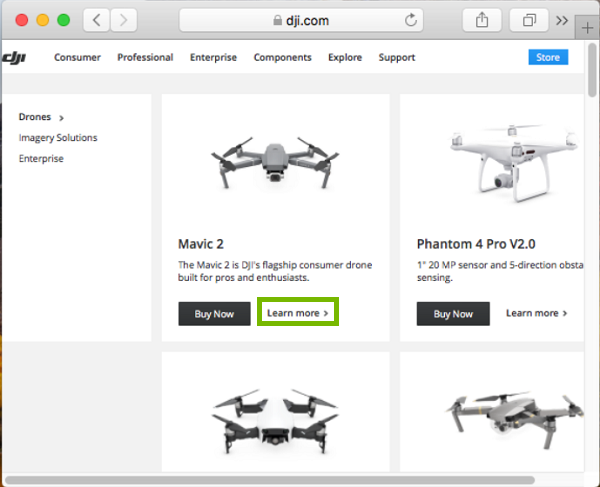
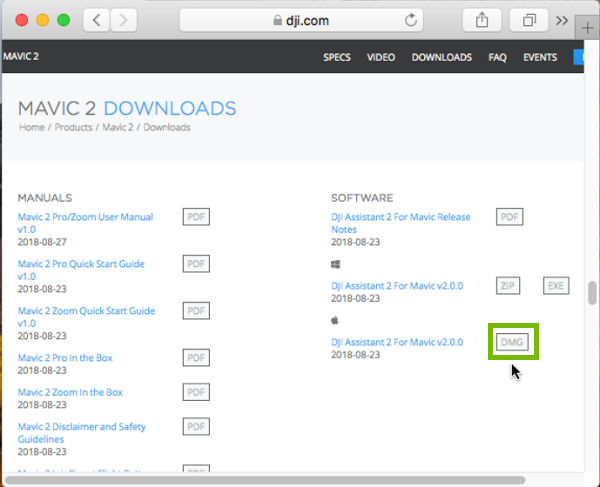
Open your browser and go to dji.com/products and select Learn more for your drone.
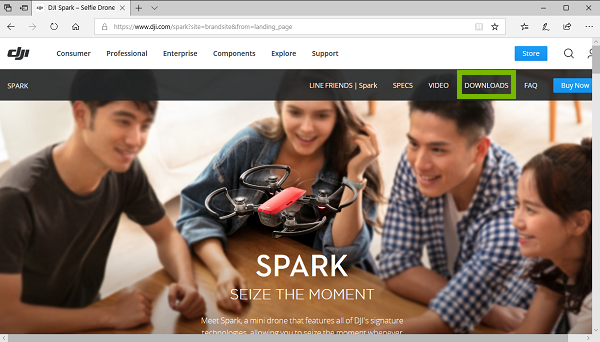
Click on Downloads.
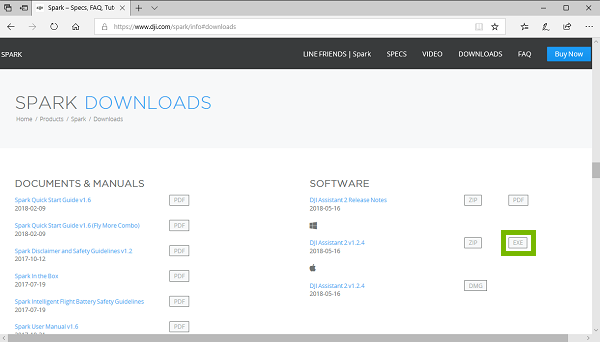
Click on the EXE for DJI Assistant.
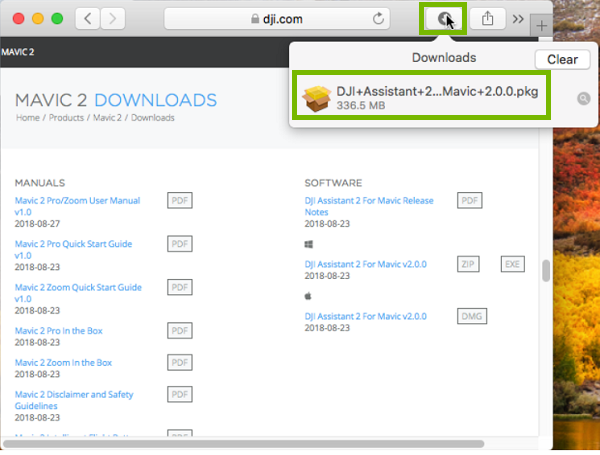
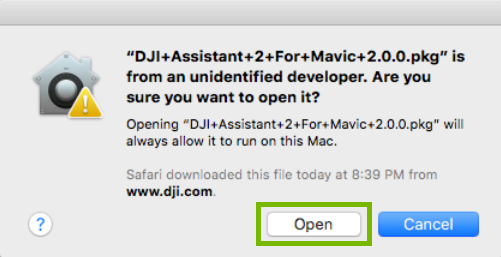
Open or Run the download.
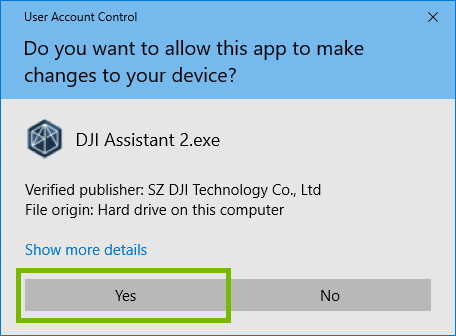
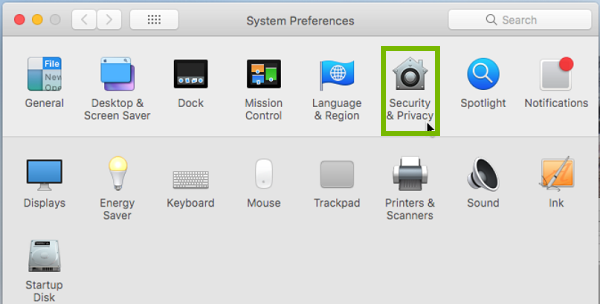
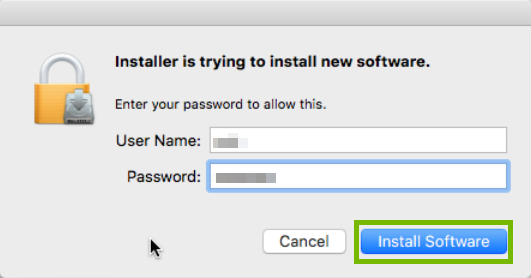
Click Yes on the User Account Control page.
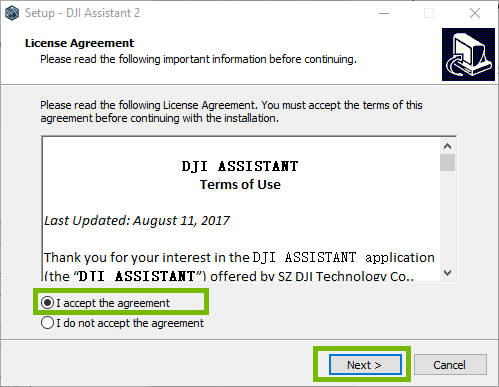
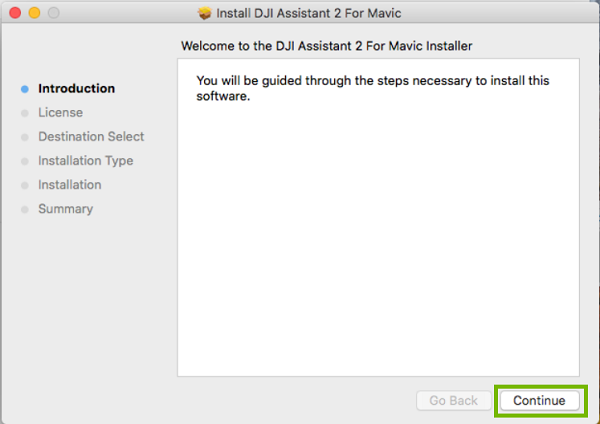
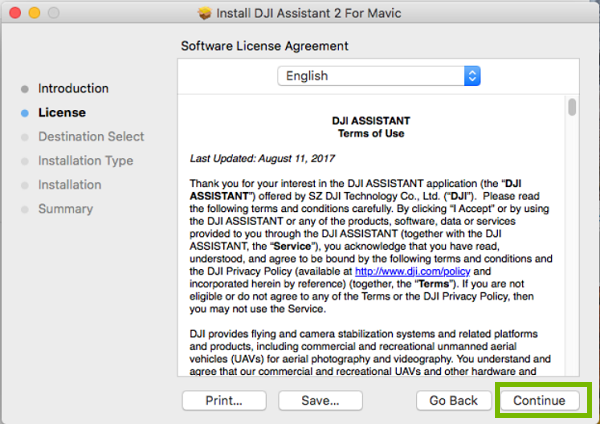
Click on I accept the agreement, then click on Next.
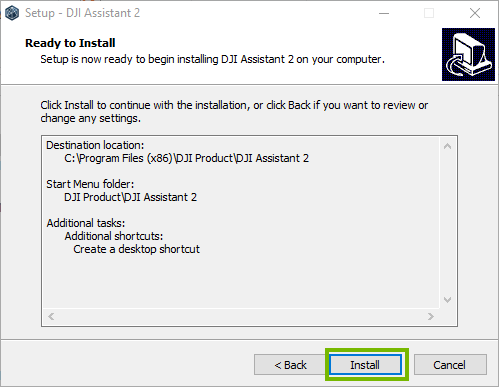
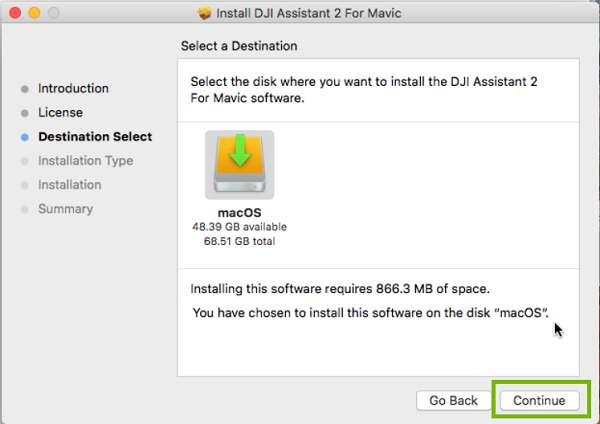
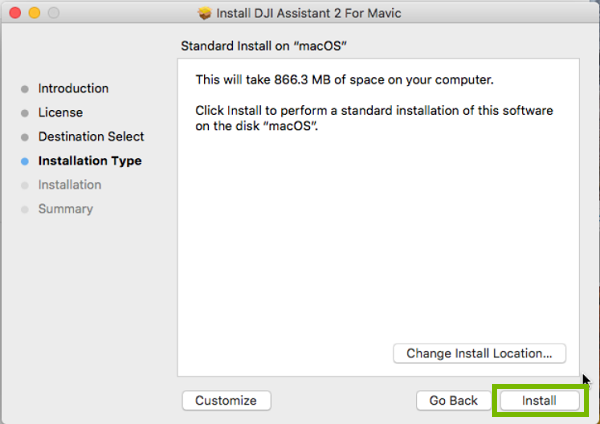
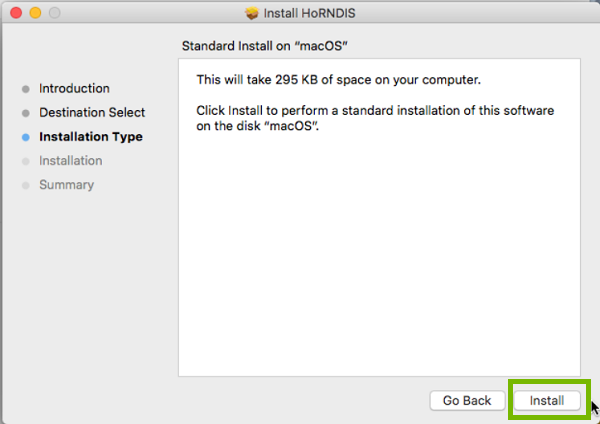
The next few pages you can click on Next. When available, click on Install.
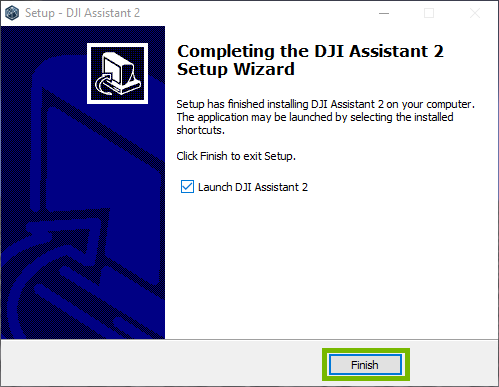
Click on Finish.
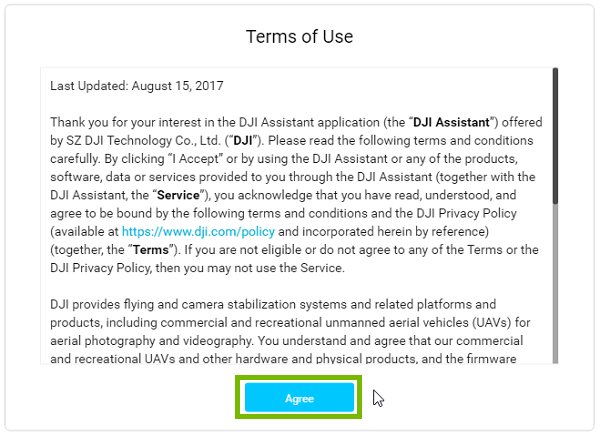
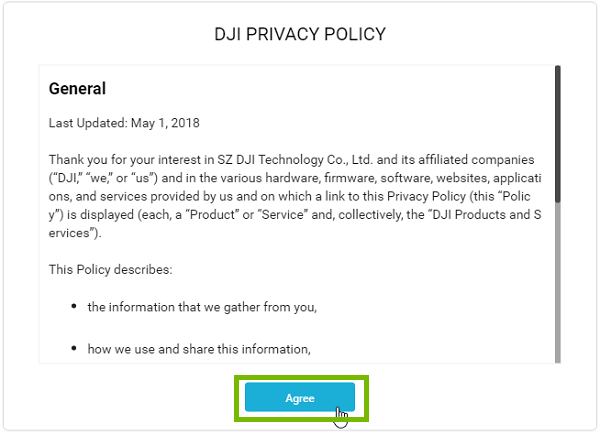
Click on Agree.
Click on Agree.
Click on the slider to turn any of the options you want on (it is ok to leave all of them off) and then click on Next.
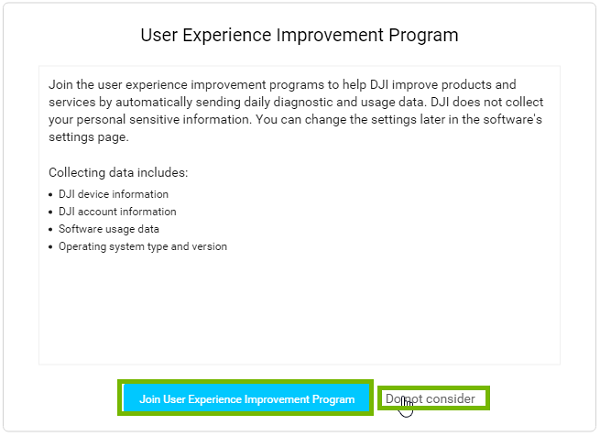
Click either on Join User Experience Improvement Program or Do not consider, either is ok to choose.
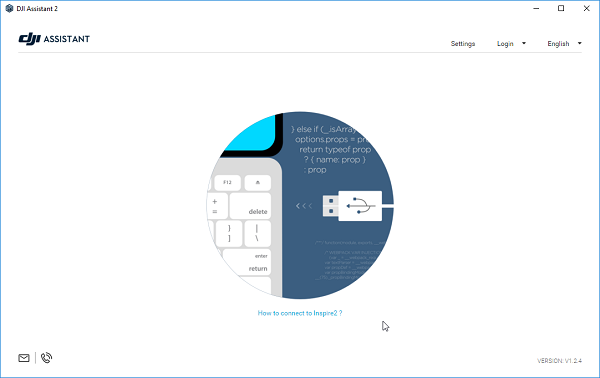
Once you see this page, the program is installed. You can close it at any time.
11. First Launch
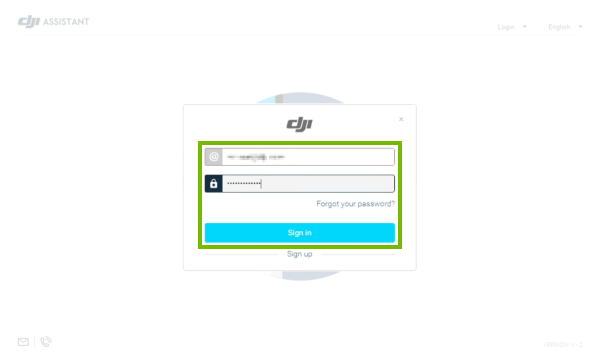
Launch the DJI Assistant 2 app.
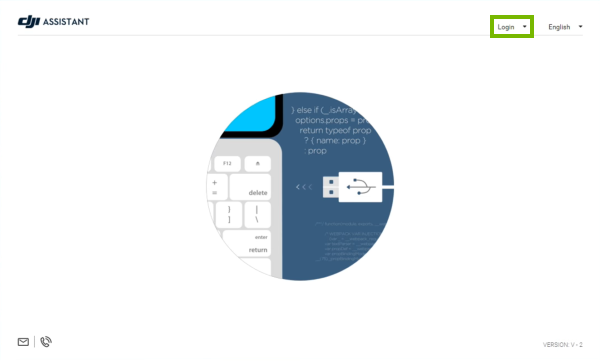
Click Login in the top right corner.
Choose how you want to login to the app:
If you want to use a new DJI account or don't have one, choose Sign Up and fill in your new account information.
If you want to use an existing DJI account, choose Sign In and fill in your login information.
Depending on what device (iPhone, iPad or iPod Touch) and which generation you have, the menu theme and options might look slightly different on your screen. However, the steps should be the same across all iOS devices and generations.
To check if your iOS mobile device is connected to Wi-Fi:
From the main screen of your device, look for and open Settings.
With Settings open, look for the Wi-Fi field. This field will display the current Wi-Fi status on the right hand side:
Off - the Wi-Fi antenna is currently disabled.
Not Connected - Wi-Fi is turned on, but your device is not currently connected to a network.
Wi-Fi network name - Wi-Fi is turned on, and the network name displayed is the network your device is currently connected to.
You can also tap on the Wi-Fi field and make sure the Wi-Fi switch is in the On position. The switch should be green in color and will display the network that you are currently connected to directly beneath it with a check mark to the left.
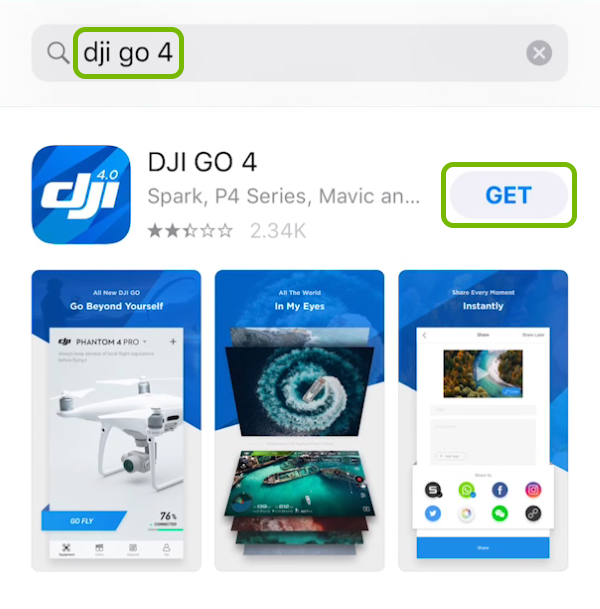
18. Install App (iOS)
Launch the App Store.
Tap Search in the bottom right corner.
Type "DJI GO 4" in the search bar at the top. The app will show up below.
.png)