The Onkyo Remote App gives you an unprecedented level of command and control over your Onkyo Receiver.
This guide will take you through the steps necessary to set up this app.
2. Check Wi-Fi
Depending on what device (iPhone, iPad or iPod Touch) and which generation you have, the menu theme and options might look slightly different on your screen. However, the steps should be the same across all iOS devices and generations.
To check if your iOS mobile device is connected to Wi-Fi:
From the main screen of your device, look for and open Settings.
With Settings open, look for the Wi-Fi field. This field will display the current Wi-Fi status on the right hand side:
Off - the Wi-Fi antenna is currently disabled.
Not Connected - Wi-Fi is turned on, but your device is not currently connected to a network.
Wi-Fi network name - Wi-Fi is turned on, and the network name displayed is the network your device is currently connected to.
You can also tap on the Wi-Fi field and make sure the Wi-Fi switch is in the On position. The switch should be green in color and will display the network that you are currently connected to directly beneath it with a check mark to the left.
3. Install iOS App
From the main screen, open the App Store.
At the bottom of the screen, tap on Search.
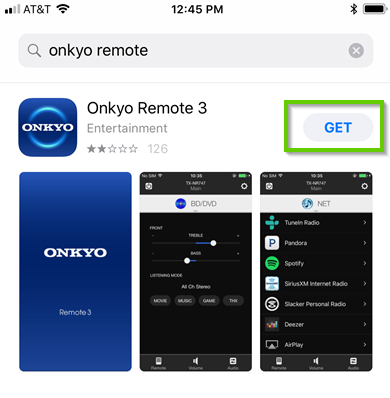
Type Onkyo Remote on the search bar at the top.
Tap Search to start the search.
.
Tap the OnkyoRemoteApp to see its download options.
Tap Get.
Tap OPEN once the app is installed.
4. Connect to Wi-Fi
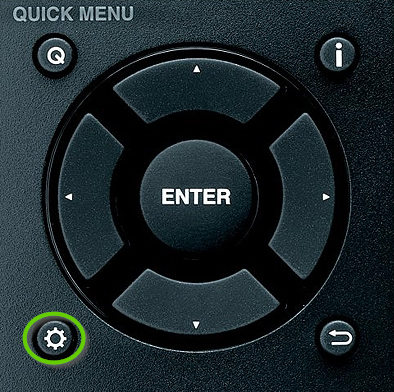
Press the Setup or Settings button on your remote to enter setup.
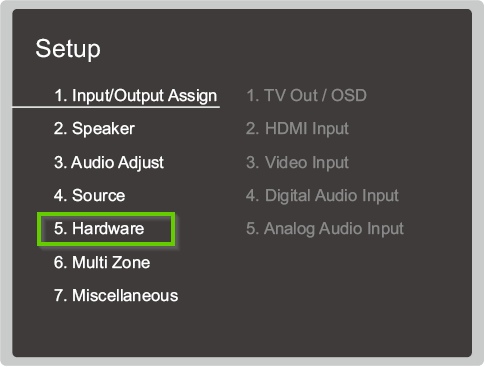
Select Hardware.
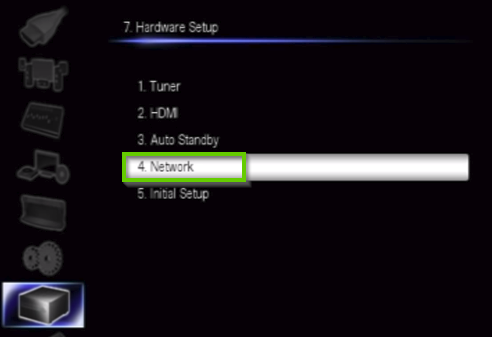
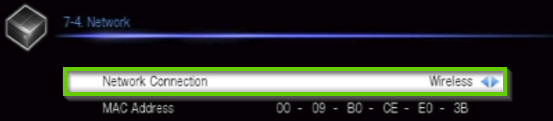
Select Network.
Select Network Connection and change it to Wireless.
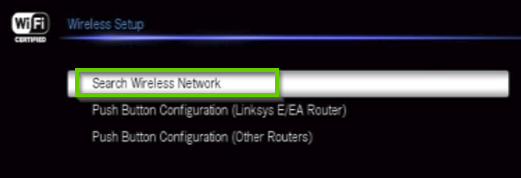
Select Search Wireless Network.
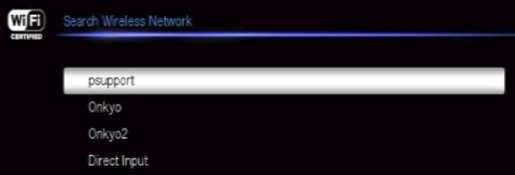
Select your Network.
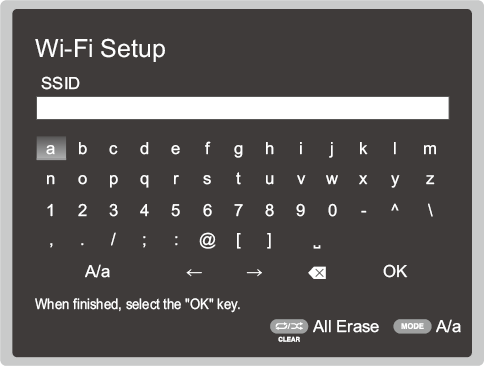
Type in your password using the remote.
The Wi-Fi indicator light will flash and your receiver will attempt to connect using the settings provided.
If the connection is successful, your receiver will display a Connected message.
5. Setup App
Open the Onkyo Remote app.
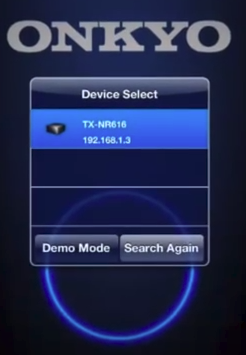
The first time you open the app, a small box will appear labeled Device Select. Since we've already prepared our mobile device and Onkyo receiver, the app should display any compatible Onkyo devices that can be paired with the app. Tap on your Onkyo receiver's model number in this box to continue.
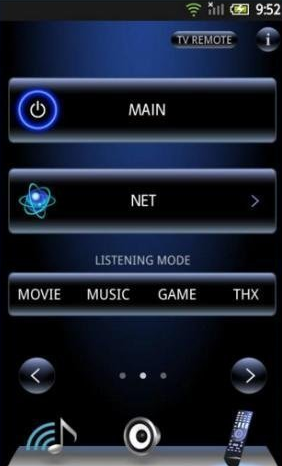
After the app successfully connects to your receiver, you will be presented with the main screen of the app. You can now use the app to control your Onkyo receiver.
6. Check Wi-Fi
Depending on what device (Smartphone or Tablet) and which generation you have, the menu theme and options might look slightly different on your screen. However, the steps should be similar across all Android devices and generations.
To check if your Android mobile device is connected to Wi-Fi:
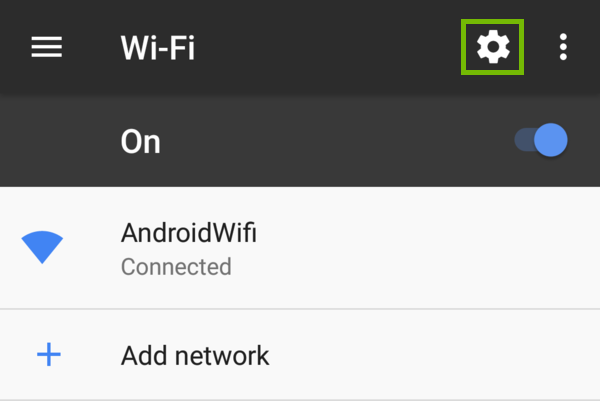
Open Settings on your phone or tablet.
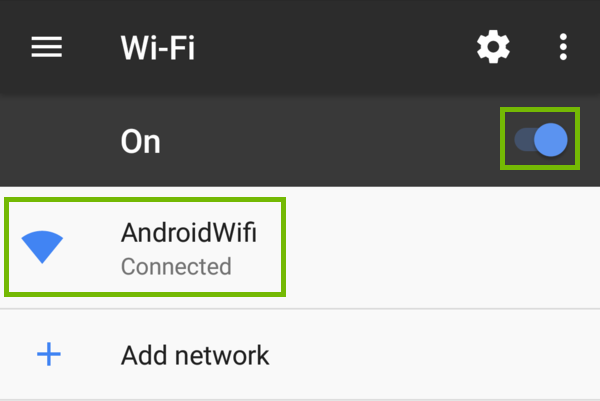
Select Wi-Fi.
Make sure Wi-Fi is turned On, then select the Wi-Fi network that says Connected under it.
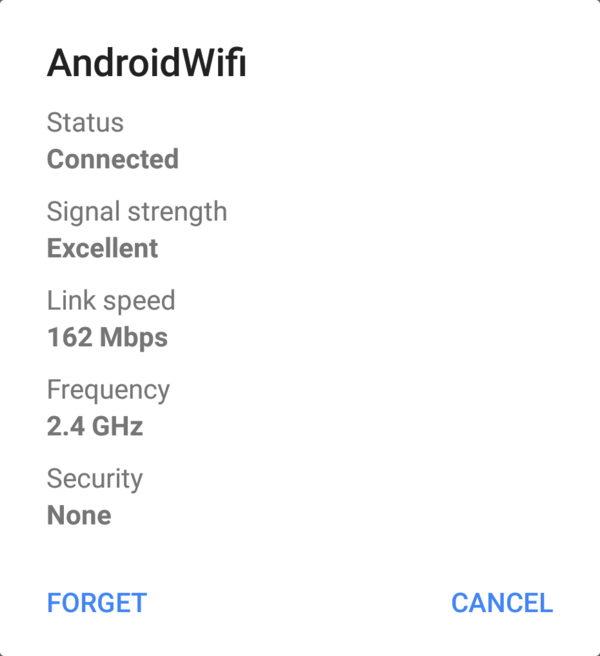
Here, you'll see the basics of your Wi-Fi connection, with the Wi-Fi network name at the top, and other information such as Signal Strength, Link Speed and the Frequency you're connected at and the Security type of the network.
More Details
To see more information about your connection, select Cancel.
Select the Settings gear in the top right corner.
Here, you'll see a variety of information related to your connection at the bottom, such as the MAC (Media Access Control) address and IP addresses your Android device has been given.
7. Install Android App
Launch the Play Store.
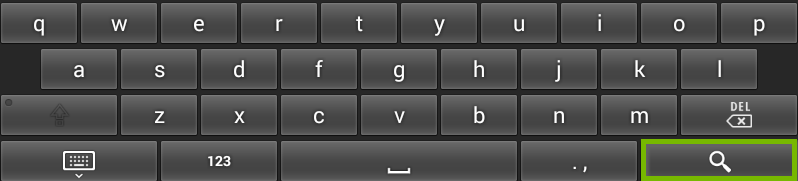
Search for Onkyo Remote using the search box located at the top.
Touch the magnifying glass on the on-screen keyboard to search.
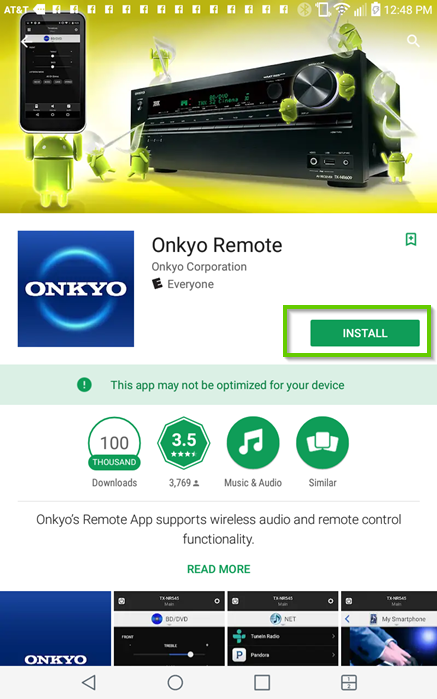
On the app's install page, touch INSTALL.
Review the install prompt that pops up. Once done, touch ACCEPT.
Wait for the download to finish. Once done, touch OPEN to launch Onkyo Remote or go back to your apps to access the new app's icon.
.png)