Clicking this button will open a new guide that will provide you with steps to resolve your issue.
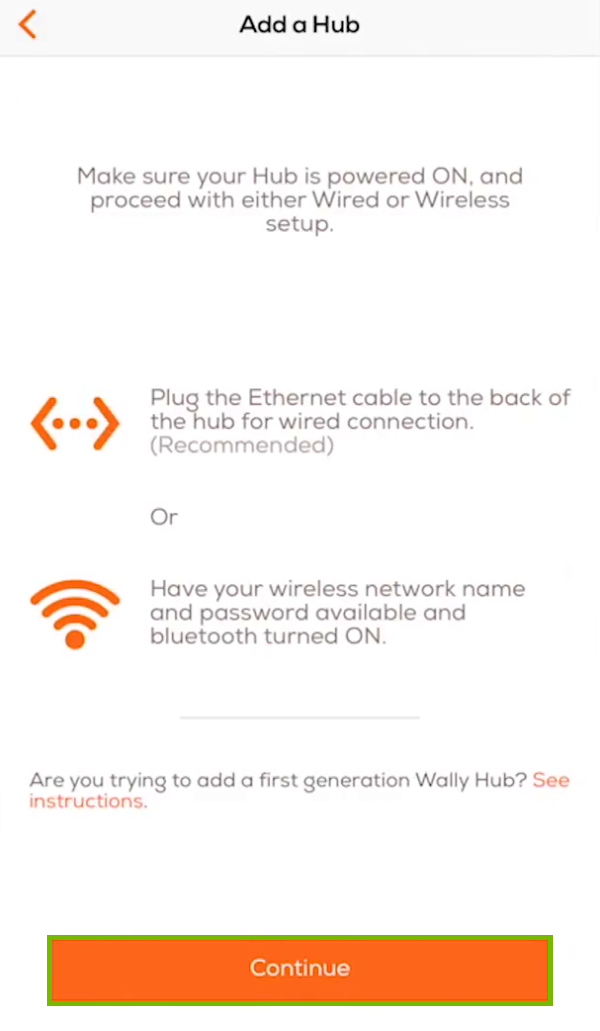
8. Wireless
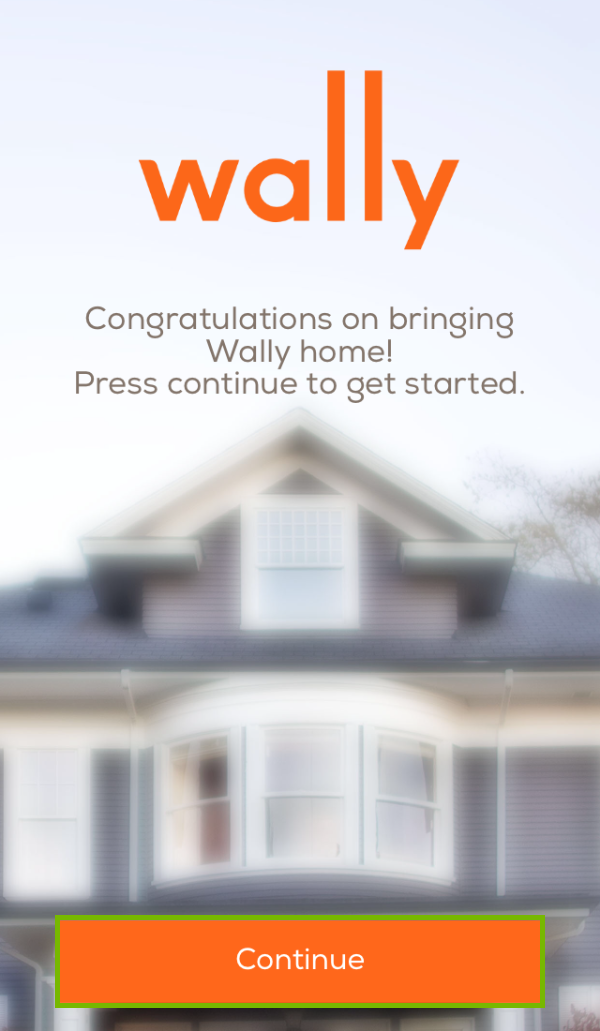
Tap on the Continue button.
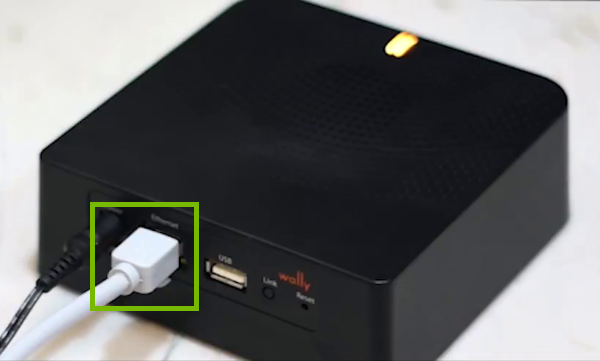
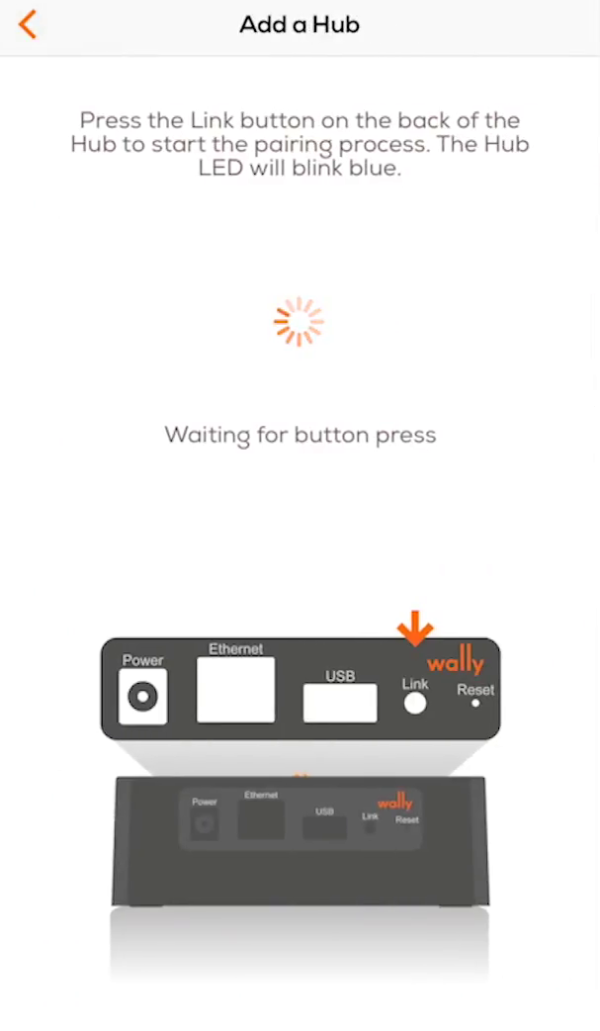
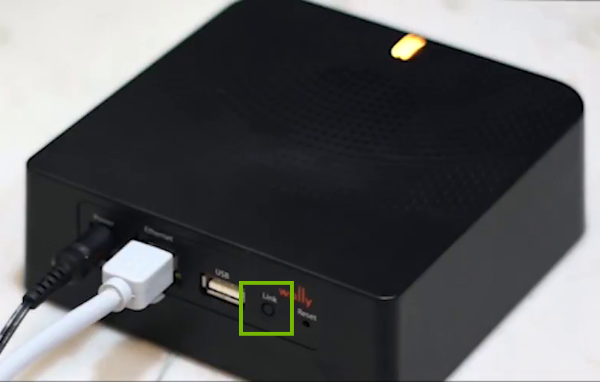
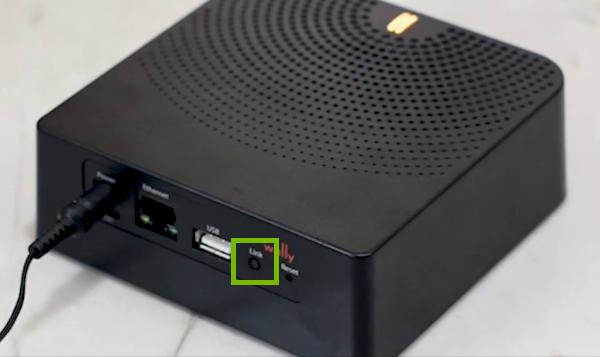
When asked press the Link button on the hub.
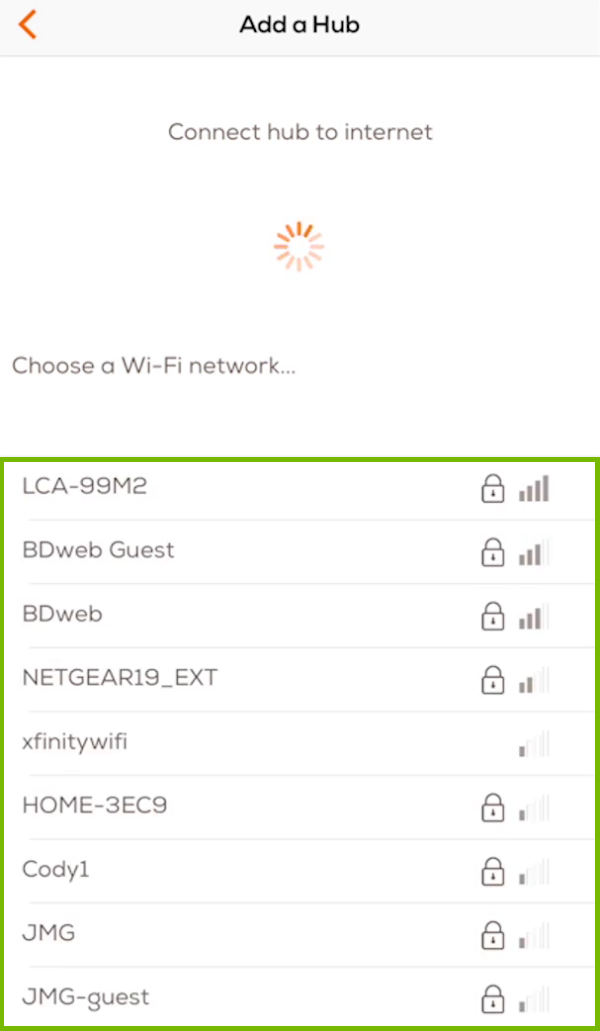
Select your Wi-Fi network from the list. The Wally hub supports 802.11 b/g/n on 2.4 GHz networks. Some wireless routers broadcast a dual-band wireless signal and provide both 2.4 GHz and 5 GHz wireless networks. Your device will not see 5 GHz networks, which is completely normal. Not all devices contain the antenna to communicate on the 5 GHz band. Also, some routers broadcast guest networks that your device may not be able to connect to depending on your router's settings.
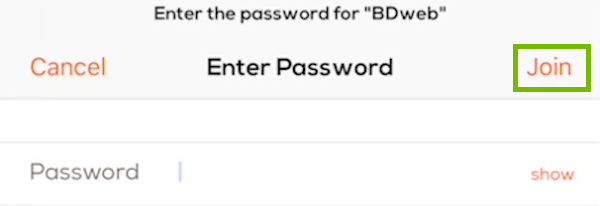
Enter your Wi-Fi password and tap Join.
When asked, press the Link button once more.
Your hub is now connected to Wi-Fi.
9. Create Account
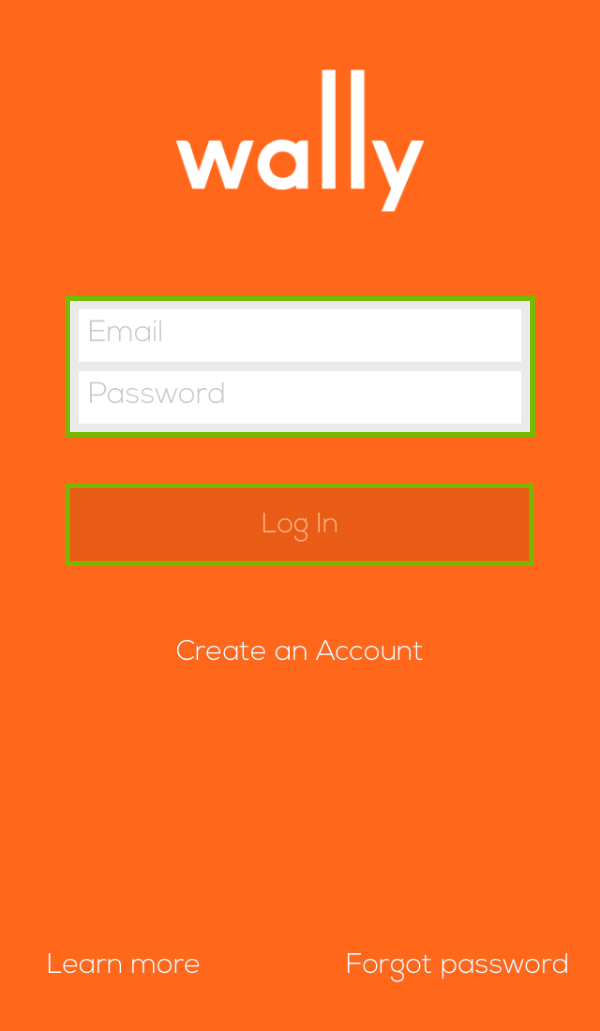
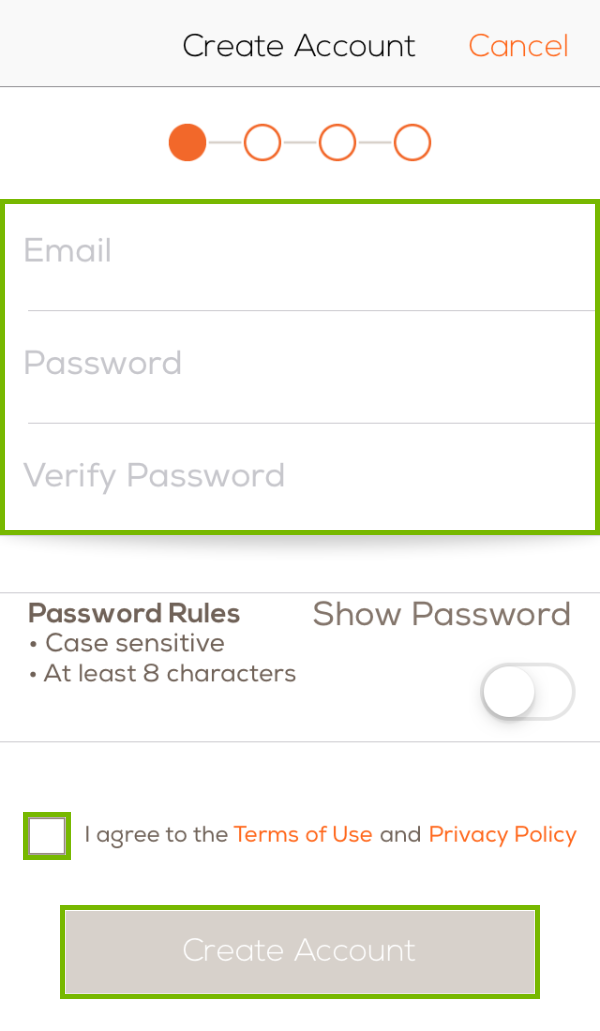
Tap on Create an Account.
Enter your email address and choose a password. Next, tap on box next to the "I agree to the Terms of Use and Privacy Policy" text. Finally, tap on Create Account.
For security reasons, you should not use the same password for your Wally account and your email.
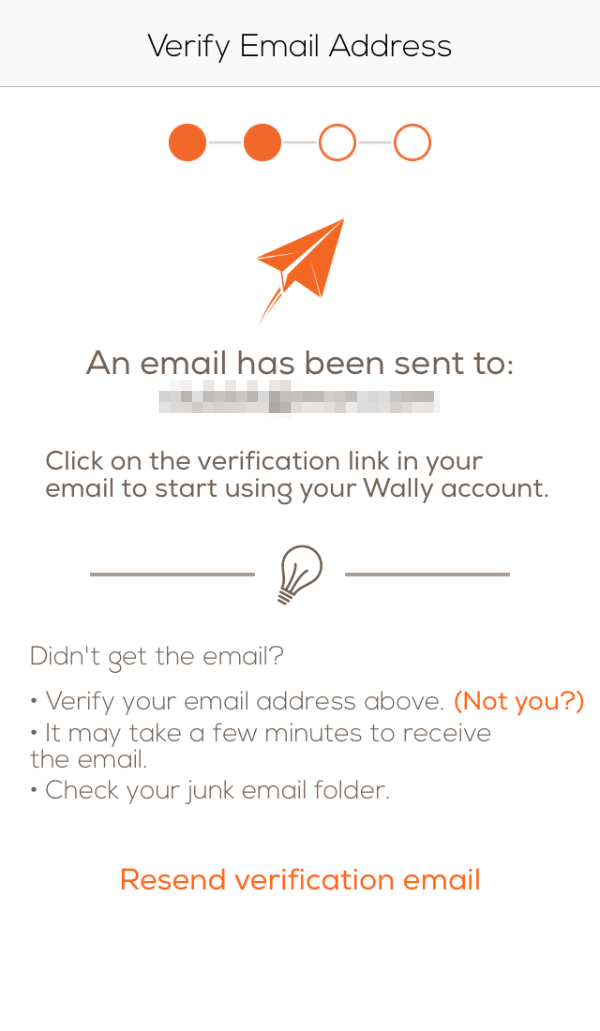
You will be asked to verify your account by clicking a link that was sent to your email.
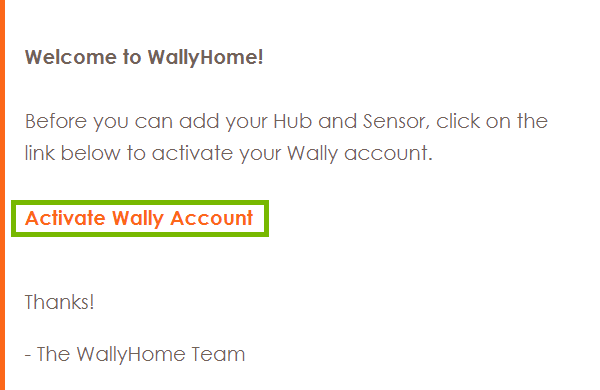
Click on the Activate Wally Account link in the verification email that was sent to you.
If you don't see the email in your inbox, check your junk email folders for the email.
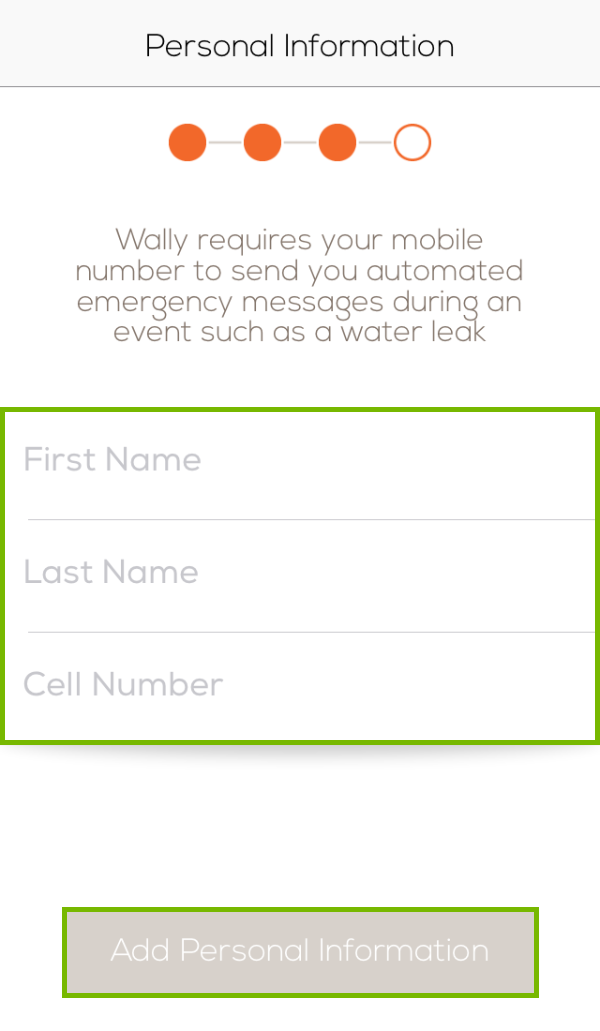
Enter your first and last name along with your cell number and then tap on Add Personal Information.
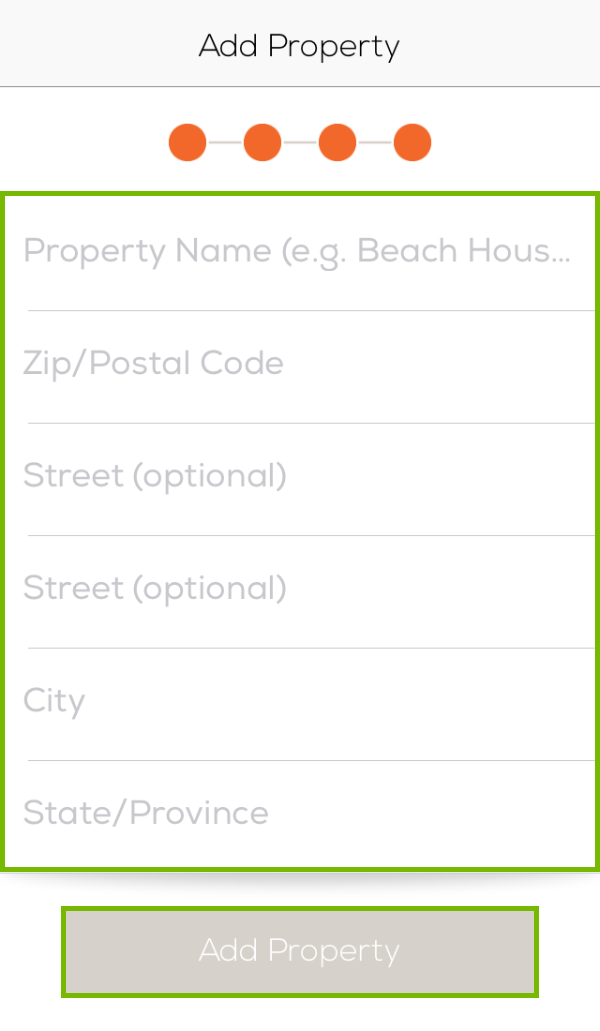
Enter the requested information about the location where you are setting up your Wally system and then tap Add Property.
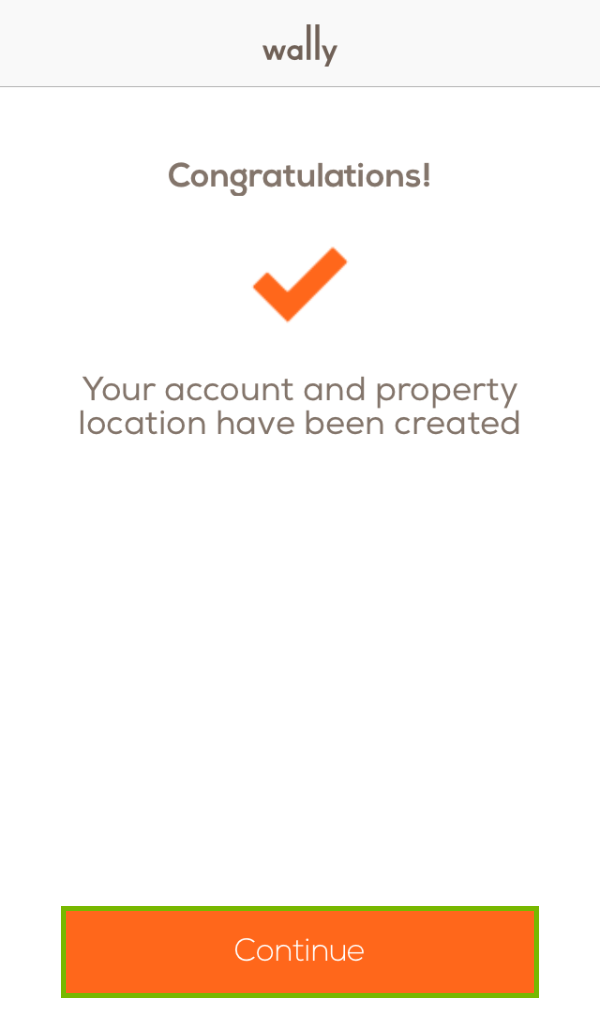
Tap on Continue.
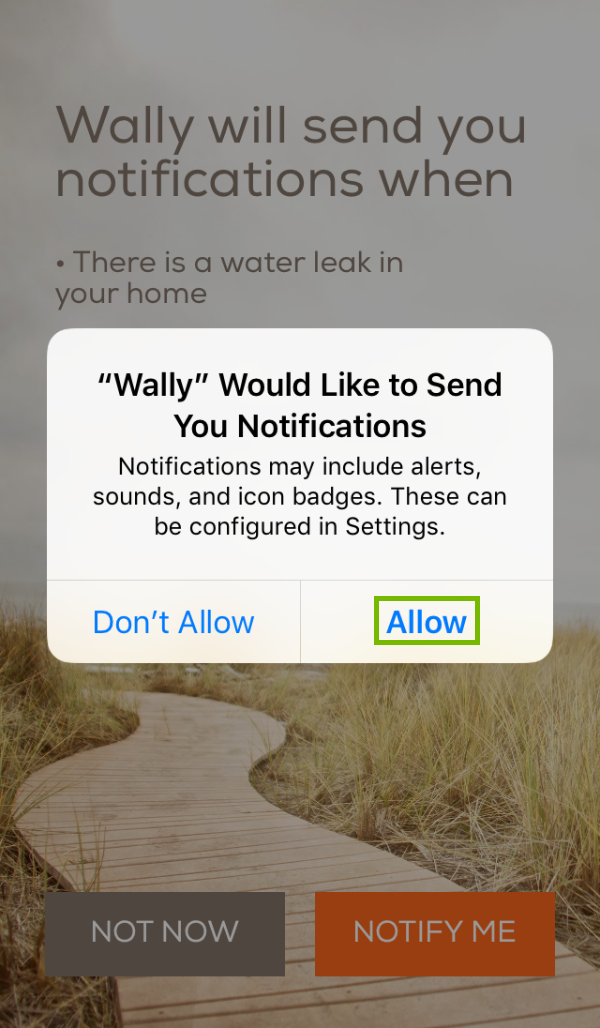
Tap Notify Me to receive app notifications.
If you do not wish to receive app notifications, you may instead click Not Now.
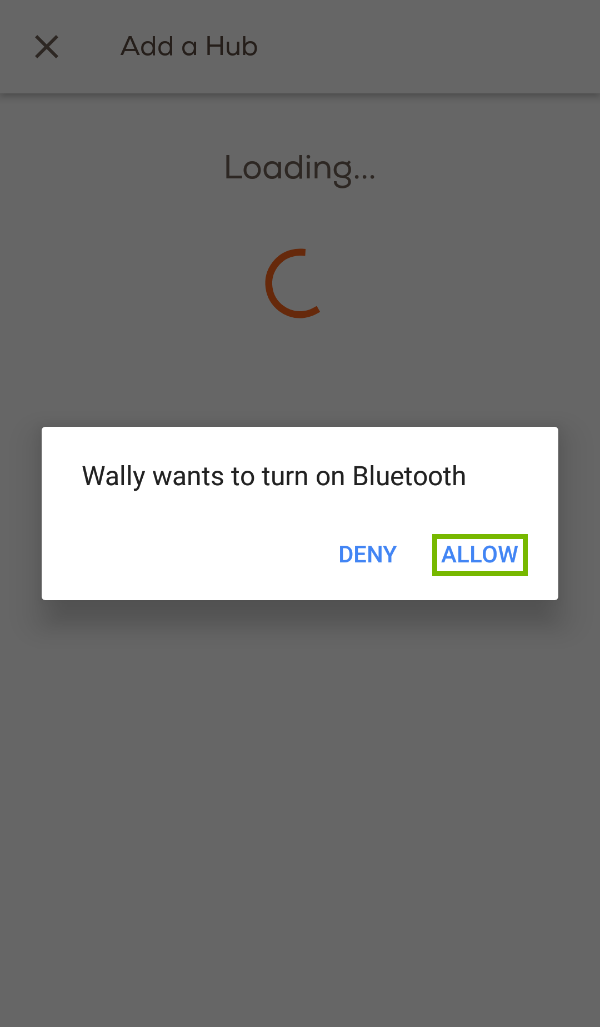
Tap Allow.
10. Install iOS App
Open the App Store.
Select Search in the bottom right corner.
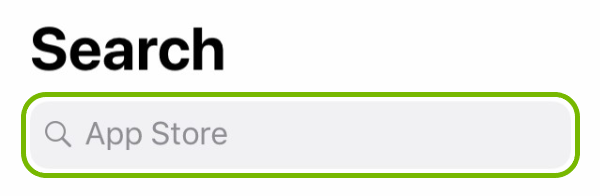
Type Wally - Home Sensor Network in the search bar.
Search for the Wally - Home Sensor Network app from the list and tap the Get button.
If you have previously downloaded the app in the past, press the cloud icon to download the app. You will not be prompted to tap on the Install button.
.png)