There are several ways to install Windows 10 on your PC, whether you are upgrading from Windows 7 or 8, installing a new operating system on your device, or reinstalling a fresh version of Windows 10 on your machine.
Whichever is the case, this guide will walk you though the installation and setup of Windows 10
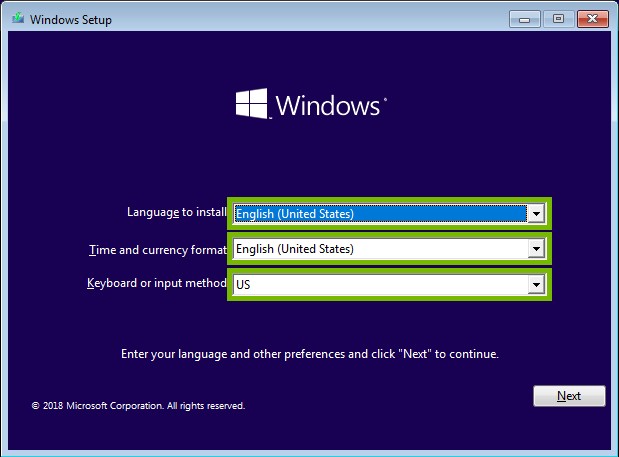
2. Install
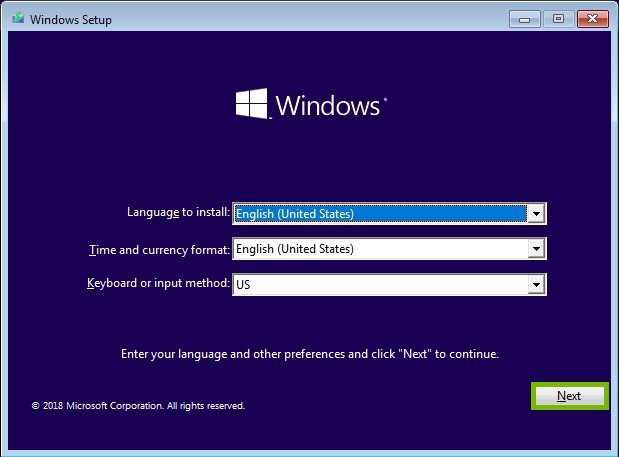
Select your language, region, and keyboard type.
Click Next.
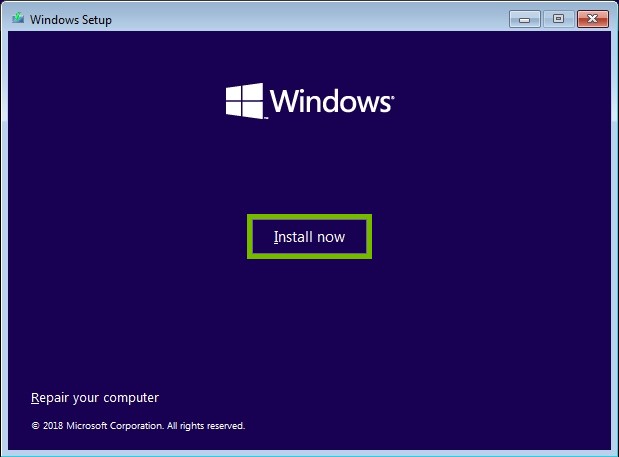
Click on Install Now.
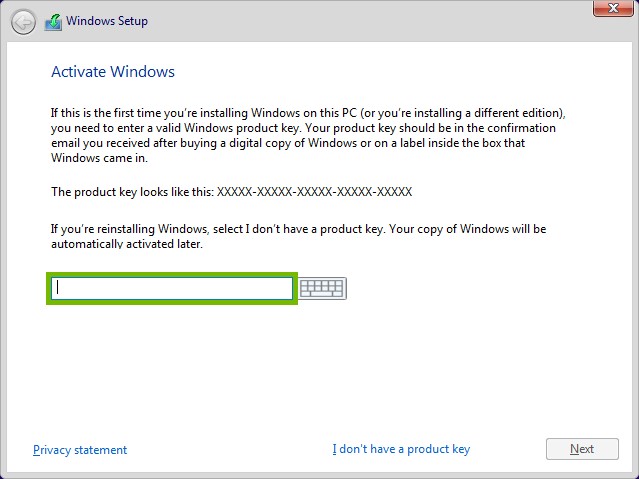
Enter your Product Key.
Click Next.
If you do not have a Windows product key, you may instead click I don't have a product key to continue the installation.
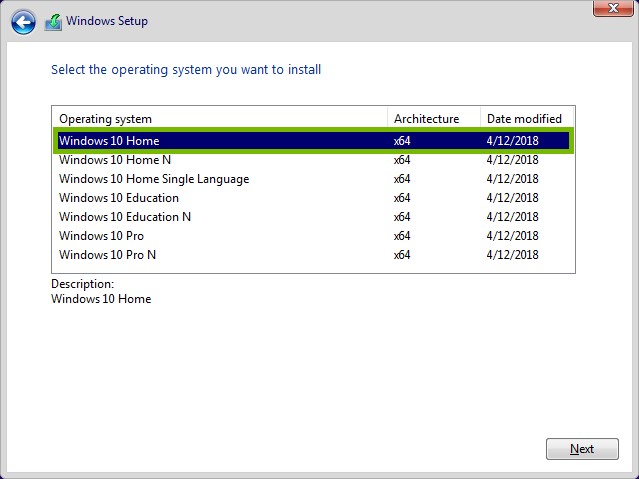
If asked, Choose the version of Windows you wish to install.
Click Next.
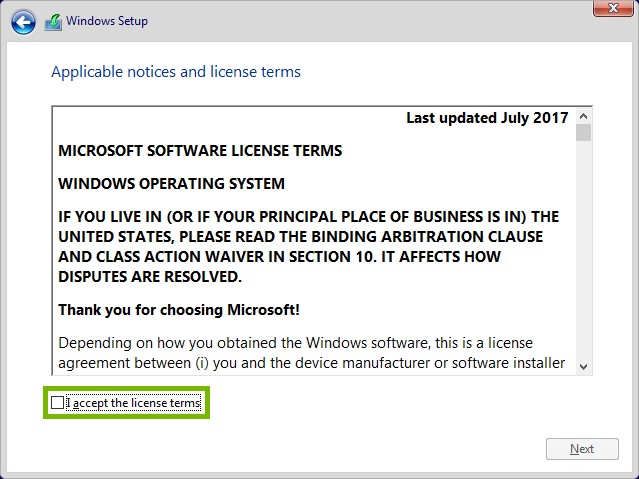
If you entered a product key on the previous screen this page will not be displayed.
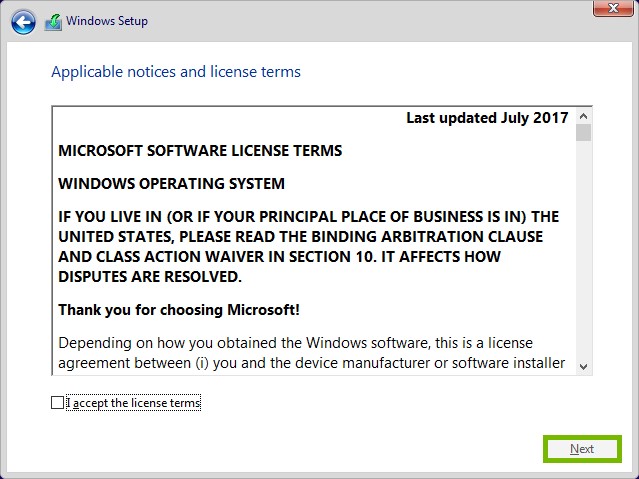
Click I accept the license terms box.
Click Next.
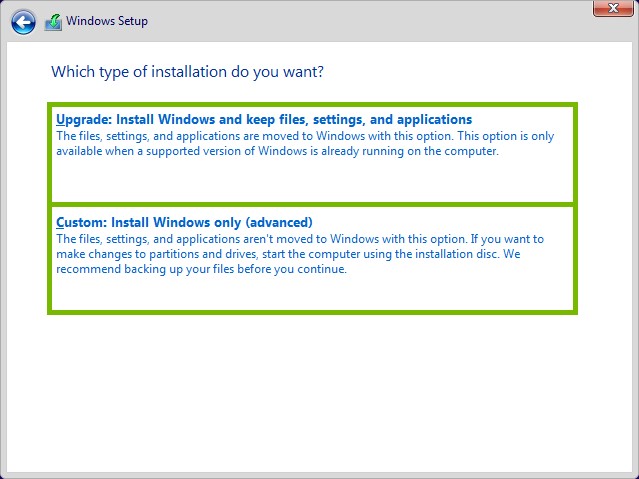
Choose whether to upgrade an existing install or install a clean copy of windows.You may only choose the upgrade options if you ran the windows setup from within a compatible running version of Windows.
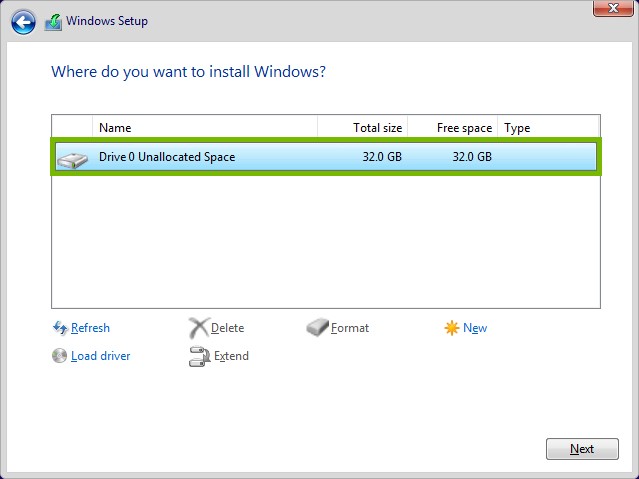
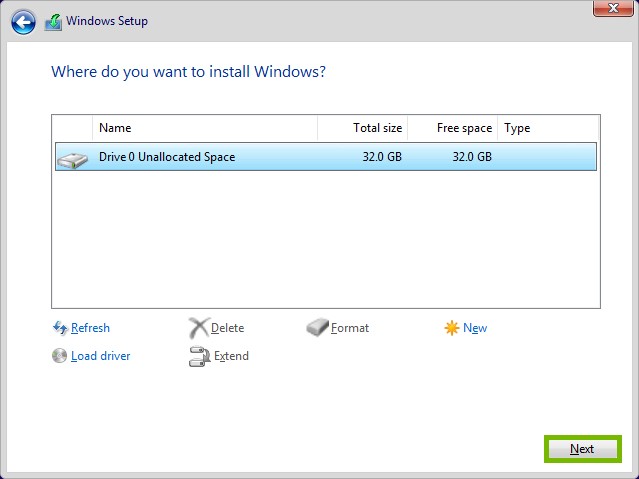
Select the drive location you wish to install Windows.
Click Next.
The install process will now begin. This will take around 30 minutes to complete.
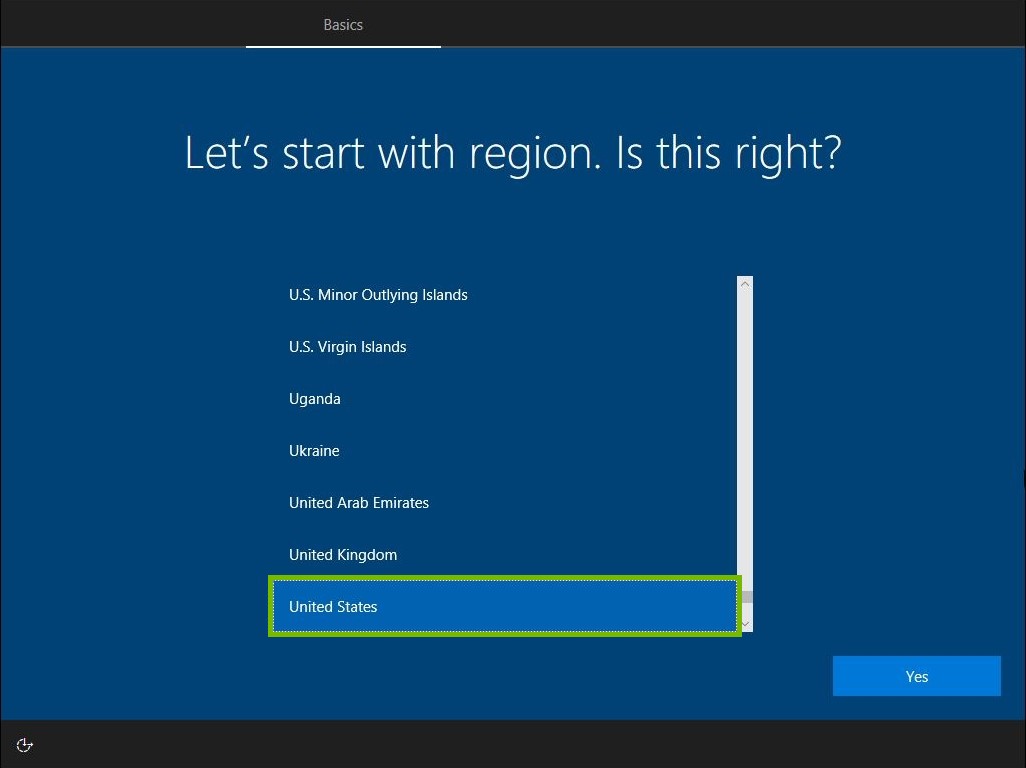
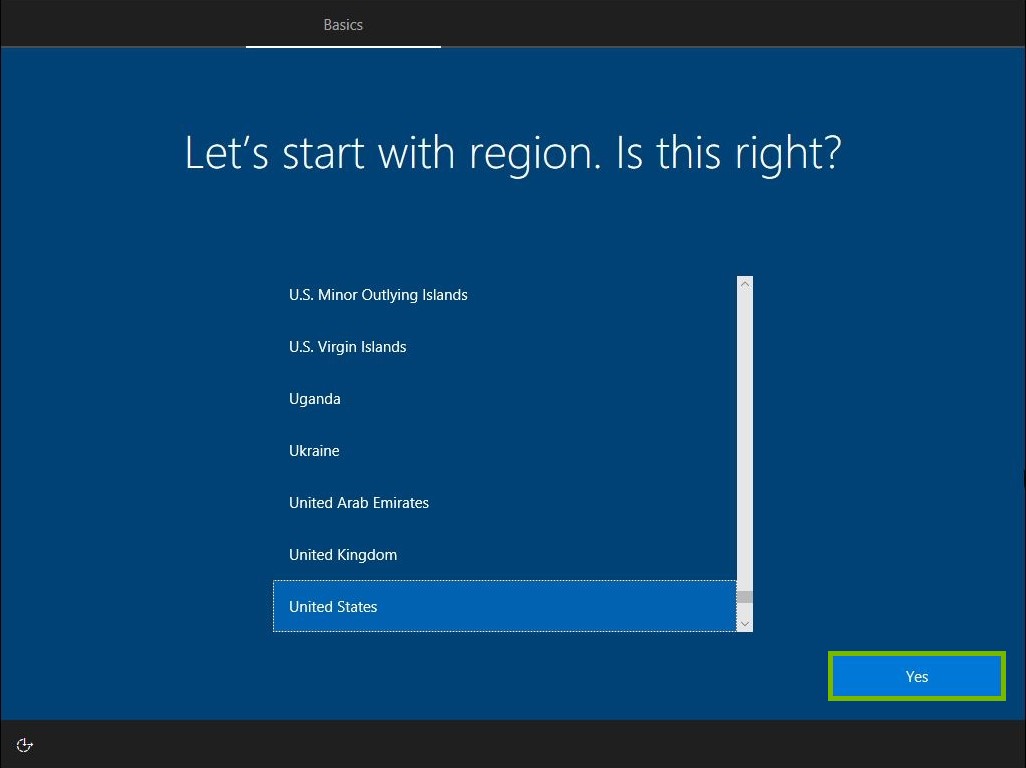
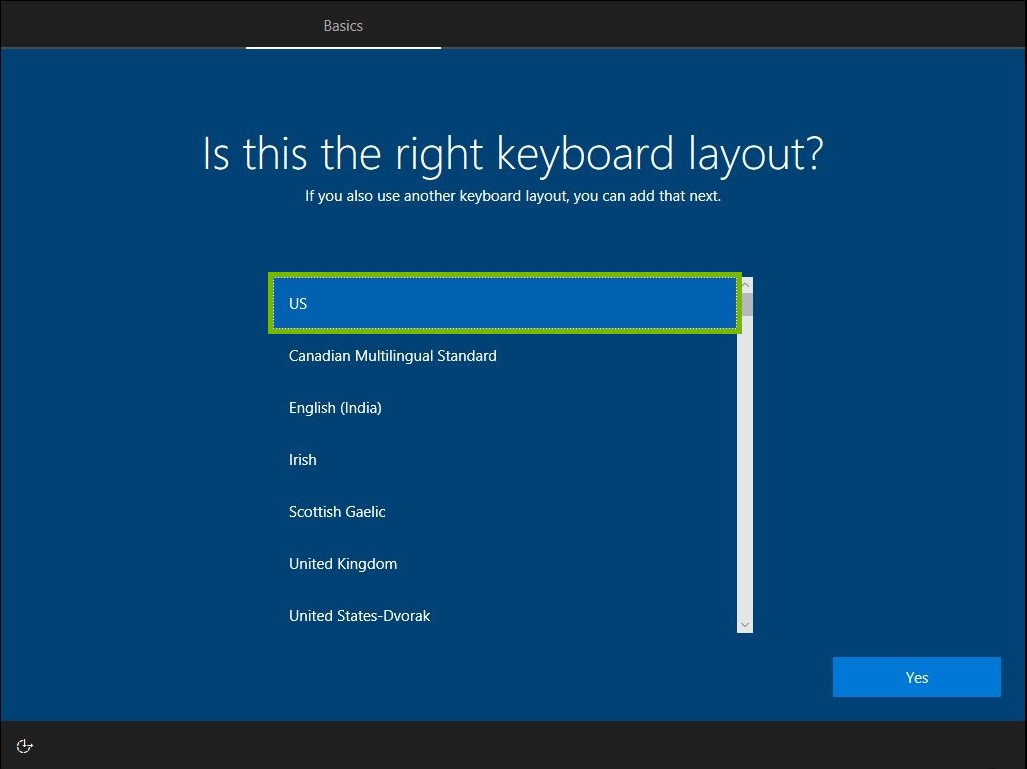
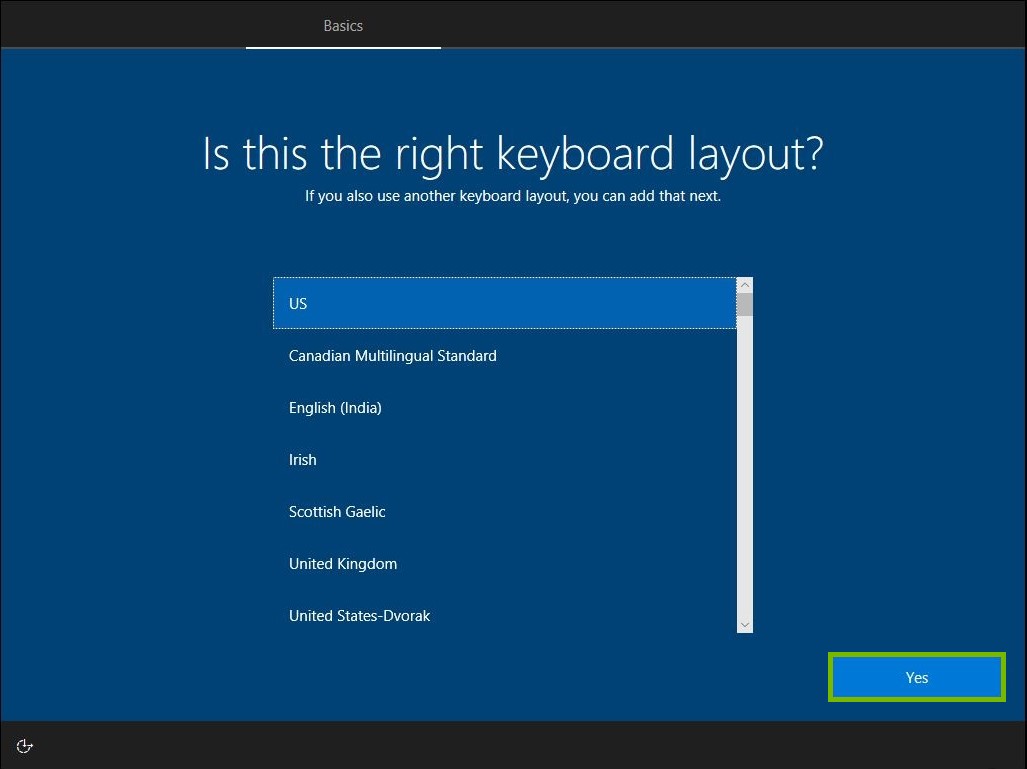
3. Start
Select your region from the list.
Click Yes.
Choose your keyboard layout.
Click Yes.
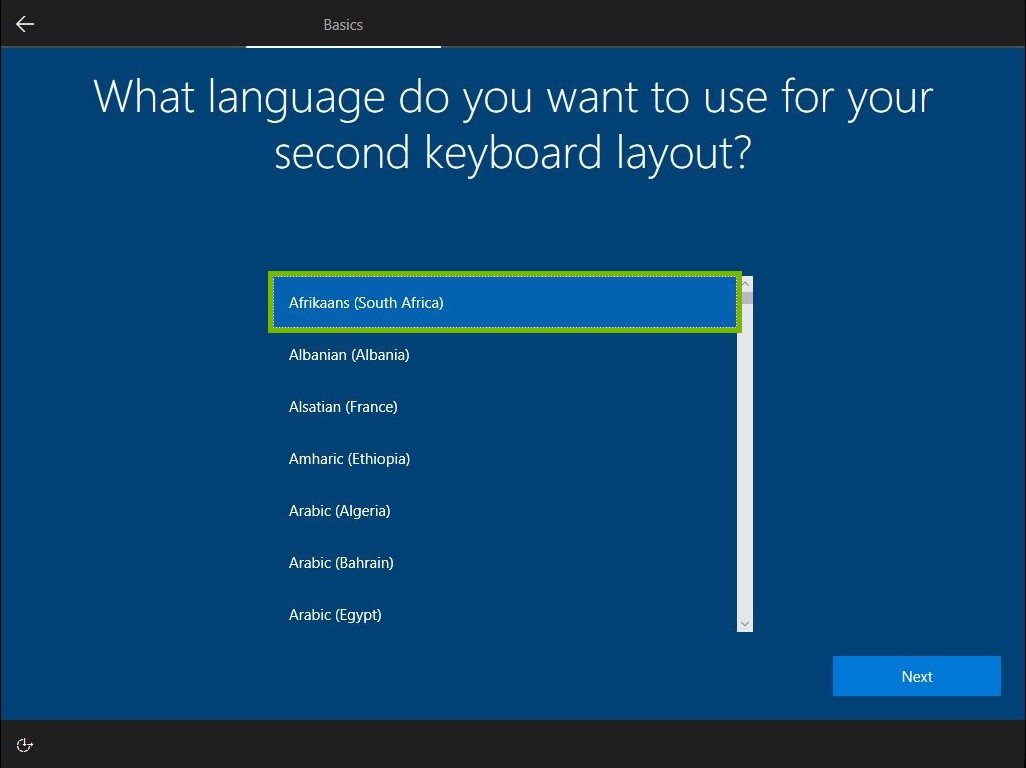
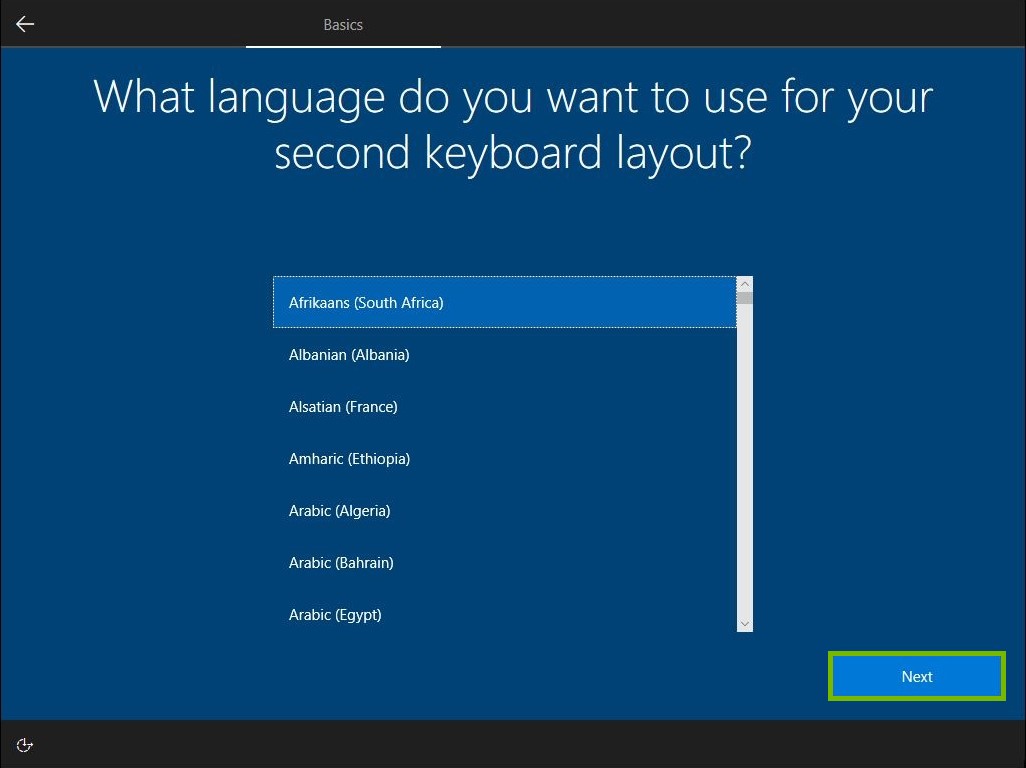
4. Dual Keyboard Layout
Click on Add Layout.
Select a language for your second layout.
Click Next.
Select the keyboard layout you wish to use.
Click Add Layout.
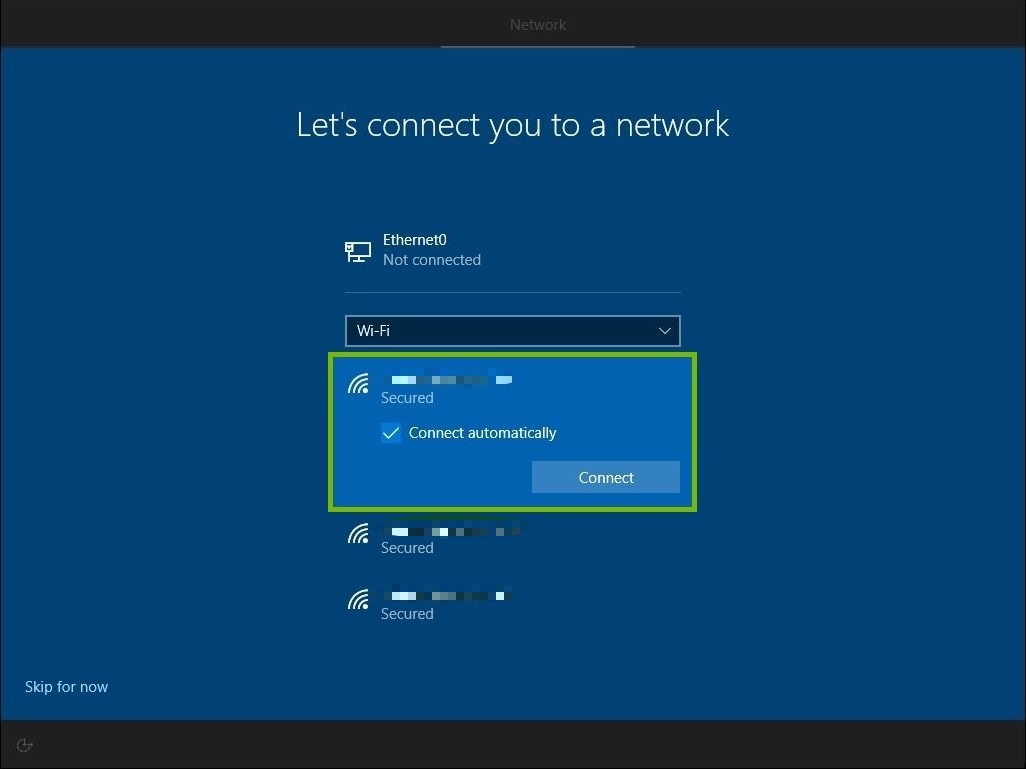
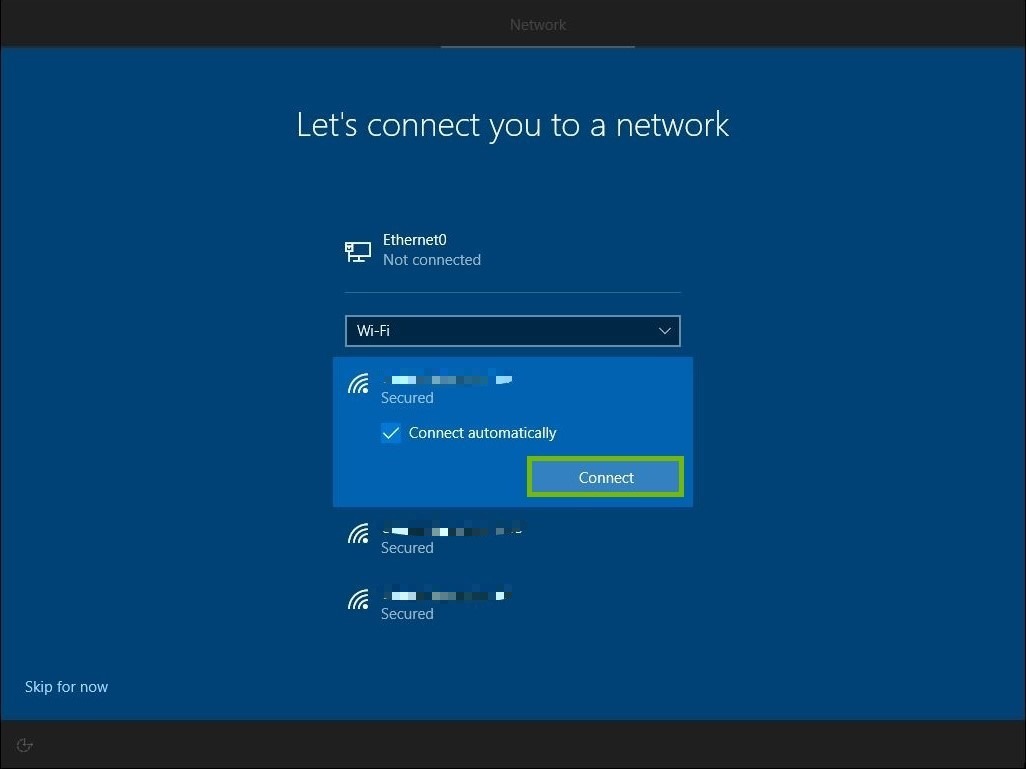
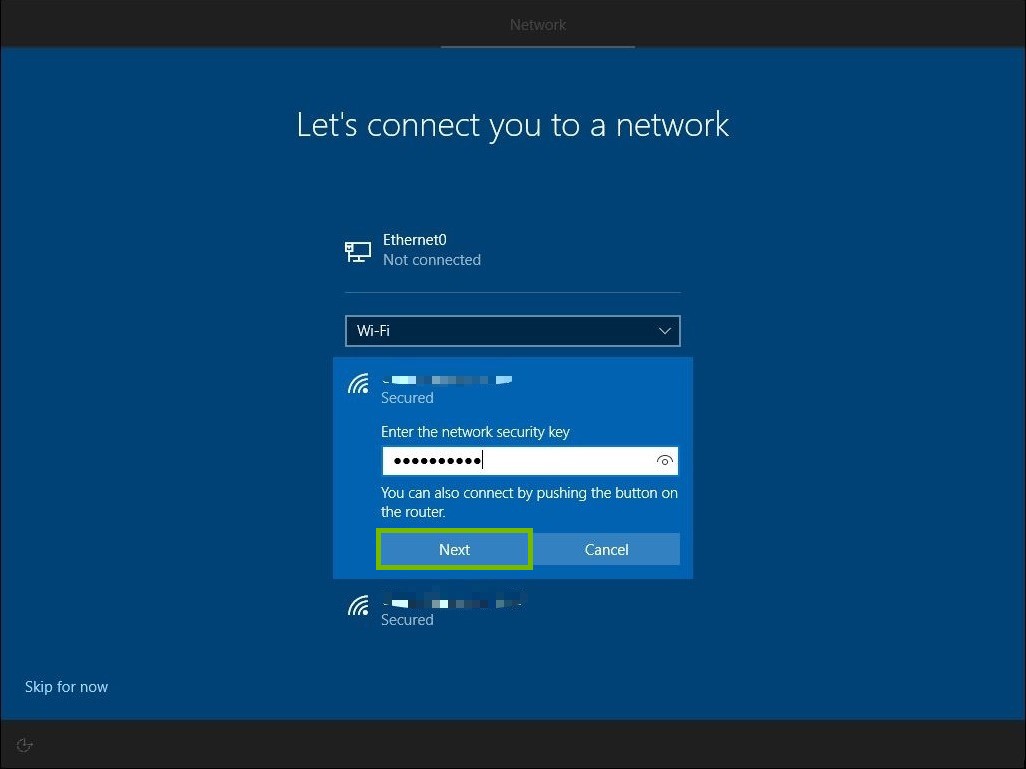
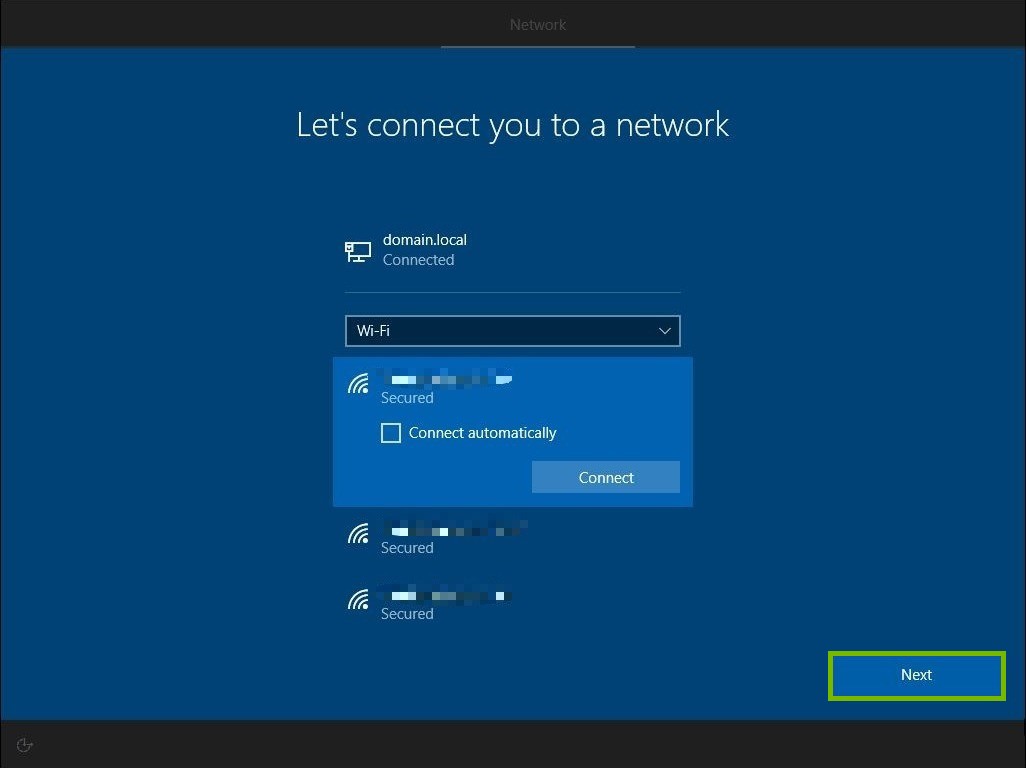
5. Wi-Fi
Find you home Wi-Fi network from the list and click on it to select it.
Click on Connect.
Enter your network security key.
Click Next.
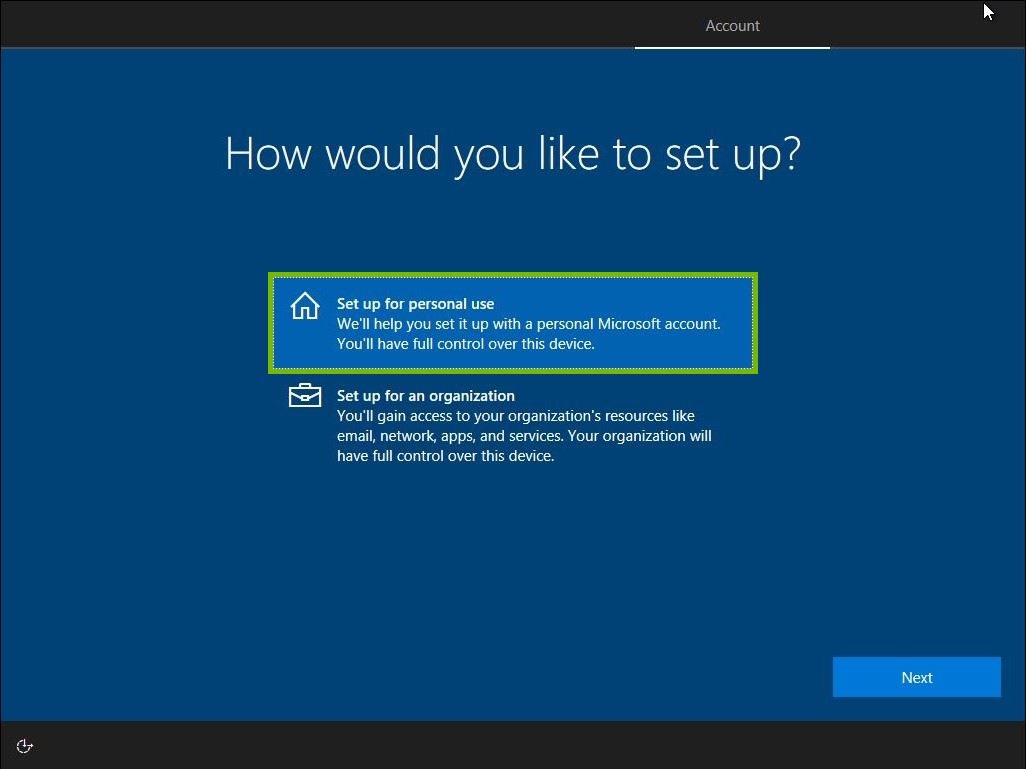
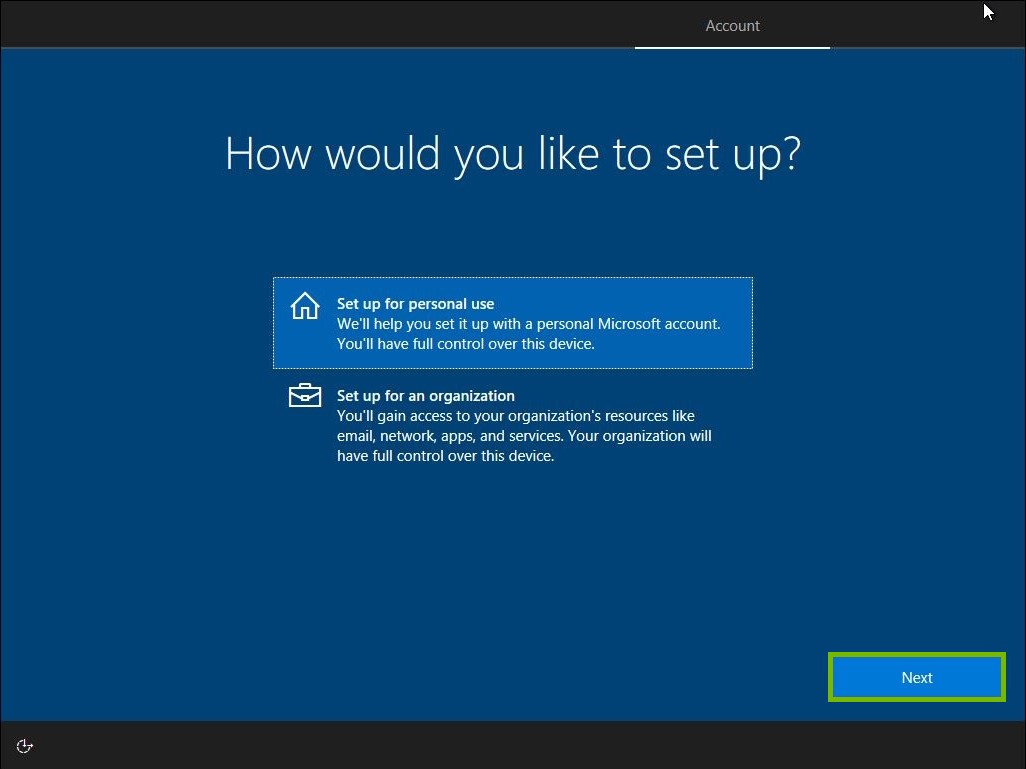
6. Personal Use
Click Set up for personal use.
Click Next.
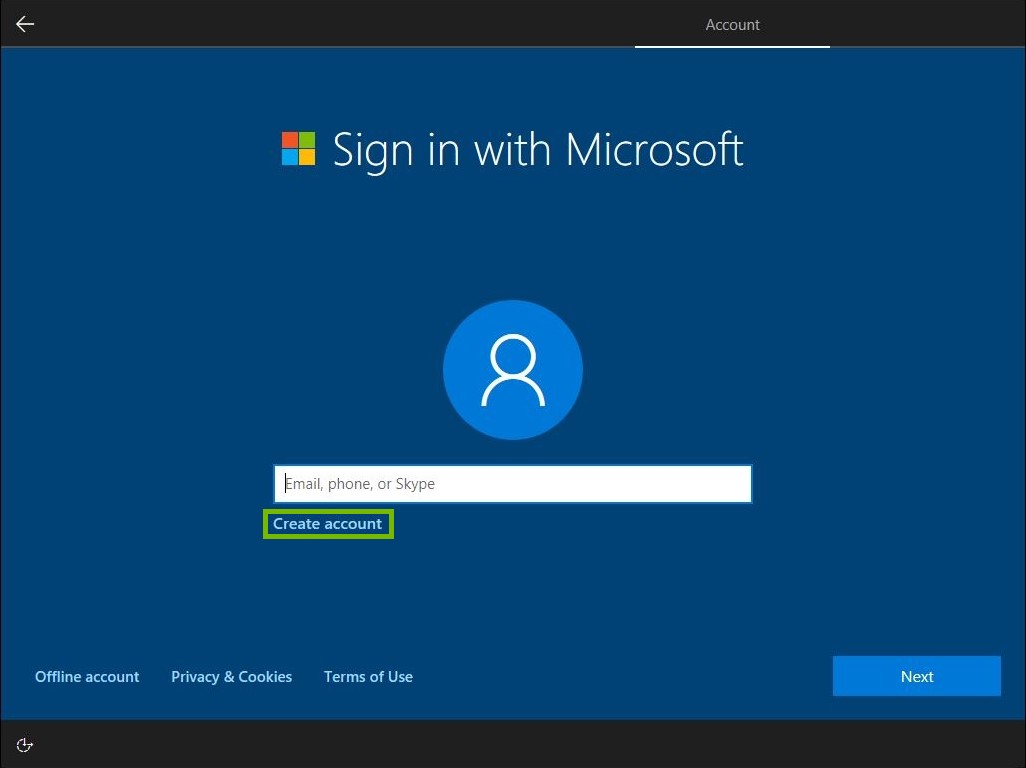
7. Create Microsoft Account
Click Create Account.
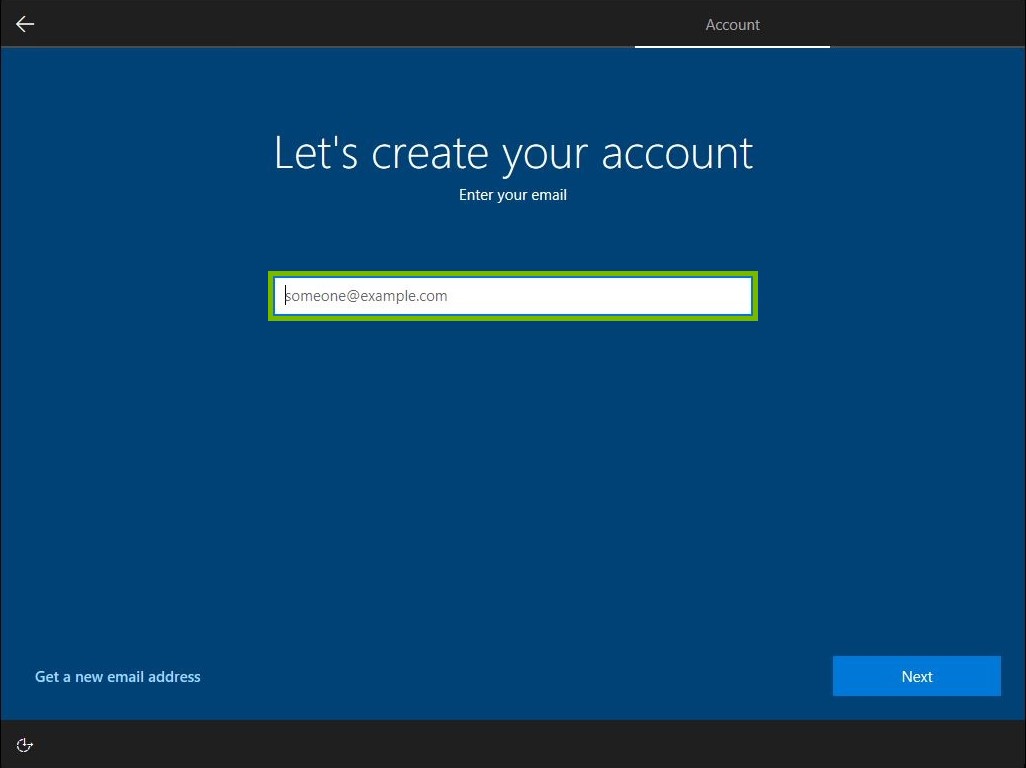
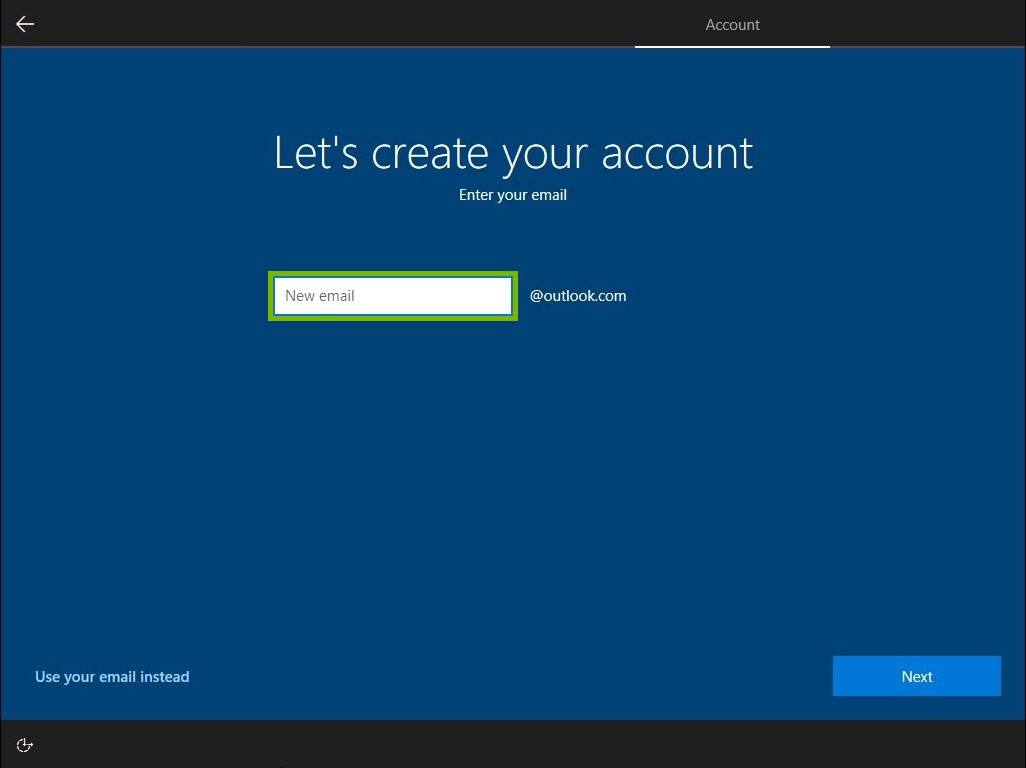
8. Existing Email
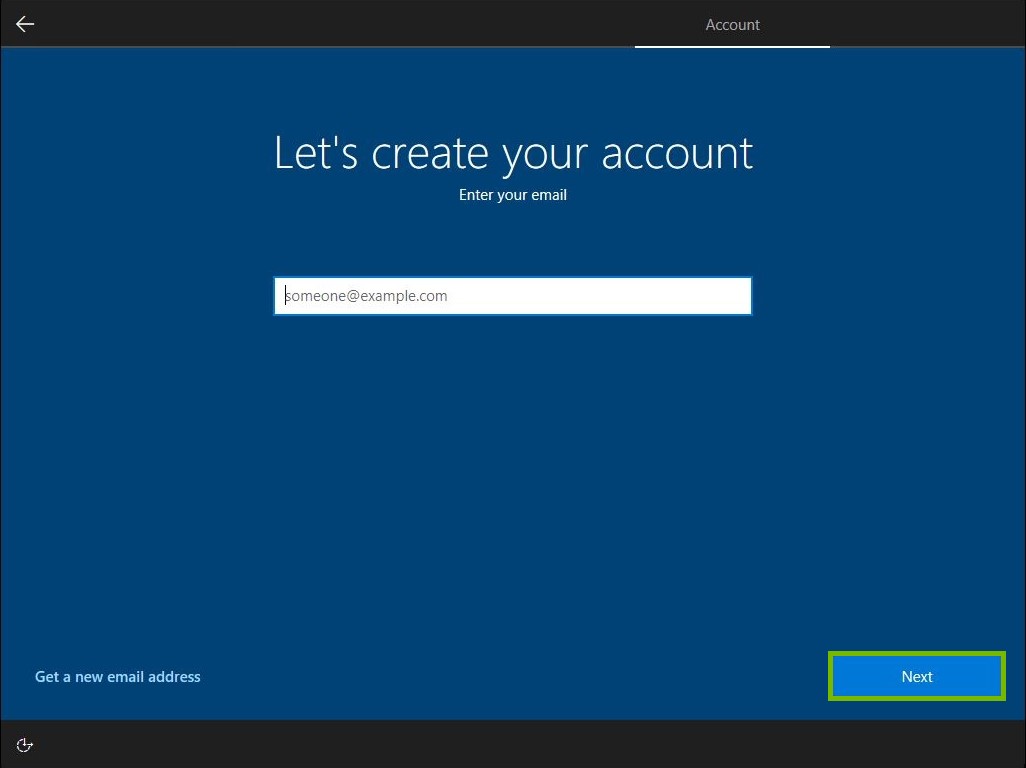
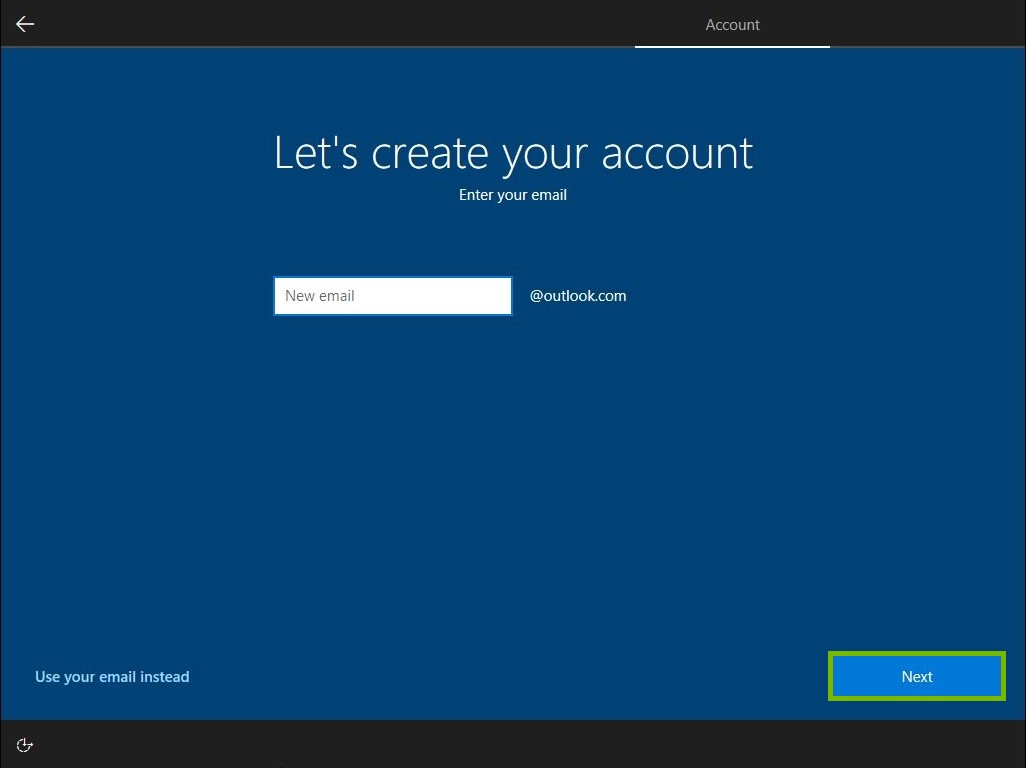
Type in an existing e-mail you use into the email field.
Click Next.
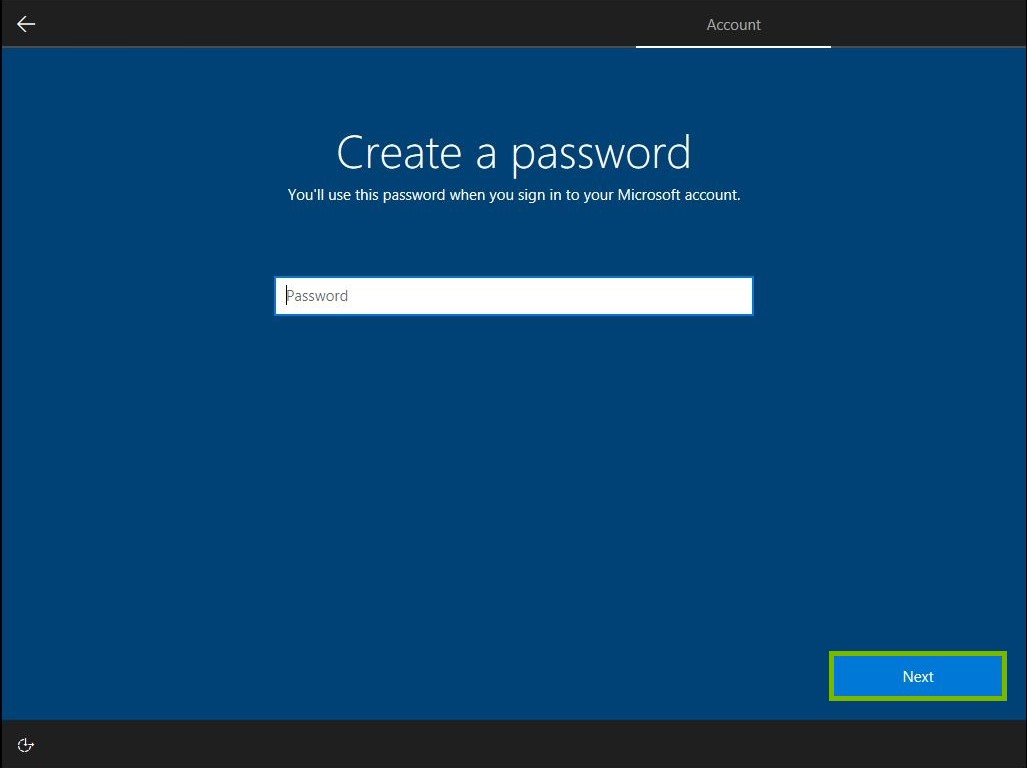
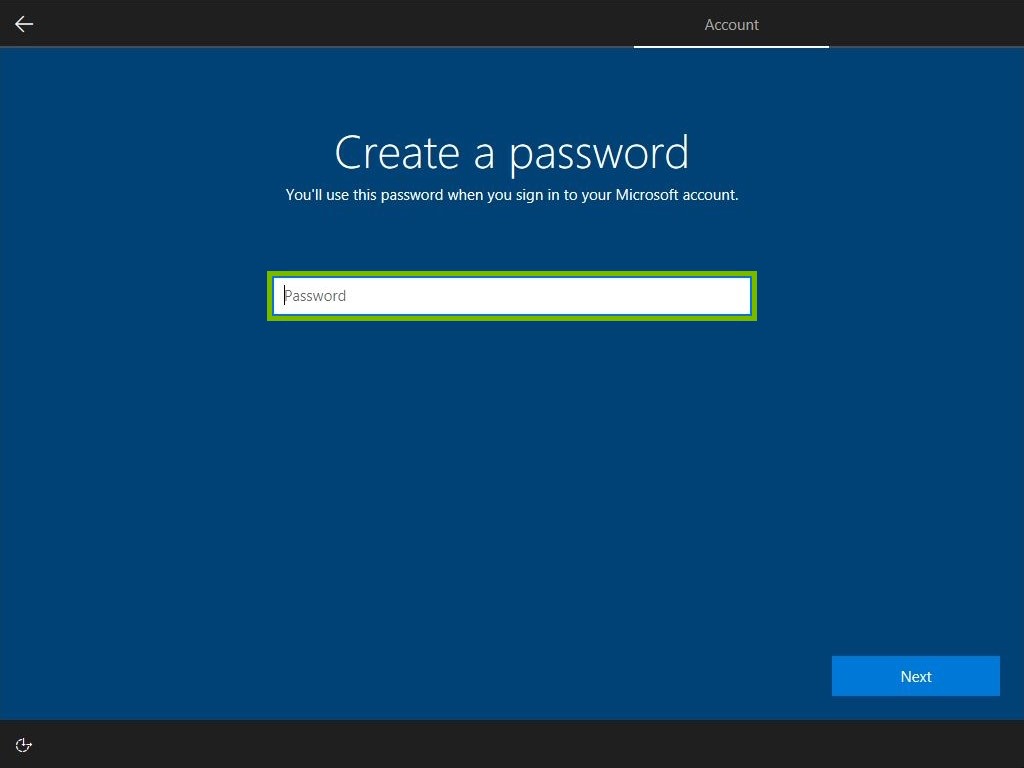
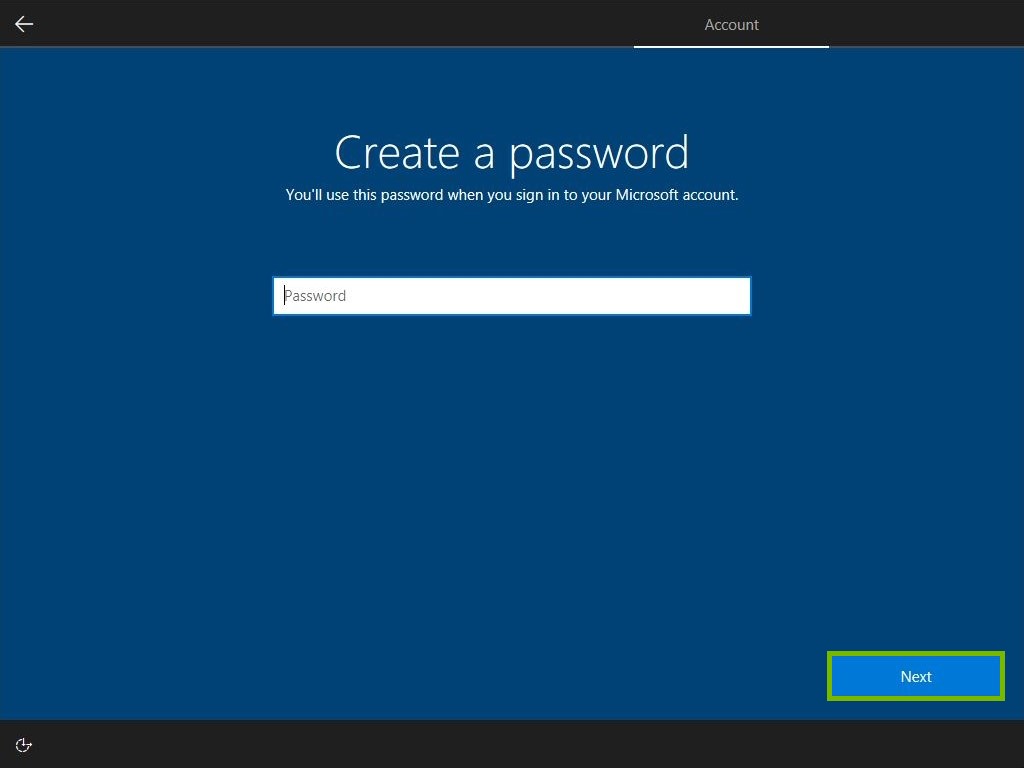
Type in a password that you would like to use.
Click Next.
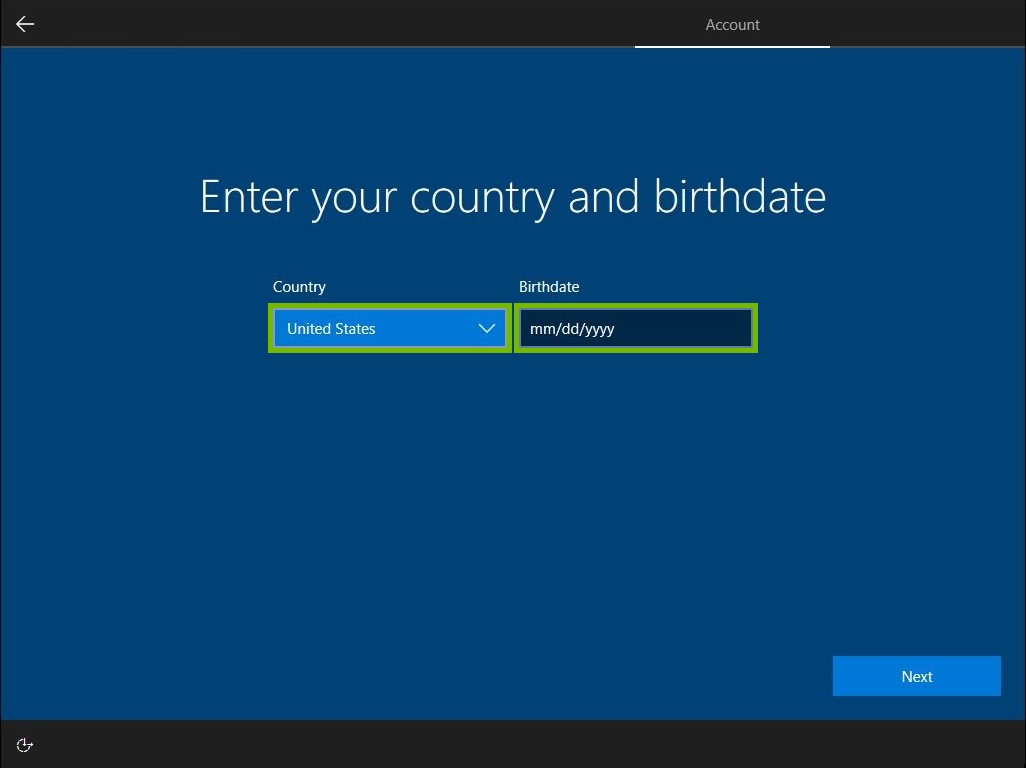
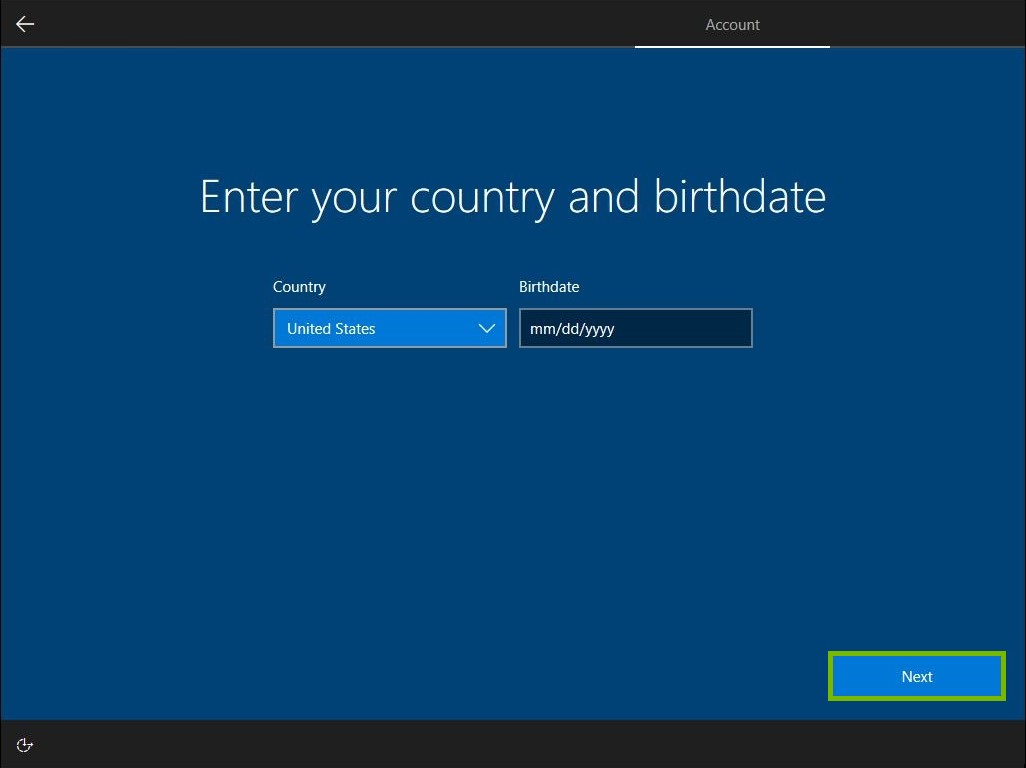
Select your country and birthdate.
Click Next.
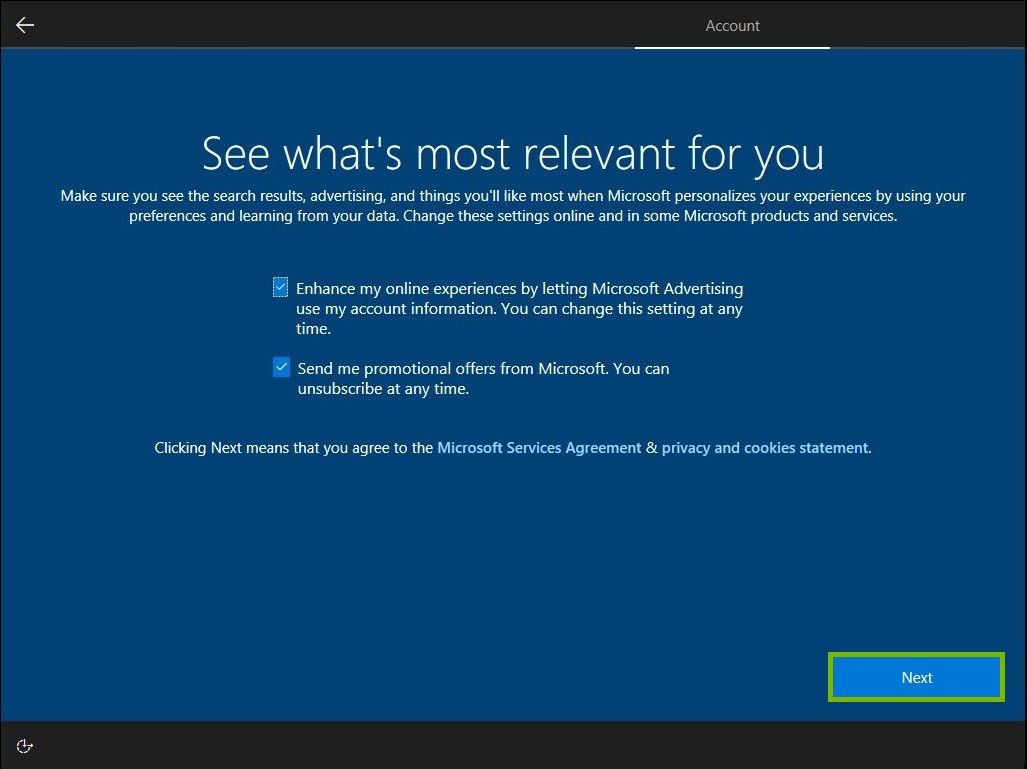
Choose your email preferences and click Next.
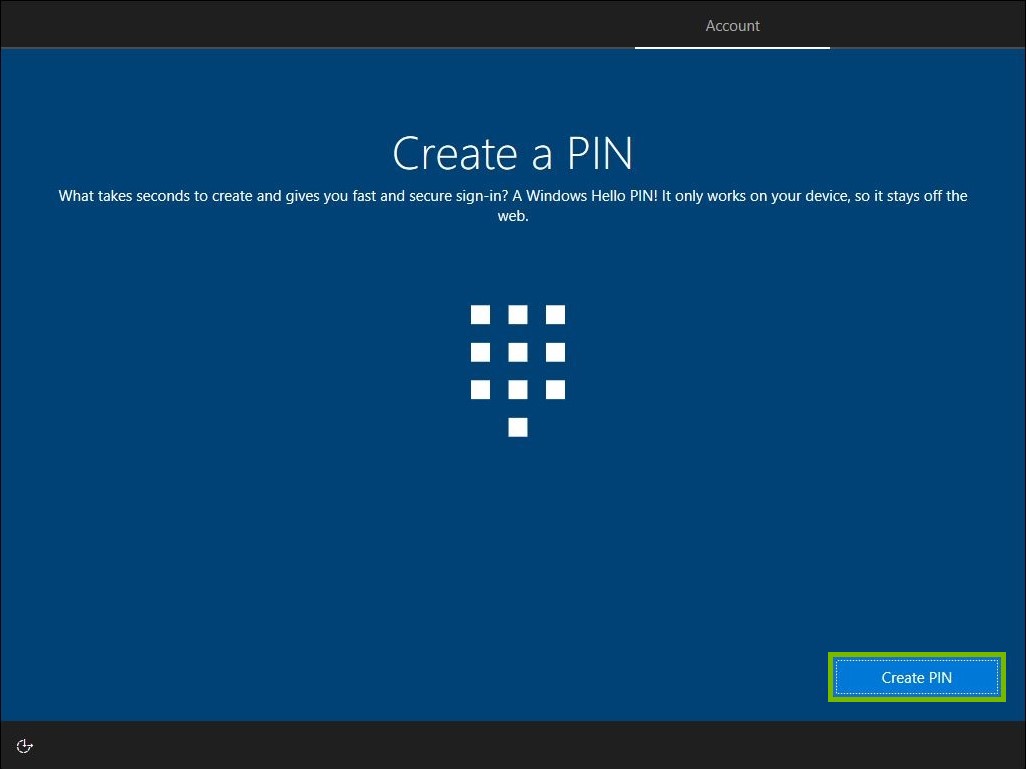
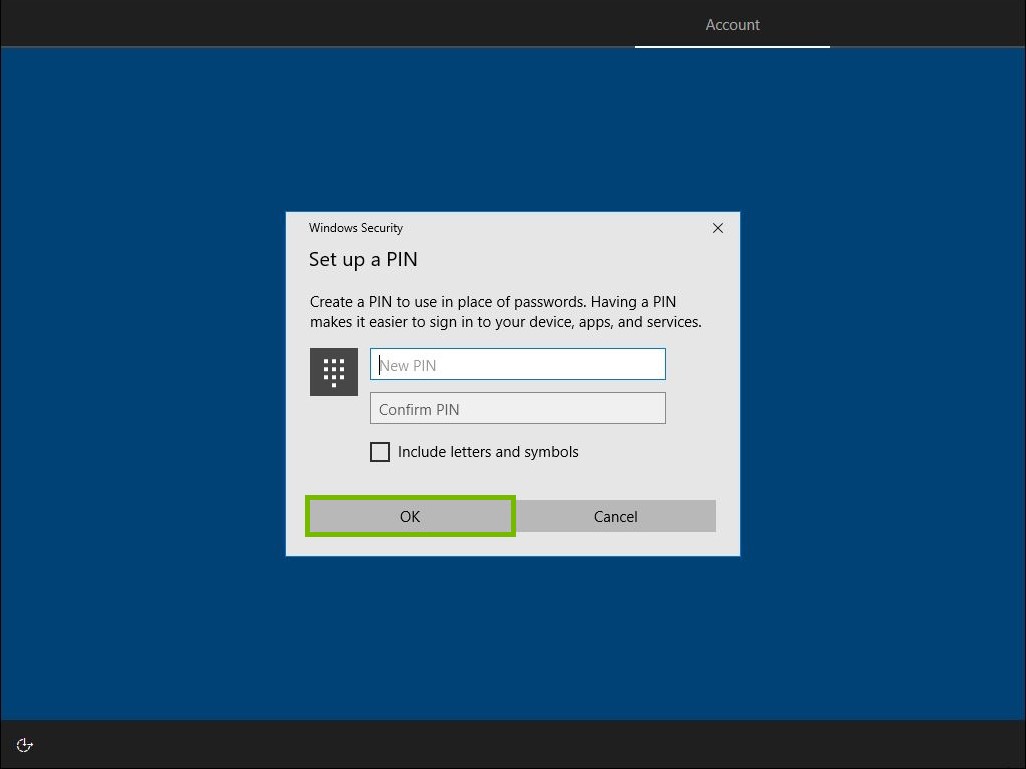
Click Create PIN.
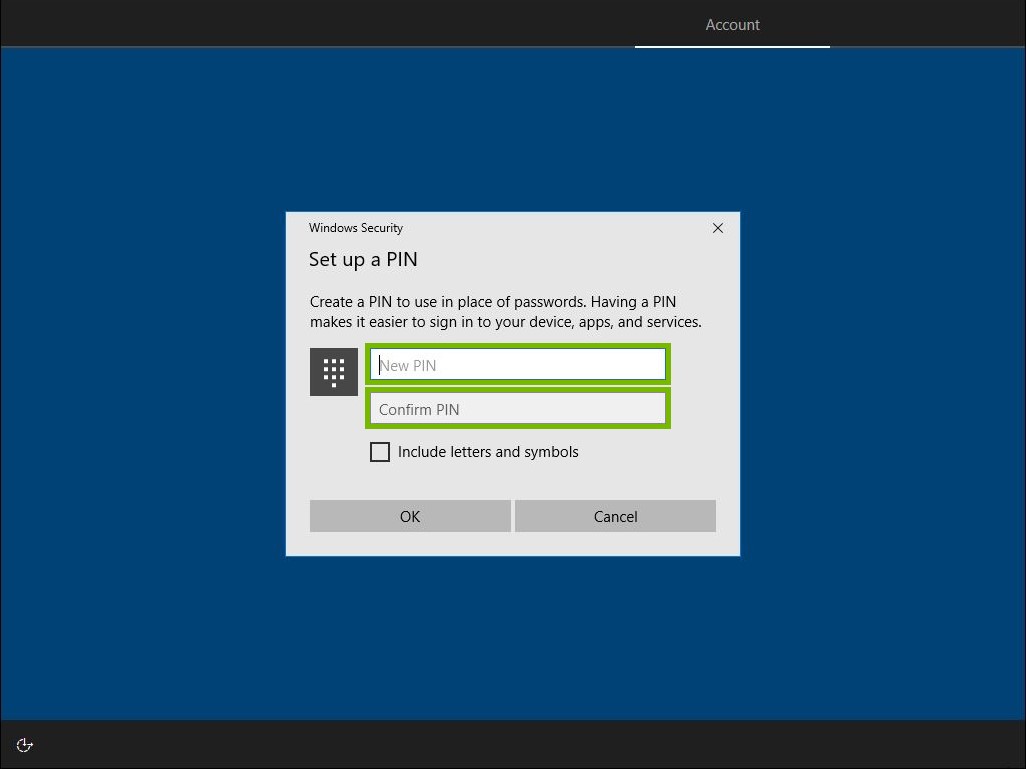
Enter and confirm your PIN.
Click OK.
9. Setup Services
The final steps of the set up process include configuring additional (and sometimes optional) services. Depending on the type of Windows 10 device you're setting up, you may not be prompted to set up each one of the additional services depicted below.
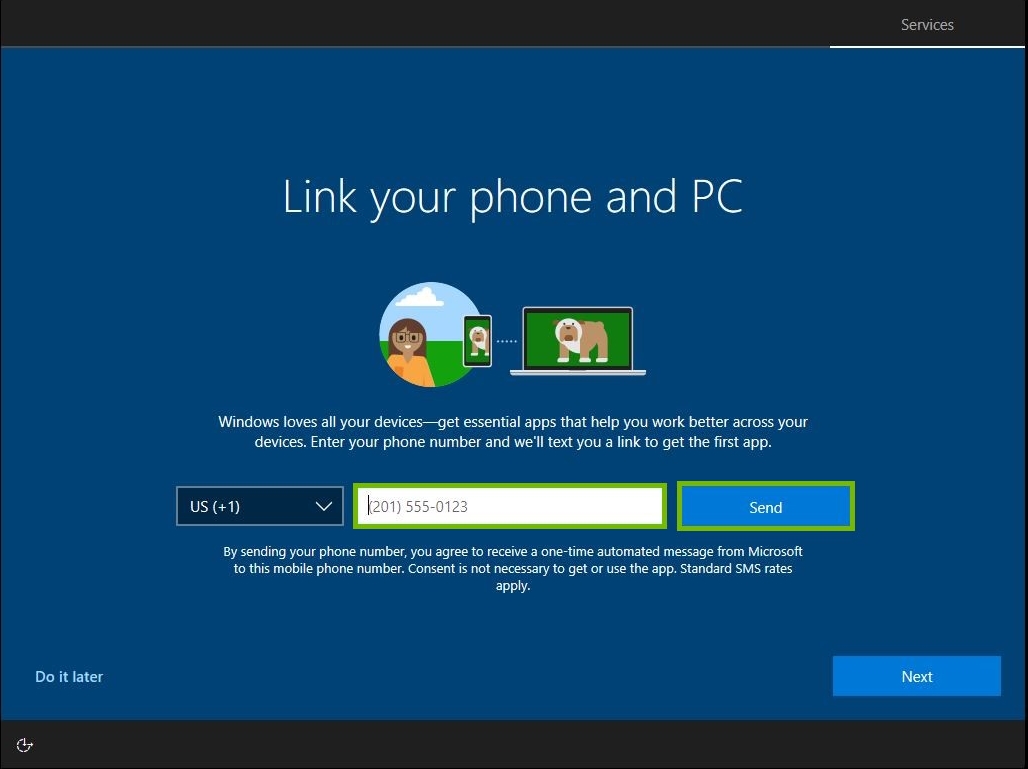
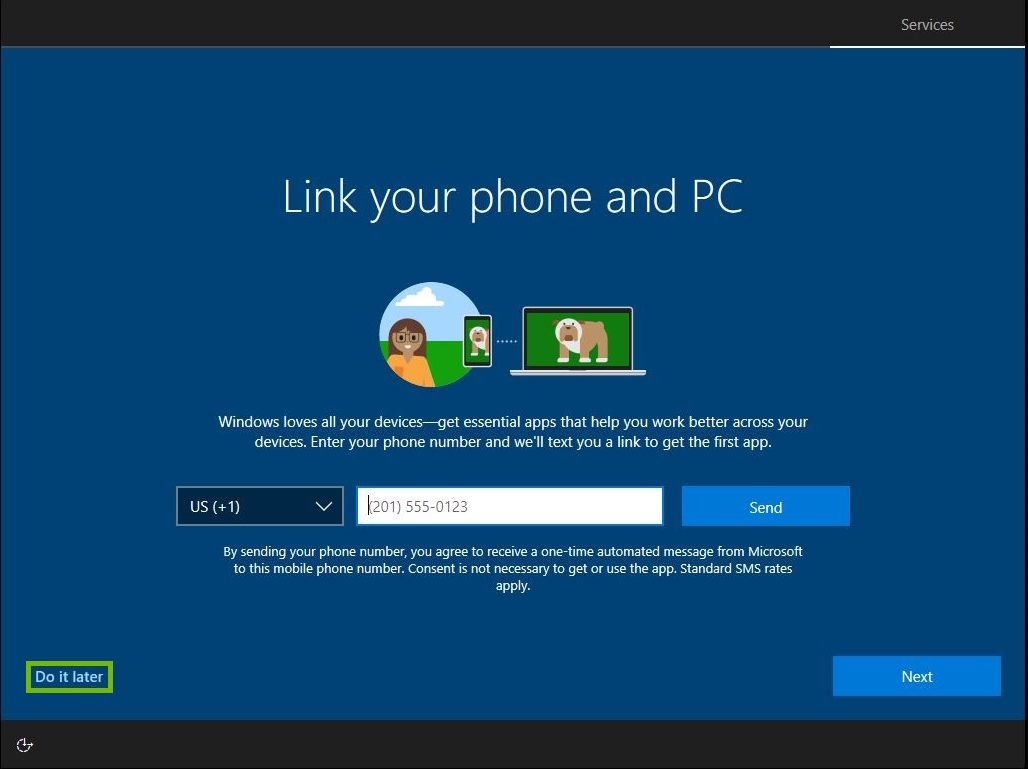
Link your smartphone and PC
By linking your smartphone to your PC, you will have the ability to keep your data synchronized between devices.
If you want to link your mobile device with your pc, enter your phone number and press send. Follow the link provided to you from your phone.
If you do not wish to link your phone at this time, you can either click Do it later.
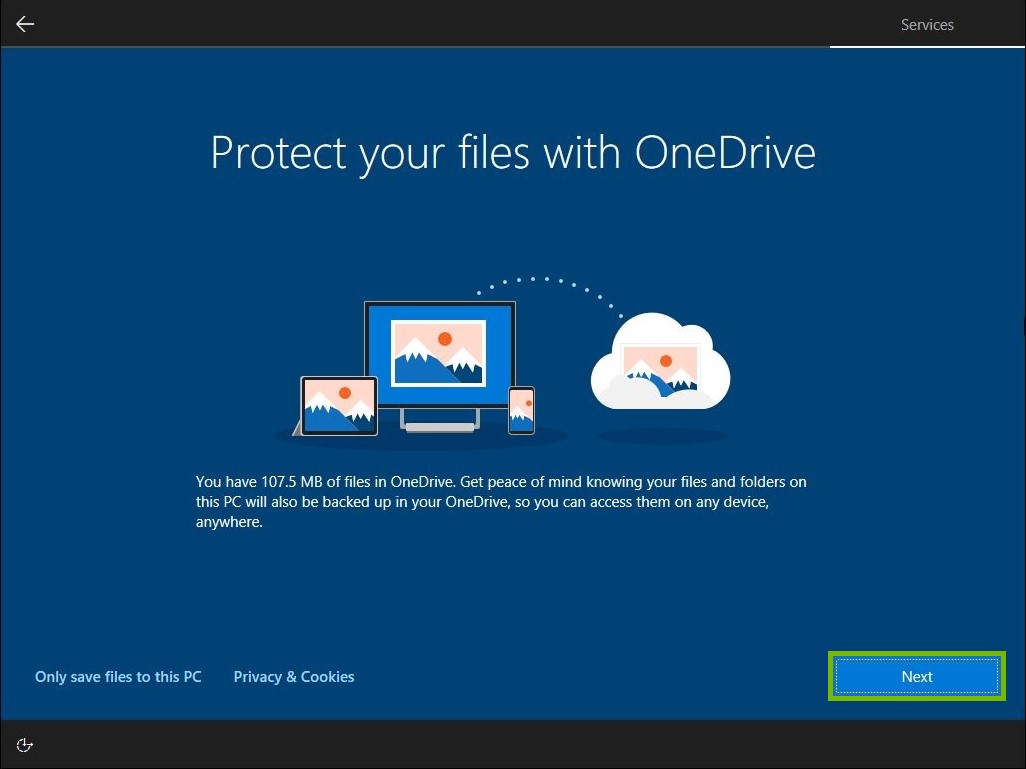
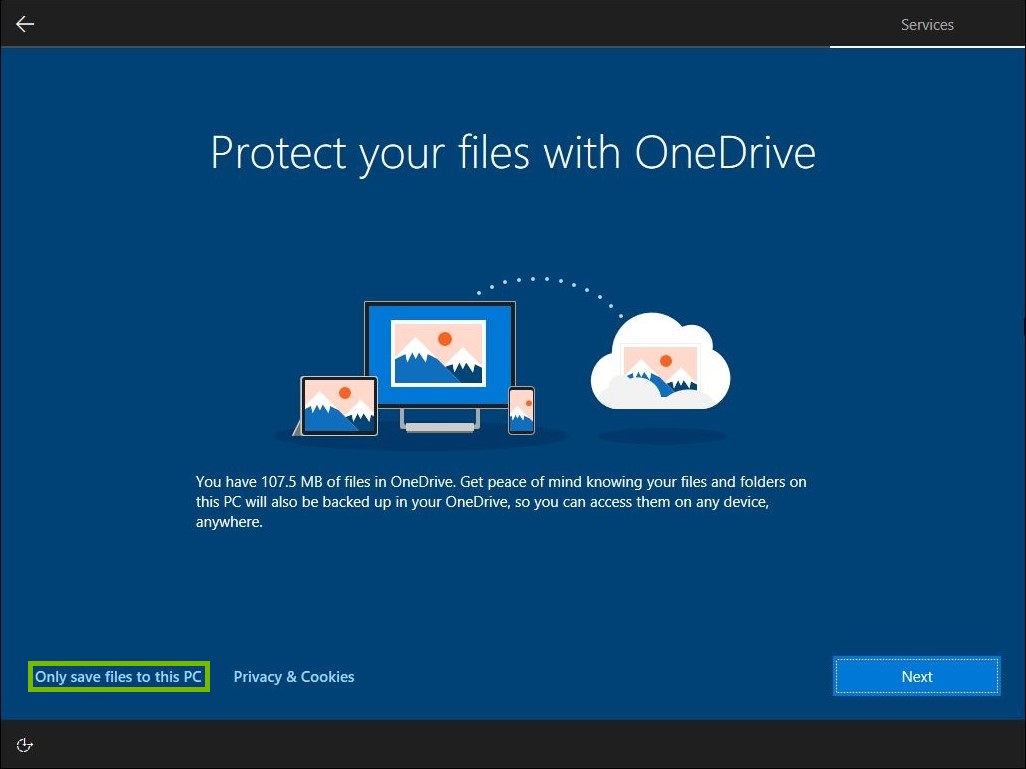
OneDrive
One Drive lets you save files from your PC to the cloud. You can then access this data on any other device that is also attached to your OneDrive account.
To use OneDrive, click on Next.
If you do not wish to use OneDrive, click Save Files Locally.
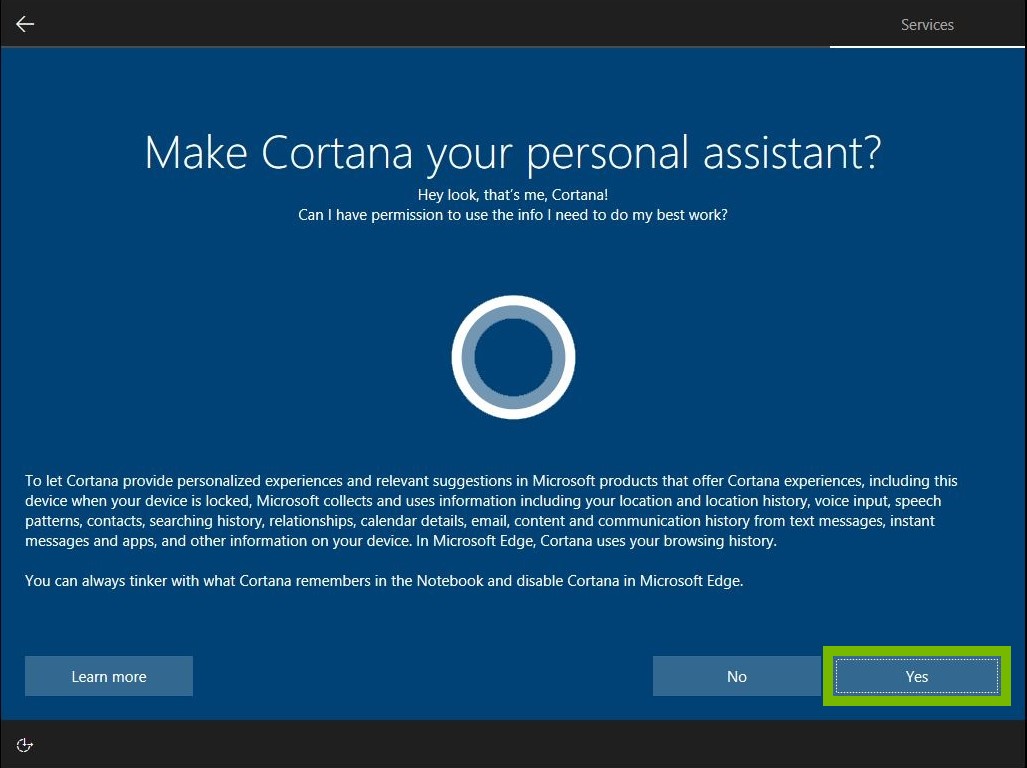
Cortana
Cortana is a personal voice assistant that is included with windows. By enabling Cortana, you can get updates and perform simple tasks using your voice.
If you wish to enable Cortana, click Yes.
If you wish to disable Cortana, click No.
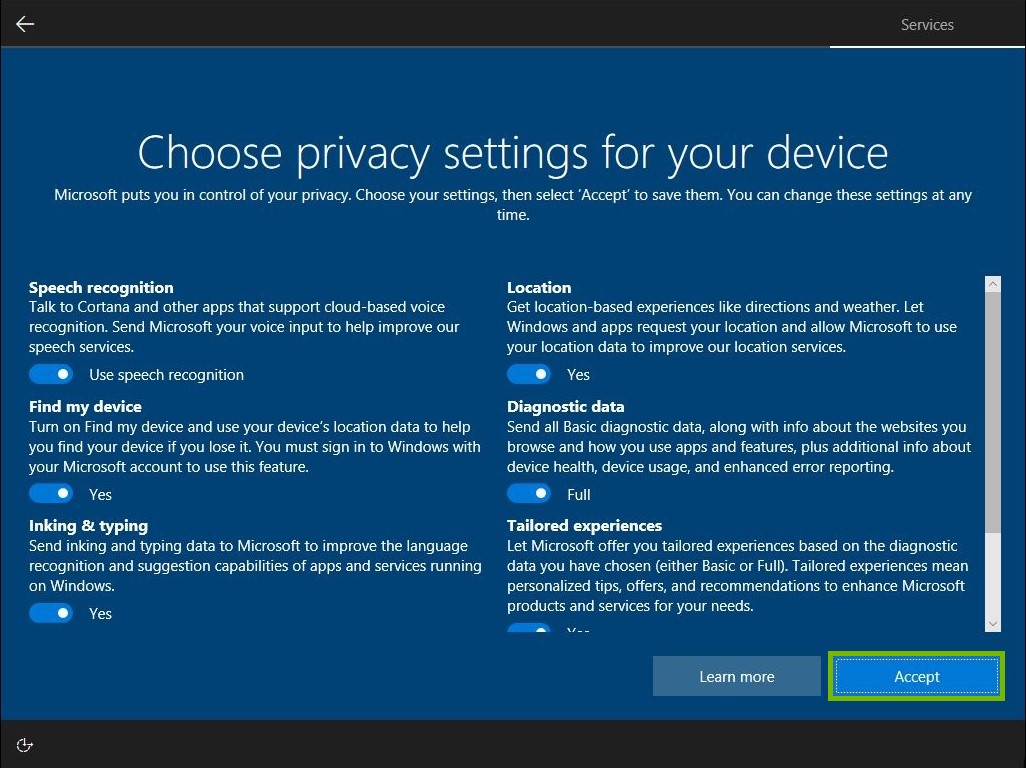
Privacy Settings
Privacy Settings will dictate how your computer communicates with Microsoft and what features you can enable or disable. Go though this list and decide which items you want to be turned on or off. Once you are done, click on Accept.
Example Security Settings
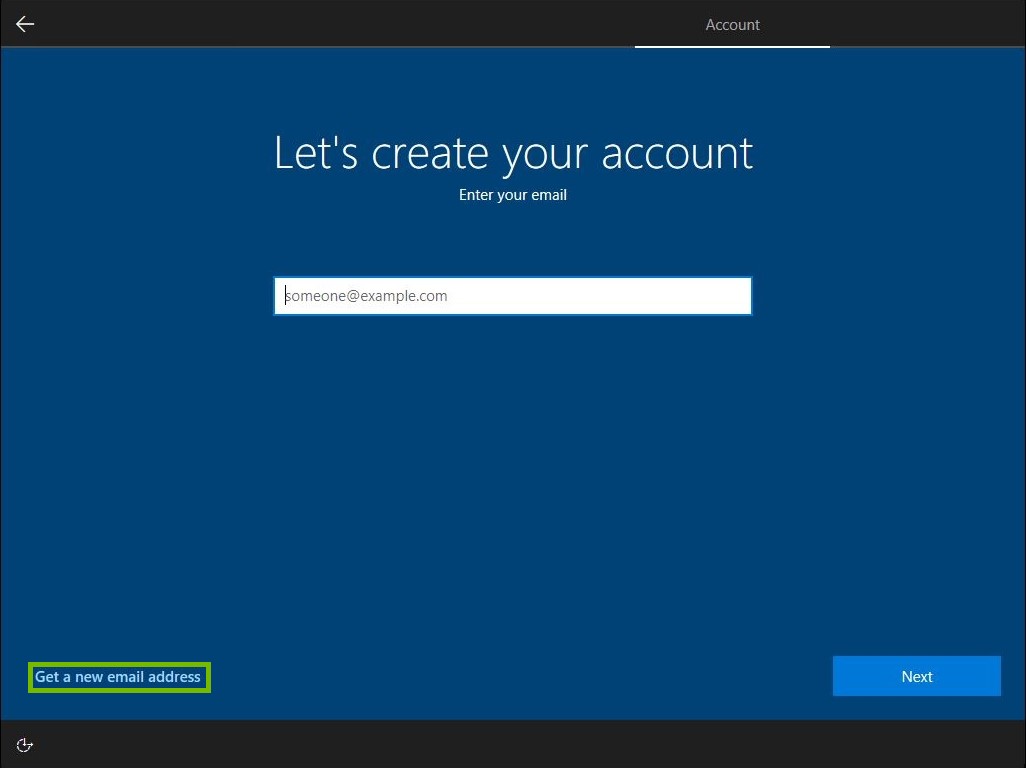
10. New Email
Click Get a new email address.
Type an email address that you would like to have.
Click Next.
Type a password in you would like to use.
Click Next.
Select your country and birthdate.
Click Next.
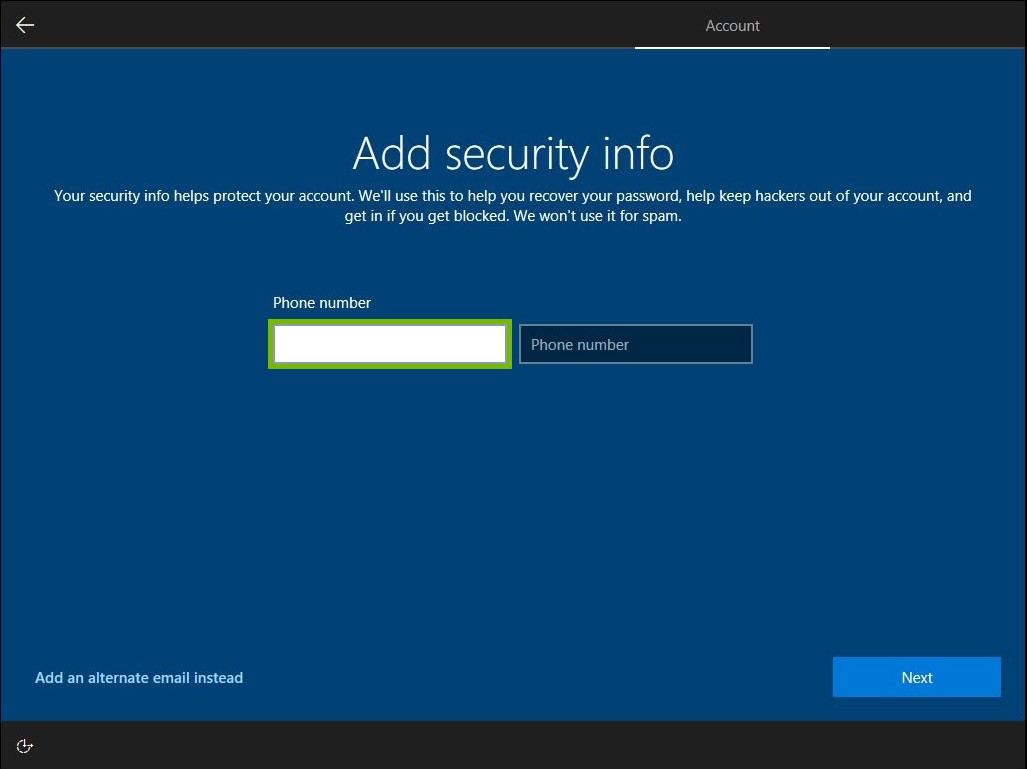
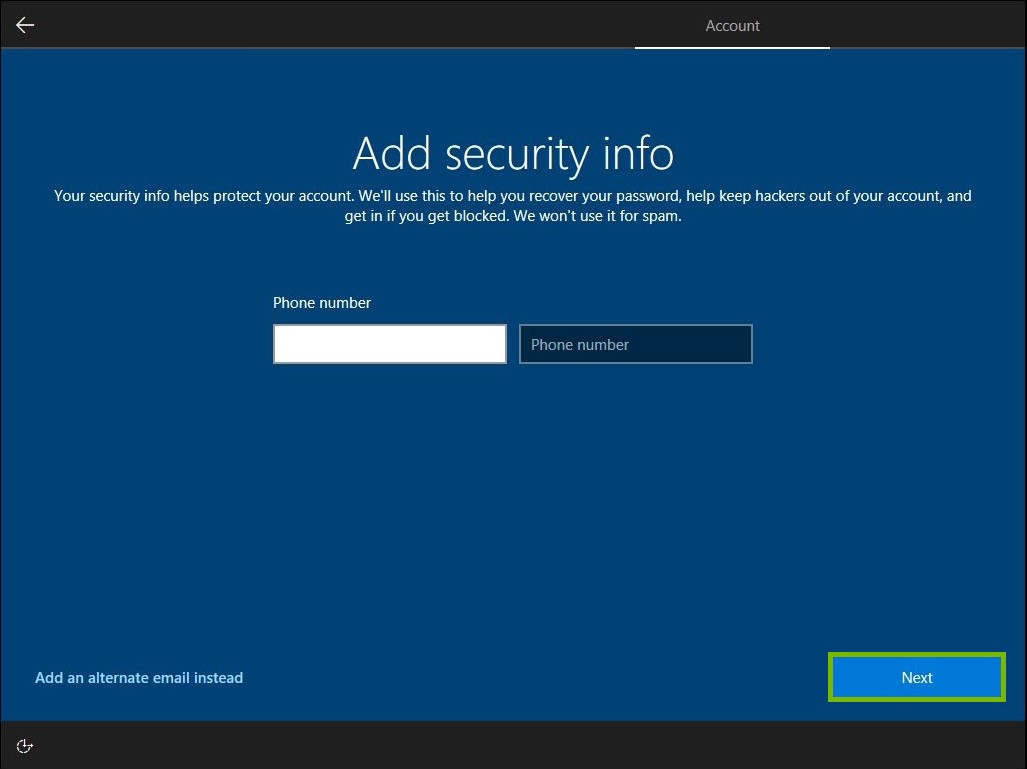
11. Link Phone Number
Type in your phone number.
Click Next.
Choose your email preferences and click Next.
Click Create PIN.
Enter and confirm your PIN.
Click OK.
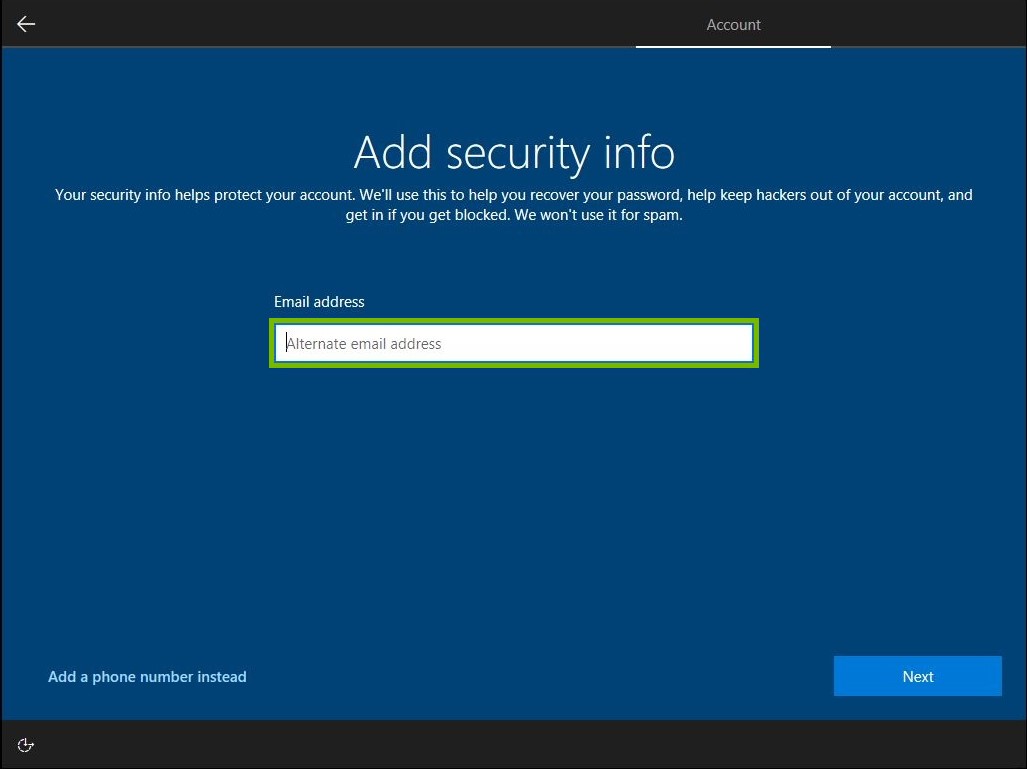
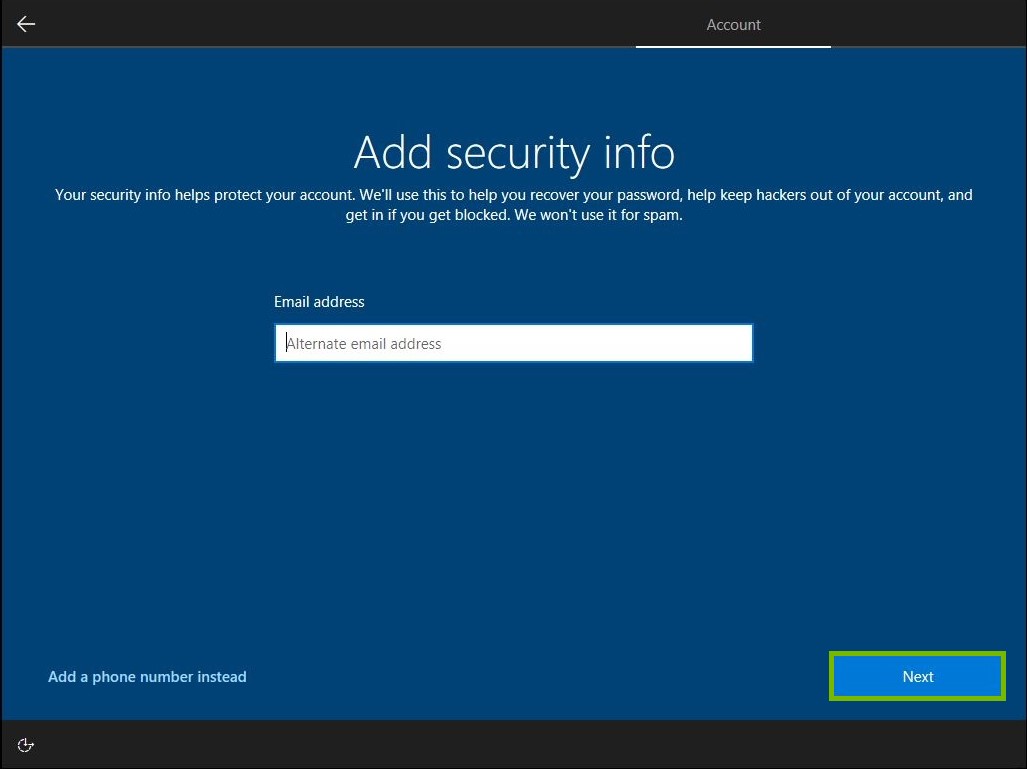
12. Link Alternative Email
Click Add an alternate email instead.
Type in your alternate email address.
Click Next.
Choose your email preferences and click Next.
Click Create PIN.
Enter and confirm your PIN.
Click OK.
13. Use Microsoft Account
Type in your email address associated with your Microsoft account.
Click Next.
Enter your password.
Click Next.
Click Create PIN.
Enter and confirm your PIN.
Click OK.
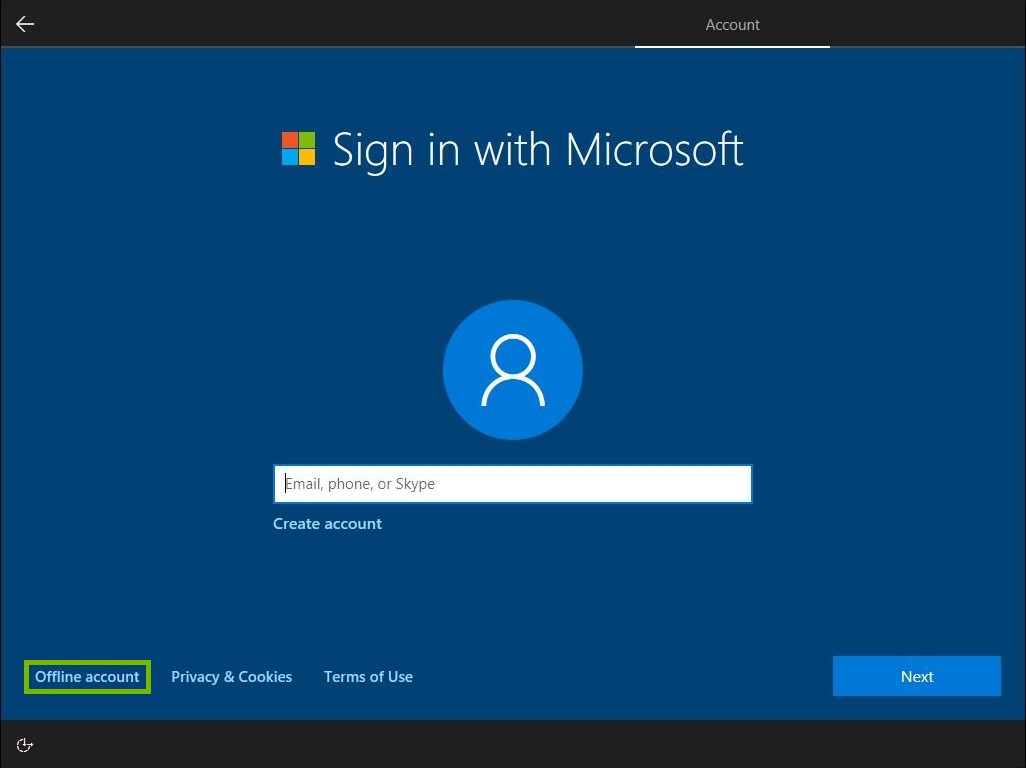
14. Use Local Account
Click Offline Account.
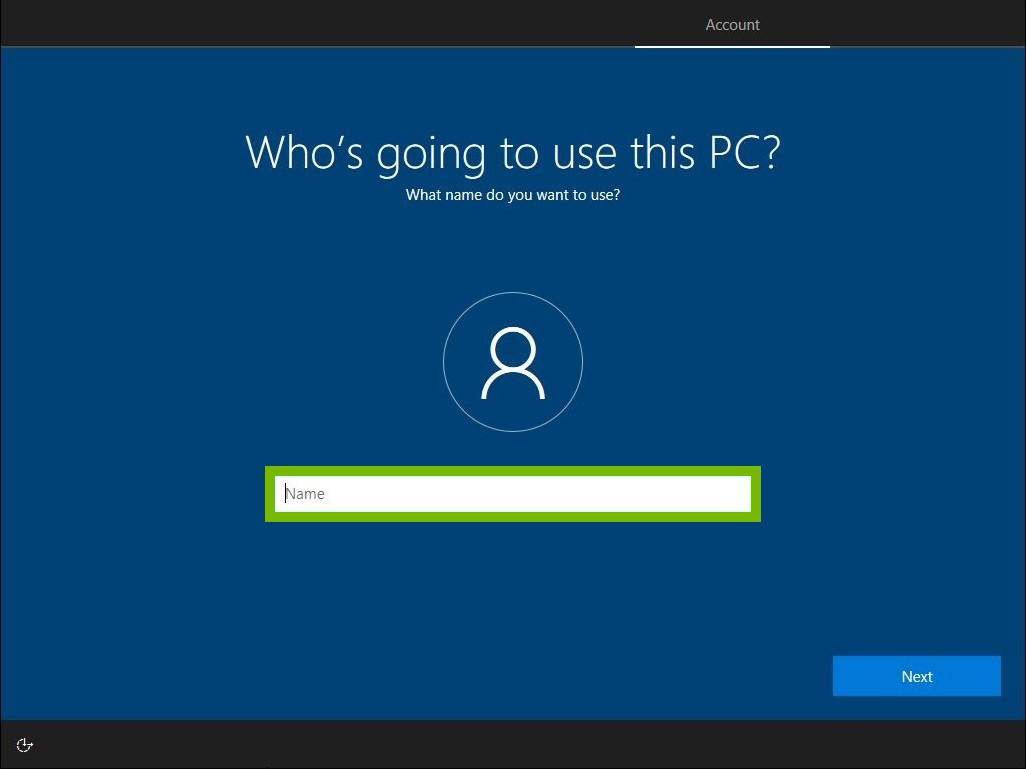
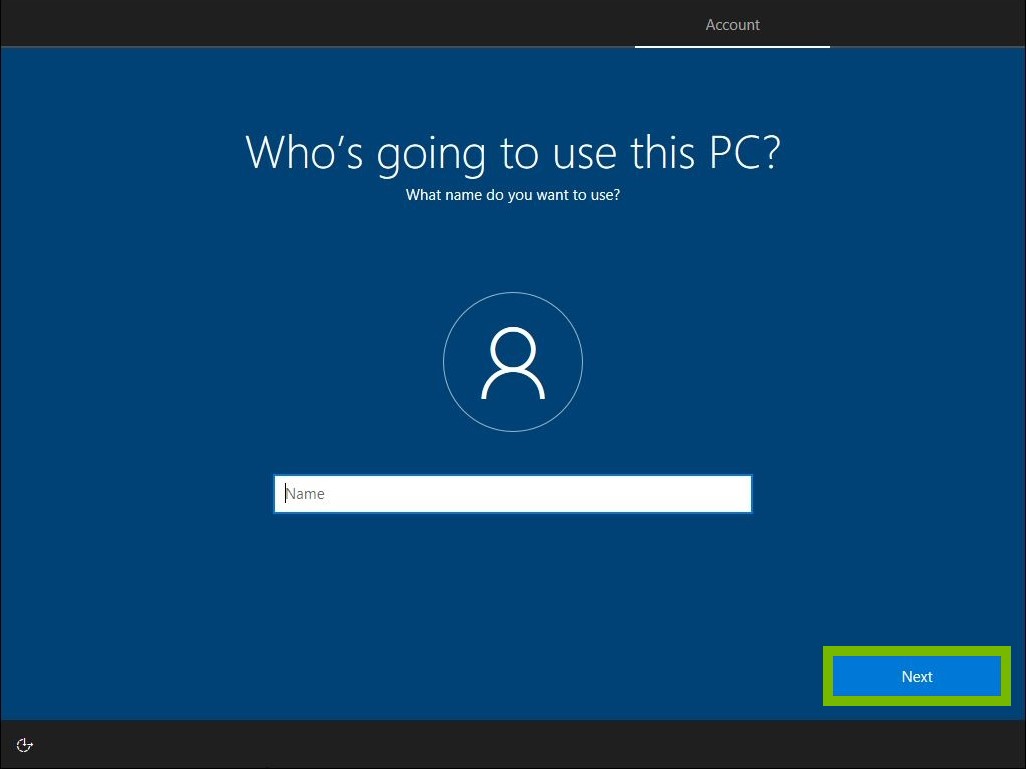
Type in the name you would like displayed for your account.
Click Next.
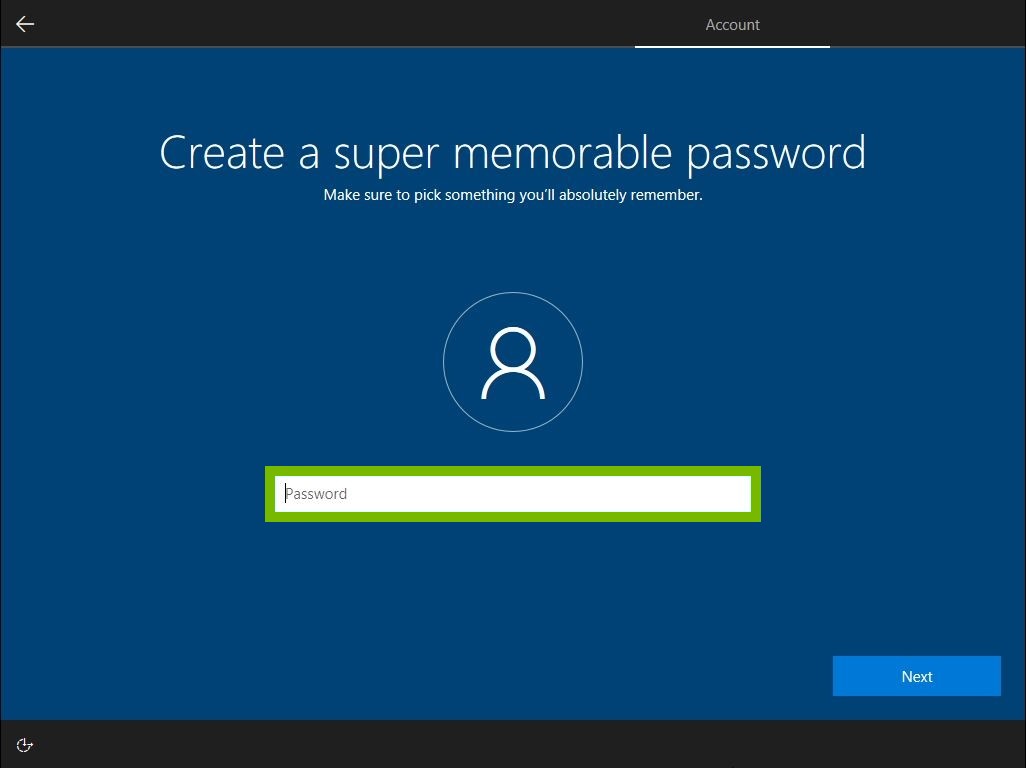
Type in a password you would like to use.
Click Next.
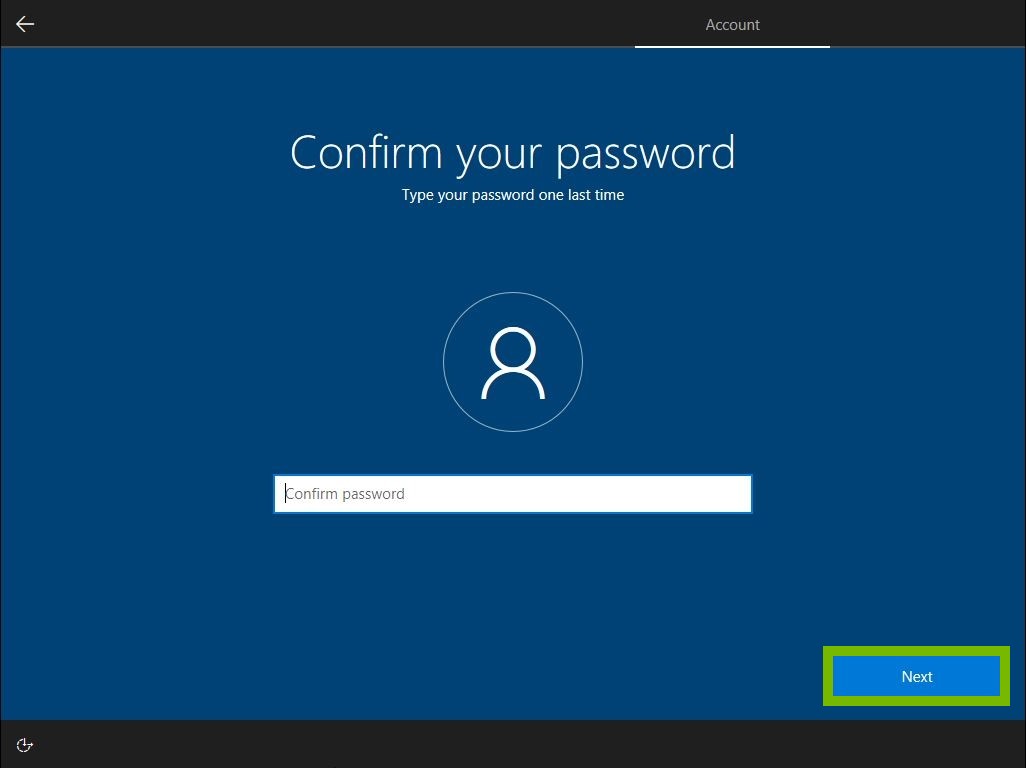
Confirm your password.
Click Next.
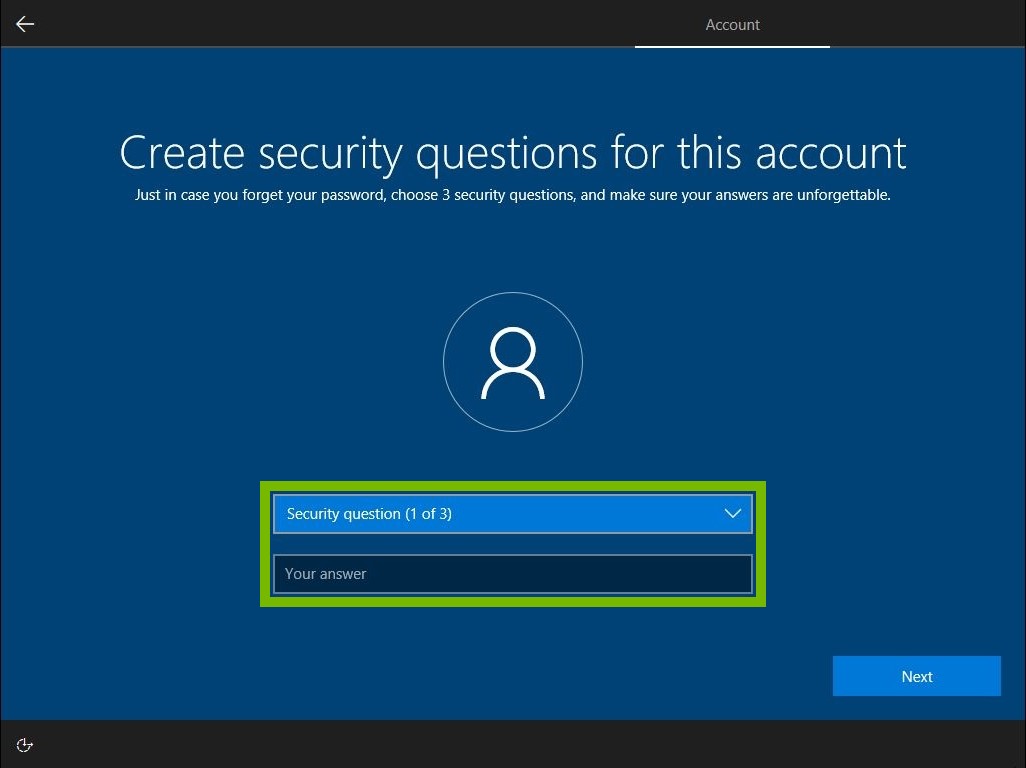
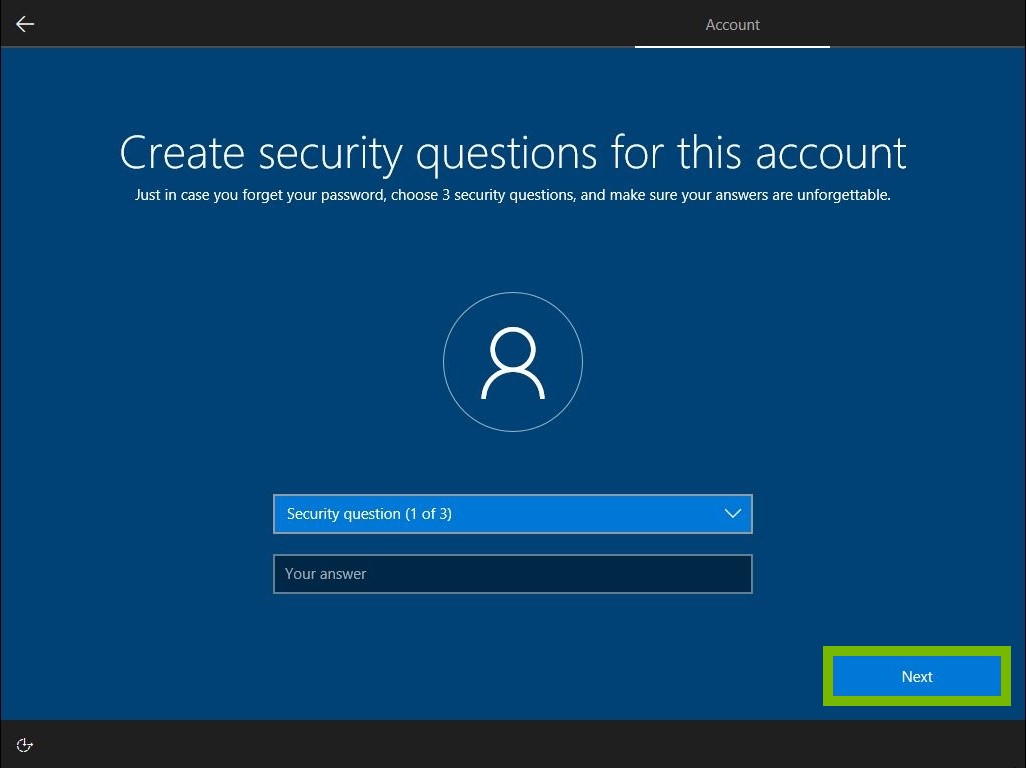
You will now be asked to choose and answer 3 security questions in case you forget your password.
Choose a security question and type the answer to it.
Click Next.
15. Organization
Click Set up for an organization.
Click Next.
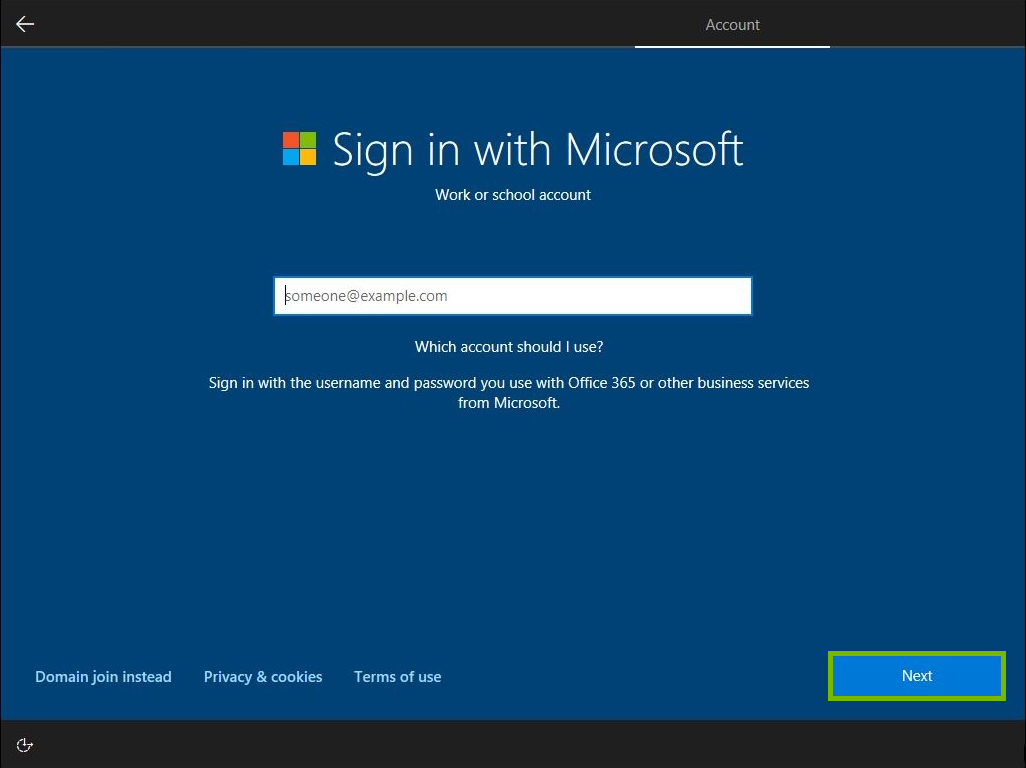
16. Use Work or School Account
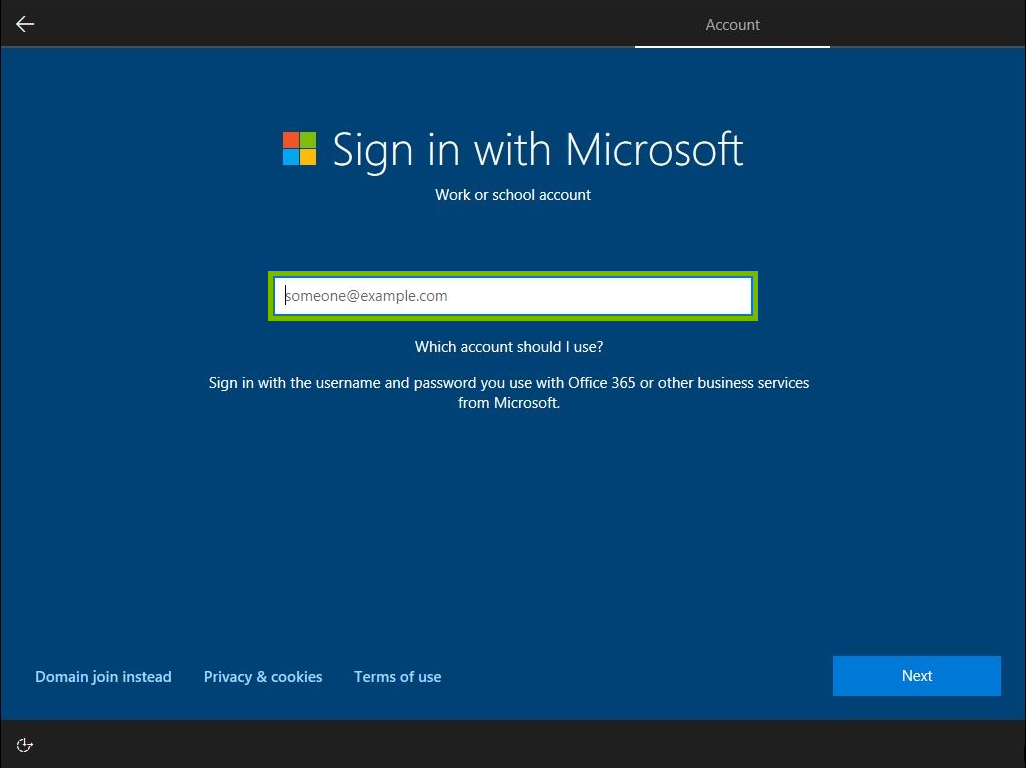
Type in your work or school email address.
Click Next.
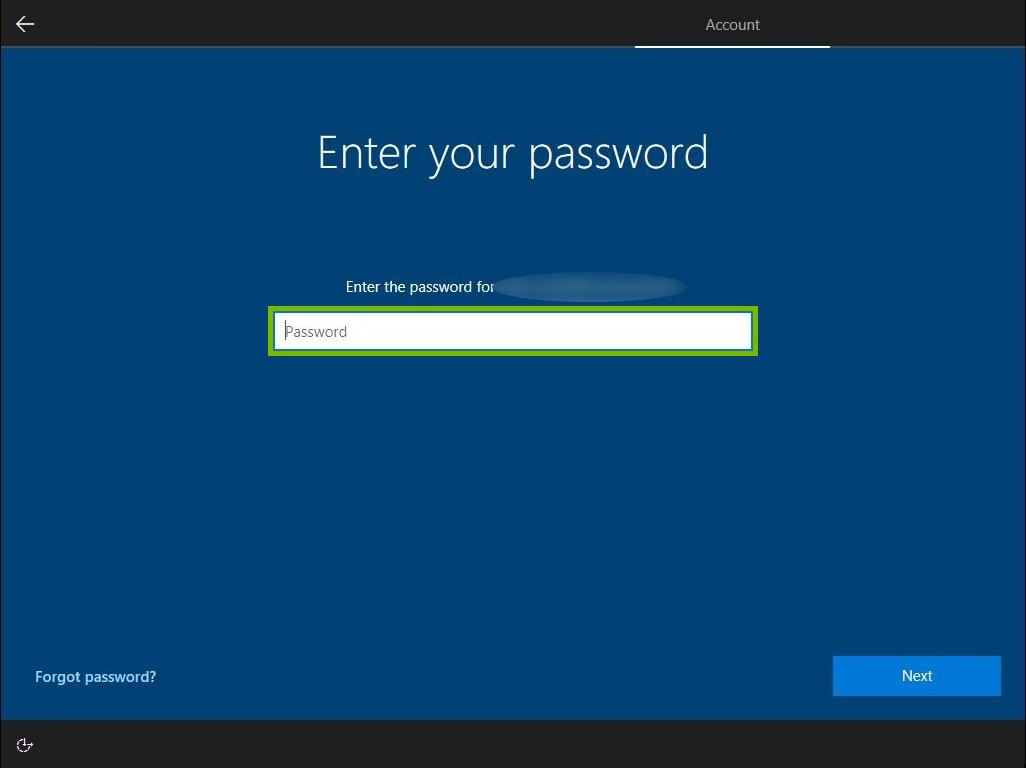
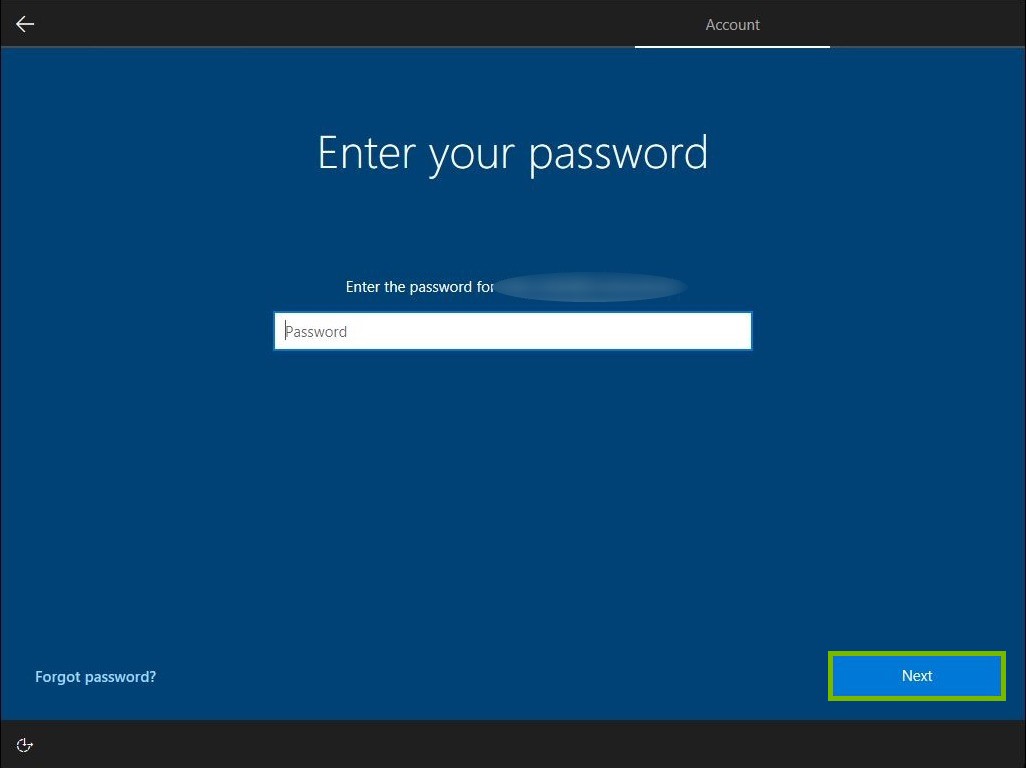
Type in your password.
Click Next.
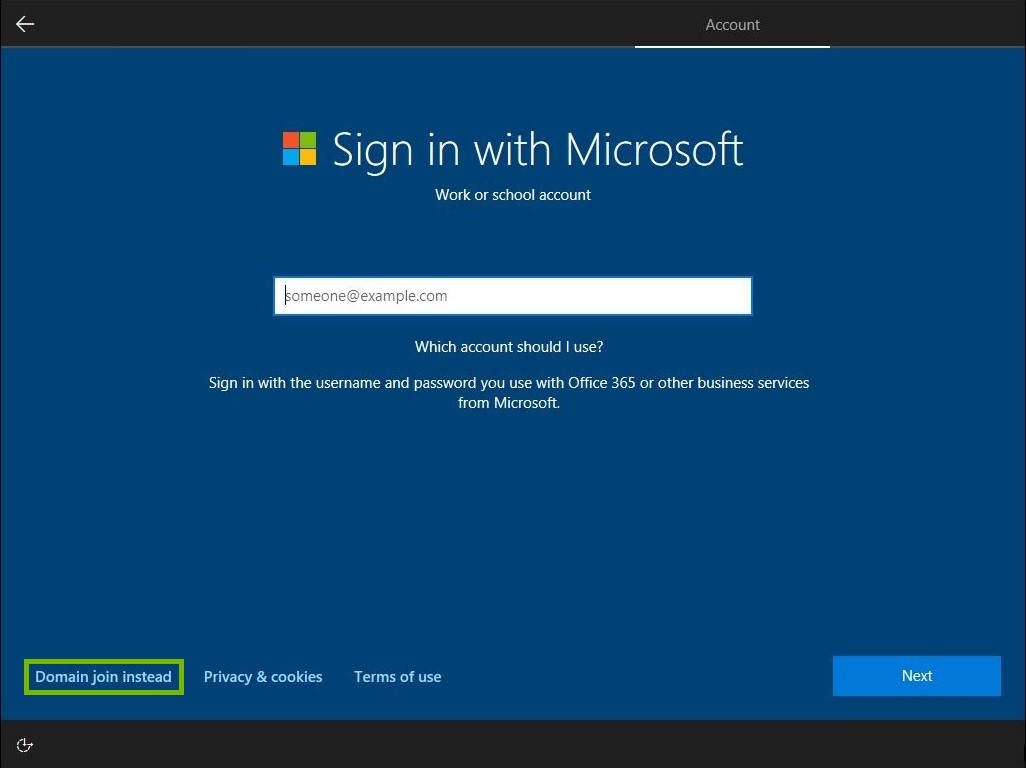
17. Domain Join
Click Offline Account.
Type in the name you would like displayed for your account.
Click Next.
Type in a password you would like to use.
Click Next.
Confirm your password.
Click Next.
You will now be asked to choose and answer 3 security questions in case you forget your password.
Choose a security question and type the answer to it.
Click Next.
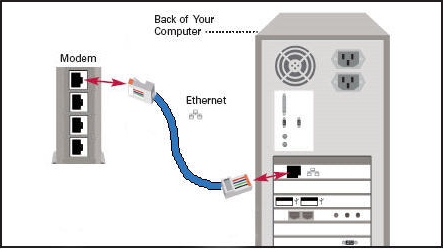
18. Ethernet
Keep in mind that some laptop computers do not come equipped with an ethernet port anymore. Tablet PCs rarely come equipped with ethernet ports and must be connected via WiFi.
Connect an Ethernet cable to your computer.
Once the cable is connected, your network should appear as being connected.
Click Next.
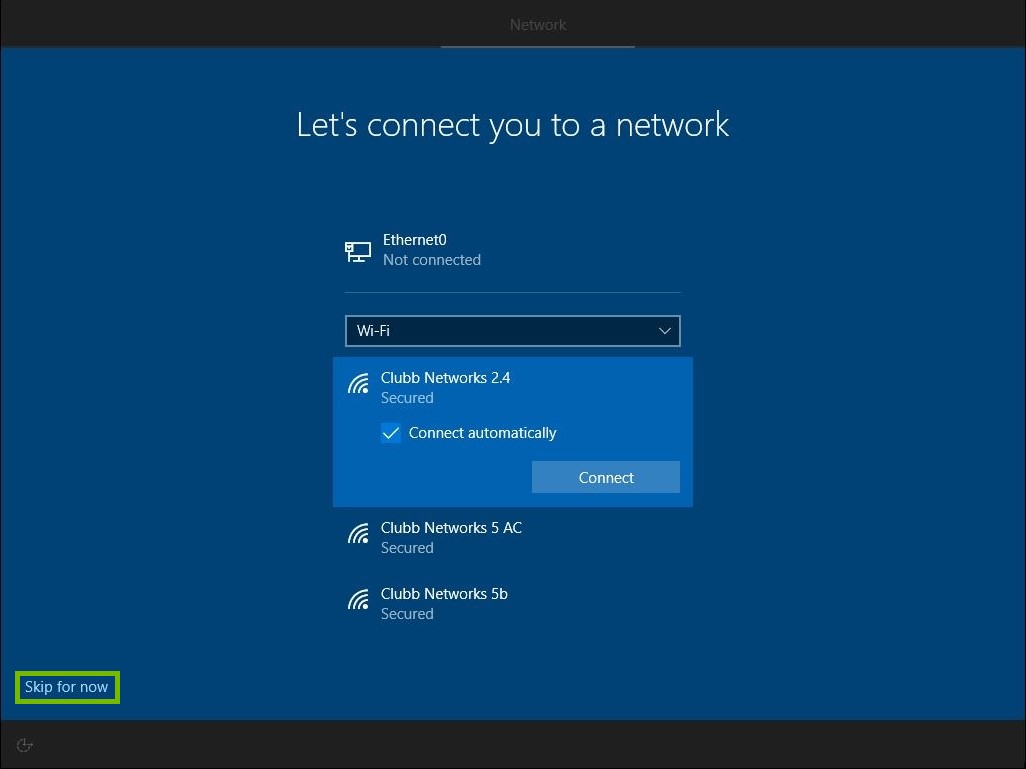
19. Set Up Later
Click Skip For Now.
Type in the name you would like displayed for your account.
Click Next.
Type in a password you would like to use.
Click Next.
Confirm your password.
Click Next.
You will now be asked to choose and answer 3 security questions in case you forget your password.
Choose a security question and type the answer to it.
Click Next.
20. Single Keyboard Layout
Click on Skip.
21. Wi-Fi
Find you home Wi-Fi network from the list and click on it to select it.
Click on Connect.
Enter your network security key.
Click Next.
22. Personal Use
Click Set up for personal use.
Click Next.
23. Create Microsoft Account
Click Create Account.
24. Existing Email
Type in an existing e-mail you use into the email field.
Click Next.
Type in a password that you would like to use.
Click Next.
Select your country and birthdate.
Click Next.
Choose your email preferences and click Next.
Click Create PIN.
Enter and confirm your PIN.
Click OK.
25. Setup Services
The final steps of the set up process include configuring additional (and sometimes optional) services. Depending on the type of Windows 10 device you're setting up, you may not be prompted to set up each one of the additional services depicted below.
Link your smartphone and PC
By linking your smartphone to your PC, you will have the ability to keep your data synchronized between devices.
If you want to link your mobile device with your pc, enter your phone number and press send. Follow the link provided to you from your phone.
If you do not wish to link your phone at this time, you can either click Do it later.
OneDrive
One Drive lets you save files from your PC to the cloud. You can then access this data on any other device that is also attached to your OneDrive account.
To use OneDrive, click on Next.
If you do not wish to use OneDrive, click Save Files Locally.
Cortana
Cortana is a personal voice assistant that is included with windows. By enabling Cortana, you can get updates and perform simple tasks using your voice.
If you wish to enable Cortana, click Yes.
If you wish to disable Cortana, click No.
Privacy Settings
Privacy Settings will dictate how your computer communicates with Microsoft and what features you can enable or disable. Go though this list and decide which items you want to be turned on or off. Once you are done, click on Accept.
Example Security Settings
26. New Email
Click Get a new email address.
Type an email address that you would like to have.
Click Next.
Type a password in you would like to use.
Click Next.
Select your country and birthdate.
Click Next.
27. Link Phone Number
Type in your phone number.
Click Next.
Choose your email preferences and click Next.
Click Create PIN.
Enter and confirm your PIN.
Click OK.
28. Link Alternative Email
Click Add an alternate email instead.
Type in your alternate email address.
Click Next.
Choose your email preferences and click Next.
Click Create PIN.
Enter and confirm your PIN.
Click OK.
29. Use Microsoft Account
Type in your email address associated with your Microsoft account.
Click Next.
Enter your password.
Click Next.
Click Create PIN.
Enter and confirm your PIN.
Click OK.
30. Use Local Account
Click Offline Account.
Type in the name you would like displayed for your account.
Click Next.
Type in a password you would like to use.
Click Next.
Confirm your password.
Click Next.
You will now be asked to choose and answer 3 security questions in case you forget your password.
Choose a security question and type the answer to it.
Click Next.
31. Organization
Click Set up for an organization.
Click Next.
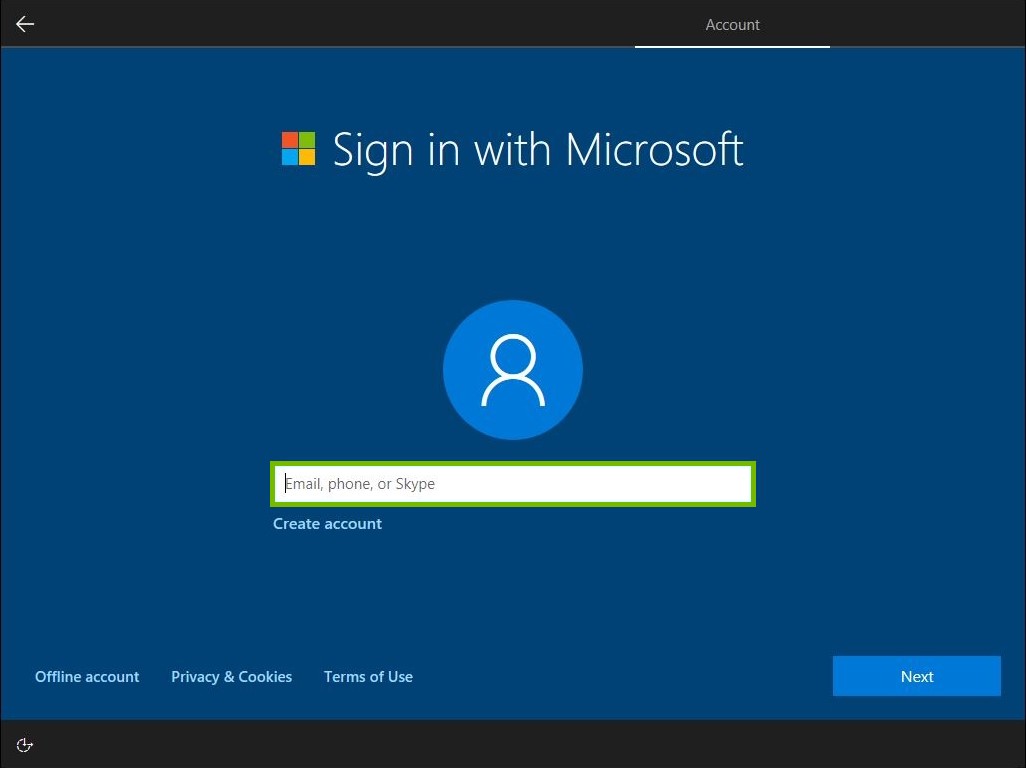
32. Use Work or School Account
Type in your work or school email address.
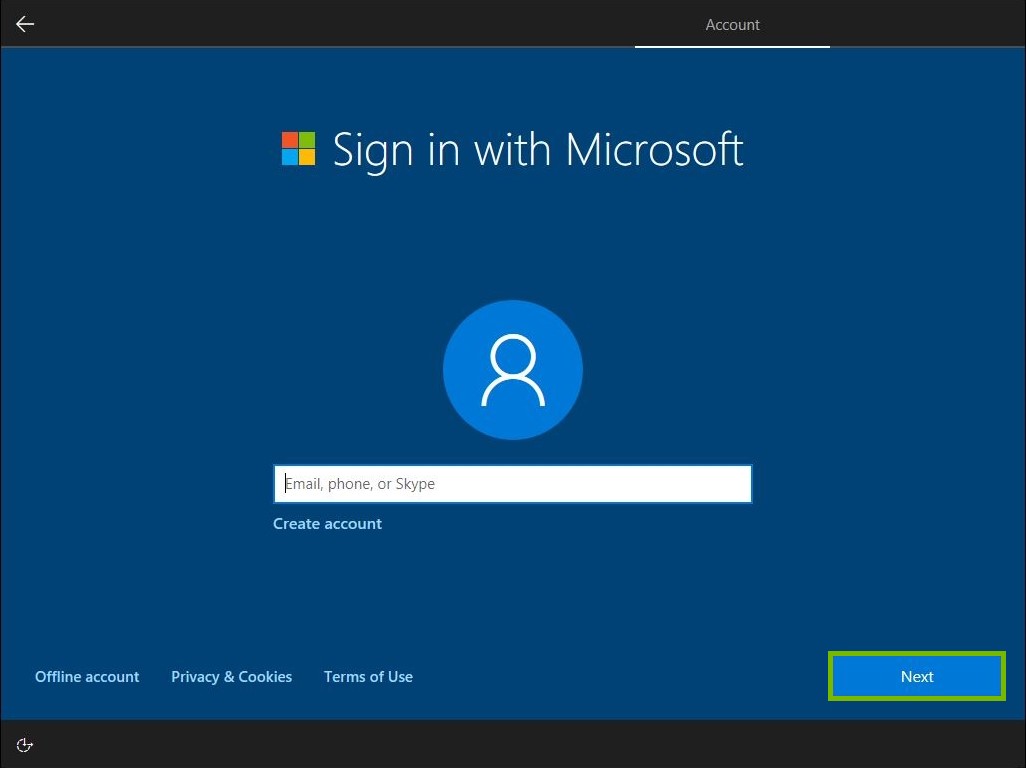
Click Next.
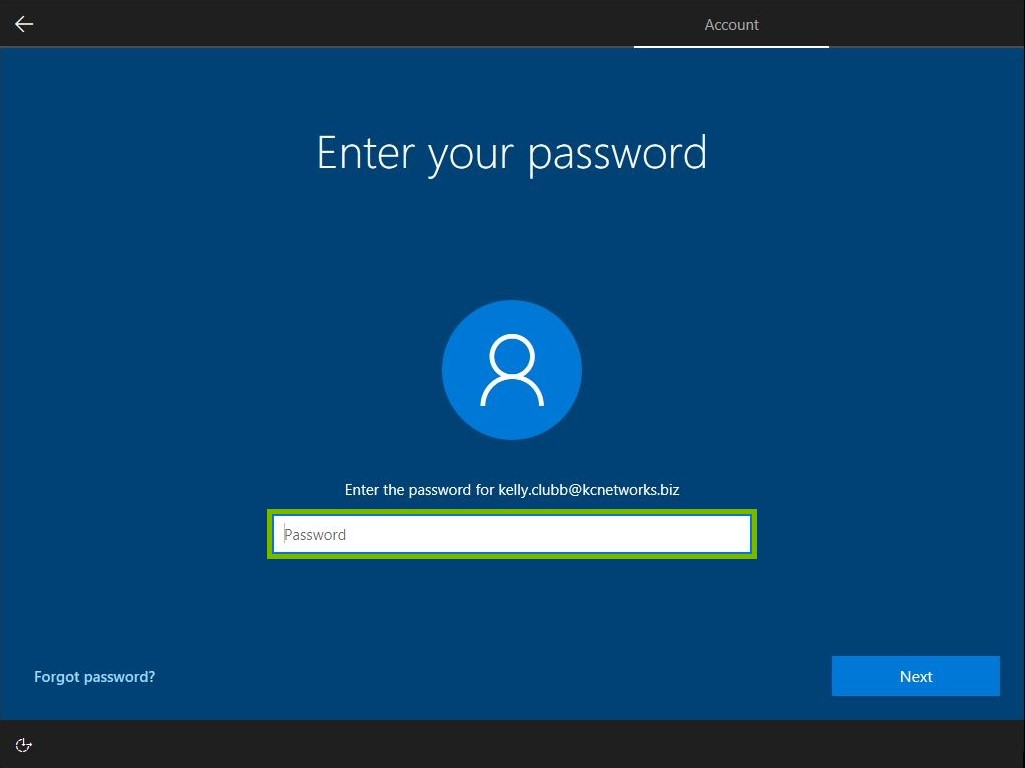
Type in your password.
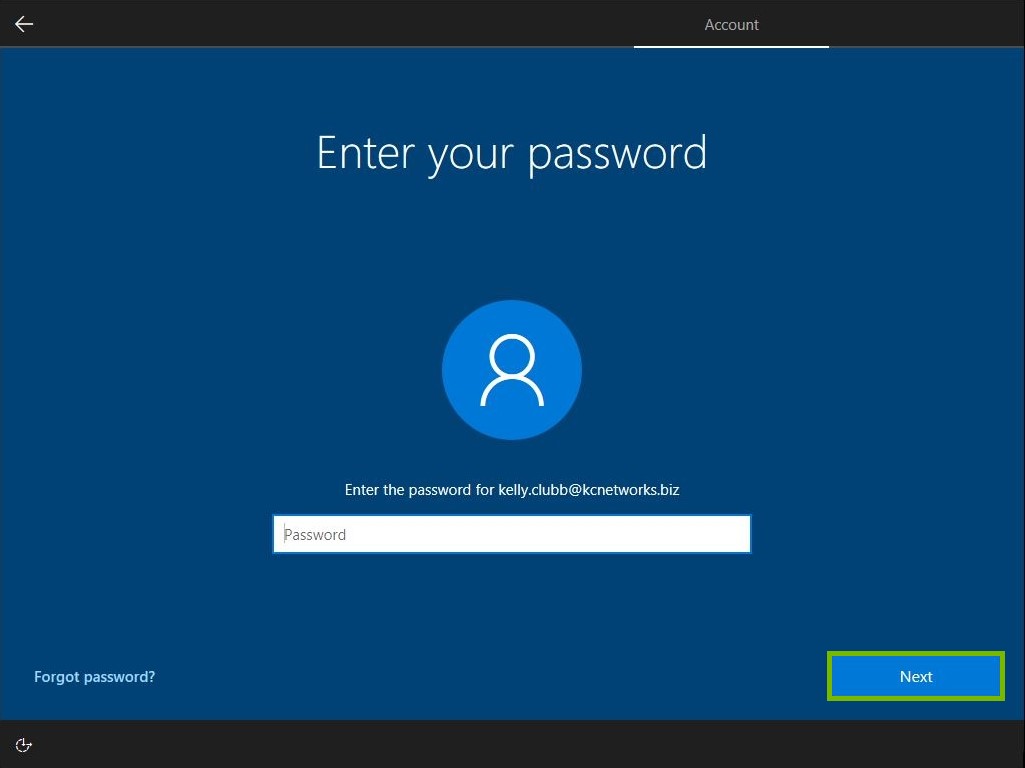
Click Next.
33. Domain Join
Click Offline Account.
Type in the name you would like displayed for your account.
Click Next.
Type in a password you would like to use.
Click Next.
Confirm your password.
Click Next.
You will now be asked to choose and answer 3 security questions in case you forget your password.
Choose a security question and type the answer to it.
Click Next.
34. Ethernet
Keep in mind that some laptop computers do not come equipped with an ethernet port anymore. Tablet PCs rarely come equipped with ethernet ports and must be connected via WiFi.
Connect an Ethernet cable to your computer.
Once the cable is connected, your network should appear as being connected.
Click Next.
35. Set Up Later
Click Skip For Now.
Type in the name you would like displayed for your account.
Click Next.
Type in a password you would like to use.
Click Next.
Confirm your password.
Click Next.
You will now be asked to choose and answer 3 security questions in case you forget your password.
Choose a security question and type the answer to it.
.png)