Windows 7 was released in 2009 and is a fan favorite of many people.
This guide will walk you though the install and setup process of Windows 7. This will cover how to do a clean install or a parallel install.
Clean Install - You will lose all data on the drive or partition you install Windows on.
Parallel Install - This is typically done for recovery purposes and in some cases for dual booting. This will install a copy of windows on your existing drive and rename your existing system folders of your previous install so you do not lose any data.
2. Media
Insert your Windows 7 disc into their DVD-ROM drive. If the Installation Media is on a USB drive, then plug it in.
Shut down the system completely.
Remove any unnecessary devices that may interfere with the installation and configuration of the OS. This includes but is not limited to any USB mass storage devices, including flash drives (that are not related to their installation media), external hard drives, and external USB hubs. Printers should be disconnected as well. If the system is a laptop and it is in a docking station, remove it from the dock.
Turn on the computer. A prompt stating "Press any key to boot from CD / DVD / USB" should appear. Press any key.
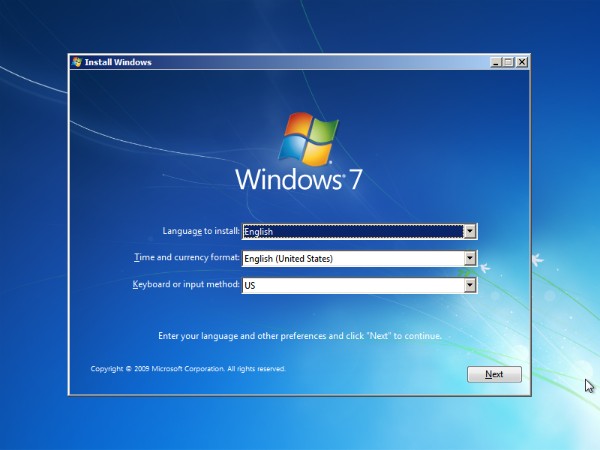
The Windows 7 Installation Splash Screen should appear.
3. Install
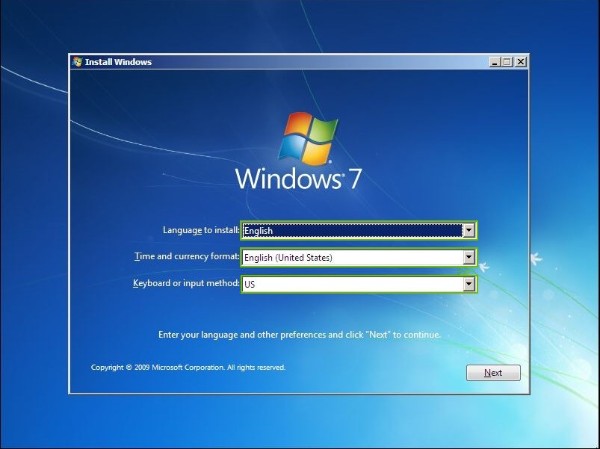
Select your language, currency, and keyboard.
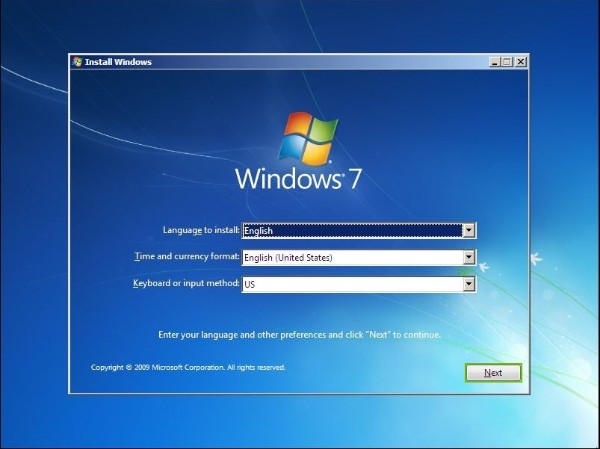
Click Next.
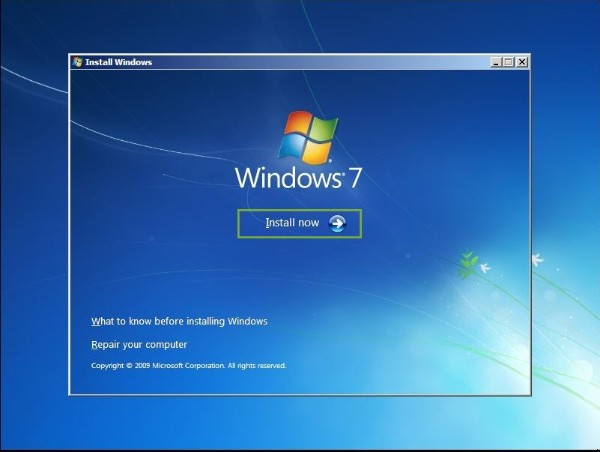
Click Install Now.
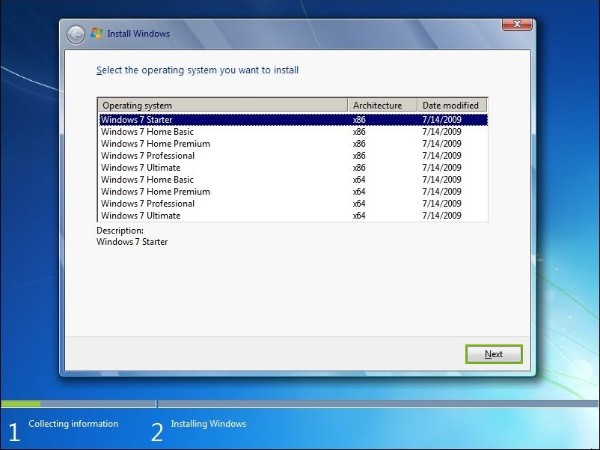
Select the version of Windows you wish to install. This screen may not show up on all installations of Windows 7.
Click Next.
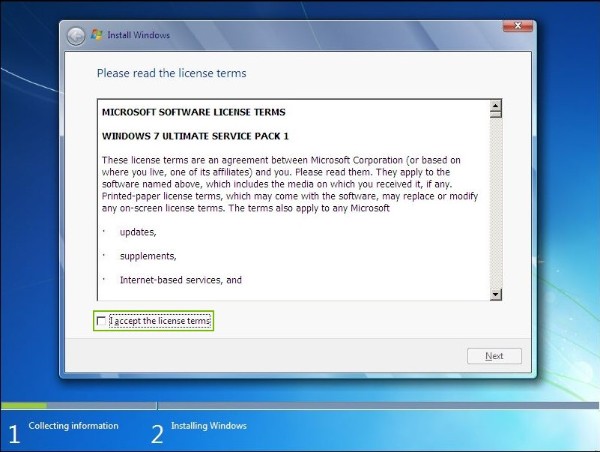
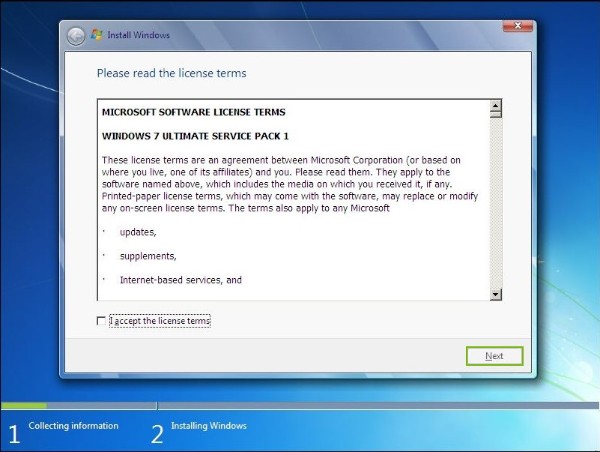
Read the license terms and click the I accept the license terms box.
Click Next.
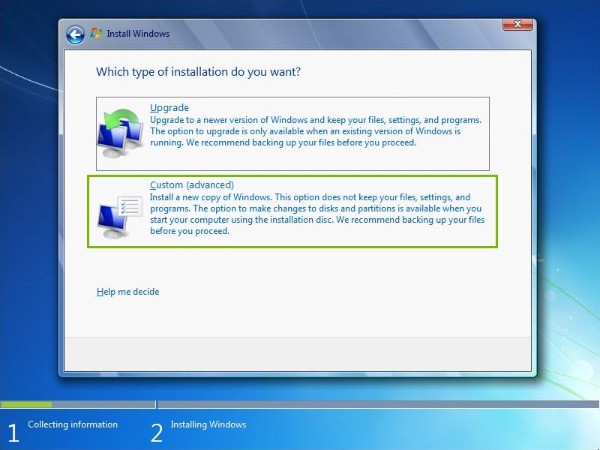
Click the type of installation you wish to perform.You can only perform an upgrade if you ran setup from within a running copy of Windows.
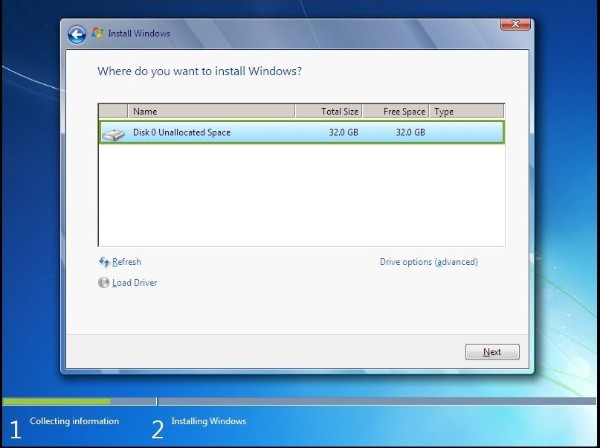
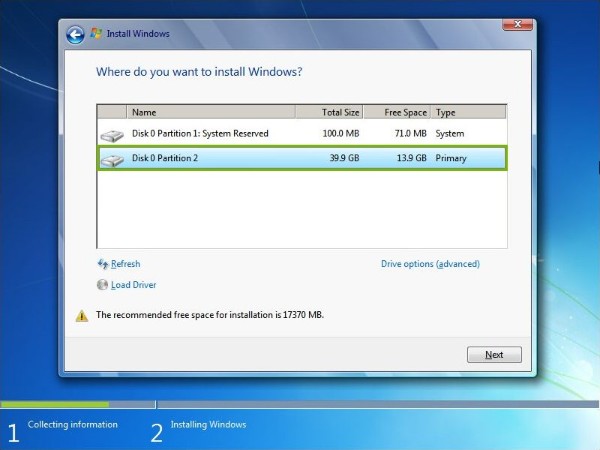
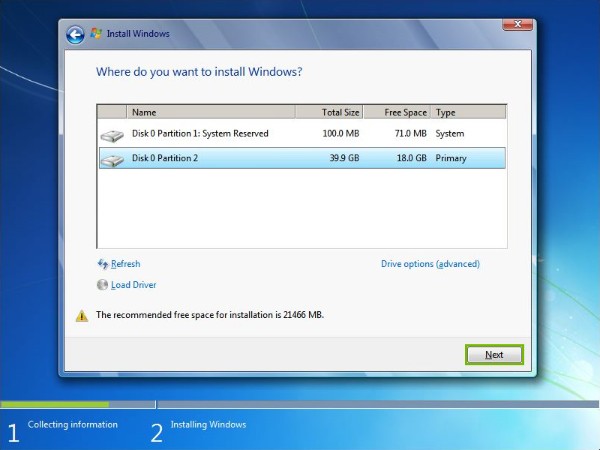
Choose the drive which you want to install windows on.
Click Next.
Windows install process will take up to 30 minutes. You computer may reboot a couple of times before it continues with the setup process.
4. Setup
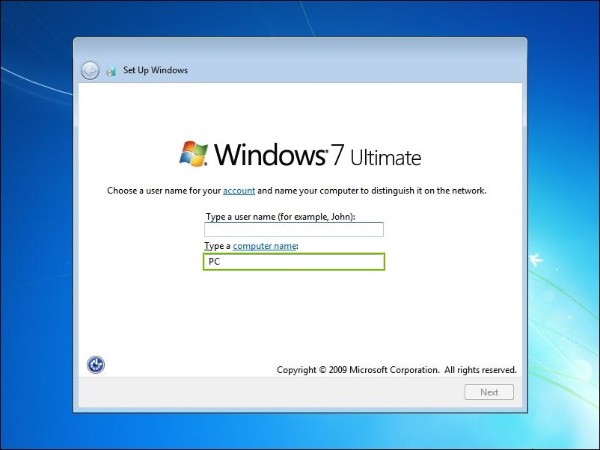
Type in a user name you would like to use.
Type in a computer name you would like to use.The computer name can not match your user name.
Click Next.
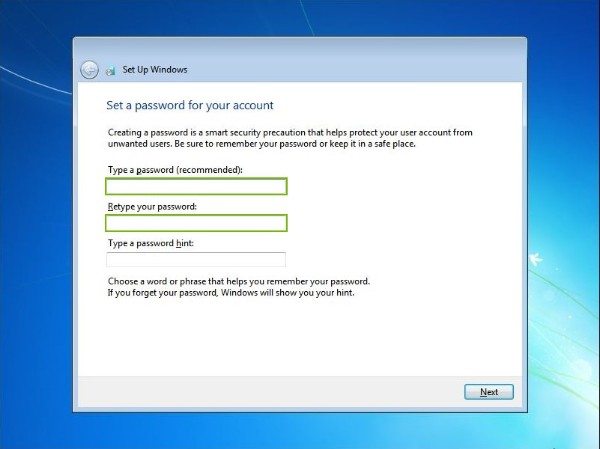
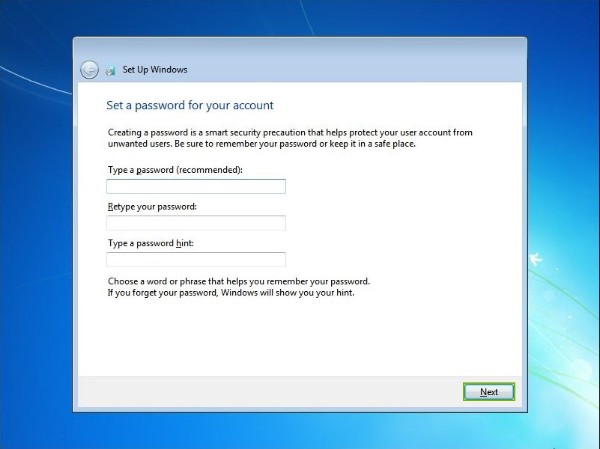
Type and confirm a password you would like to use when you log into your account.While this step is optional, it's suggested to use a password. If you do not wish to use a password just hit the Next button.
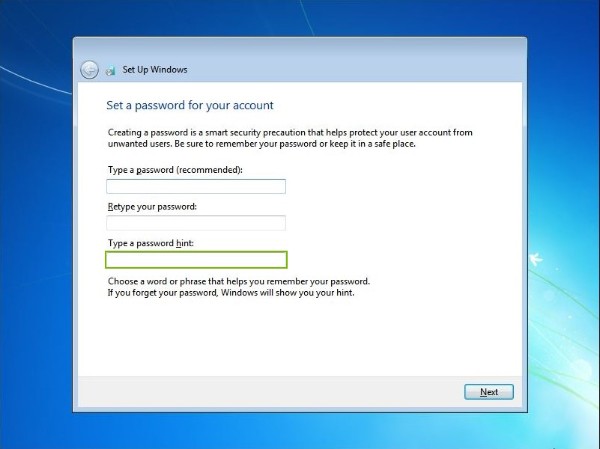
Type in a password hint.
Click Next.
Enter your product key.If you do not have one, you may just click Next to skip this step for now. You will be asked to activate your computer in the near future if you skip this step.
Click Next.
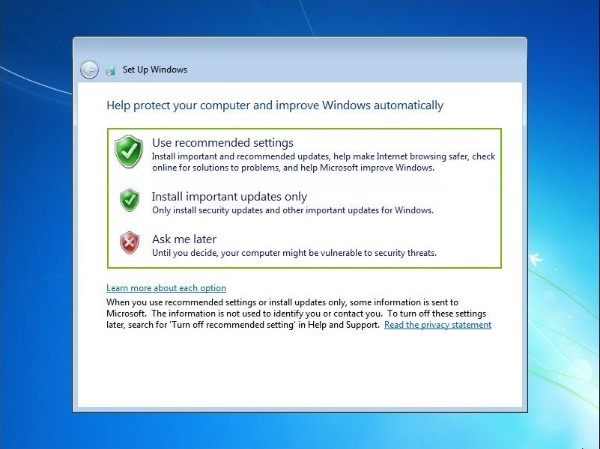
Choose how you would like to setup Windows Updates.
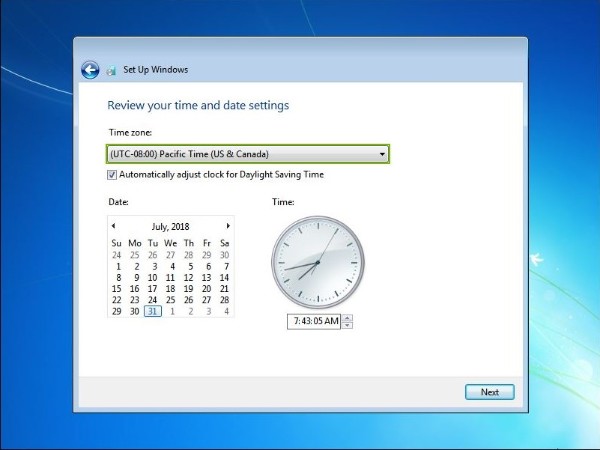
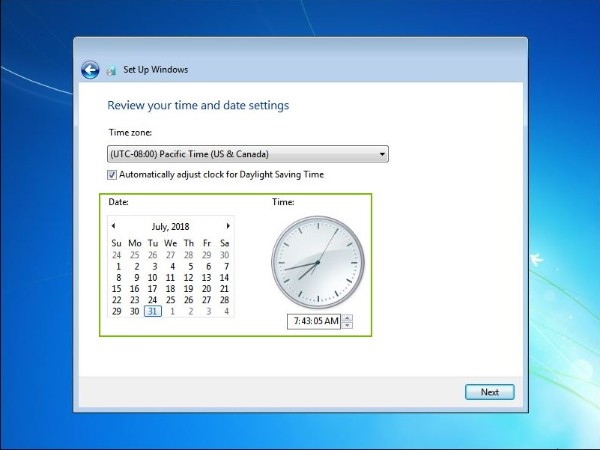
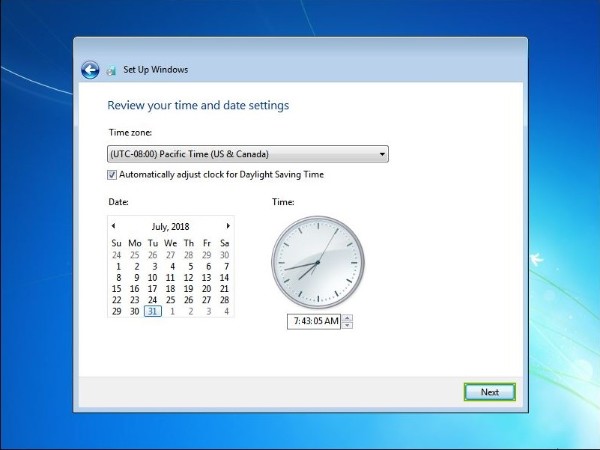
Select your time zone.
Verify the date and time are correct.
Click Next.
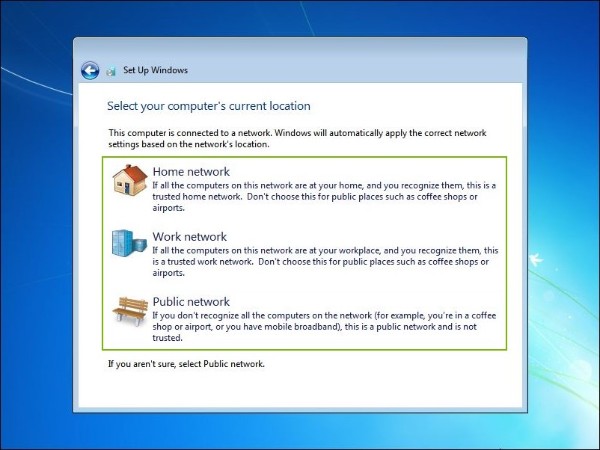
Choose the type of location you are using the computer at currently.
Your computer will now prepare your computer for first use.This process may take several minutes.
5. What's next?
6. Media
Insert your Windows 7 disc into their DVD-ROM drive. If the Installation Media is on a USB drive, then plug it in.
Shut down the system completely.
Remove any unnecessary devices that may interfere with the installation and configuration of the OS. This includes but is not limited to any USB mass storage devices, including flash drives (that are not related to their installation media), external hard drives, and external USB hubs. Printers should be disconnected as well. If the system is a laptop and it is in a docking station, remove it from the dock.
Turn on the computer. A prompt stating "Press any key to boot from CD / DVD / USB" should appear. Press any key.
The Windows 7 Installation Splash Screen should appear.
7. Parallel Install
Select your language, currency, and keyboard.
Click Next.
Click Install Now.
Select the version of Windows you wish to install.
This screen may not show up on all installations.
Click Next.
Read the license terms and click the I accept the license terms box.
Click Next.
Click the Custom (advanced) install.
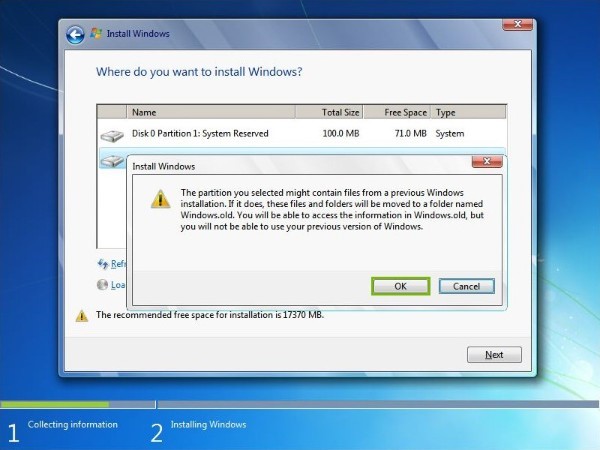
Choose the exiting partition which you want to install windows on.
Click Next.
Click on the OK button.
Windows install process will take up to 30 minutes. You computer may reboot a couple of times before it continues with the setup process.
Remove Hidden Spyware In Minutes For Free
Detect and remove spyware, keyloggers, tracking cookies, and other
threats that slow down your PC or steal your data.
65+ Million Downloads
Spyware scanner with AI-powered detection engine + database
.png)