.png)
Authored by: Support.com Tech Pro Team
Computers have become easier and easier to use, with many common maintenance tasks being taken care of for you, thanks to modern software. But, there are a few things that relate more to personal preference you can review to make sure everything stays in tip-top shape.
Tools You'll Need:
Before You Begin:
Links to Connectivity GPs?
-->

Computer maintenance on modern computers with the latest version of Windows is much easier and automated compared to older versions. No special software or tools are necessary, and involve more checking and changing settings, rather than starting and waiting for maintenance tasks and programs to complete.
This guide will take you through the settings you need to be aware of, ensuring common ares of computer use are tidy, updates are applied and working in the background properly, and safe ways to physically clean your computer.

It is always wise to backup your computer's data. Data backups should be performed regularly. Even beyond the scope of malware or for the sake of security, it is always prudent to have frequent backups because hard drives can fail, systems can crash, things can break, "life can happen," so you're always better off safe than sorry.
Data backups, just like any type of backup, are a matter of redundancy. One backup solution is good, two or more is better.
Offsite backups (such as online data backup services) are always a good idea, especially as a secondary backup. That way, in the unfortunate event that a fire, flood, or theft happens, you have a copy of your data in a remote, offsite location to fall back on.
It is always prudent to set your backups to use a versioning scheme. When it comes to backing up data, versioning is like a saved history of your files. Versioning allows your backup service to record multiple copies (or versions) of your files in its system (how many depends on the service). You can use file versioning to go back and retrieve the version you need. That way if files are corrupted, infected, or locked, you don't have to worry about having only one backup which may be the bad version.
If you are using a local backup such as an external hard drive or flash drive, it is always a good idea to disconnect the drive when it is not in use. This is a safety precaution, as some forms of malware can encrypt or corrupt all of the data on any connected drive, so a drive that is no longer physically connected cannot be affected.
Windows Backups
We have a special guide dedicated to data backups.
Windows tends to slow down with more icons on the desktop, because it has to check and redraw them constantly. Also, the Desktop tends to turn into a 'default dumping ground' for many applications.
Having a clean, orderly Desktop with just the applications you use most frequently, and a few important files can lead to better performance overall for your computer.
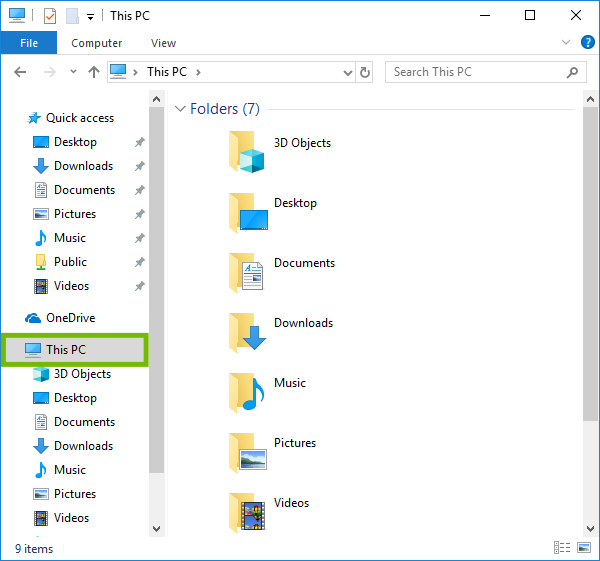
Windows has built-in folders to help you organize your documents, pictures, music and videos. You can also create folders inside folders to help better organize projects and collections.


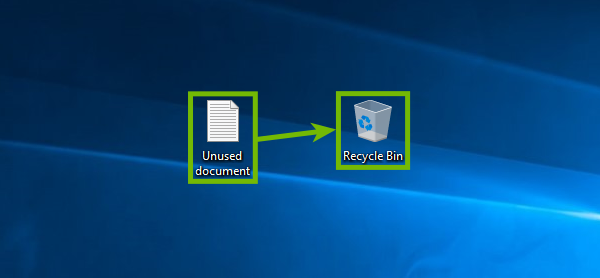
If you no longer need a file or shortcut you can delete it using one of three methods, depending on which you are most comfortable with.


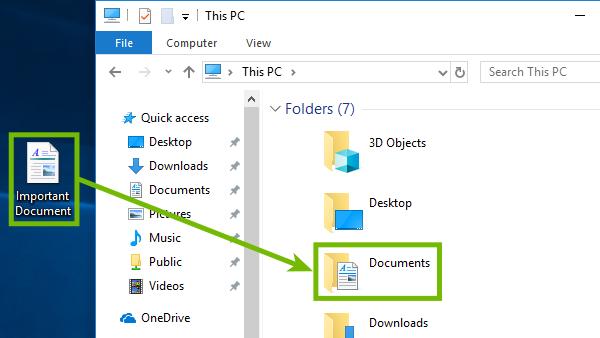
One folder that routinely fills with files you may not use anymore is the Downloads folder. It's a good idea to check the Downloads folder, delete items you no longer need, and move files you wish to keep to other locations.


You may need to remove an app because you need the space or simply don't need it anymore. The following steps show you how to easily remove an app.


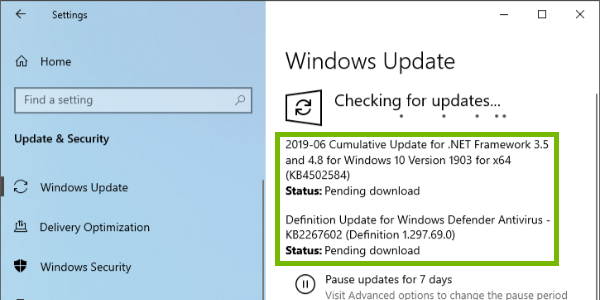
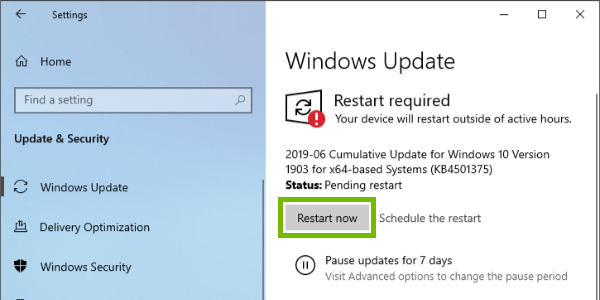
Windows 10 is configured to automatically check for updates regularly for your computer.
If you are using a laptop, make sure you plug it in to charge while updates run.


After checking on what your computer is doing during normal use, you may have spotted some things actively running that you don't use or need running 100% of the time. Most times, programs are set to be launched and run as soon as your machine boots up. This process will help you disable unnecessary programs from starting up with your computer.


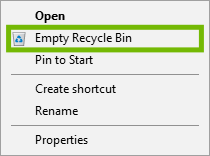
When a file is deleted from your computer, it first goes to the Recycle Bin. If left long enough, it will eventually be removed permanently from your computer, but this provides an excellent buffer for simple mistakes.


Once a file is deleted from the Recycle Bin, it is gone forever. Be sure to check the files in the Recycle Bin before proceeding.


Windows needs about 2 GB free space, at minimum, to function. In order to properly update and perform other functions, around 5 GB free space is recommended.
A simple way to help free up space is to remove temporary files; files that were useful during an update or other working of the computer, but now simply take up space.
This will guide you through safely clearing those temporary files.


Windows opens a lot of files during normal operation, and given how complicated it is and how many tasks it does, it can become slightly unstable at times.
The simplest fix for this is to restart your computer from time to time. That way, any open files, open settings, or pending updates can be applied.
Before you restart or shut down your PC, make sure to save all necessary work to prevent data loss.


Keeping your computer equipment clean is an important aspect of ensuring continued, excellent operation. But, because there are many delicate electric components, it's best to keep in mind a few simple dos and don'ts so your machine doesn't get damaged.
Before performing any physical cleaning, make sure your computer is turned off, so a key is not accidently pressed or something else goes wrong!
Cleaning The Keyboard and Mouse

It's common for dust and debris to build up under the keys of your keyboard, as well as slightly sticky fingers to leave residue behind that can attract more. Over time, this build up can cause your keyboard to stop functioning.
Cleaning the Monitor

Your monitor or display is how you see what's going on with your computer. Because of this, it tends to gather dirt and grime quite frequently from fingers and sneezes.
In most cases, your monitor is not covered by glass, but by a layer of special plastic. Using normal window cleaner on this surface can cause damage and yellowing over time.
Computer Tower

Your computer tower should be cleaned occasionally, because dust inside can cause the components to trap heat, and end up dying early.
If you do not feel comfortable opening your computer case, making sure the outside is dust-free, making sure nothing is blocking the fans, and using compressed air to carefully blow dust from those fans is sufficient.
Printers, Scanners, and Other Devices

Because they aren't used as much, printers tend to become covered in dust.
A simple microfiber cloth with nothing on it tends to be enough to keep these clean, though making sure the paper isn't old or warped makes your life easier in the long run when you do need your printer.
For most peripherals, it's best to stick to the following items when cleaning:
Compressed Air

In most cases, a compressed air duster will help dislodge most debris and be all you need.
Lint-Free Cloth

A microfiber or other lint-free cloth, commonly used for jewelry or glasses cleaning, can help for stubborn dust or smudges on your devices.
Cleaning Liquids

In most cases, it's best to keep liquid as far away from your computer as possible, this includes when cleaning. But, for stubborn build-up, simple solvents can be used.

Support.com is committed to your privacy
We do not share or sell your data to third parties. We do use cookies and other third-party technologies to improve our site and services. The California Consumer Privacy Act (CCPA) gives you the ability to opt out of the use of cookies, third-party technologies and/or the future sale of your data. Do not sell my personal information.

Support.com is committed to your privacy
Read our Privacy Policy for a clear explanation of how we collect, use, disclose and store your information
