As you use your device, files and apps will eventually accumulate, leaving you with less free space for new content. Once you know how much available storage you have, you can use various methods to free up space on your device.
2. Syncing and Amazon Cloud
Whenever you purchase Amazon digital content such as books, videos, games, and other digital items, it creates a permanent copy on your Amazon Cloud - an online, secure personal storage space.
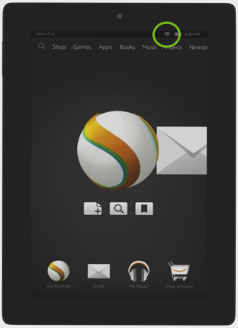
Make sure that your Amazon Kindle Tablet is connected wirelessly in order to sync your device to the cloud. You can verify if you are connected online by checking the wireless indicator across the top of your Kindle Fire.
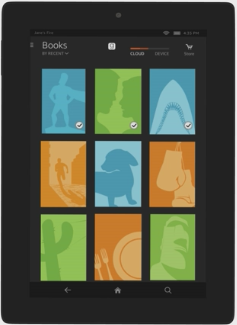
If you are connected online, tap a content library in the top navigation bar of your Kindle Fire Tablet like Books, content that downloaded to your device will appear with a check on it and items without a check is being stored on the cloud.
You can tap on the content you want to download to your Kindle Fire. Once downloaded it will appear on your home screen.
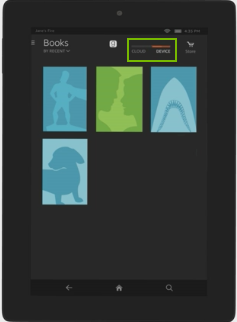
You can switch over from Cloud to Device. Cloud will show you your full library while Device will show you only the content you downloaded to your device.
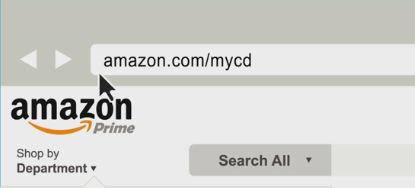
You can go to amazon.com/mycd to deliver purchased content to your device.
3. Check Device Storage
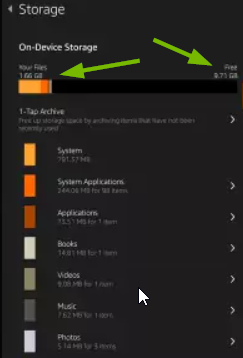
To check the remaining storage space of your kindle fire:
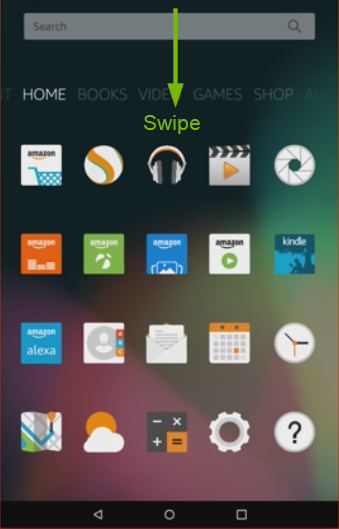
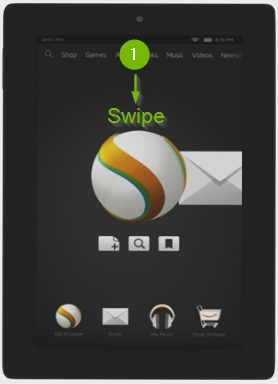
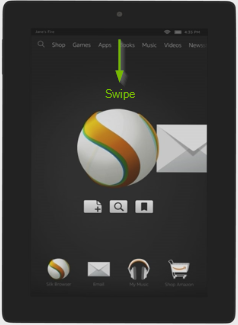
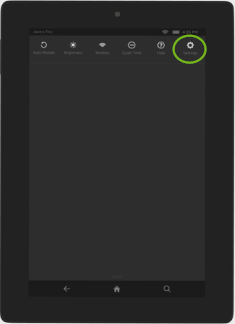
Swipe downwards from the top side of the screen.
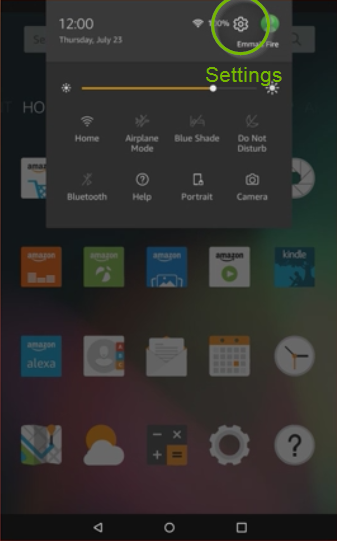
Tap Settings.
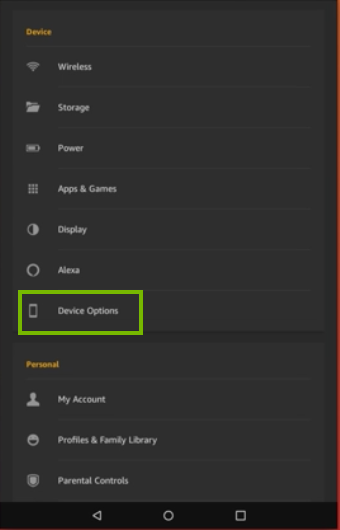
Tap Device Options.
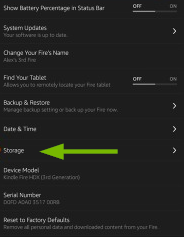
Tap Storage.
The remaining storage space will be displayed.
You can free up some space for your storage device by deleting / uninstalling some apps that you don't use anymore or to clear the browsing history, cache and cookies of your web browser.
4. Uninstall Apps
If a paid app is uninstalled and you want to download it again, you can get it from the Cloud or from the Amazon App store on your device.
To uninstall from Manage Applications:
Swipe downwards from the top side of the screen.
Tap Settings.
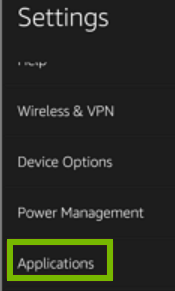
Tap Applications.
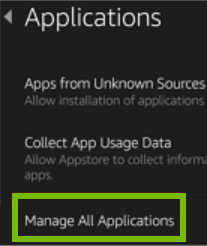
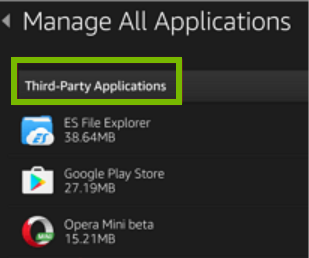
Tap Manage All Applications.
Under Third-Party Applications.
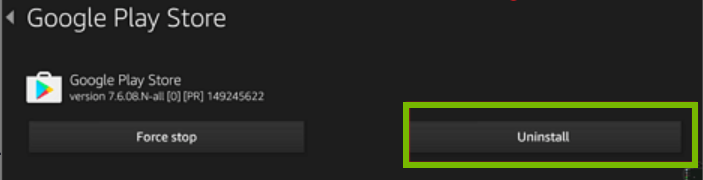
Select Uninstall.
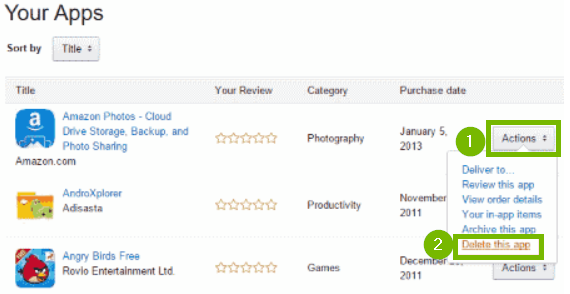
To uninstall from the Amazon Cloud:
Amazon's Cloud also offers a way to uninstall Apps. The Cloud saves data online, allowing you to access it anywhere.
Log in to your Amazon account and visit Manage Your Content and Devices page.
Select Actions.
Select Delete.
You may need to restart your Kindle Fire after deleting an app to update the content of your storage device.
5. Clear Browsing Data
You may want to clear the browsing history, cache and cookies on your Kindle Fire Silk web browser to free up some space, especially if you're using it for a long period of time. Here's how to do it:
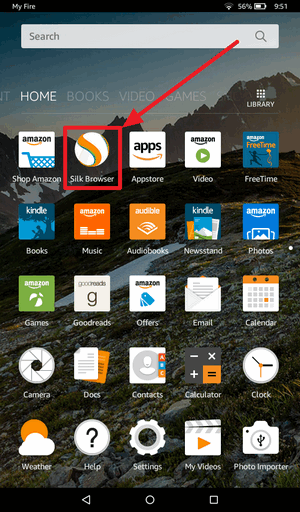
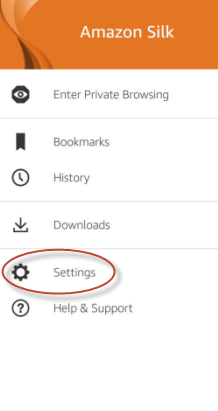
Open the Silk browser app on the Home Screen.
Select Menu.
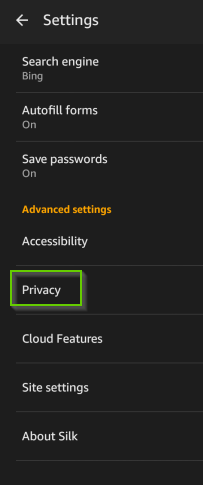
Tap Settings.
Tap Privacy.
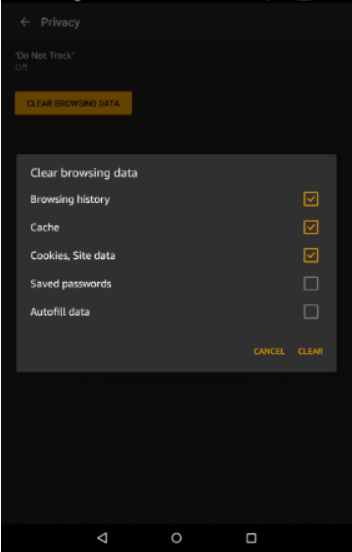
Select Clear Browsing Data. Check the options you want to delete:
Select Clear to purge the browsing data.
6. Enable Whispersync
Whispersync synchronizes your content and backs up your data in the cloud. Your content can be accessed and picked up where you left off on another supported app or device that is registered to the same account.
Content supported by Whispersync:
Books from the Kindle Store
Personal documents that are converted to Kindle format
Newspapers and magazines from the Kindle Store
Audiobooks from Audible.com
Amazon Video
Apps and games from Amazon Appstore
Here's how to enable Whispersync:
Swipe down from the top side of the screen.
Tap Settings.
Under Device Synchronization (Whispersync Settings)
Set Whispersync Device Synchronization - ON
7. Install
To install Microsoft One Drive:
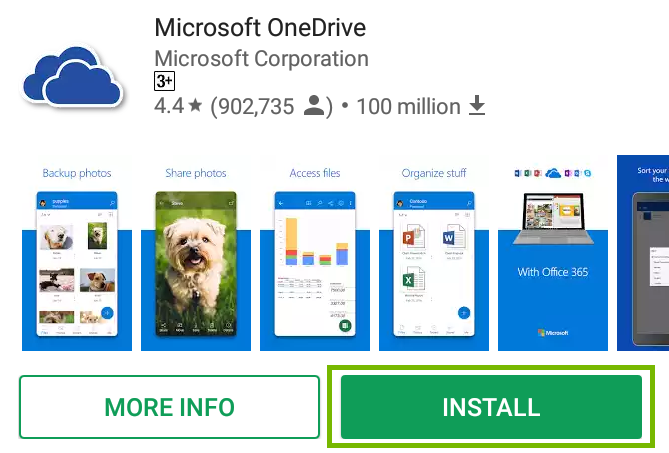
Using your web browser, go to http://onedrive.live.com/about/en-us/download/
Tap Install.
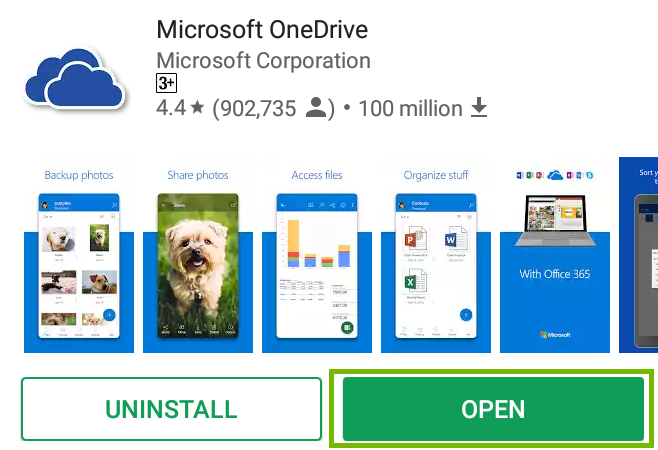
Wait for the application to be downloaded to your device. Once done, tap Open.
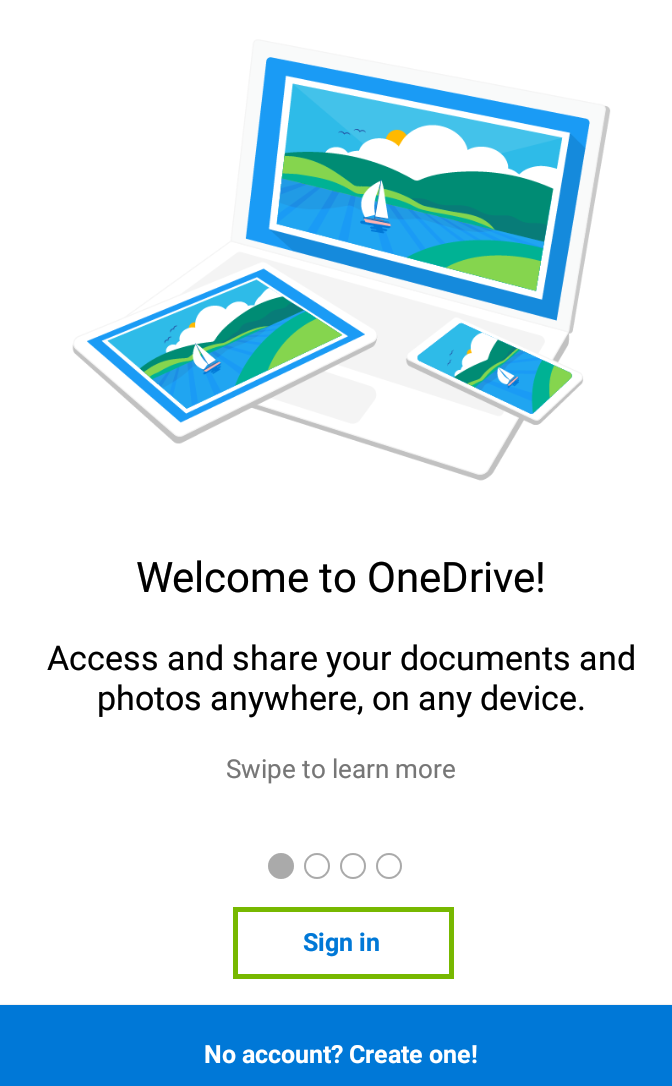
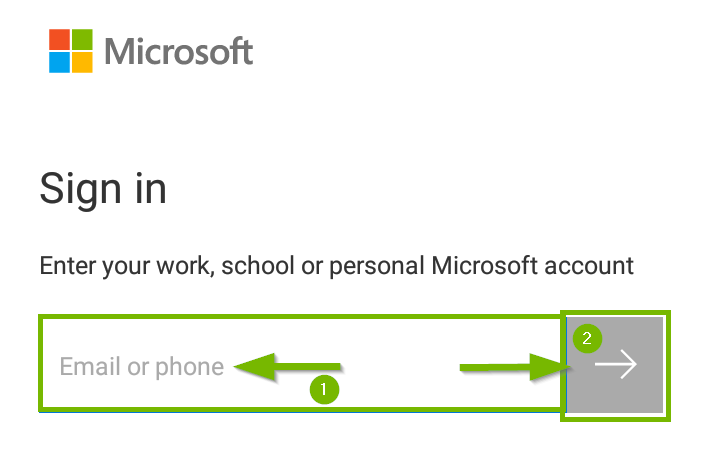
The app will be launched, then select Sign In.
Type in your email address, then tap on the arrow pointing right.
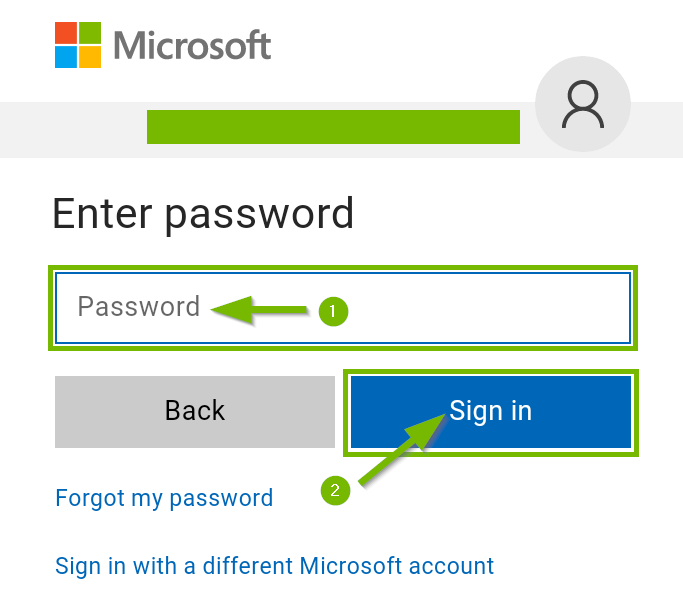
Type in your password then, tap on Sign In.
If 2-factor authentication is enabled you will need to enter the code.
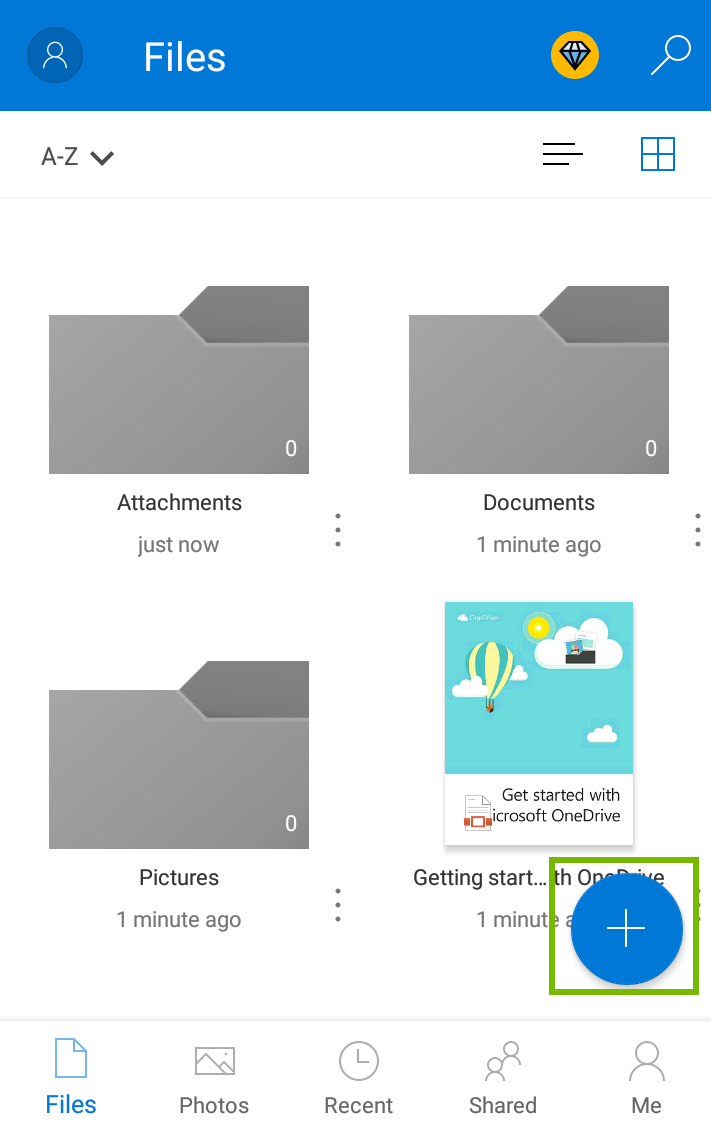
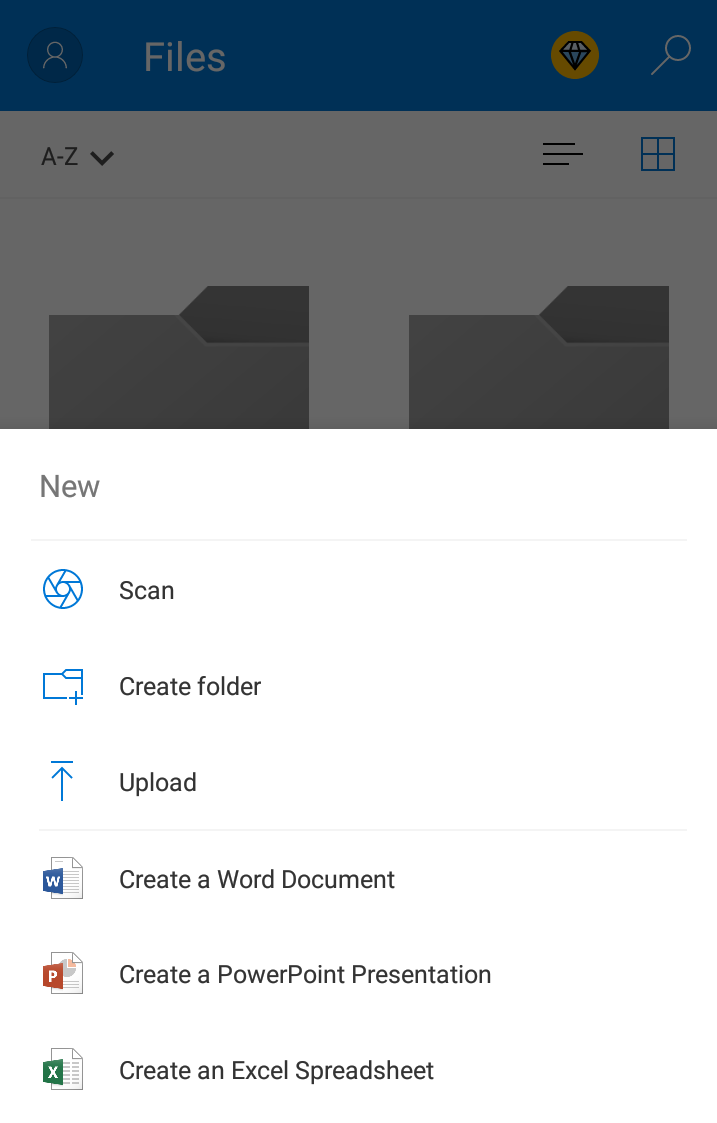
Once signed in, you will be able to start using One Drive by tapping the plus sign (+)
Just tap on the icon for the action you want to perform.
8. Install
To install Dropbox:
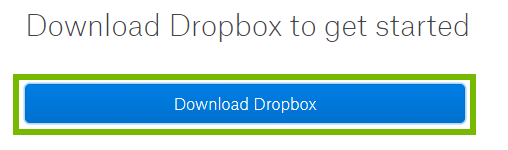
Using your web browser, go to dropbox.com/install.
Tap Download Dropbox.
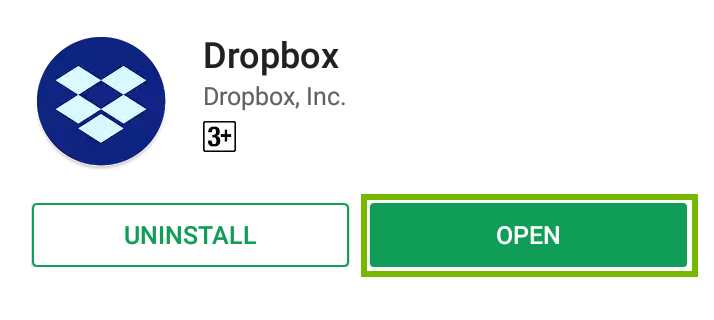
The file will be downloaded to your device, once done, tap Install.
Tap Open.
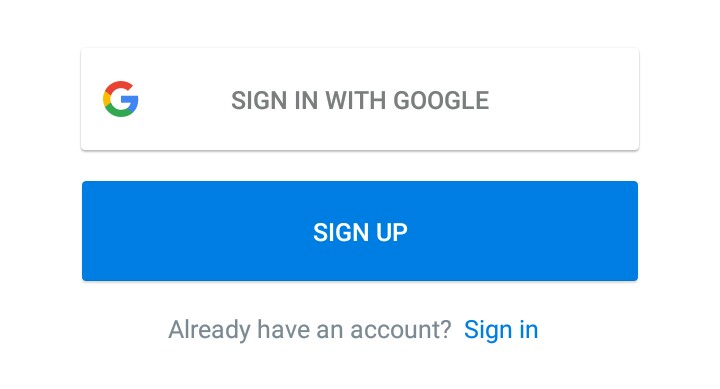
You can sign in using your existing Gmail account or create a new one by signing up.
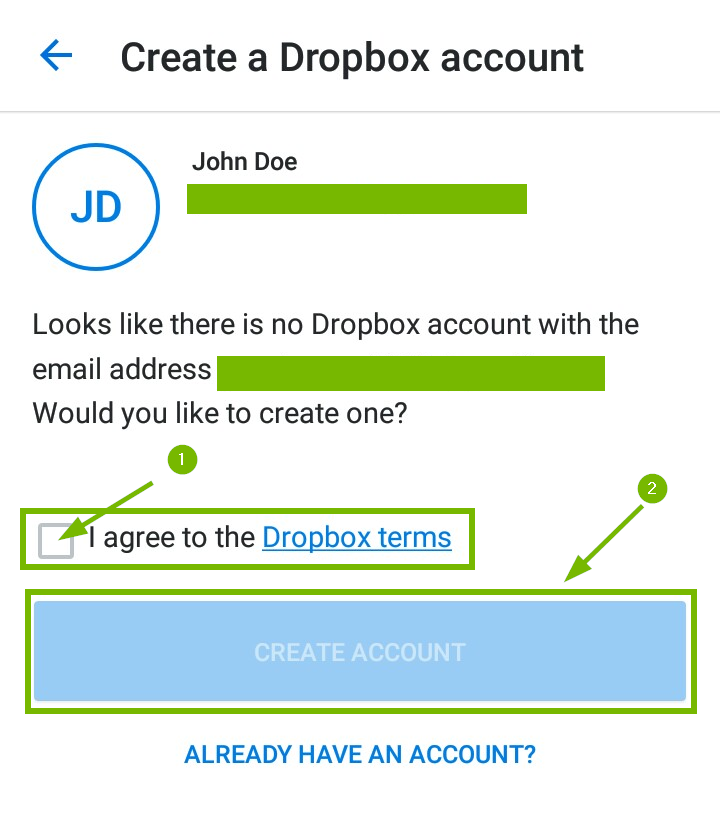
Put a check on the box that says I agree then tap Create Account.
.png)