.png)
Authored by: Support.com Tech Pro Team

How to Manage Zaps on Zapier
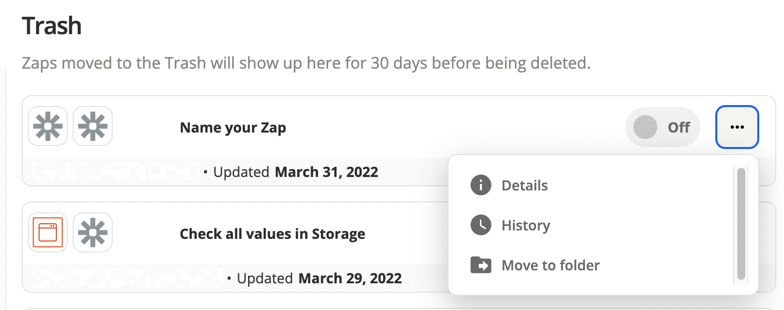
To manage a Zap, click the three dots icon on the right side of the Zap. A dropdown menu will appear with the following options:
Select the appropriate settings
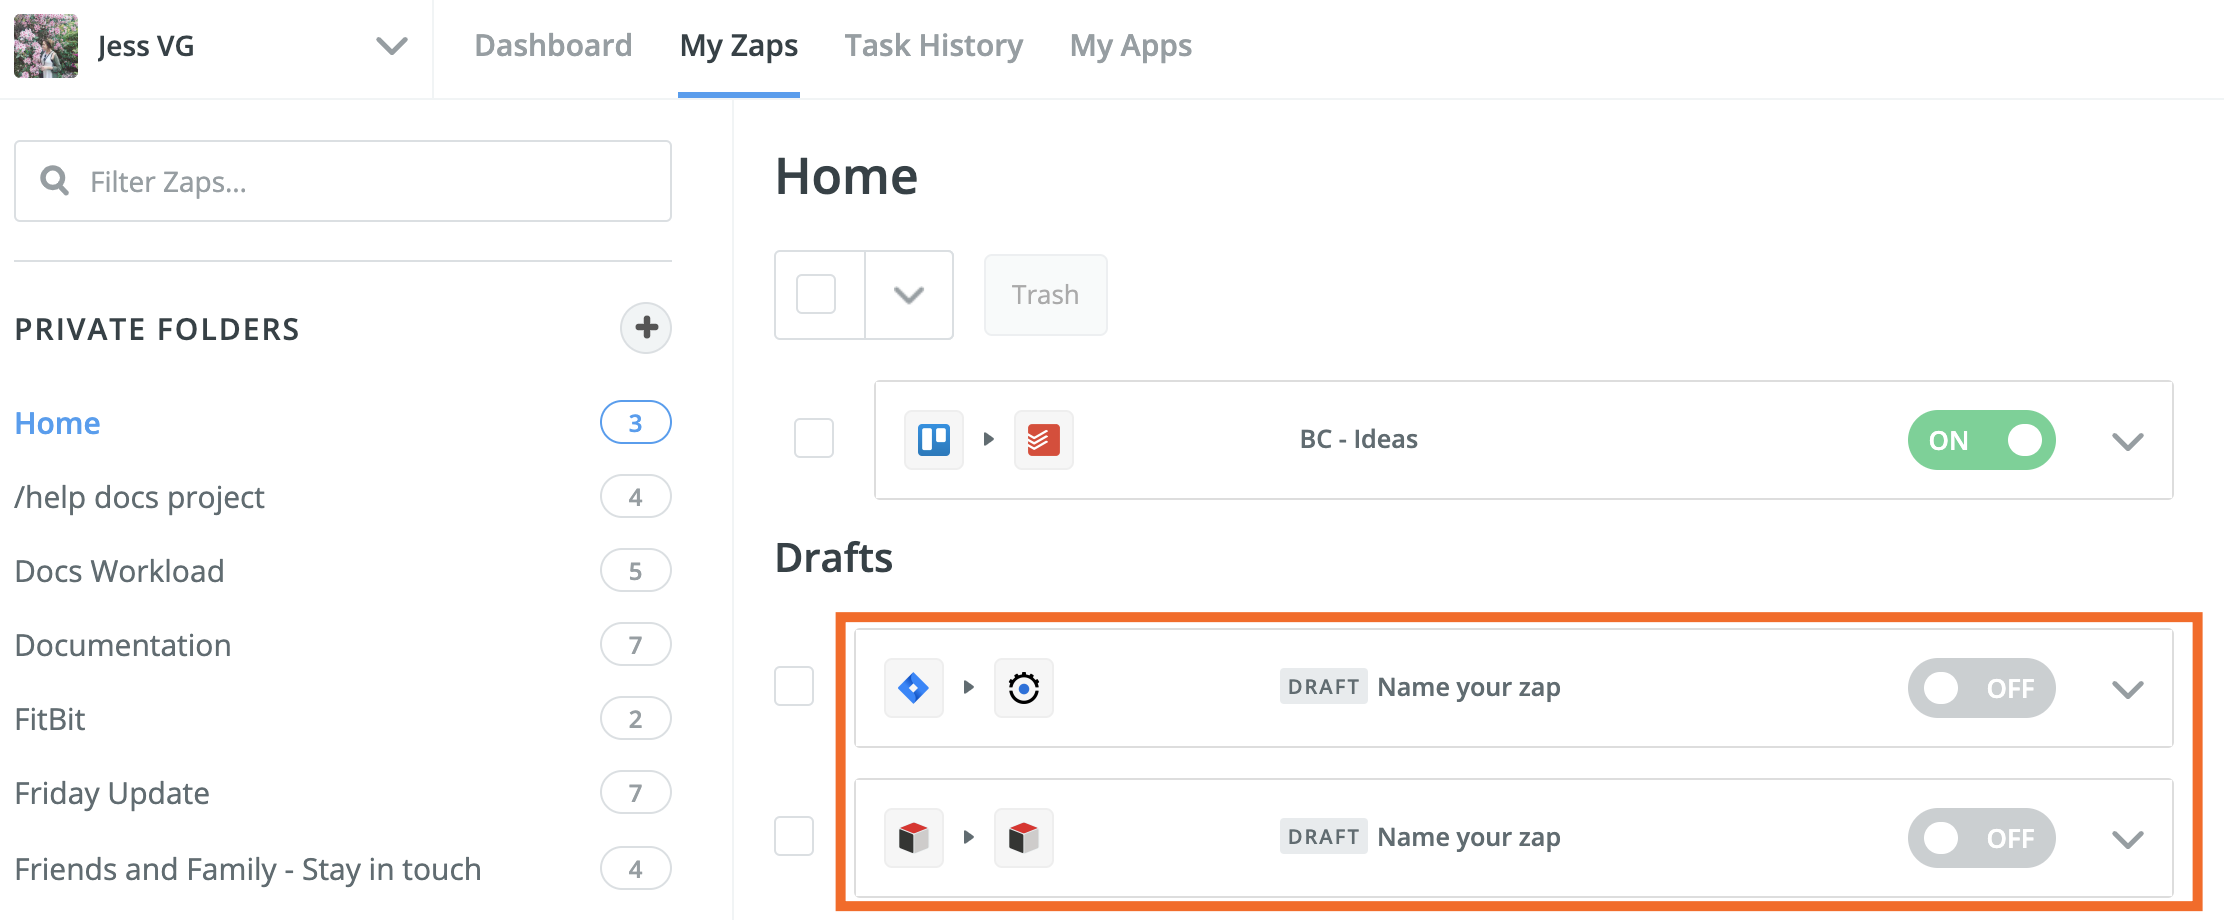
Draft Zaps are Zaps that you've started to create in the editor, but that haven't been finished setting up or turned on yet. Draft Zaps can appear in any folder on the Zaps page, in the Drafts section.
Zaps that are moved to the trash folder will remain there for 30 days before they are permanently deleted. To restore Zaps in the trash folder:

Support.com is committed to your privacy
We do not share or sell your data to third parties. We do use cookies and other third-party technologies to improve our site and services. The California Consumer Privacy Act (CCPA) gives you the ability to opt out of the use of cookies, third-party technologies and/or the future sale of your data. Do not sell my personal information.

Support.com is committed to your privacy
Read our Privacy Policy for a clear explanation of how we collect, use, disclose and store your information
