.png)
Authored by: Support.com Tech Pro Team
Sending messages on your Apple Mac Pro is an essential part of communication, whether you're sending text messages, iMessages, or even multimedia messages. This comprehensive guide will walk you through the various methods and features for sending and managing messages on your Mac Pro.
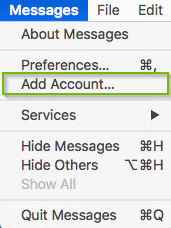
Learn how to access the Messages app on your Mac Pro, either from the Dock or Applications folder.
Send a text message to a contact using their phone number.
Click the compose icon (pencil) in the Messages app, enter the recipient's phone number, type your message, and press Return.
Send an iMessage to a contact with an Apple device using their email address or phone number.
Open a conversation in the Messages app, type your message, and press Return.
Compose multimedia messages by clicking the camera icon to attach photos, videos, documents, or other files to your messages.
Click the microphone icon to record and send voice messages.
Organize your message conversations by creating groups or labeling contacts.
Use the sidebar to access your conversation list.
Create group messages by selecting multiple contacts in a conversation.
Name the group and send messages to multiple people at once.
Add message effects like balloons, confetti, or invisible ink to your messages to make them more engaging.
Click the App Store icon to access additional stickers, apps, and games.
Easily search for specific messages or conversations by using the search bar.
Organize messages by archiving or deleting old conversations.
Learn how to enable read receipts, block contacts, or set up two-factor authentication for enhanced message security.
If you encounter issues with sending or receiving messages, troubleshoot problems like connection issues, notifications, or activation errors.
With this comprehensive guide, you should be proficient in sending and managing messages on your Apple Mac Pro. Whether it's text messages, iMessages, or multimedia messages, the Messages app on your Mac Pro offers a convenient and feature-rich way to communicate with friends and colleagues.
If you are still having trouble, refer to the Step-By-Step Guide below, or Contact Support.Com for Personalized Assistance.
With Messages for Mac, you can send unlimited messages to any Mac, iPhone, iPad, or iPod touch that uses iMessage, Apple's secure-messaging service. It also supports several other messaging services that work with Apple and non-Apple devices. iPhone owners can use it for SMS and MMS messages, too.
This guide will go over basic setup and usage for messaging on your MacBook Pro.

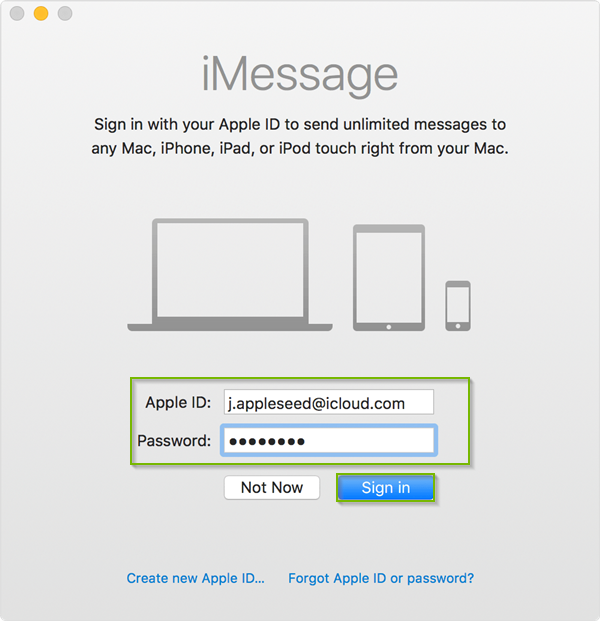
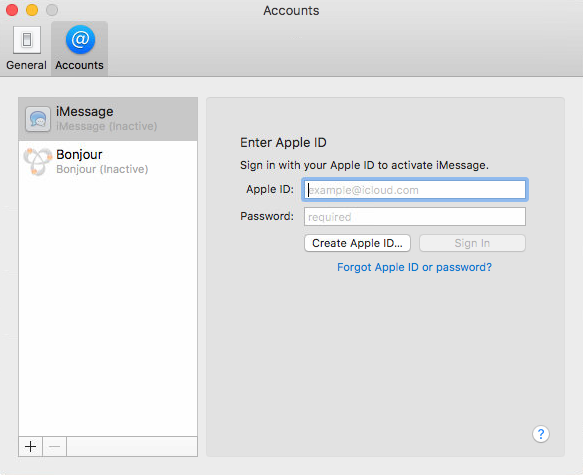
iMessage is the Apple messaging service you get automatically with your Apple ID. If it's not already set up, you're asked to sign in when you first open the Messages app.


With macOS Sierra, you can also use Siri to send, read, and reply to Messages. For example, you can tell Siri:
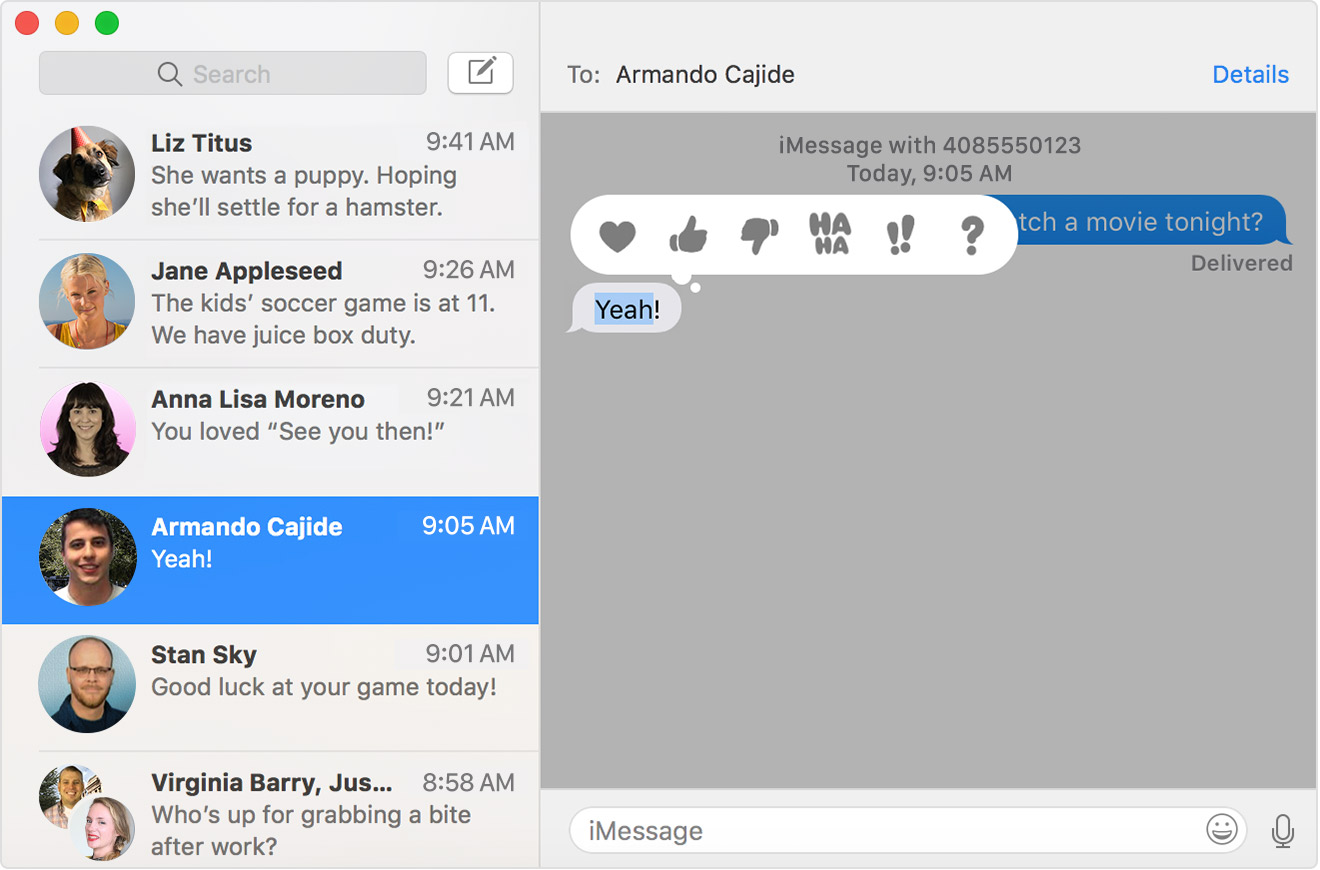
macOS Sierra introduces Tapback to the Mac. A Tapback is a quick response that expresses what you think about a message, such as that you like it or think it's funny. Here's how to do it:
Your Tapback is visible to everyone in the conversation who is using iMessage with macOS Sierra or iOS 10. Other iMessage users see "Liked" or "Laughed at" or "Emphasized," for example, followed by the text of that message.

Support.com is committed to your privacy
We do not share or sell your data to third parties. We do use cookies and other third-party technologies to improve our site and services. The California Consumer Privacy Act (CCPA) gives you the ability to opt out of the use of cookies, third-party technologies and/or the future sale of your data. Do not sell my personal information.

Support.com is committed to your privacy
Read our Privacy Policy for a clear explanation of how we collect, use, disclose and store your information
