Any files, settings, or applications not backed up prior to reinstalling the macOS Operating System will be lost, with no way to recover them.Reinstalling the macOS Operating System on your Mac involves getting rid of all the files, settings, and programs you have installed. While some of this information may be backed up to iCloud storage, it is best to have a backup in place before continuing.
Your computer will be "like new" when you first purchased it, with none of the files, customization, or programs you've setup since you purchased it.
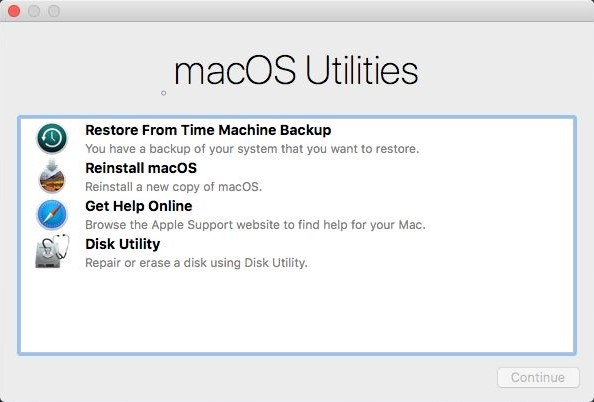
3. Boot to Recovery
Power on the computer.
Immediately after your Mac turns on (some Mac computers play a startup sound), press and hold the command ⌘ and R keys until the Apple logo appears, then release the keys.
You will see a macOS Utilities page once recovery mode loads.
4. Erase Disk Check
Before performing the re-installation of the macOS Operating System, it's best to decide if you want to erase the disk, first.
Erase
If you intend to sell or give away your Mac, this will remove all the data currently on the system first, making it much more difficult for anyone else in the future to ever retrieve any documents using forensic methods.
Don't Erase
If you're keeping your Mac, and simply want to refresh the Operating System files or repair a problem with the Operating System, this is much faster and all that's required.
5. Erase Disk
Erasing the disk removes all the information from the disk. Be sure to back up the information you want to keep to an external device.You will need to re-install the macOS Operating System after completing these steps.
Select Disk Utility, then select Continue.
Select your startup disk on the left, then select Erase at the top.
Give your disk a name, then select Erase.
This process is final and cannot be reversed. All information, including your documents, programs, settings, and even the Operating System are removed. You will need to re-install the macOS Operating System after this process is complete.
Once the disk is erased, select Done.
Exit Disk Utility by selecting the Disk Utility menu at the top-left, then choose Quit Disk Utility.
6. Reinstall macOS from macOS Utilities
Reinstalling macOS will remove all customization, files, and programs on your computer. Make sure you have a recent backup before proceeding.
Highlight Reinstall macOS, then select Continue.
macOS setup will begin. Select Continue.
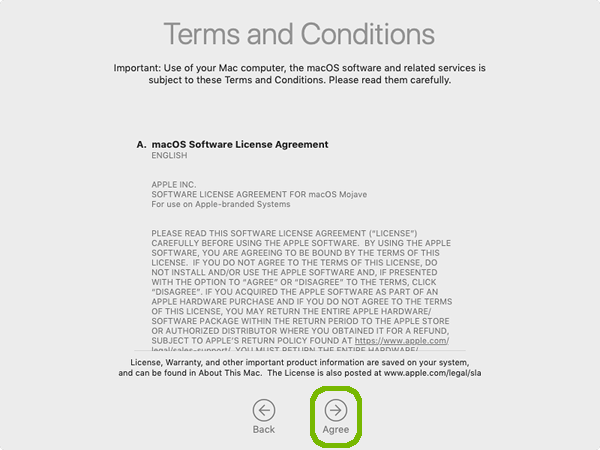
The Software License Agreement will be displayed. Carefully read through this agreement. If you agree with the terms stated, select Agree at the bottom to continue.
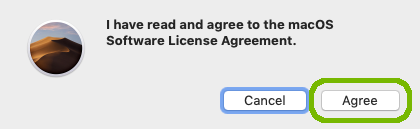
Select Agree to confirm you agree with the Software License Agreement.
Select your hard drive, then select Install.
The Install process will take some time, and your Mac will reboot during the process. An estimated time till the install is complete is shown here. Be patient while macOS is reinstalled.
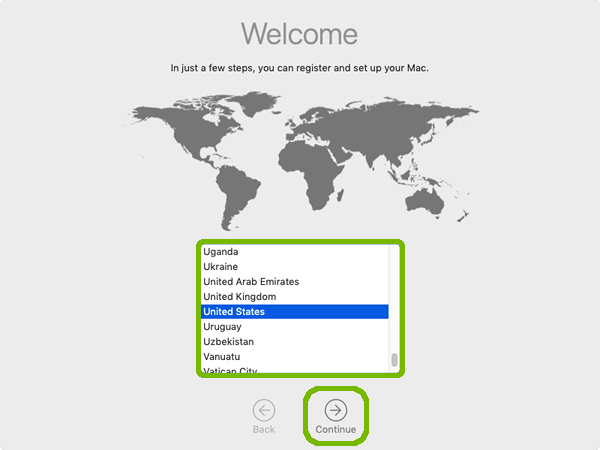
7. macOS Setup Assistant
Choose your country from the list and select Continue.
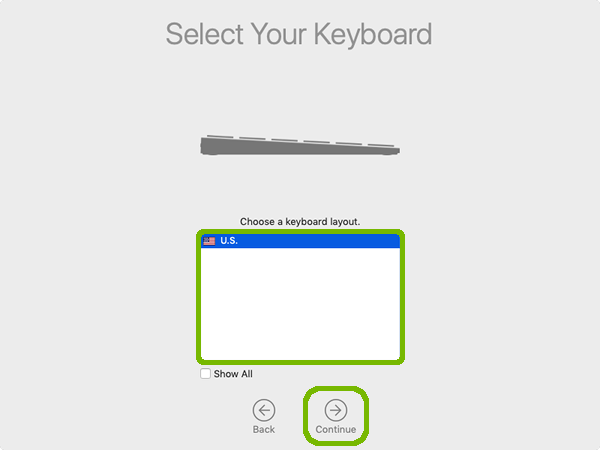
Choose your Keyboard Layout and select Continue.
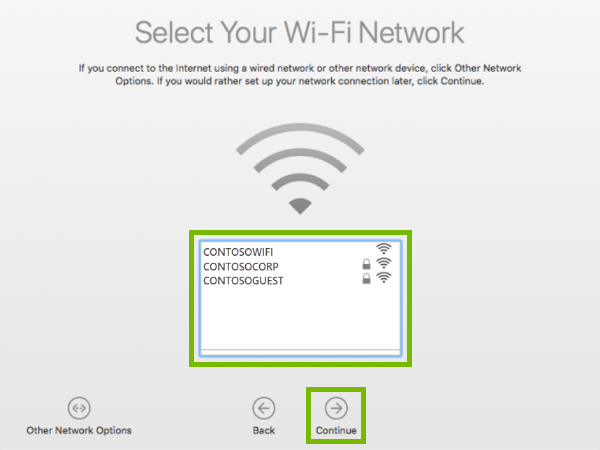
Select your Network Name (SSID) and select Continue.
Most networks are secured. If you are connecting to a secured network you will be prompted to enter your WiFi Password (Security Key).
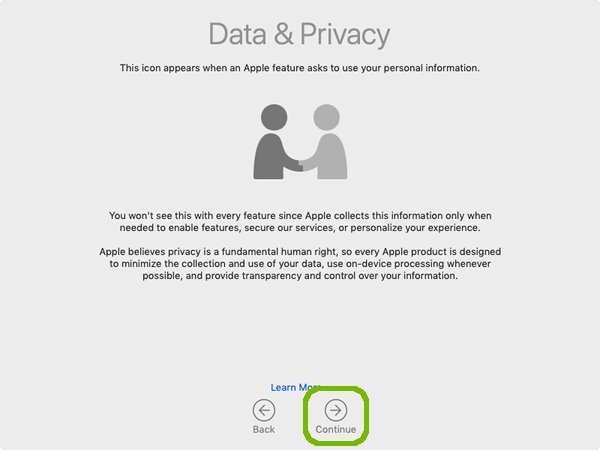
Setup will remind you that macOS will always remind you when asking for private information. Carefully read this notice, and select Continue.
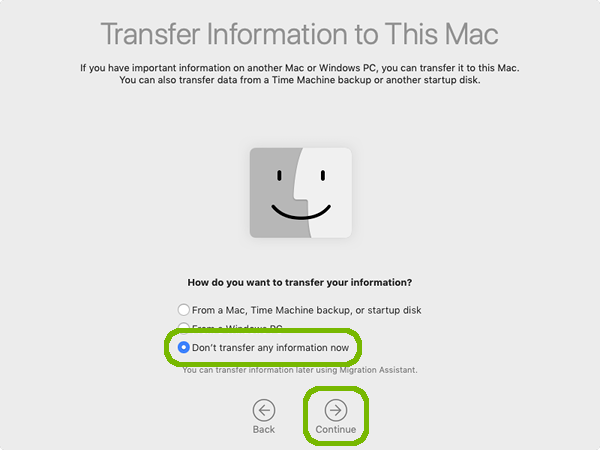
This step will let us transfer information from another computer or from a Backup. For now we will skip this step. It can be done after setup of your Mac. Please select Don't transfer any information now and click Continue.
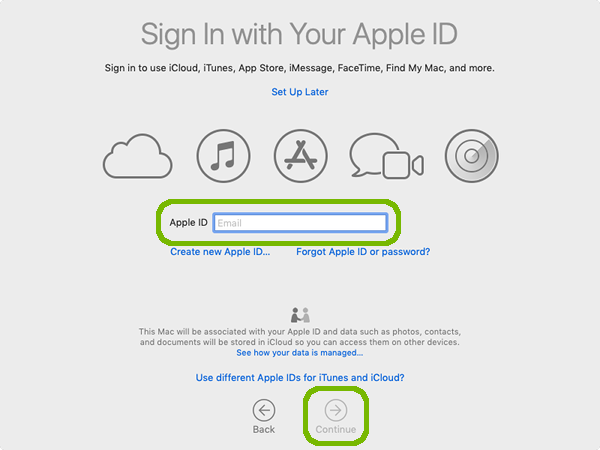
If you have an Apple ID, you can sign in here and click Continue.
If you do not wish to sign in with an Apple ID, please skip to step 8. You may do this later after setup is completed.
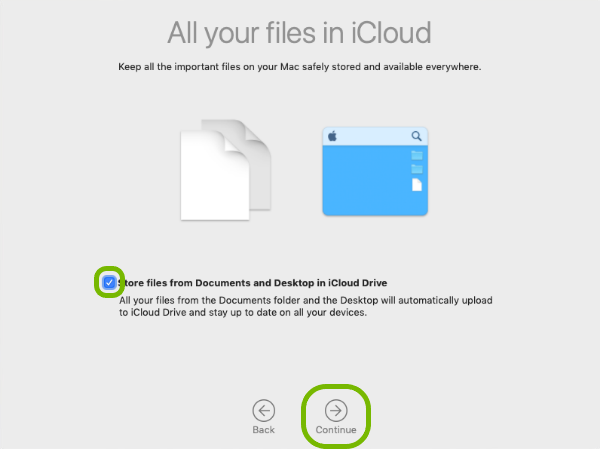
Choose whether you wish to backup your files to iCloud and click Continue.
Read through and Agree to the Terms and Conditions.
Confirm that you Agree with the Terms of Service.
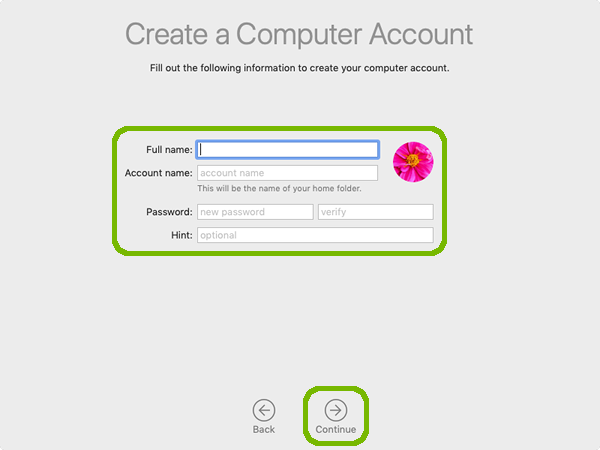
Lets create your account by entering the following:
Your Name
Your Account Name
Your Account Password
A Password Hint
Select Continue once done.
Be sure to take note of your Account Name and Password. If you forget this information you may end up getting locked out of your computer.
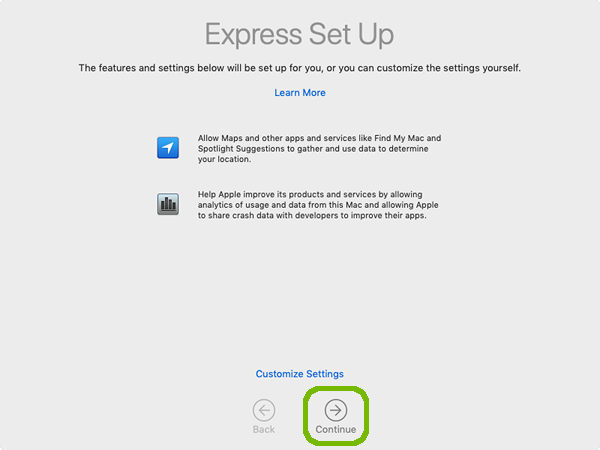
Express setup provides a balance between personal privacy, security, and features. Select Continue.
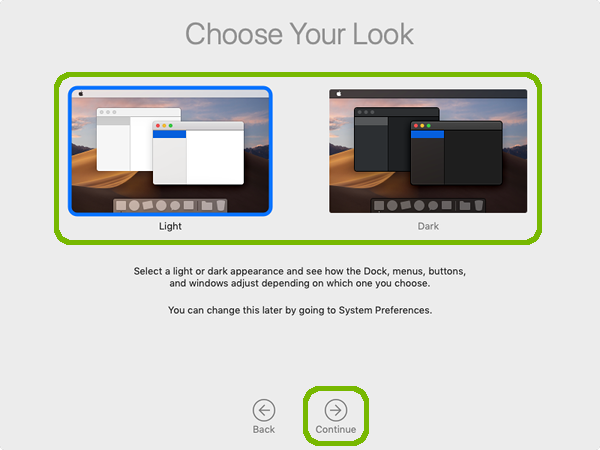
macOS has 2 different looks. Select the one that appeals to you the most, then select continue.
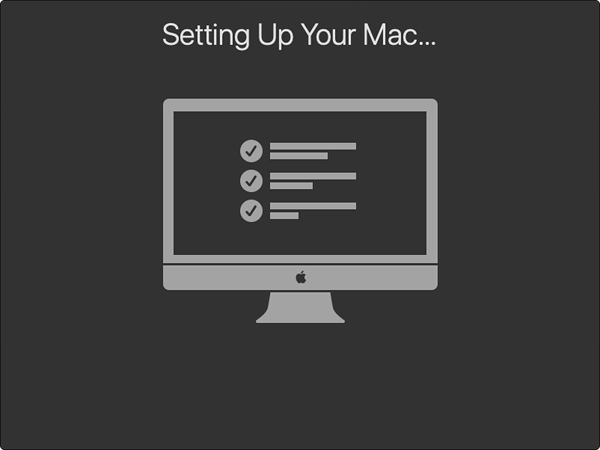
Your Mac will complete setup.
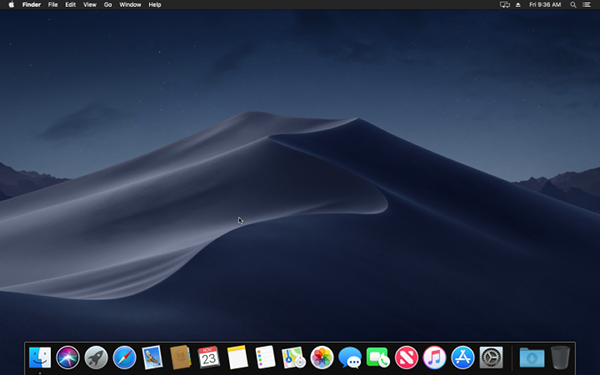
You will be presented with the macOS desktop. Your Mac is ready to use!
8. What's next?
9. How to Backup Your Apple Mac
We have a guide specifically to help you backup your Mac computer.
.png)