.png)
Authored by: Support.com Tech Pro Team
Experiencing video issues on your Chromebook can be frustrating, but many common problems can be resolved through troubleshooting. This comprehensive guide will help you identify and fix various video-related problems on your Chromebook.
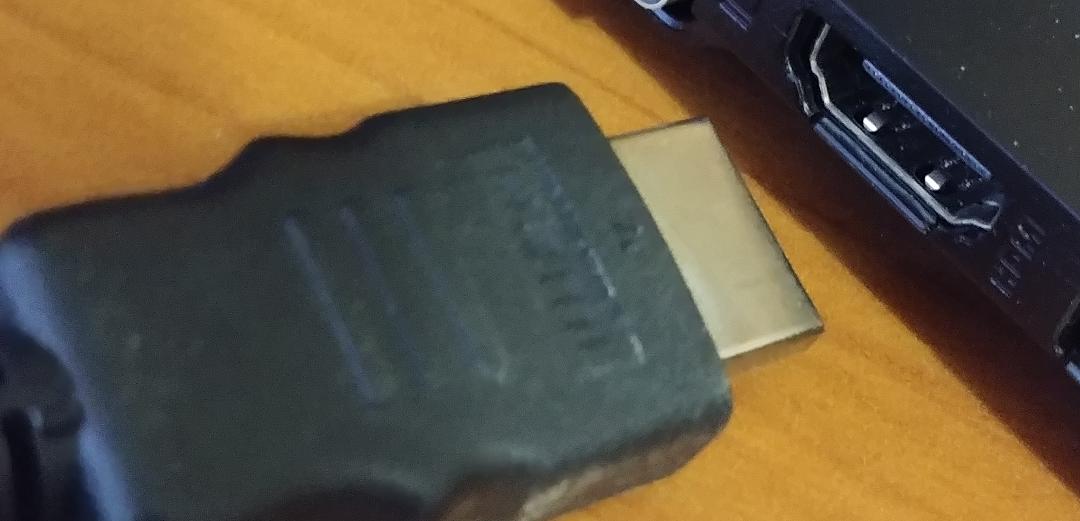
Start by checking the physical connections like HDMI or USB-C cables.
Ensure the screen brightness is appropriately adjusted.
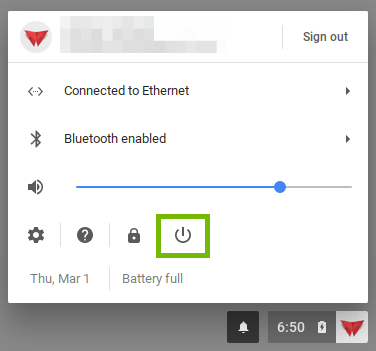
Restart your Chromebook to rule out temporary glitches.
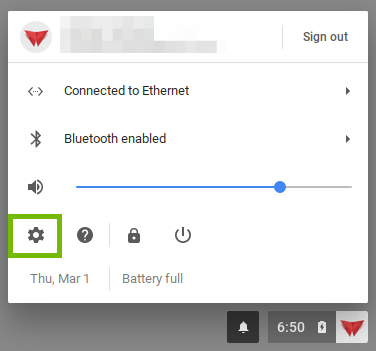
Click the clock in the bottom-right corner and select the settings gear.
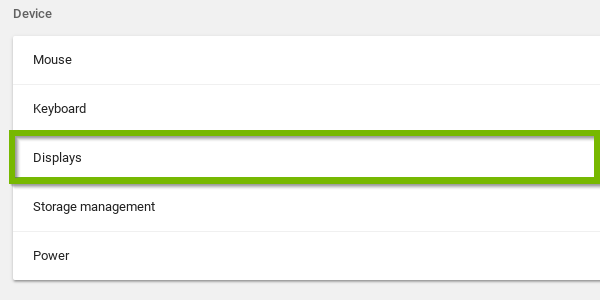
Navigate to "Display."
Adjust the display resolution, orientation, and refresh rate as needed.
Click the clock, select "Settings," and go to "About Chrome OS."
Click "Check for Updates" and make sure you have the latest Chrome OS version.
Outdated graphics drivers can cause issues; ensure you are running the latest version.
If video issues are primarily within a web browser, try clearing the cache and cookies.
Inspect the screen for physical damage, dead pixels, or discoloration.
If your Chromebook has a detachable screen, ensure it's securely connected.
Test if the issue persists in different lighting conditions.
Connect your Chromebook to an external monitor or TV to see if video displays correctly there.
If it works on an external display, the issue may be with your Chromebook's built-in screen.
As a last resort, consider a Powerwash to reset your Chromebook to its default settings (as outlined in the sound guide - Step 8). Backup your data before performing a Powerwash.
Video issues on a Chromebook can be resolved through a series of troubleshooting steps. By following this guide, you should be able to identify and fix common video-related problems. Remember to back up your data before performing a Powerwash or seeking professional help if the issue persists.
If you are still having trouble, refer to the Step-By-Step Guide below, or Contact Support.Com for Personalized Assistance.
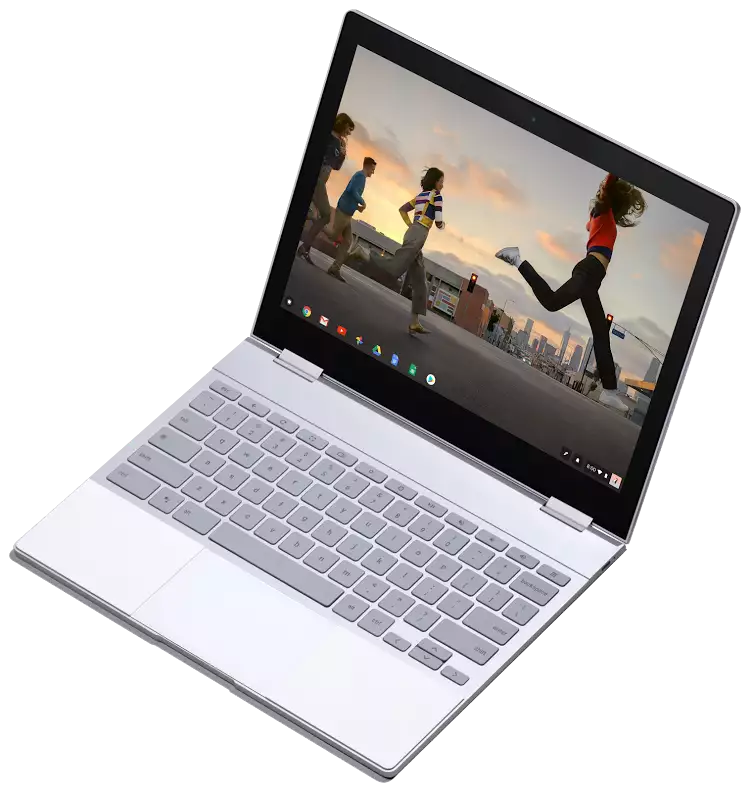
It can be incredibly frustrating when the display on your Chromebook isn't working right. This guide will take you through the basic steps to repair that problem.
If an HDMI cable is connected, disconnect it.
There are 2 main ways to restart your Chromebook. The first method is preferred.


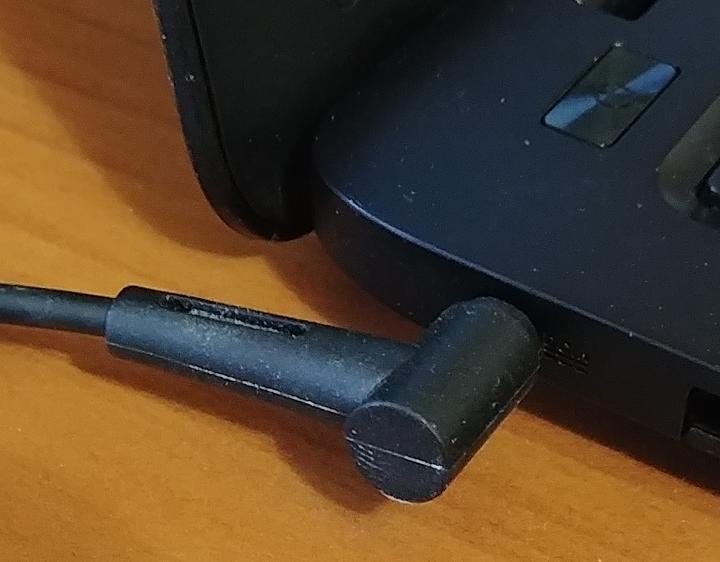
If an HDMI cable is connected, disconnect it.

Support.com is committed to your privacy
We do not share or sell your data to third parties. We do use cookies and other third-party technologies to improve our site and services. The California Consumer Privacy Act (CCPA) gives you the ability to opt out of the use of cookies, third-party technologies and/or the future sale of your data. Do not sell my personal information.

Support.com is committed to your privacy
Read our Privacy Policy for a clear explanation of how we collect, use, disclose and store your information
