.png)
Authored by: Support.com Tech Pro Team

In this guide, you will learn how to restore and Import Quicken files from Carbonite Backup.
Carbonite backs up your Quicken data. Once restored, you can import the files back into the appropriate program
Please choose the scenario that best fits your situation
Here we'll guide you through restoring your data and then on how to import it into the program
There are a couple of things that need to be in place for the restore and import to work
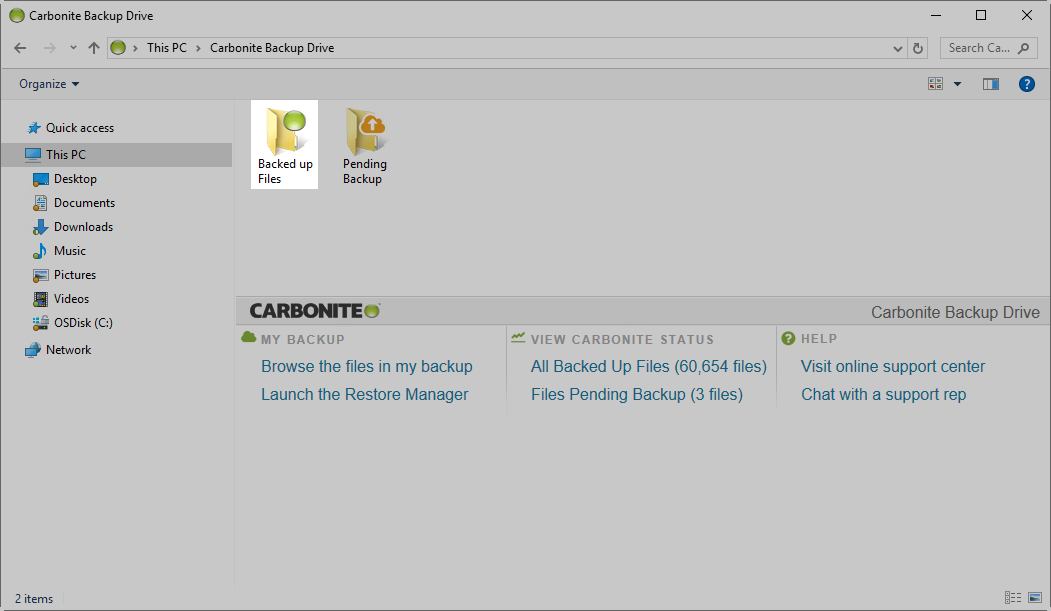
1. Let's begin by opening the Carbonite Backup Drive through the File Explorer window (alternatively called Windows Explorer in older Windows operating systems). Do this by double-clicking the Carbonite Backup Drive icon

You'll see the Carbonite Backup Drive displayed. This shows all of the files in your backup organized the same way they are on your computer
2. Double-click the Backed Up Files icon
3. Browse to the location where your [program] data files are located (i.e. where it was when you backed it up)
Your Quicken data file normally has the file extension of .QDF (Quicken Data File), and it is typically stored in one of the following locations
Windows XP
Windows Vista and Windows 10
Windows 7 and Windows 8
Older versions of Quicken
4. Once you found the files, you can restore it with the help of the instructions below
To reassociate your Quicken files with the Quicken program, follow the steps below
Once you finish your restore and get your data back into the program, you're all set. If you want to resume your backup again, please exit Recover Mode

Support.com is committed to your privacy
We do not share or sell your data to third parties. We do use cookies and other third-party technologies to improve our site and services. The California Consumer Privacy Act (CCPA) gives you the ability to opt out of the use of cookies, third-party technologies and/or the future sale of your data. Do not sell my personal information.

Support.com is committed to your privacy
Read our Privacy Policy for a clear explanation of how we collect, use, disclose and store your information
