How to Set Heat and Cool Ranges on ecobee Thermostat
Authored by: Support.com Tech Pro Team
1. Introduction
In This Guide
You'll Learn How To:
Set limits on heating and cooling temperature ranges.
Before We Begin:
Your ecobee thermostat should be installed.
2. Verify Basic Setup has Been Completed
In order to proceed with this guide successfully, your ecobee Smart Thermostat must be fully installed and functioning properly.
3. Configure Heating and Cooling Ranges
Your ecobee Smart Thermostat can be set to only allow specific heating and cooling temperature ranges. This prevents someone from accidentally selecting an absurdly high or low temperature value when manually adjusting the thermostat.
Limiting heating and cooling temperature ranges on your ecobee Smart Thermostat can be done from the device itself, or via the ecobee web portal:
From the Thermostat
Select the Main Menu.
Select Settings.
Select Preferences.
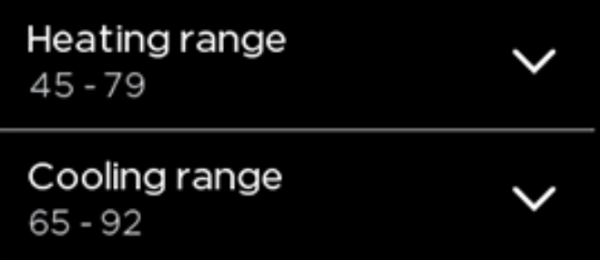
Select Heating Range or Cooling Range.
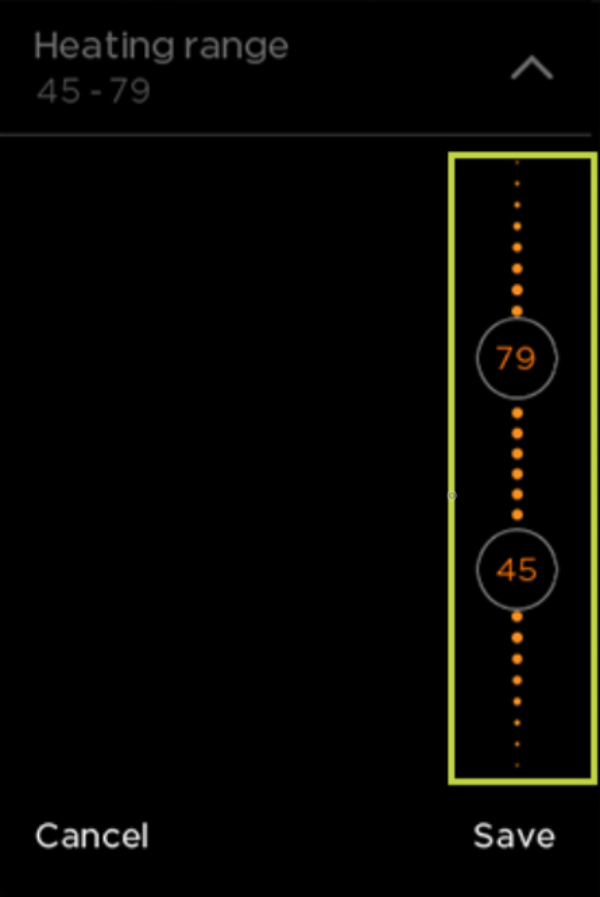
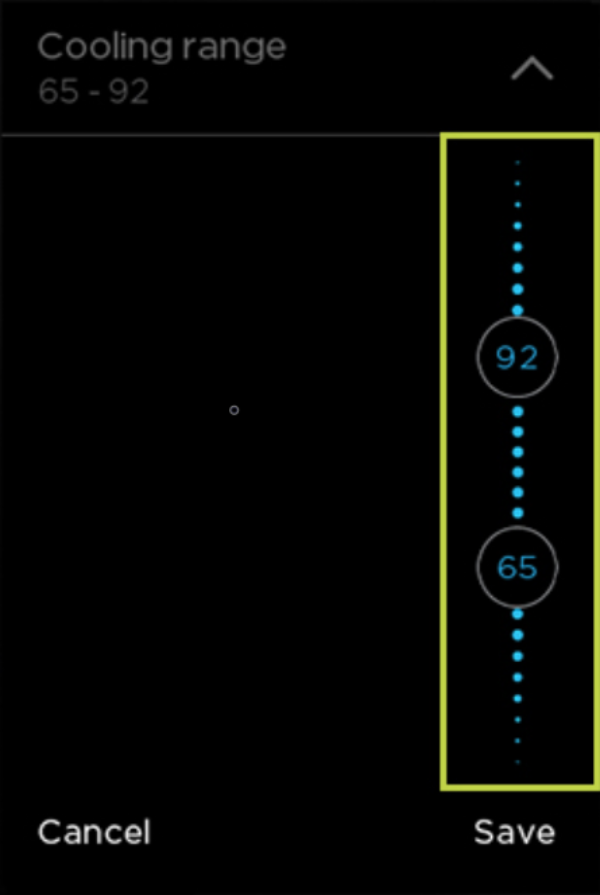
Select the desired Heating range and Cooling range, then tap Save.
The range settings for heating and cooling are separate and should be set independently.
Heating Range
Cooling Range
From the ecobee Web Portal
Open your browser, type in ecobee.com and press Enter or Return.
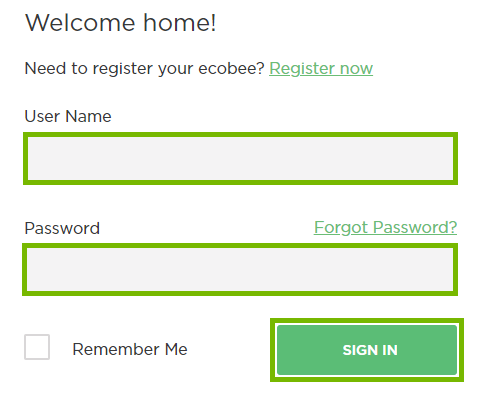
Click the Login button located in the top right corner of the screen.
Enter your username and password and click Sign In.
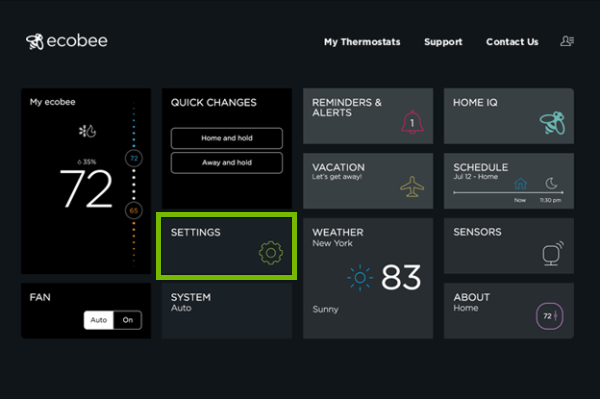
Select Settings tile.
Select Preferences.
Select Heat Set Point Range or Cool Set Point Range.
Select the desired Heating range and Cooling range.
The range settings for heating and cooling are separate and should be set independently.
.png)