.png)
Authored by: Support.com Tech Pro Team
In This Guide
You'll Learn:
You'll Need:


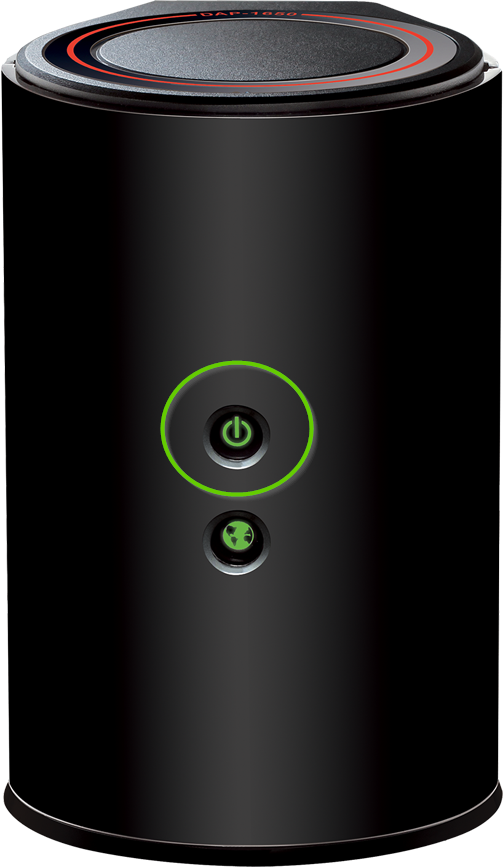
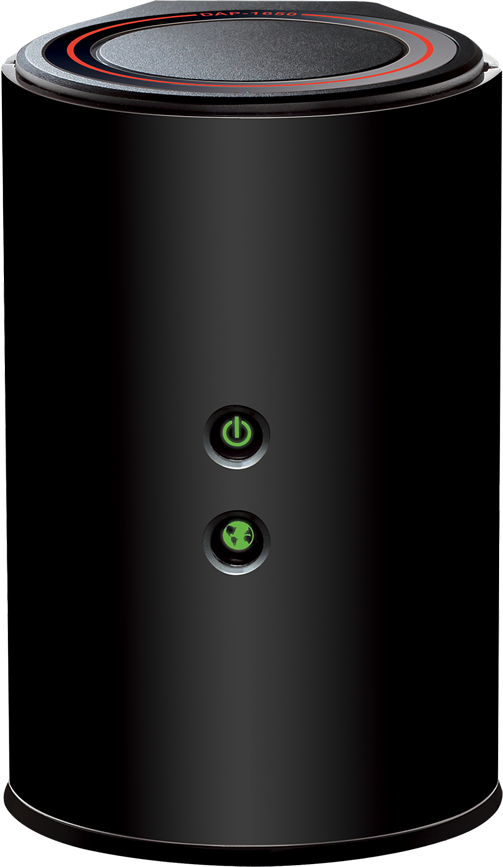
There are two methods available to get your D-Link DAP-1650 AC1200 Range Extender set up for the first time. Before choosing which set up method to use, it is important to know which mode of operation you intend to have your Range Extender operate in.
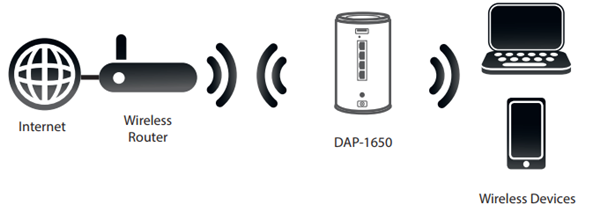
Range Extender Mode (Default)
This is the default mode of operation and how the majority of range extenders operate. It is designed to extend the range of your existing wireless network by repeating the wireless signal of another access point or wireless router.
Access Point (AP) Mode
This mode is used to connect wireless clients (like laptops, tablets and smartphones) to your existing wired network.
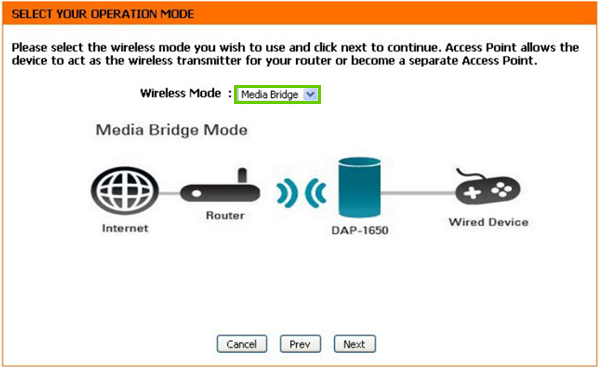
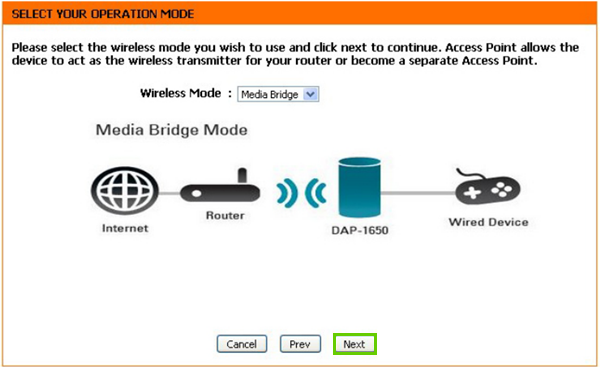
Media Bridge Mode
This mode creates a wireless link between two existing networks, enabling you to attach a wired device to a wireless network.
The Wi-Fi Protected Setup or WPS method will only allow you to configure your Range Extender in the default Range Extender mode.
If you want to use your D-Link DAP-1650 in the Access Point or Media Bridge modes, you must choose the standard Wizard Setup.
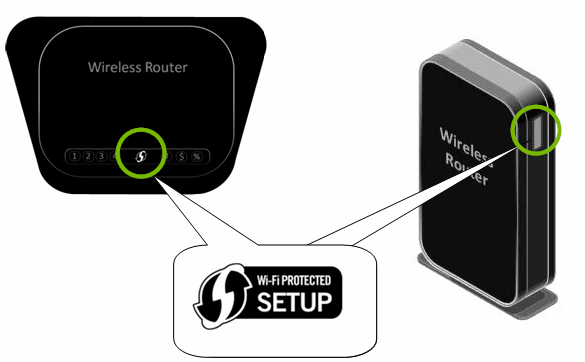
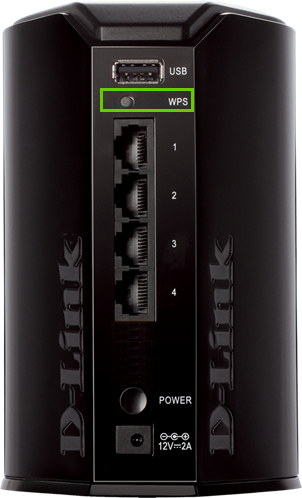
This is an easy setup method that many routers come equipped with. It is designed to make the process of connecting to a secure wireless network easier. Under normal circumstances, you would need to use some sort of interface to select a network, provide the password to said network, and attempt to connect. With WPS, all you have to do is press the WPS button on your router, then press the same button on your range extender, and they will exchange information and connect to one another automatically.
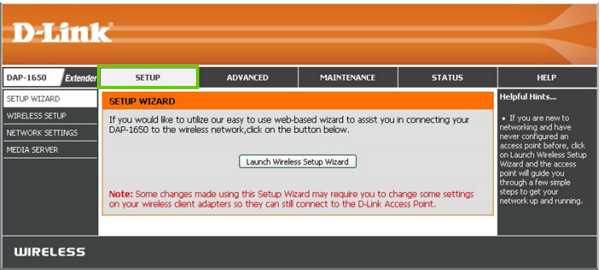
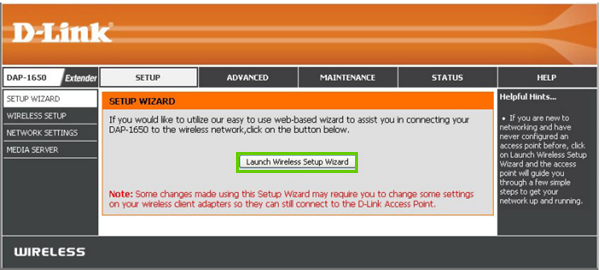
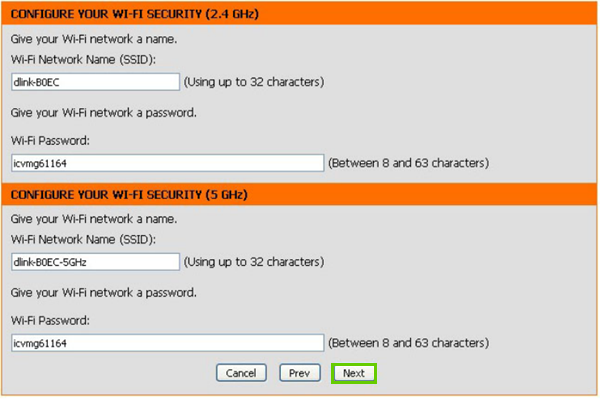
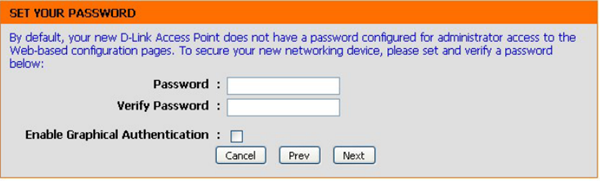
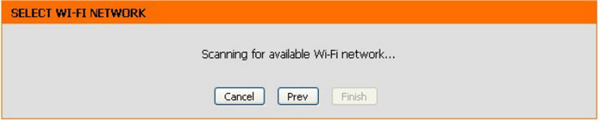
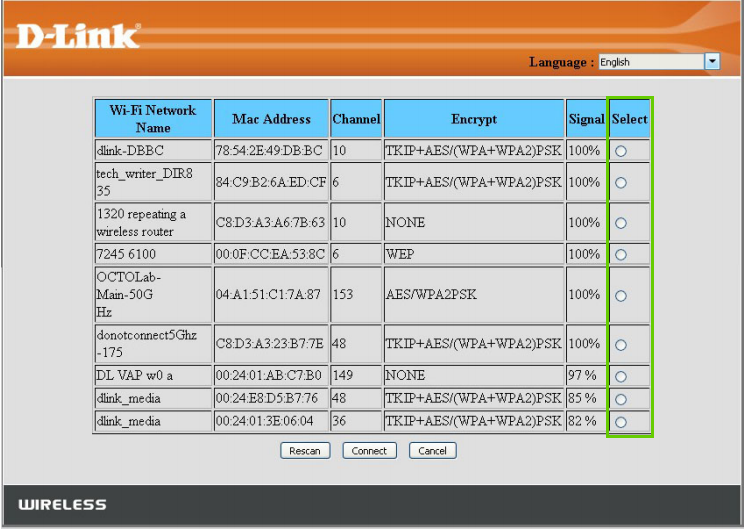
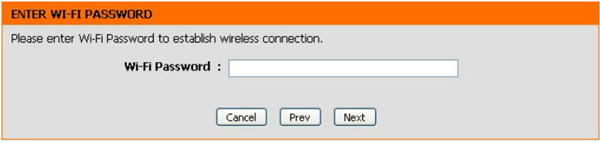
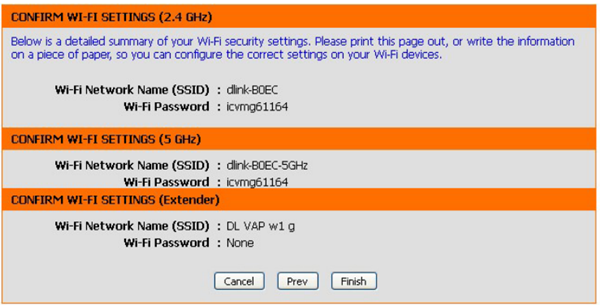
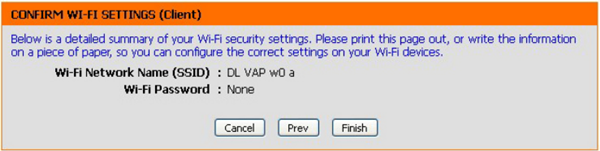
If your router does not come equipped with a WPS button, or you'd rather not use WPS at all, the standard manual setup can be used. This is a more traditional setup method that requires the use of a web browser on a computer or mobile device. This process involves selecting the Wi-Fi network you wish to extend, and providing the Wi-Fi password manually. The upside to this process is that it offers more customization options for your new extended network than the WPS method does.

In order to set up your range extender, you'll need to connect your computer or mobile device to its Wi-Fi setup network first. The Wi-Fi network should appear in the list of available Wi-Fi networks as EXT or EXT5G.
If you're using a computer that is wired directly to your router, you will need to unplug the Ethernet cable and connect to this Wi-Fi network before you can proceed.
Use the illustrations below to help you choose the type of device you are using:
Windows

macOS

Android

iOS

Depending on your exact device (Smartphone or Tablet), and which generation you have, the menu theme and options might look slightly different on your screen. However, the steps should be similar across all Android devices and generations.


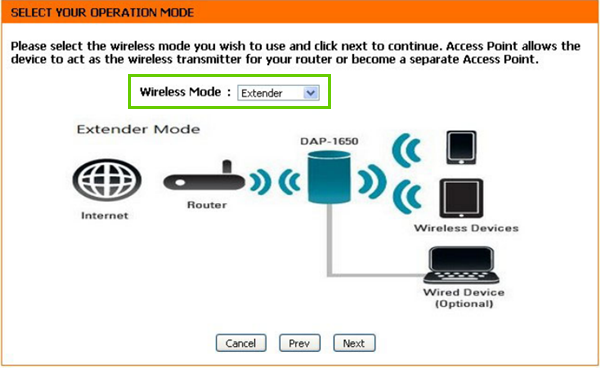
Your D-link DAP-1650 comes with three modes. If you don't select a mode, the device will select Extender mode for you.
Extender Mode
Use Extender Mode to extend the range of your existing wireless network by repeating the wireless signal of another access point or wireless router.
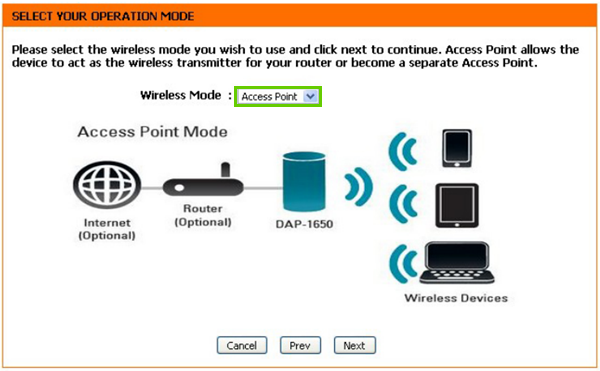
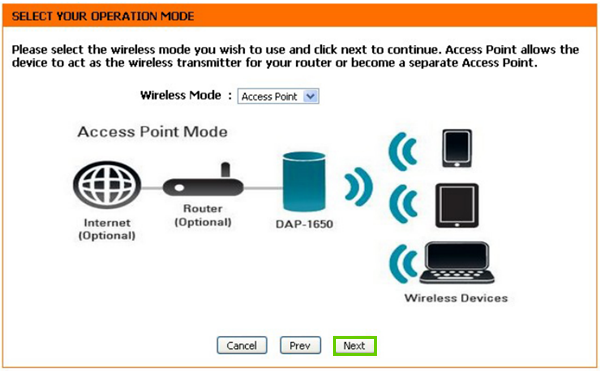
Access Point Mode
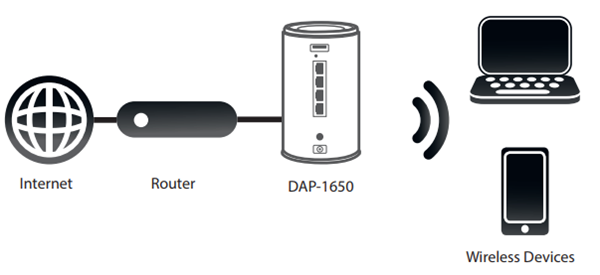
Use Access Point (AP) mode to connect wireless clients (like laptops, tablets and smartphones) to your existing wired network.
Multiple clients can connect wirelessly to the network at the same time.
Media Bridge Mode
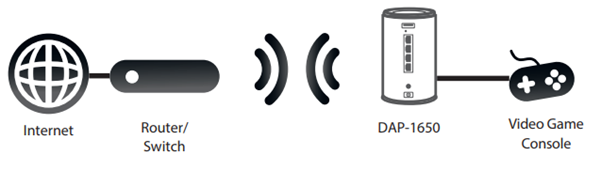
Media Bridge Mode creates a wireless link between two existing networks, enabling you to attach a wired device to a wireless network.


Depending on your exact device (Smartphone or Tablet), and which generation you have, the menu theme and options might look slightly different on your screen. However, the steps should be similar across all Apple iOS devices and generations.


Windows 10 may show slightly different options, but the steps should be similar across all versions of Windows 10.


The network is unsecured; this is normal. You will be using it to set up the device only. After, you will be using the device over a secured wireless connection.
macOS may show slightly different options, but the steps should be similar across all versions and themes on macOS.

The network is unsecured; this is normal. You will be using it to set up the device only. After, you will be using the device over a secured wireless connection.

Support.com is committed to your privacy
We do not share or sell your data to third parties. We do use cookies and other third-party technologies to improve our site and services. The California Consumer Privacy Act (CCPA) gives you the ability to opt out of the use of cookies, third-party technologies and/or the future sale of your data. Do not sell my personal information.

Support.com is committed to your privacy
Read our Privacy Policy for a clear explanation of how we collect, use, disclose and store your information
