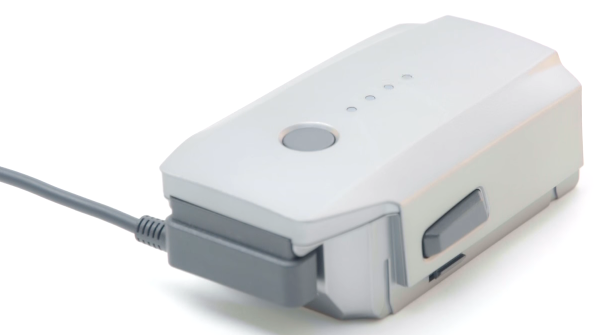
Plug one end of the charging cable into the battery.
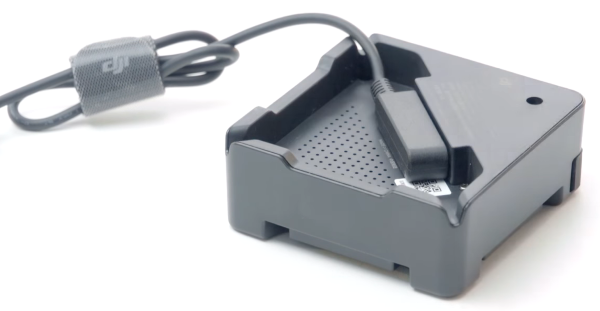
If you have more than one battery, plug the charging cable into the charging hub instead.
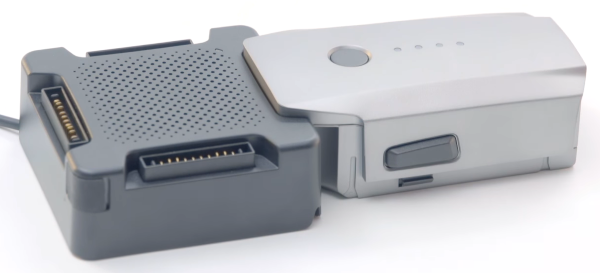
Then plug your batteries into the charging hub.
Plug the bigger end of the provided USB cable into the charger and the smaller end into the remote control.
Connect the charger to a power outlet to start charging.
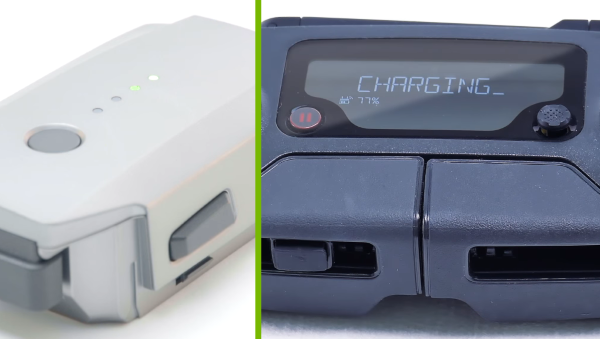
You will see the lights on the batteries scrolling until they will turn off, meaning they are fully charged. The remote control will show the charging percentage on the screen.
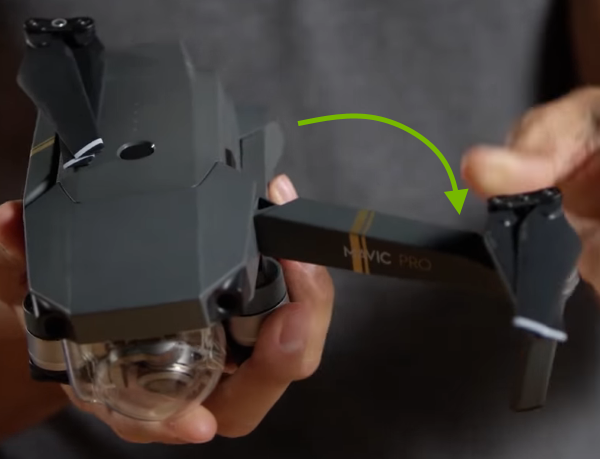
3. Unfold Drone
Hold the drone top side up and start with the front arms.
Pull the front arms outwards.
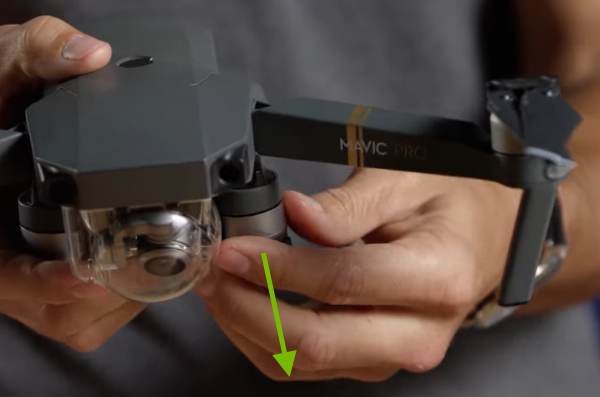
Pull or push the rear arms downwards and they will twist outwards ending with the propellers on top.
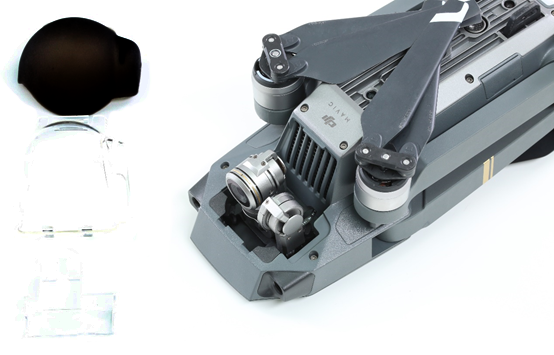
Remove the gimbal cover and the gimbal clamp.
4. Connect Mobile Device to RC
Depending on the size of your mobile device and where the connection port is located on it, there are two ways to connect it to the remote control:
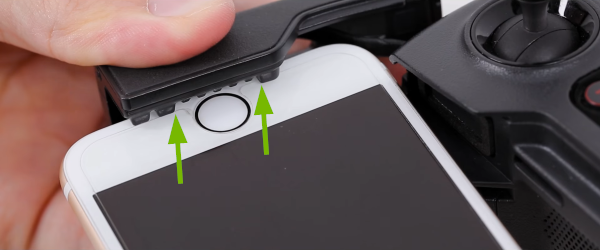
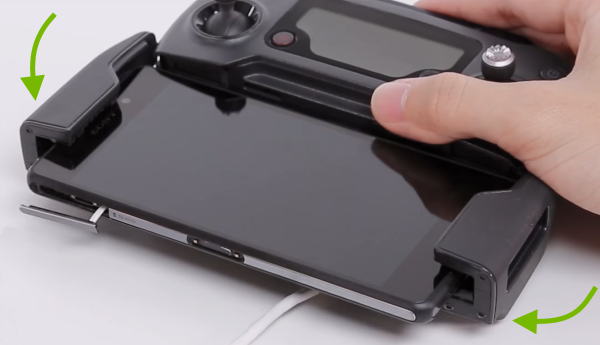
Using the Clamp Connector
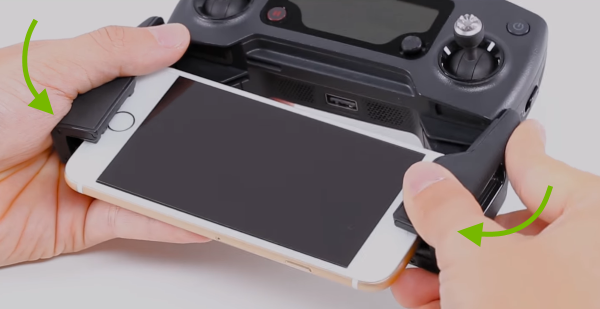
Unfold the mobile device clamps.
Align the side connector on the left clamp with the port on the mobile device.
If your mobile device has a home button in the middle, make sure it's positioned between the bigger teeth of the clamp.
Insert the mobile device into the left clamp first, then into the right clamp to secure it.
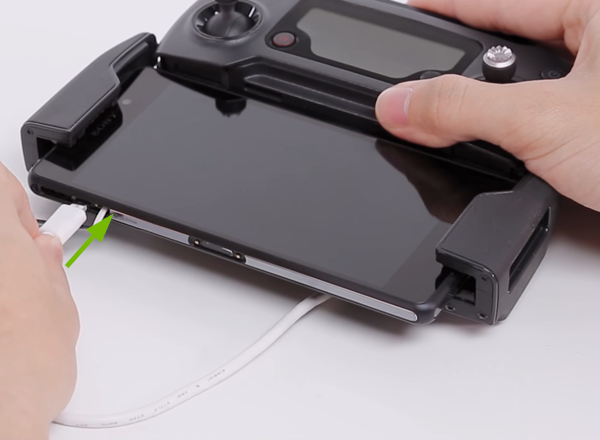
Using the Extension Cable
Unfold the mobile device clamps.
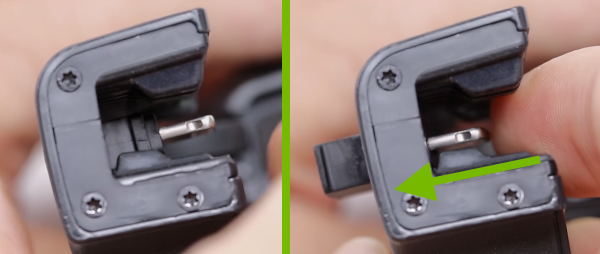
Push the side connector into the outward position on the left clamp.
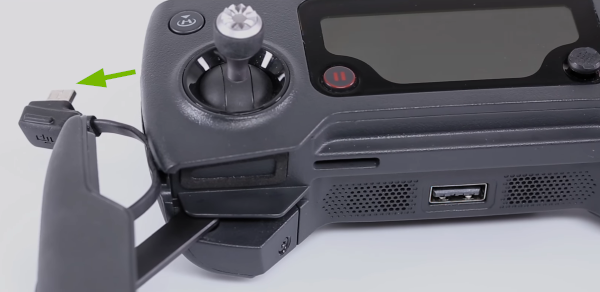
Disconnect side cable from the remote controller.
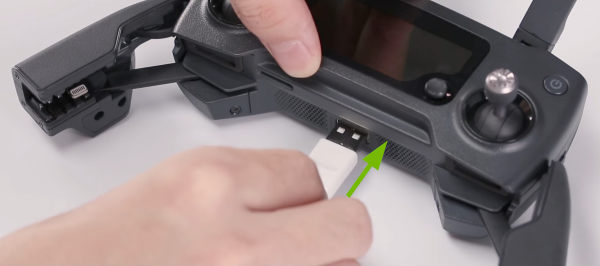
Connect the provided USB cable into the bottom port of the remote controller.
Insert the mobile device into one of the clamps first, then into the other one to secure it.
Connect the Micro USB end of the cable into the side port of the mobile device.
5. Turn On RC & Drone
To complete the following steps, you will need both your remote control and drone handy.
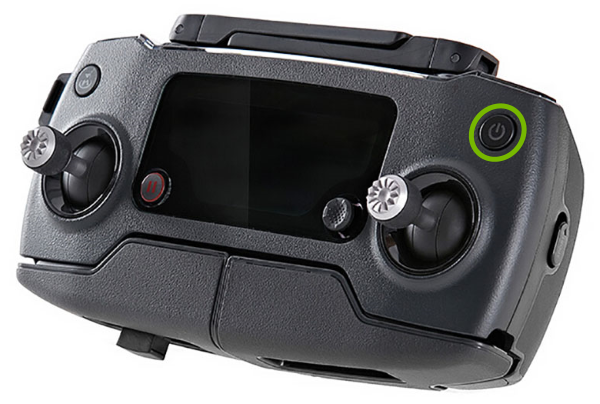
On the Remote Control
Press and release the power button, then press it again quickly and hold it until you hear it make the initialization sound.
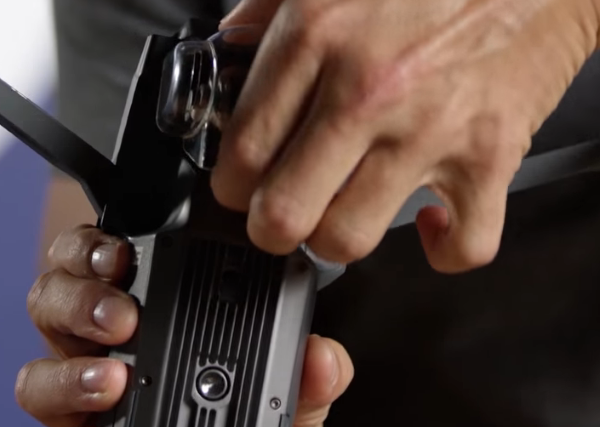
On the Drone
Make sure the rubber and plastic gimbal covers and gimbal clamp are removed, and the drone is unfolded so the gimbal and propellers can move freely during the warm-up process.
Press and release the power button, then press it again quickly and hold it until you hear it make the initialization sound.
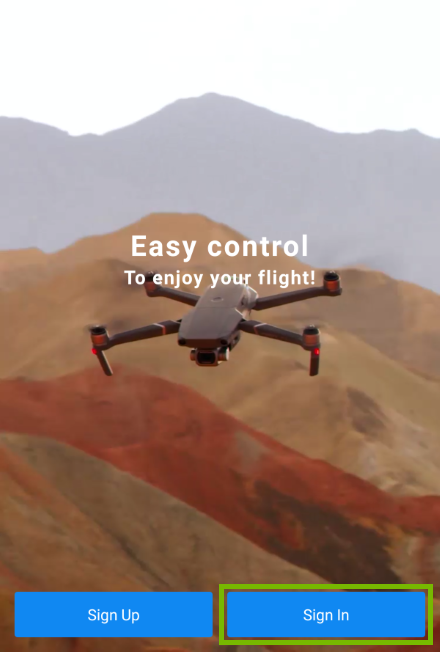
6. Launch App
Launch the DJI GO 4 app on your mobile device.
If you're not logged in, tap Sign In.
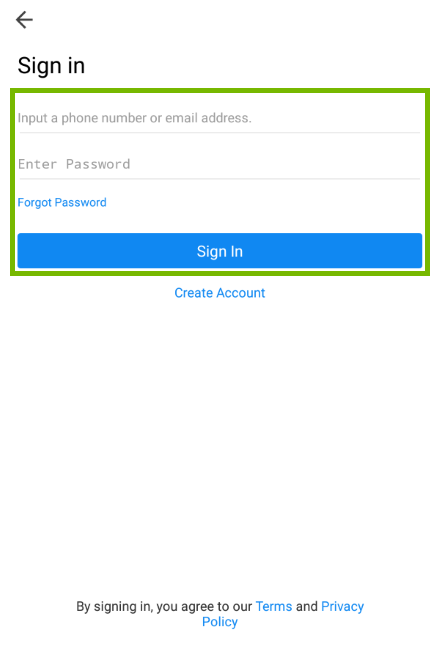
Fill in your account information and tap Sign In.
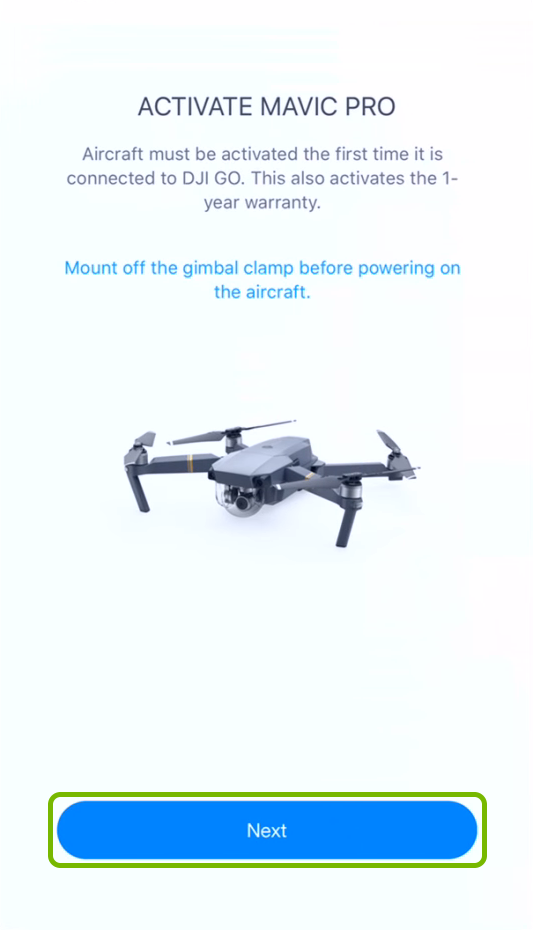
7. Activate Mavic Pro
The DJI GO 4 app will prompt you to activate your drone. Tap Next to proceed.
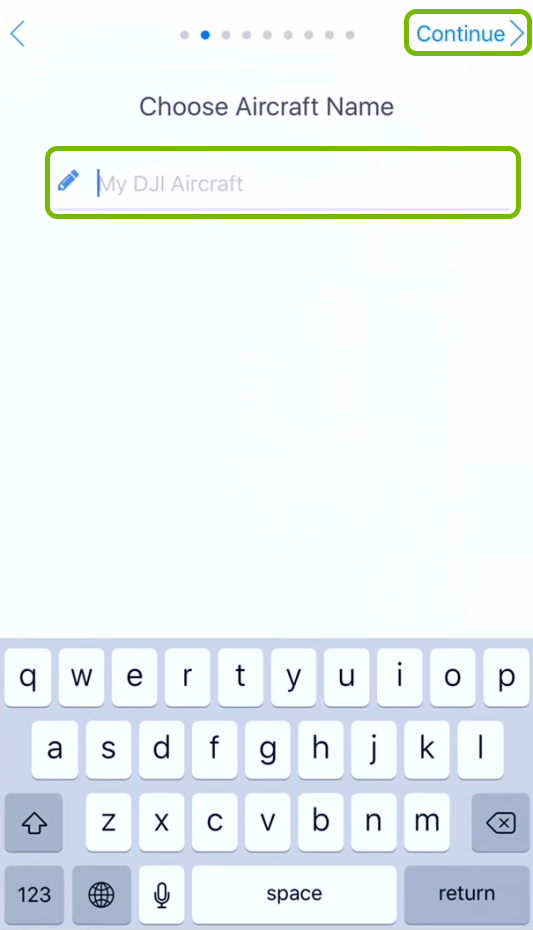
Type in a Name for your drone, then tap Continue.
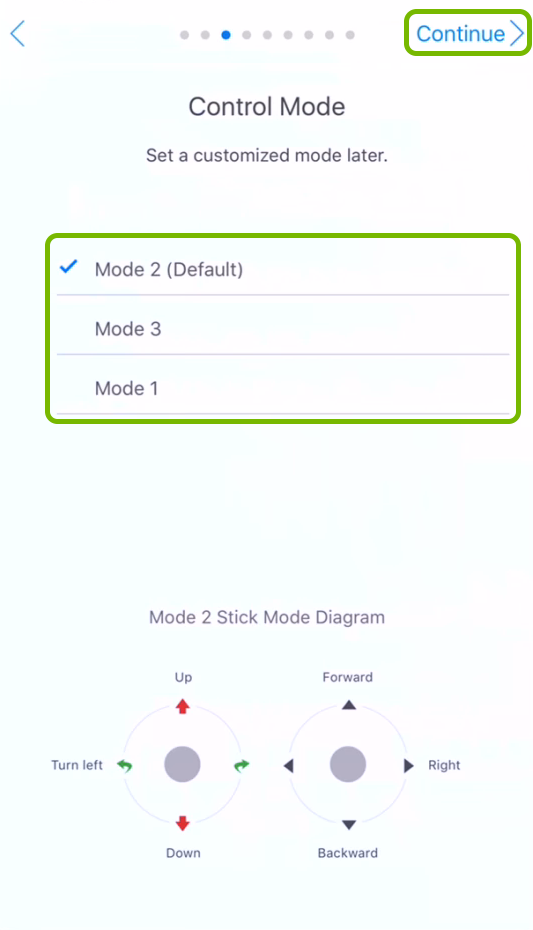
Choose a control mode for the remote. Tap each Mode to see it's layout below, then tap Continue when you're set.
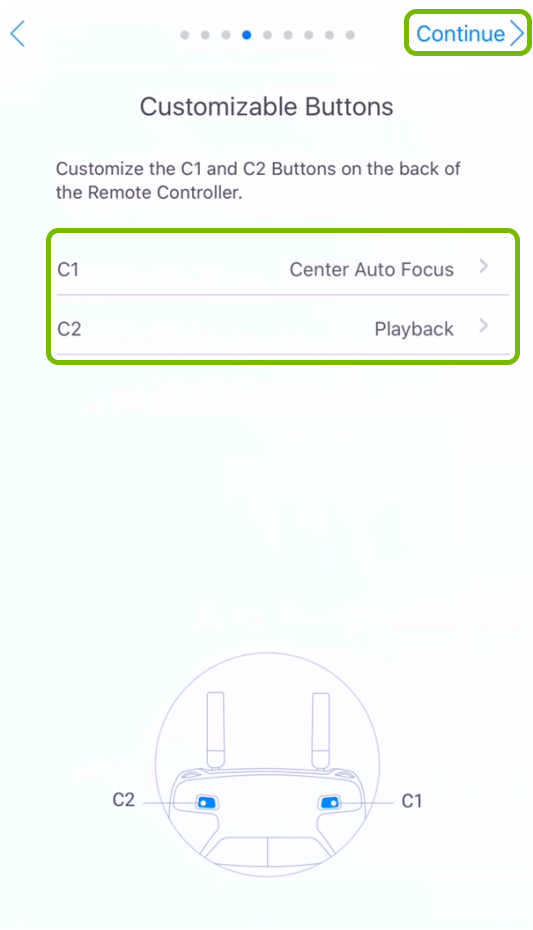
Set the functions for the customizable buttons on the remote control then tap Continue.
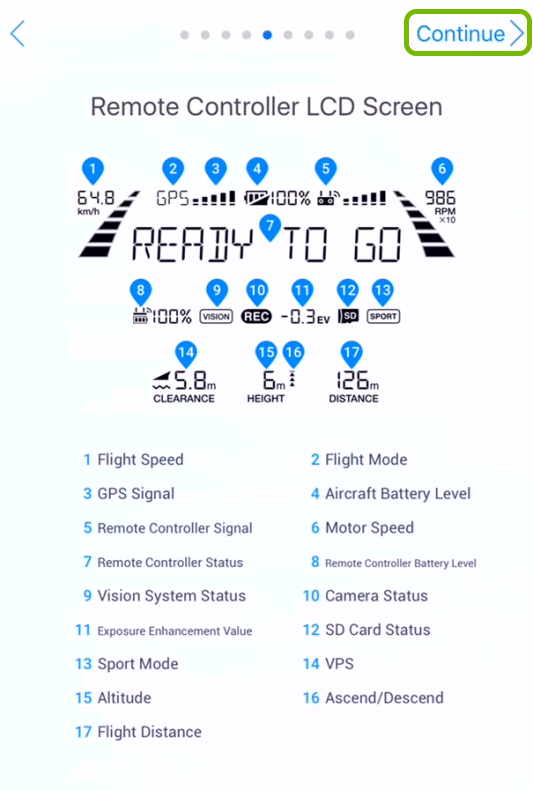
You'll be shown an explanation of the elements diplayed on the remote control LCD screen. Tap Continue when you're ready to proceed.
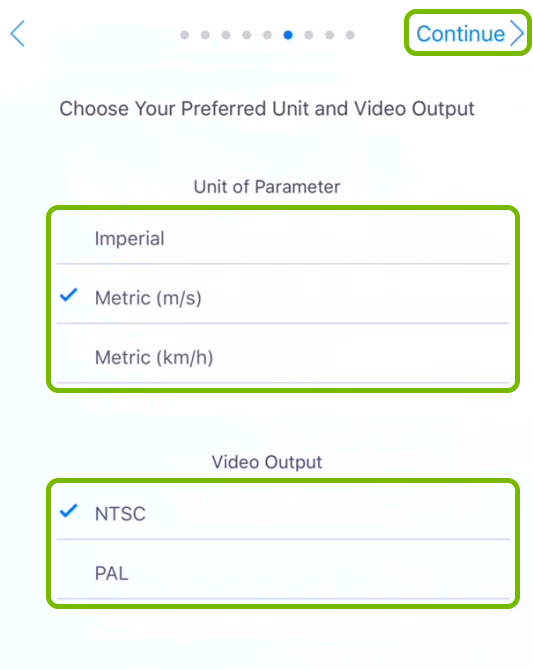
Choose your preferred Measurement System, Video Standard then tap Continue.
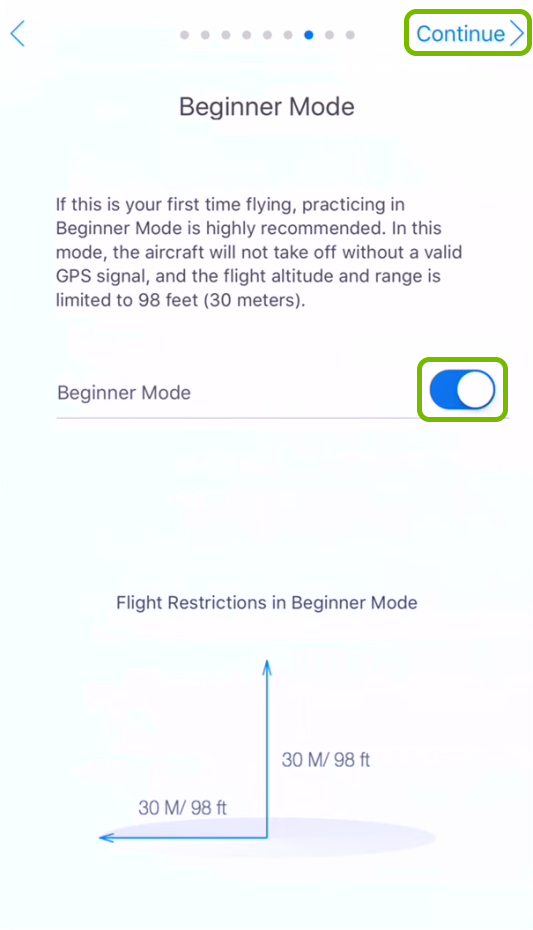
If this is your first time flying a drone, it's recommended you leave Beginner Mode turned on, otherwise you can turn it off. Tap Continue to proceed.
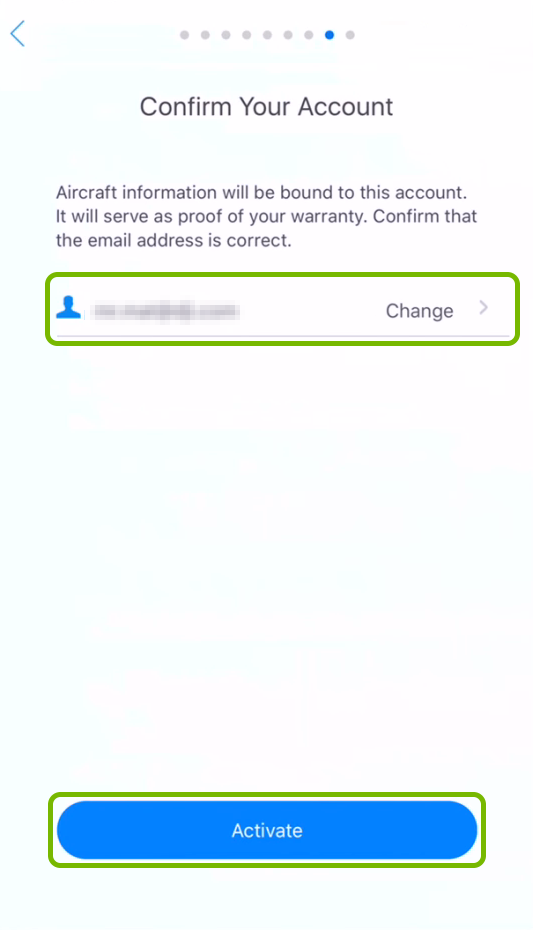
The email address used for your account will be filled in automatically. Confirm it and tap Activate.
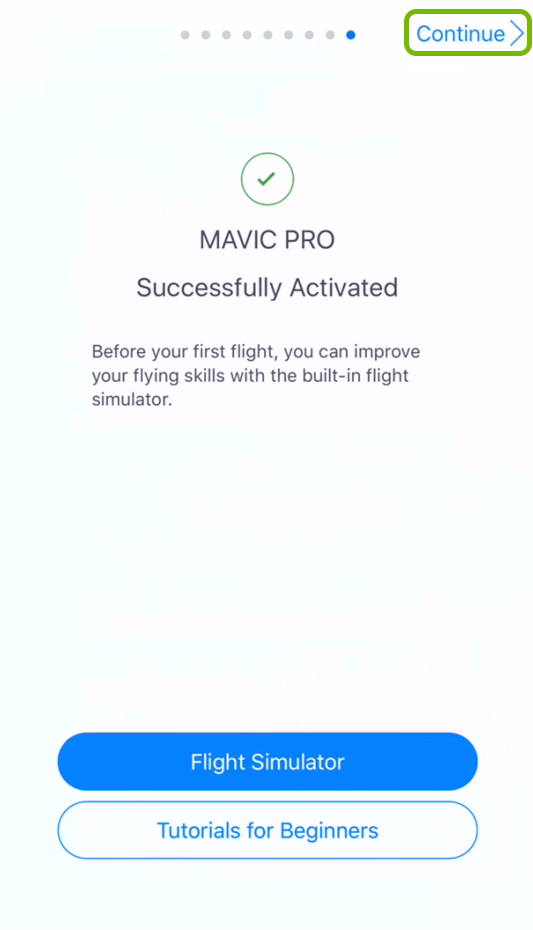
You'll be shown a confirmation screen once your drone is activated. Tap Continue to finish.
Remove Hidden Spyware In Minutes For Free
Detect and remove spyware, keyloggers, tracking cookies, and other
threats that slow down your PC or steal your data.
65+ Million Downloads
Spyware scanner with AI-powered detection engine + database
.png)