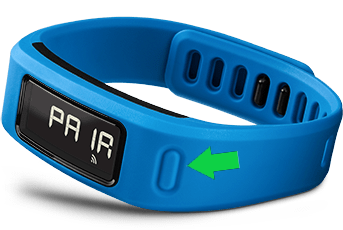
Press and hold the only button on your VÃvofit. The device will power on.
Continue holding the button until you see PAIR on the device screen, then release the button.
Your device is now in pairing mode and ready to communicate with your Garmin app.
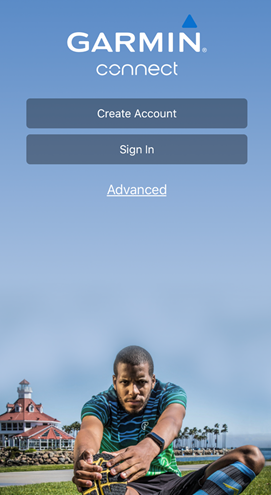
3. Set Up App (Mobile)
You will be prompted to Sign In with an existing Garmin Connect account, or you can also choose to Create Account if you do not currently have a Garmin Connect account.
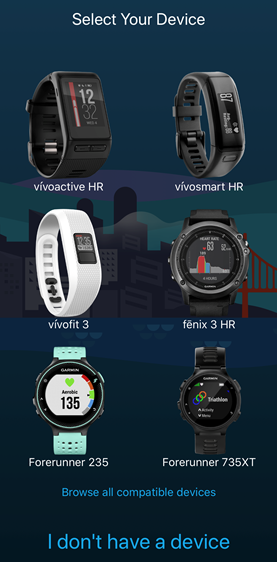
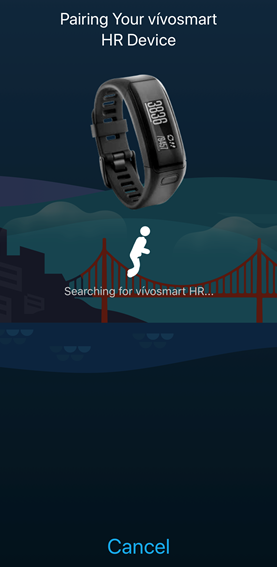
You will be prompted to select your Garmin device from the on-screen list.
Select your device and follow the on-screen instructions for connecting it to the app.
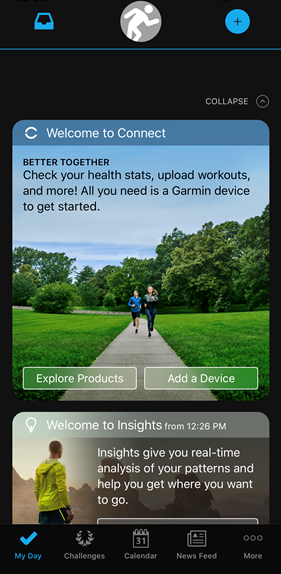
Once you have been taken to the main screen of the Garmin Connect app, your device is now linked with the Garmin Connect software and is ready to use.
4. Wearing the Fitness Tracker
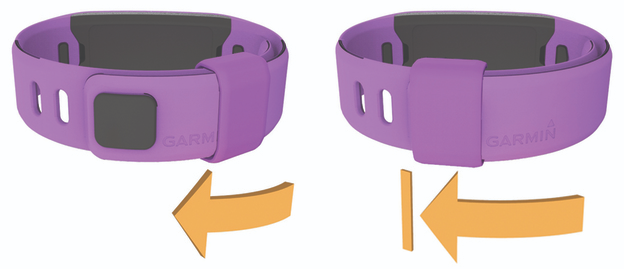
Select a band that fits best on your wrist.
Make sure the pegs on the clasp are fully inserted into the band.
When both pegs are fully inserted, the device fits securely against your wrist.
Slide the keeper over the clasp (optional). The keeper is a small loop designed to fit over both ends of the band and the clasp. It helps keep the band attached.
Wear the device all day for it to track movement and sleep activity.
5. Pair using the ANT Stick
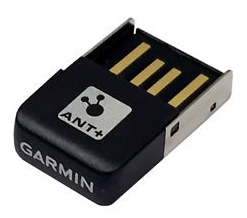
In order to use the Garmin Vivofit with a PC, the Garmin ANT USB stick must be used.
Find the ANT stick in your VÃvofit's packaging and insert it into any available USB port on your computer.
Press and hold the button on your VÃvofit until you see PAIR on the device screen, then release the button.
Your device is now ready to communicate with your computer.
6. Set Up (PC)
Launch the Garmin Express software.
Click the Get Started button.
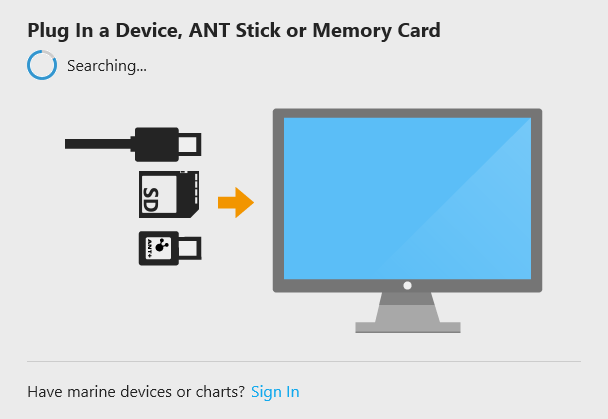
Connect your device to your computer with the provided USB cable when prompted.
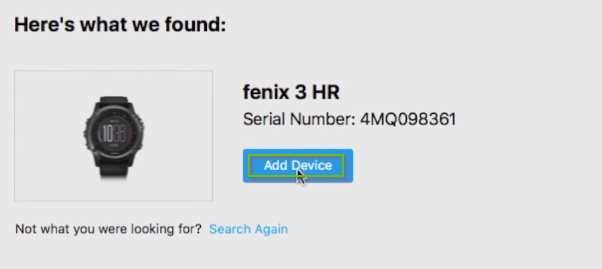
When Garmin Express has detected the device you've plugged in, it will identify it for you. Click Add Device.
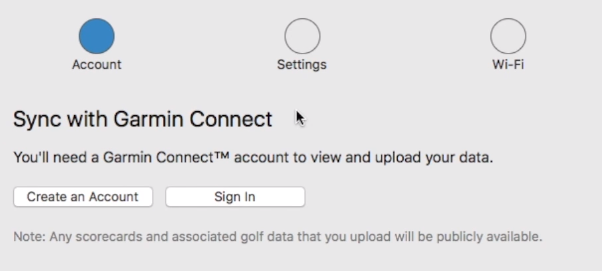
From here, you will be prompted to Sign In or Create an Account for Garmin Connect. Sign in with an existing account if you have one, or complete the necessary steps to create an account.
Once logged in, your device may or may prompt you for a few extra initial setup steps to complete the setup of the Garmin Express software. Follow any on-screen steps.
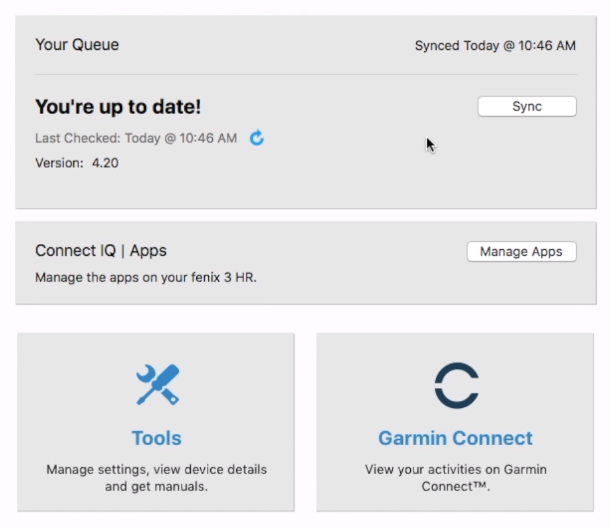
Once initial setup is complete, you will be presented with the status screen for your device. Setup is now complete and you are ready to normally use your device.
.png)