This is a general guide that aims to assist you with setting up your new HP printer. Your printer can be connected directly to your computer using a USB cable, connected to your home network by using an Ethernet cable, or wirelessly connected to your home's WiFi network.
The connection methods available to your printer will depend entirely upon the model printer you are working with.
Tools You'll Need:
No extra tools are needed.
-->
Things You'll Need:
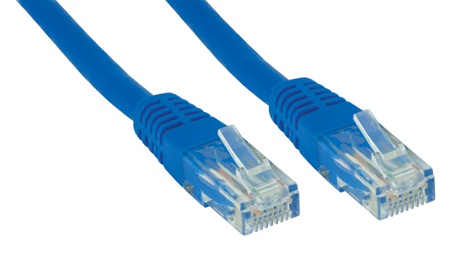
USB or Ethernet cable (for wired connections only)
Power cable
Ink cartridges
Paper
Before You Begin:
Make sure the following are completed:
Printer is unboxed
Power cable is connected
Ink cartridges are installed
Paper is placed in the tray
Print heads are aligned
Do not connect the printer to your computer until you are instructed to do so. Connecting the printer too early may result in the software not properly recognizing your printer.
2. Connect Your HP Printer to WiFi
Follow this guide to set up your printer wirelessly:
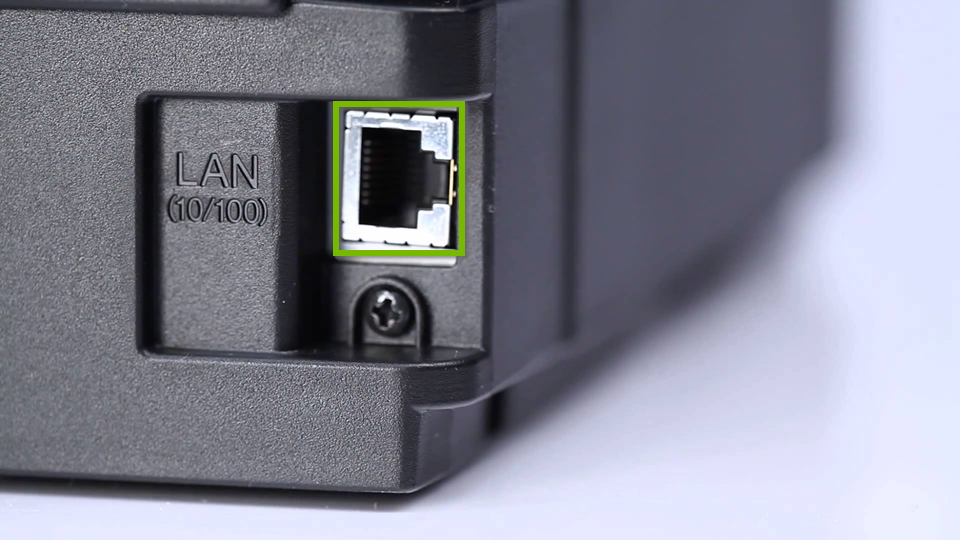
In order to connect to a wired Ethernet connection, your printer needs to have an Ethernet port on the rear. This will vary depending on the model printer you have.
Acquire an Ethernet cable and connect it to the port on the back of the printer.
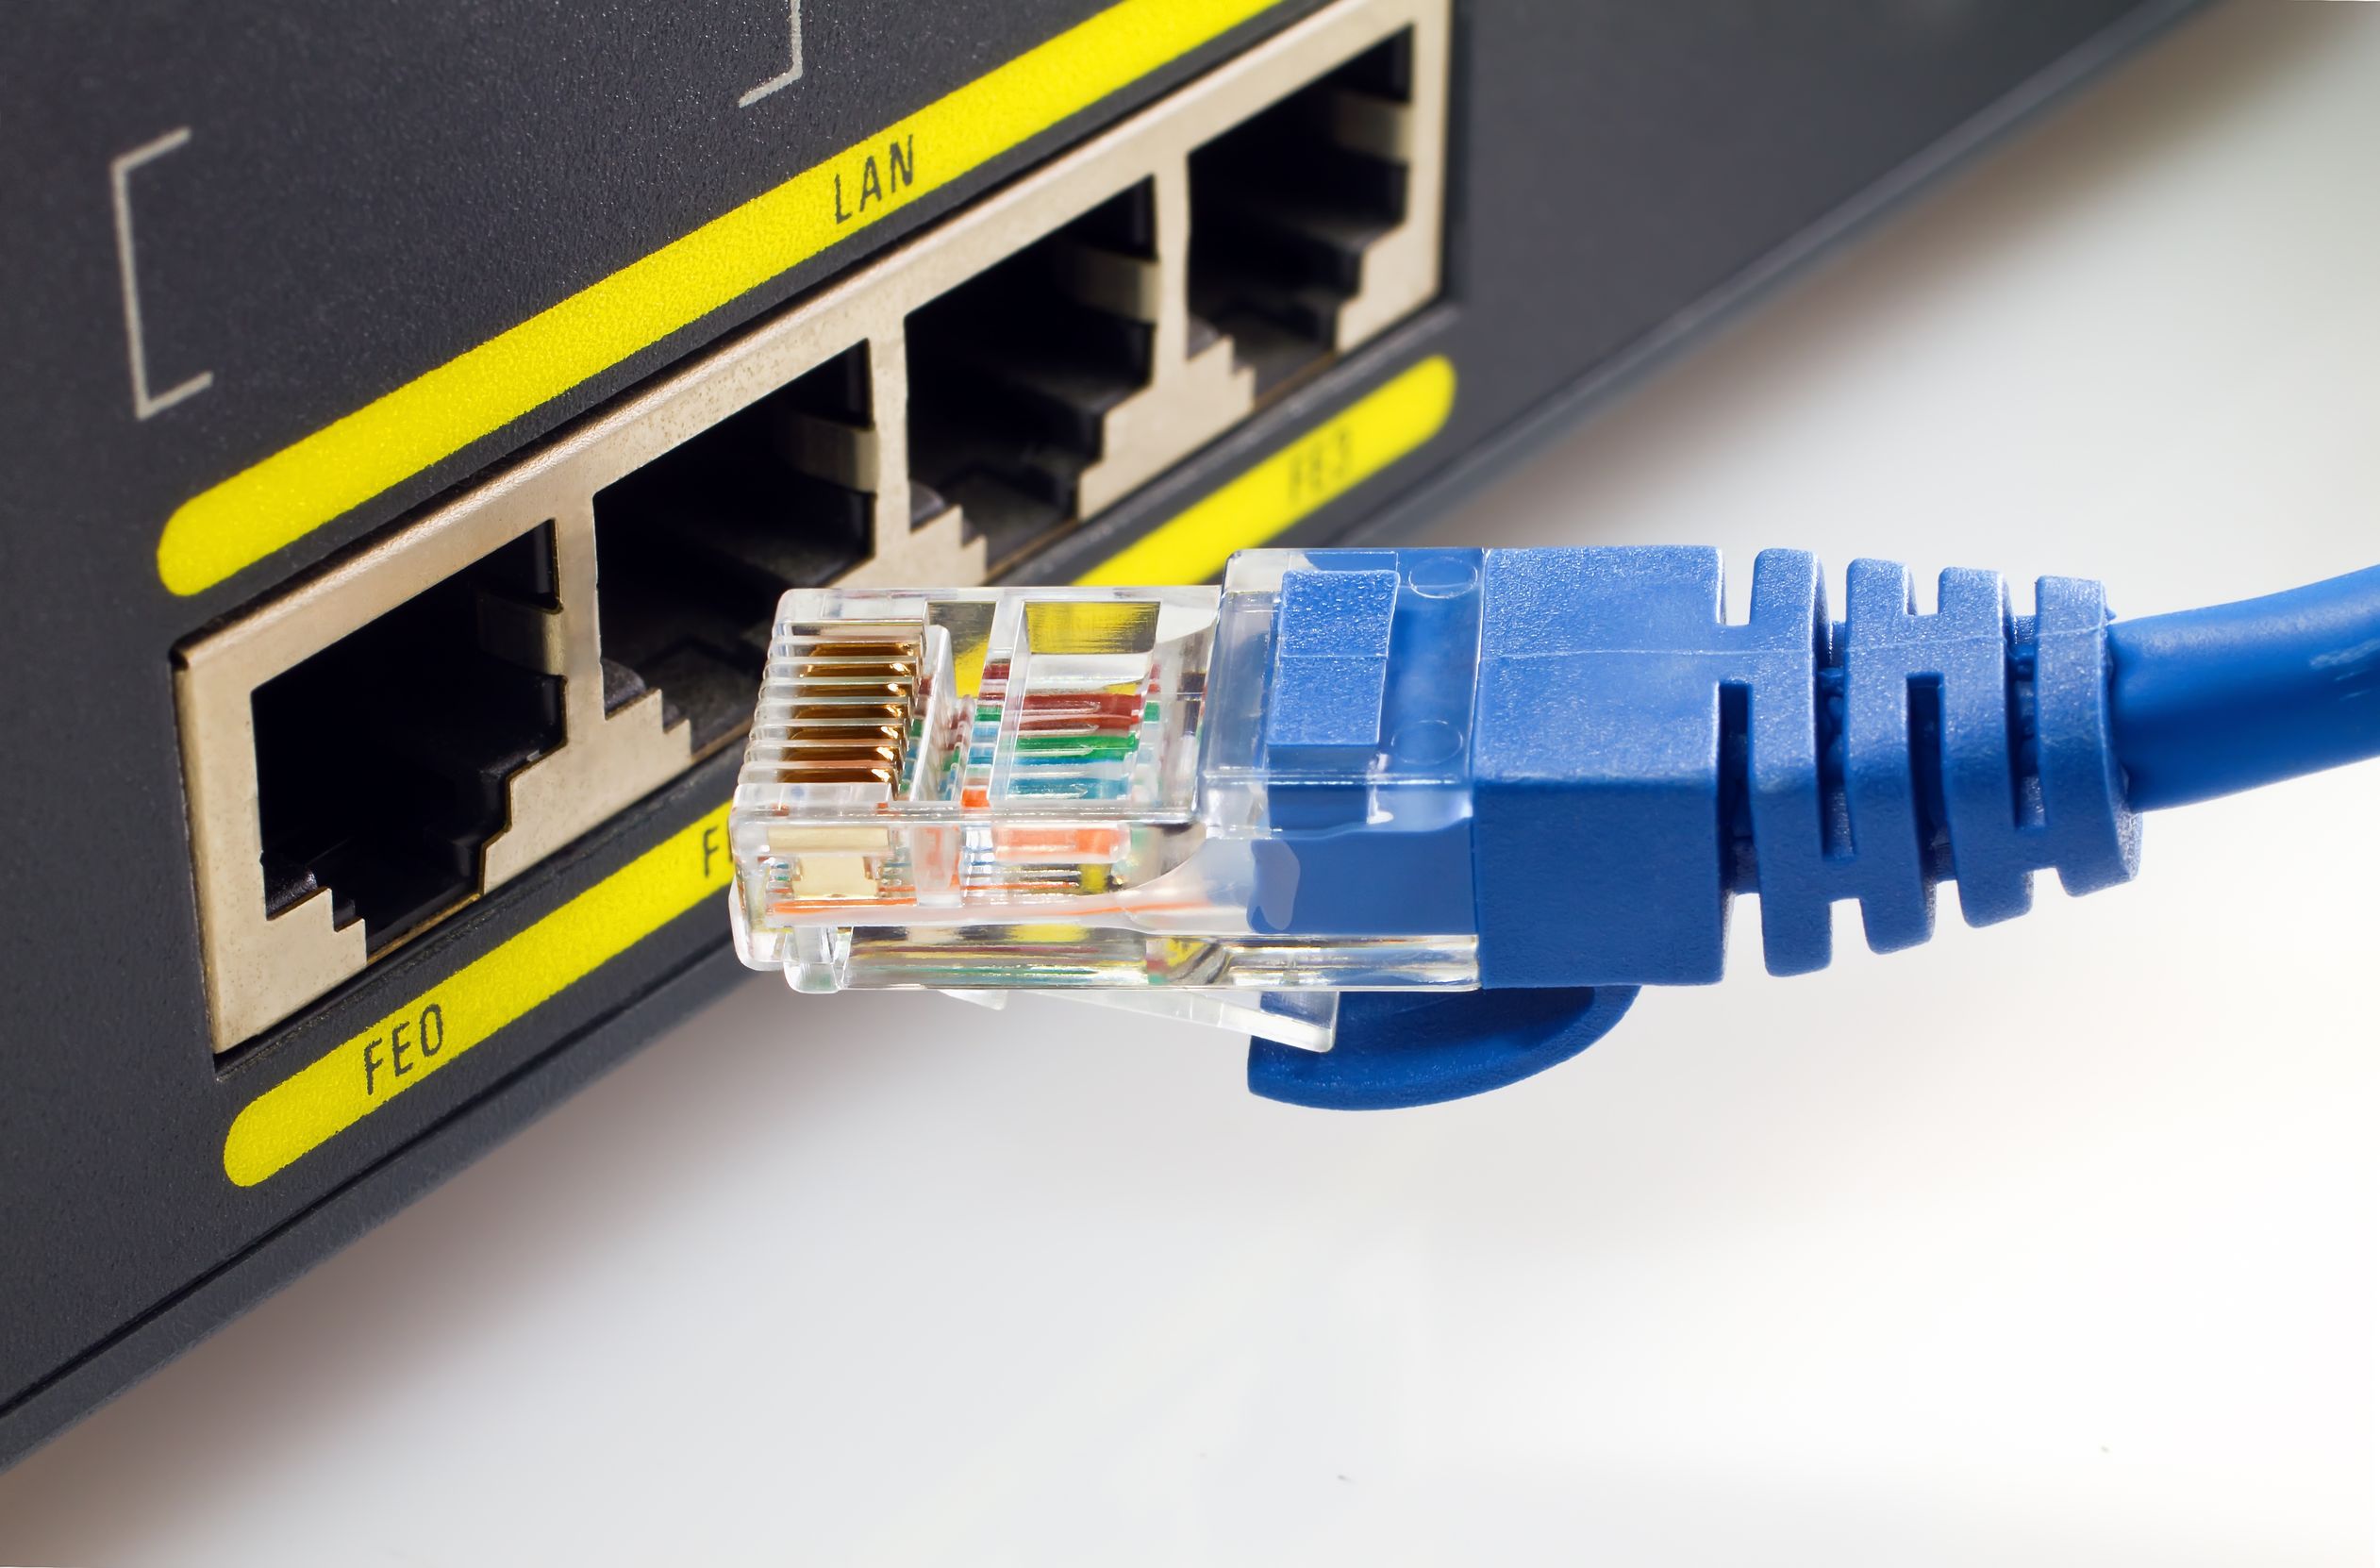
Take the other end of the Ethernet cable and plug it into your router's Ethernet port.
This is all that is needed to get your printer physically connected to your network.
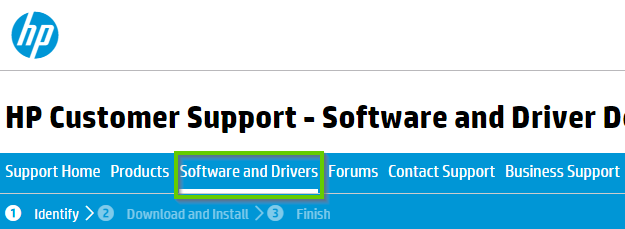
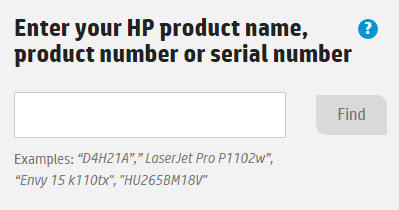
Type your product name, number, or serial number and click Find.
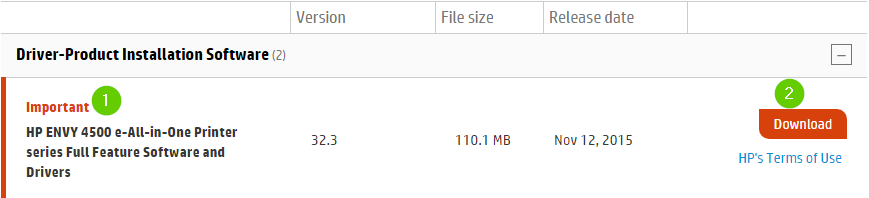
The latest drivers are usually marked Important. Select the latest one to Download.
Your download should begin. Depending on what browser you've used, you may have to click Run or Save to continue, or simply click the file that's downloaded to launch the installer.
5. Install Software (Ethernet)
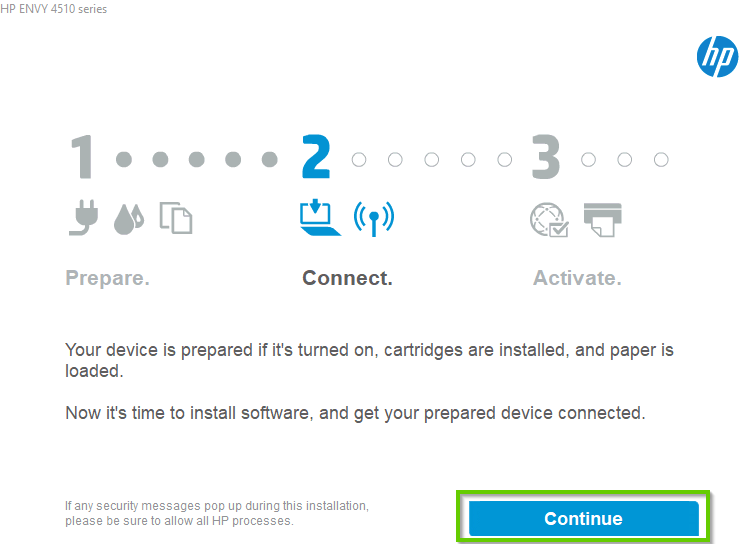
Once your file is downloaded and the installer open, click Continue.
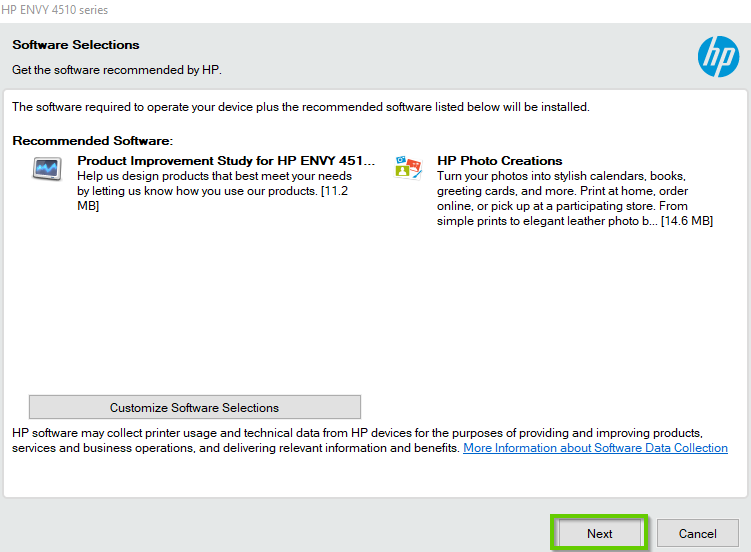
Click Next.
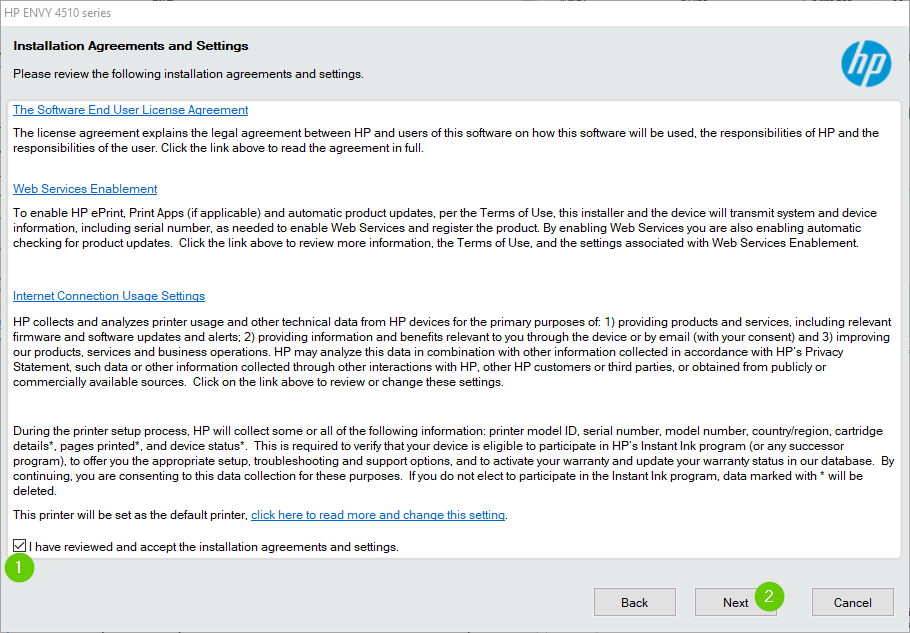
Check the Terms of Service box and then click Next.
Software will begin installing.
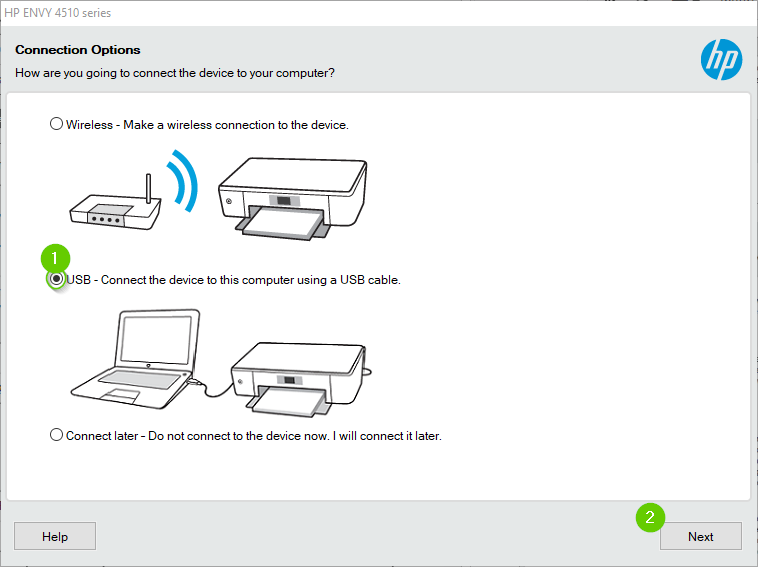
Select USB and then Next.
Connect the printer and your computer using the USB cable.
The installer will detect your printer.
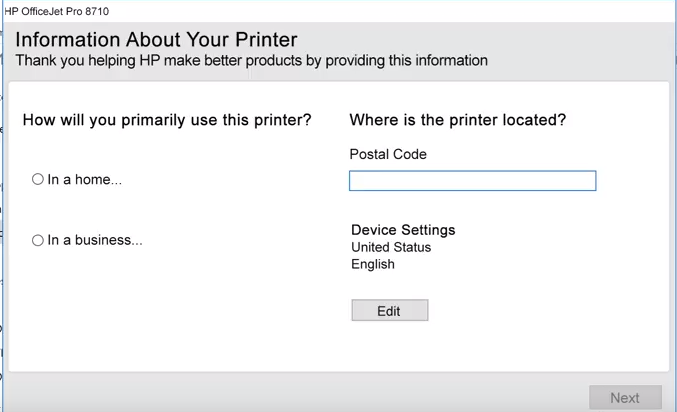
Type in the required information.
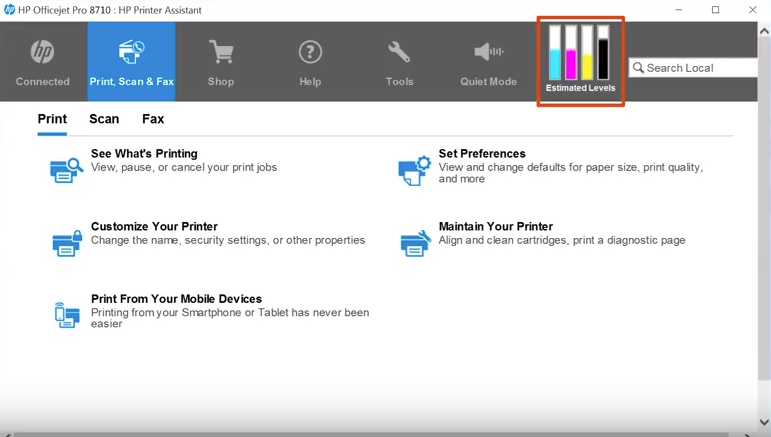
After the install the printer assistant will open automatically. This program offers you many options for your printer including monitoring ink levels.
Your printer is now set up and ready to use via the Ethernet connection. You may disconnect the USB cable.
Type your product name, number, or serial number and click Find.
The latest drivers are usually marked Important. Select the latest one to Download.
Your download should begin. Depending on what browser you've used, you may have to click Run or Save to continue, or simply click the file that's downloaded to launch the installer.
7. Install Software (USB)
Once your file is downloaded and the installer open, click Continue.
Click Next.
Check the Terms of Service box and then click Next.
Software will begin installing.
Select USB and then Next.
Connect the printer and your computer using the USB cable.
The installer will detect your printer.
Type in the required information.
After the install the printer assistant will open automatically. This program offers you many options for your printer including monitoring ink levels.
.png)